

 15Likes
 LinkBack URL
 About LinkBacks
sand down your wood as far as you want to then give it a coat of meths and let dry before the 1st coat of oil or stain if you a planning to stain it 1st this opens the pores on the wood and lets the oil in better to seal the wood good and proper then a light sand between coats a tac cloth is a good idea to remove any dust before recoating be sure to leave enough time between coats tru oil can be anything upto 3 days between coats depending on conditions don't try and rush it you will fuck yourself in the eye...
also any dust will stick to the finish so be sure to coat and let dry in a very clean spot and sand etc elsewhere even make yourself a little clean room by pinning up tarps or something to keep dust out sounds overkill but trust me dust has a way of finding wet tru oil that's why I tend to use faster drying stuff
take your time and they come out mint
here's one I finished with Danish oil a a couple of weeks ago- im shit with wood but have a good mate who's fantastic and he's taught me lots so just passing the info on
cheers
rambo
Welcome guest, is this your first visit? Create Account now to join.
Welcome to the NZ Hunting and Shooting Forums.
Search Forums


User Tag List
+ Reply to Thread
Results 16 to 30 of 32
-
06-03-2015, 12:18 AM #16Member

- Join Date
- Aug 2012
- Location
- helensville nz
- Posts
- 4,379
Last edited by rambo-6mmrem; 06-03-2015 at 12:30 AM.
grunzter likes this.
-
-
06-03-2015, 12:34 PM #17Grant

- Join Date
- Dec 2013
- Location
- Auckland
- Posts
- 958
Cheers Rambo, looks good.
Yes I intend to stain it first with BC walnut stain.
Your other points noted, and I will take my time. I guess I will have to be very careful with the light sands between coats so I don't remove any of the stain.
I will just use a 400 grit sand paper or some 0000 steel wool I bought.
grant
oh, just picked up some meths a few minutes ago to give it a final clean before I start...
-
06-03-2015, 03:57 PM #18Member
- Join Date
- Aug 2012
- Location
- helensville nz
- Posts
- 4,379
sounds good show us your progress
-
08-03-2015, 04:34 PM #19Grant
- Join Date
- Dec 2013
- Location
- Auckland
- Posts
- 958
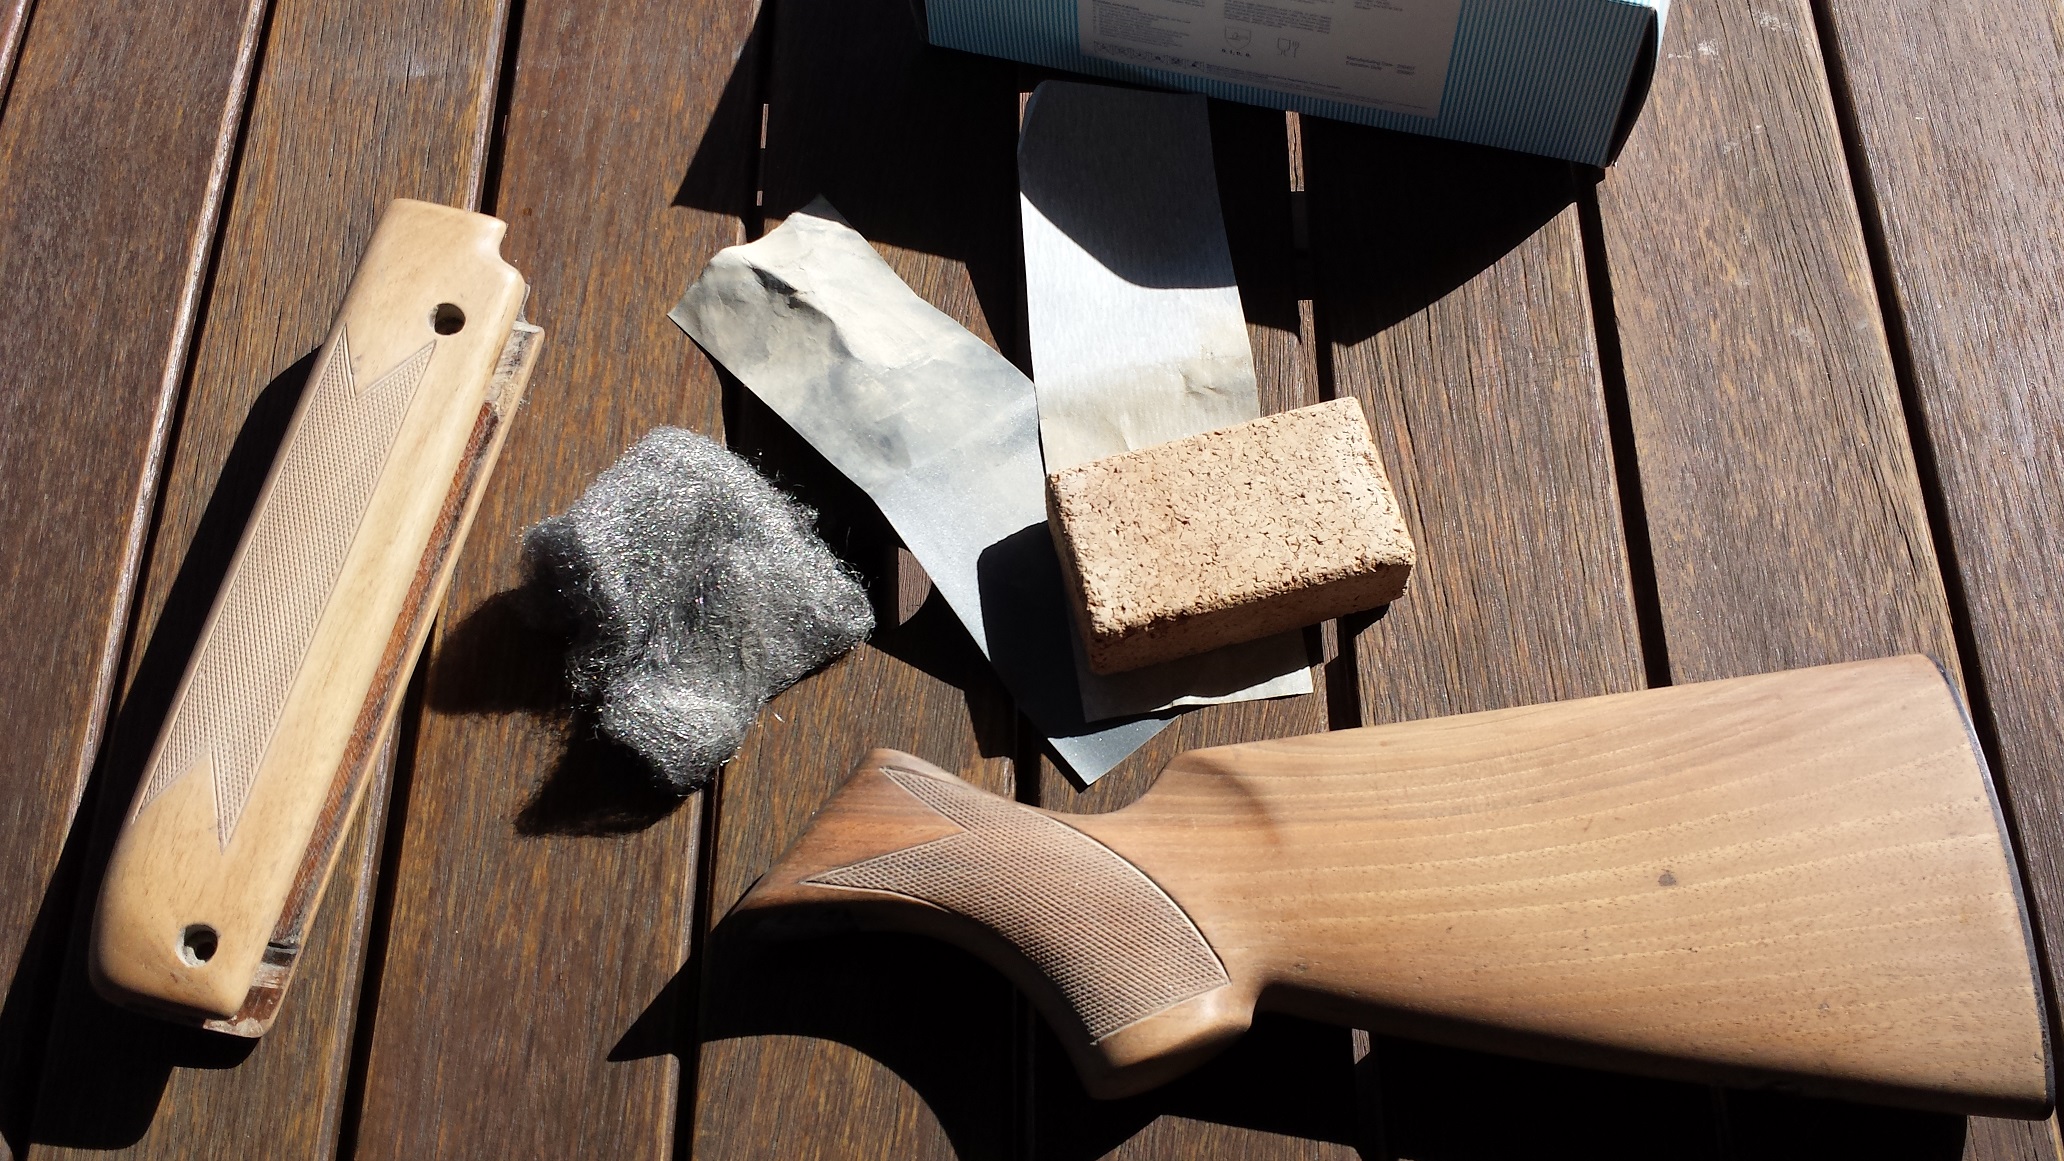
Ok, a few nights ago it had a very good clean with meths!
Then I left it a few days to fully dry from the wash it had the night before.
Today I started out with sanding using 280 grit.
I found the finish pretty good to start so did not want to go to 180...
After the 280 I then went onto 400 grit which made a very nice fine finish. After the 400 grit I gave it a polish with 000 steel wool and blow down with compressed air and a wipe with a tack cloth.
I took about 1.5~2 hrs sanding and polishing...
After all that I got stuck into the staining. Using the BC walnut stain.
I ended up giving it 4 coats in total, 3 consecutively and the forth a few hours later... as I was after a dark finish.
The touch now is VERY smooth, so I don't think it will need any further sanding before the true-oil.
I will leave it at least a day for drying before the first coat of true-oil.
-
08-03-2015, 08:01 PM #20Caretaker - Gone But Not Forgotten

- Join Date
- Dec 2011
- Location
- here
- Posts
- 7,477
looks good.
Quis custodiet ipsos custodes?
-
09-03-2015, 08:01 PM #21Grant
- Join Date
- Dec 2013
- Location
- Auckland
- Posts
- 958
thanks.
First coat of Tru-Oil tonight.
...will give it a rub with steel wool before the next one, but will leave that to tomorrow at the earliest if not the following night depending upon how much soaked in etc...

...crap photo... its not quite as dark as shown here...
-
10-03-2015, 08:02 PM #22Grant
- Join Date
- Dec 2013
- Location
- Auckland
- Posts
- 958
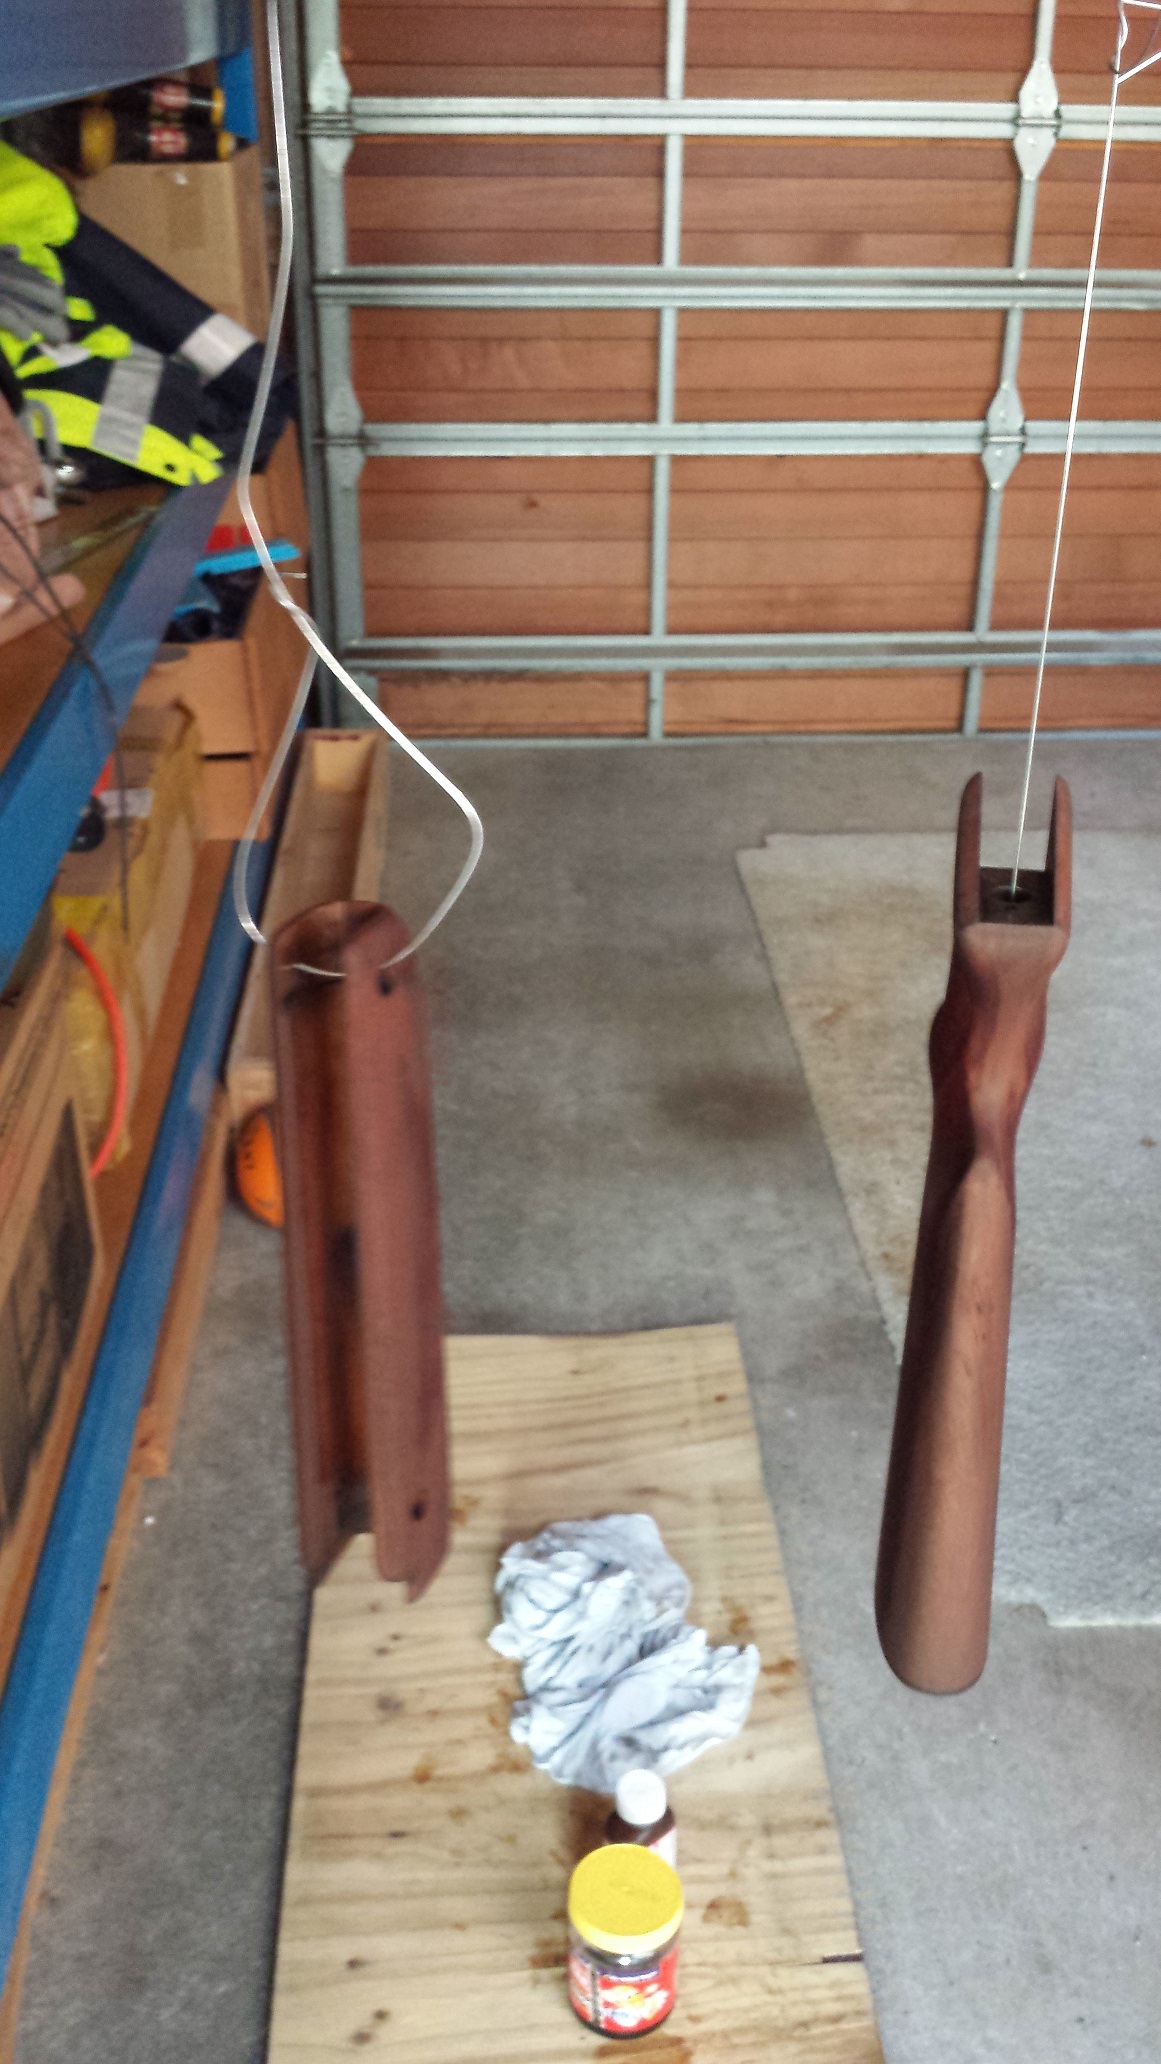
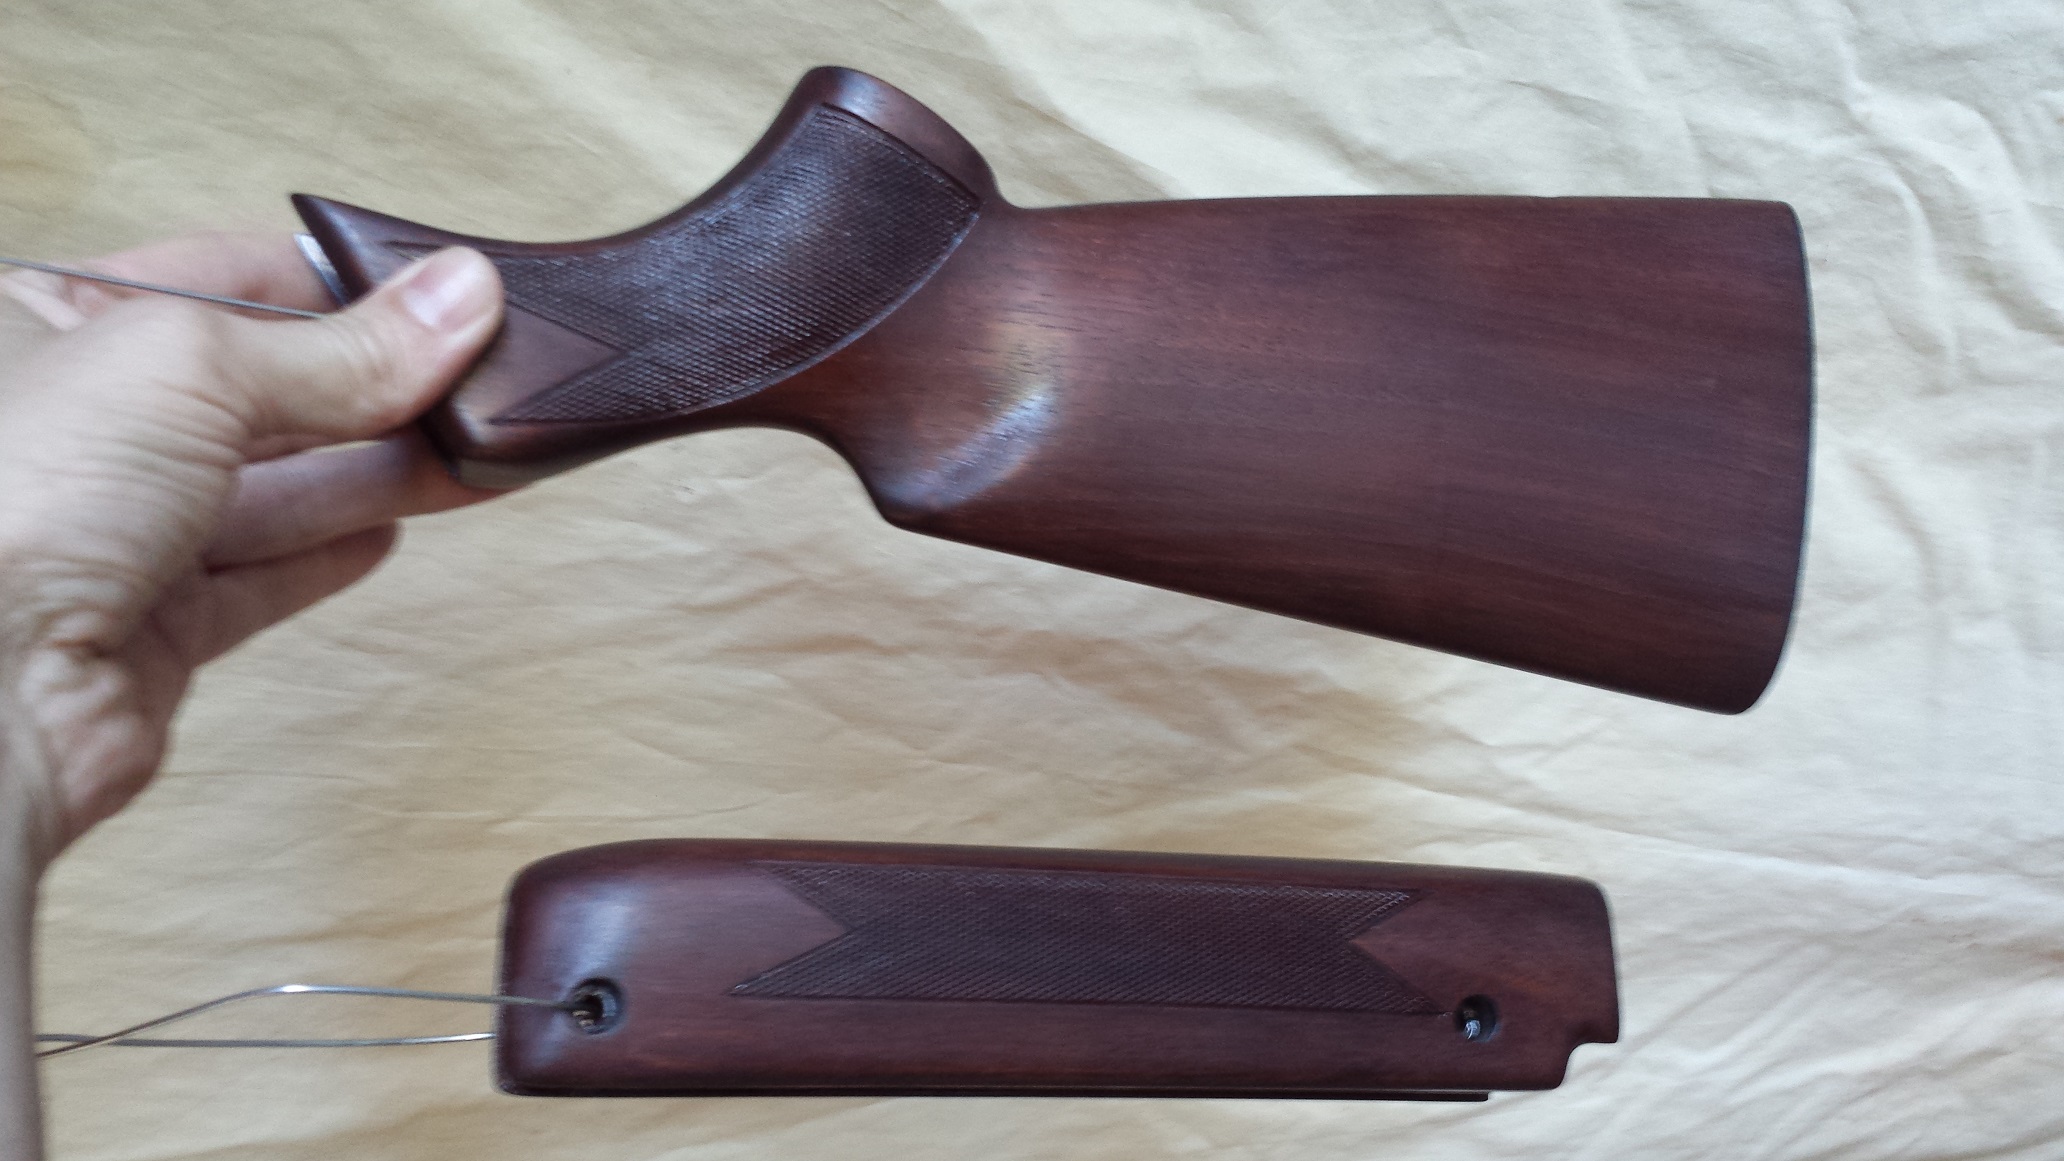
Another update,
First photo is how it looked like after drying for the night.
Second photo is after a rub down with 000 steel wool and a tack cloth. more or less the look I am after. The final birchwood casey product should accomplish this once the tru-oil is finished...
Third photo is after the second coat of Tru-oil.
-
10-03-2015, 10:05 PM #23Member
- Join Date
- Aug 2012
- Location
- helensville nz
- Posts
- 4,379
looking good mate how meny coats of tru oil are you going to do will take longer to dry the more coats you do as the wood stops takeing in the oil
Last edited by rambo-6mmrem; 10-03-2015 at 10:15 PM.
-
11-03-2015, 08:31 AM #24Grant
- Join Date
- Dec 2013
- Location
- Auckland
- Posts
- 958
Looking at it this morning, its looking very well covered and shiny, so I think I will give it an extra day or so to dry, and then a third coat.
then let that dry for at least 3 days before I use the BC stock sheen & conditioner (rubbing compound) to dull it down again.
I'm guessing I don't need 4 coats of the Tru-oil, but will have a good look after the third before making that decision.
Quite happy how it has come out so far.
-
17-03-2015, 07:26 PM #25Grant
- Join Date
- Dec 2013
- Location
- Auckland
- Posts
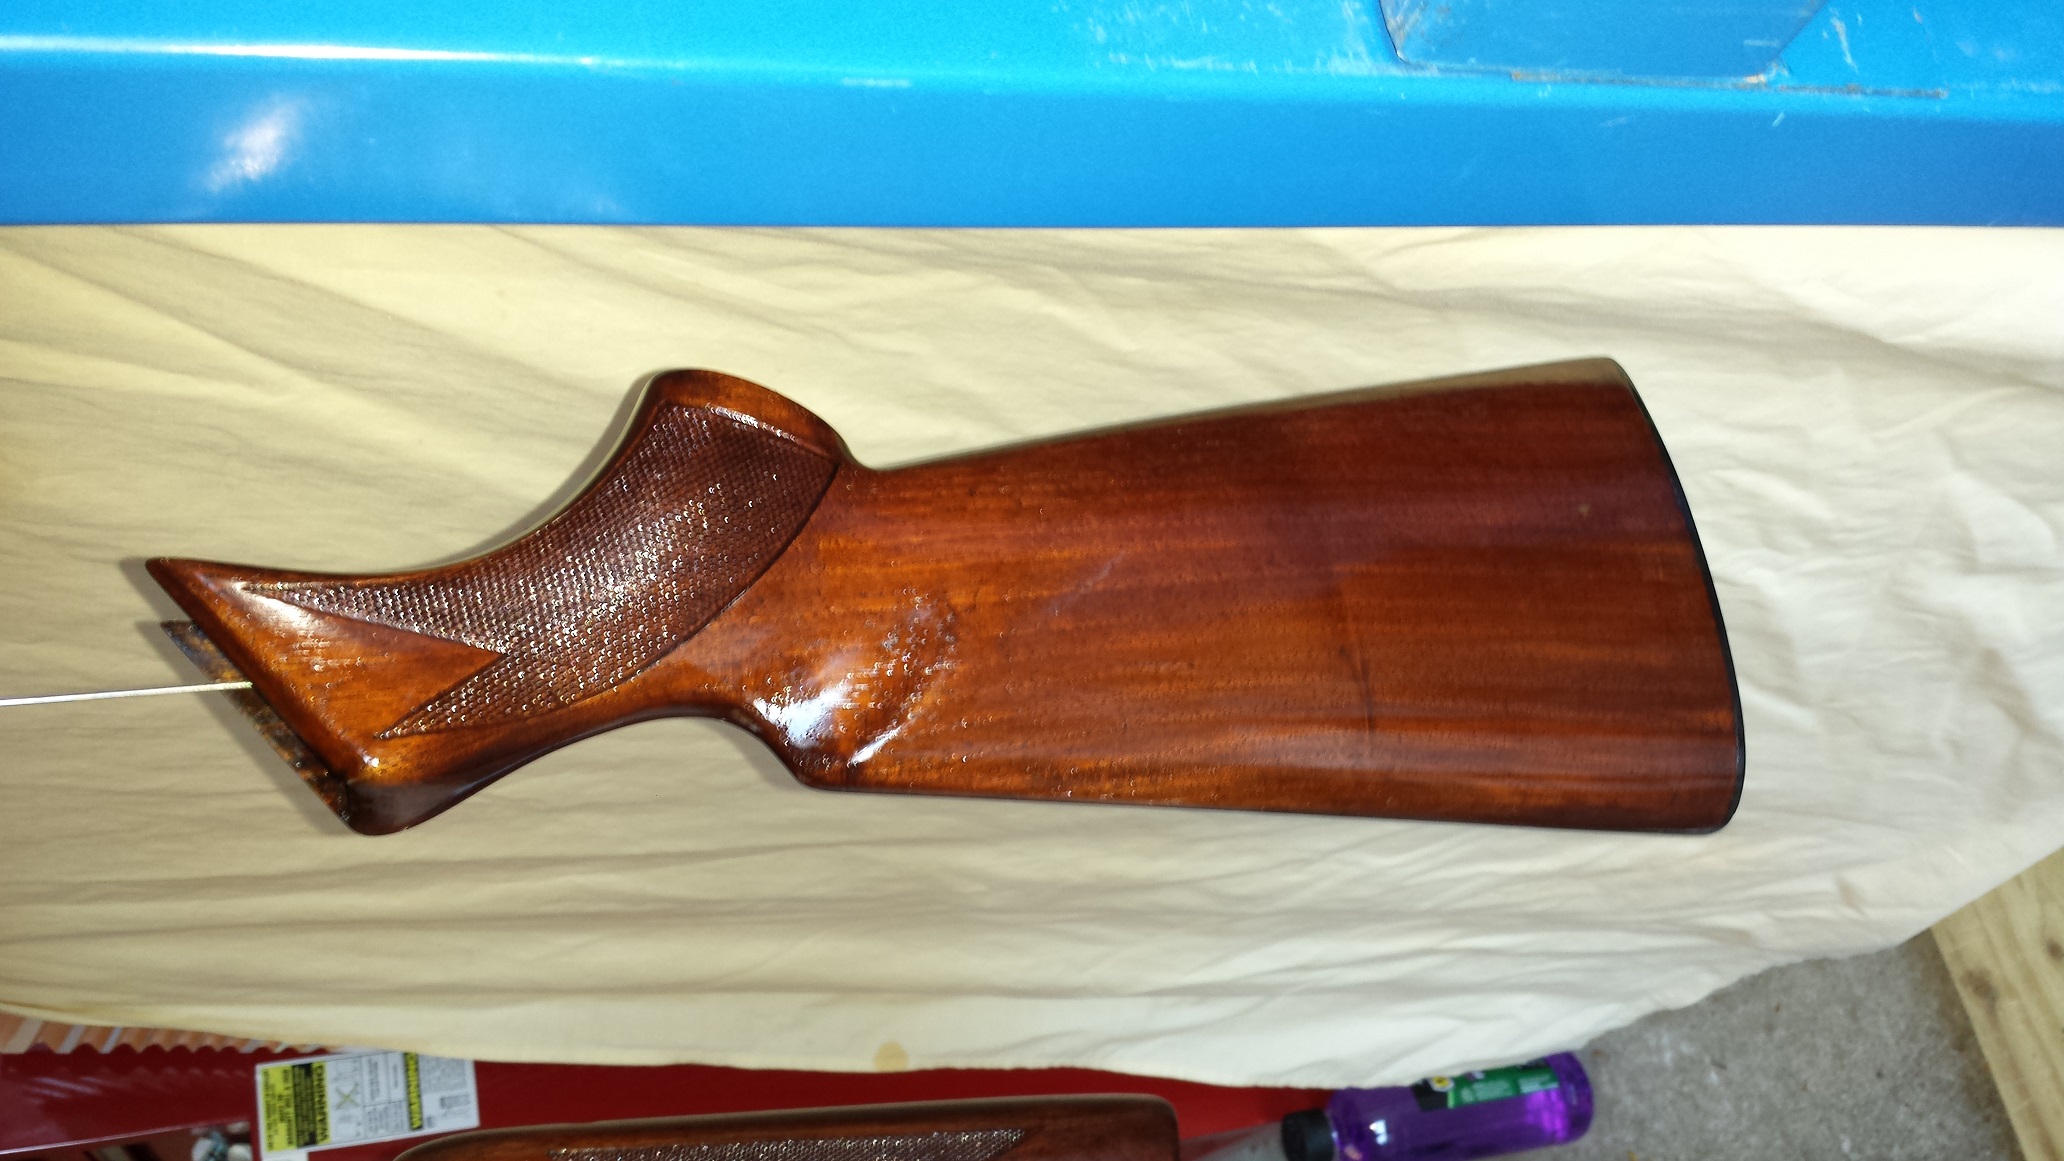
- 958
Third coat of Tru-Oil on.
I waited about 3 days and gave it a quick scuff for the next coat, I had a few small runs, and at the tail of them the oil was still soft underneath.
So lesson learnt, if you have a run let it dry longer before sanding/scuffing!
I then left it until now so more or less fully harden, then got rid of the runs, and applied the 3rd coat.
To me it looks great, just not sure if I should give it another coat before applying the final stock sheen (rubbing compound to make the finish satin), as don't want the high gloss finish.,
-
18-03-2015, 04:08 PM #26Member
- Join Date
- Nov 2013
- Location
- Waikato
- Posts
- 597
You will need to have quiet hands when taking the shine off or it the finish can really piss you off, i.e. if there are any high spots you will soon see the difference.
Just for shit and giggles one day, I thinned the Trueoil and used 400 grade wet and dry to sand the finish on and old stock. Had to work quite quickly but it came out OK. Not my thing but some people like it
-
18-03-2015, 08:09 PM #27Grant
- Join Date
- Dec 2013
- Location
- Auckland
- Posts
- 958
thanks for the heads up.
I'm hoping that I don't stuff it all up in the last step, that's why I am thinking about one last coat of oil, to give more depth to the finish to prevent me from making a mess.
...what can go wrong
-
22-03-2015, 06:19 PM #28Grant
- Join Date
- Dec 2013
- Location
- Auckland
- Posts
- 958
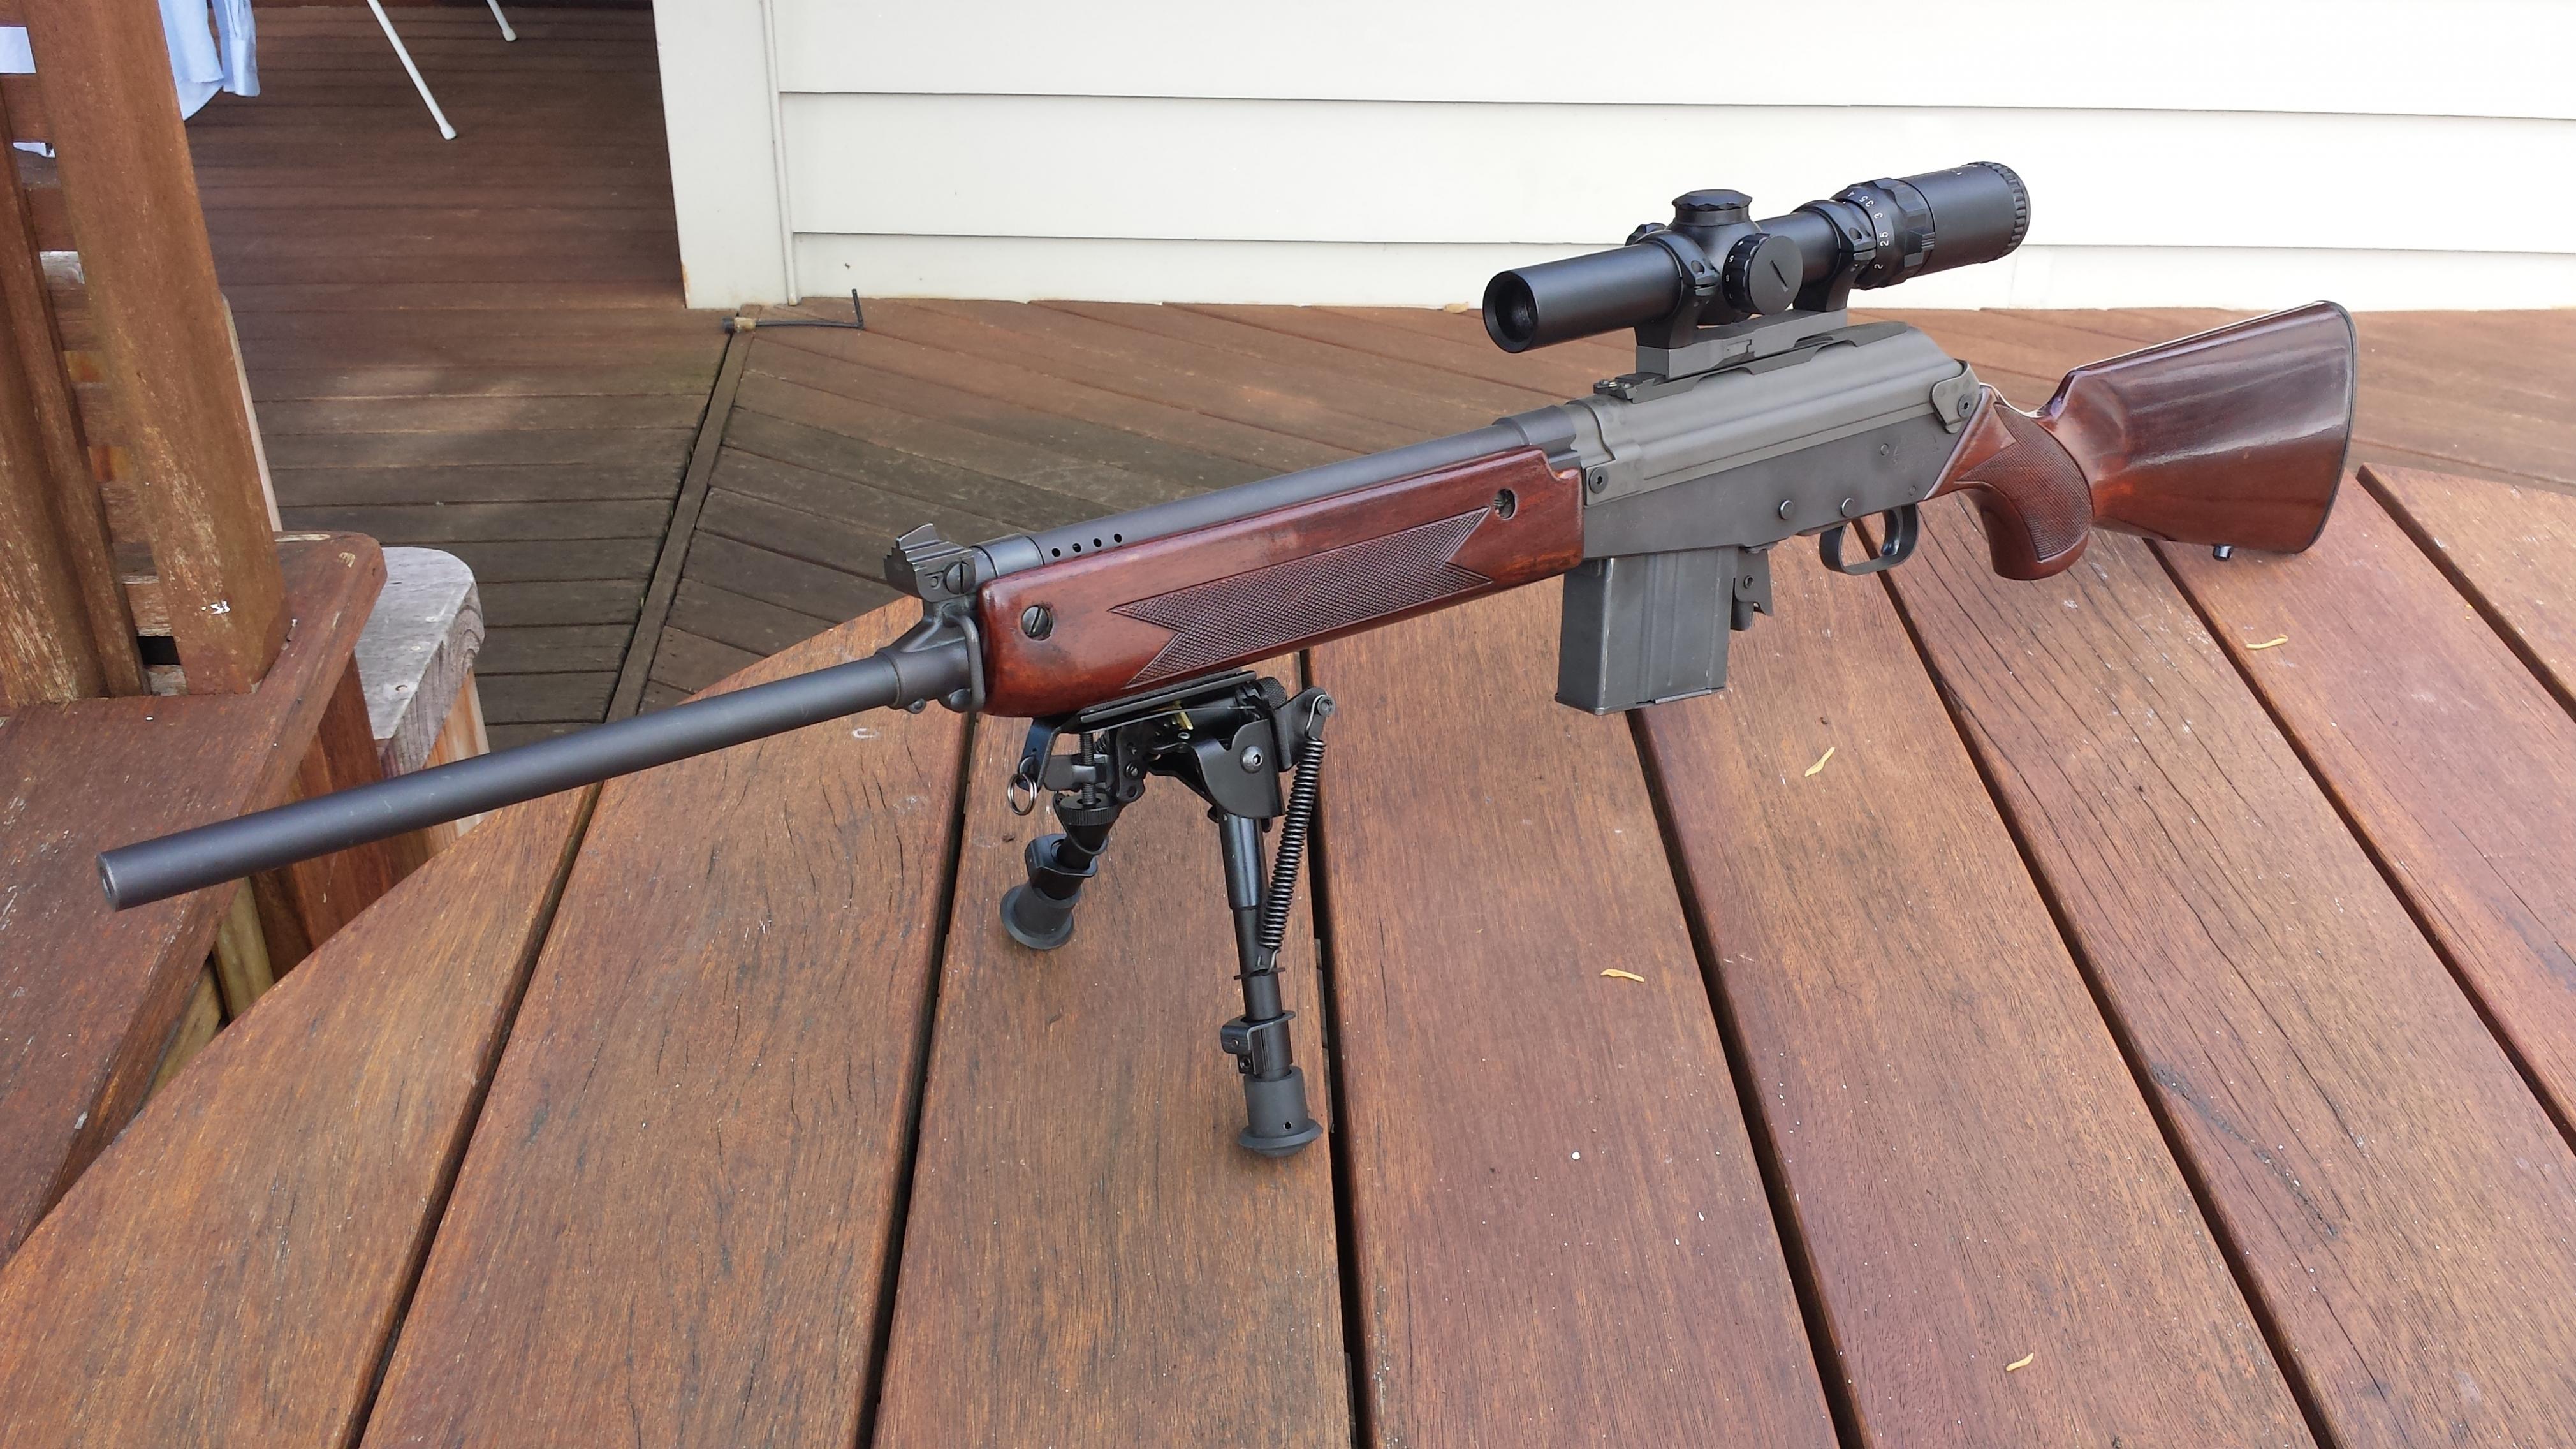
Ok I put a 4th coat of Tru-oil on, so will let it dry for a week before it gets a rub down with the stock sheen/conditioner.
So far happy just need to get rid of the shine.
It is shown with a 1-4x Millet scope from the spares bin, just need to get some 30mm Sako Optilocks for it,...
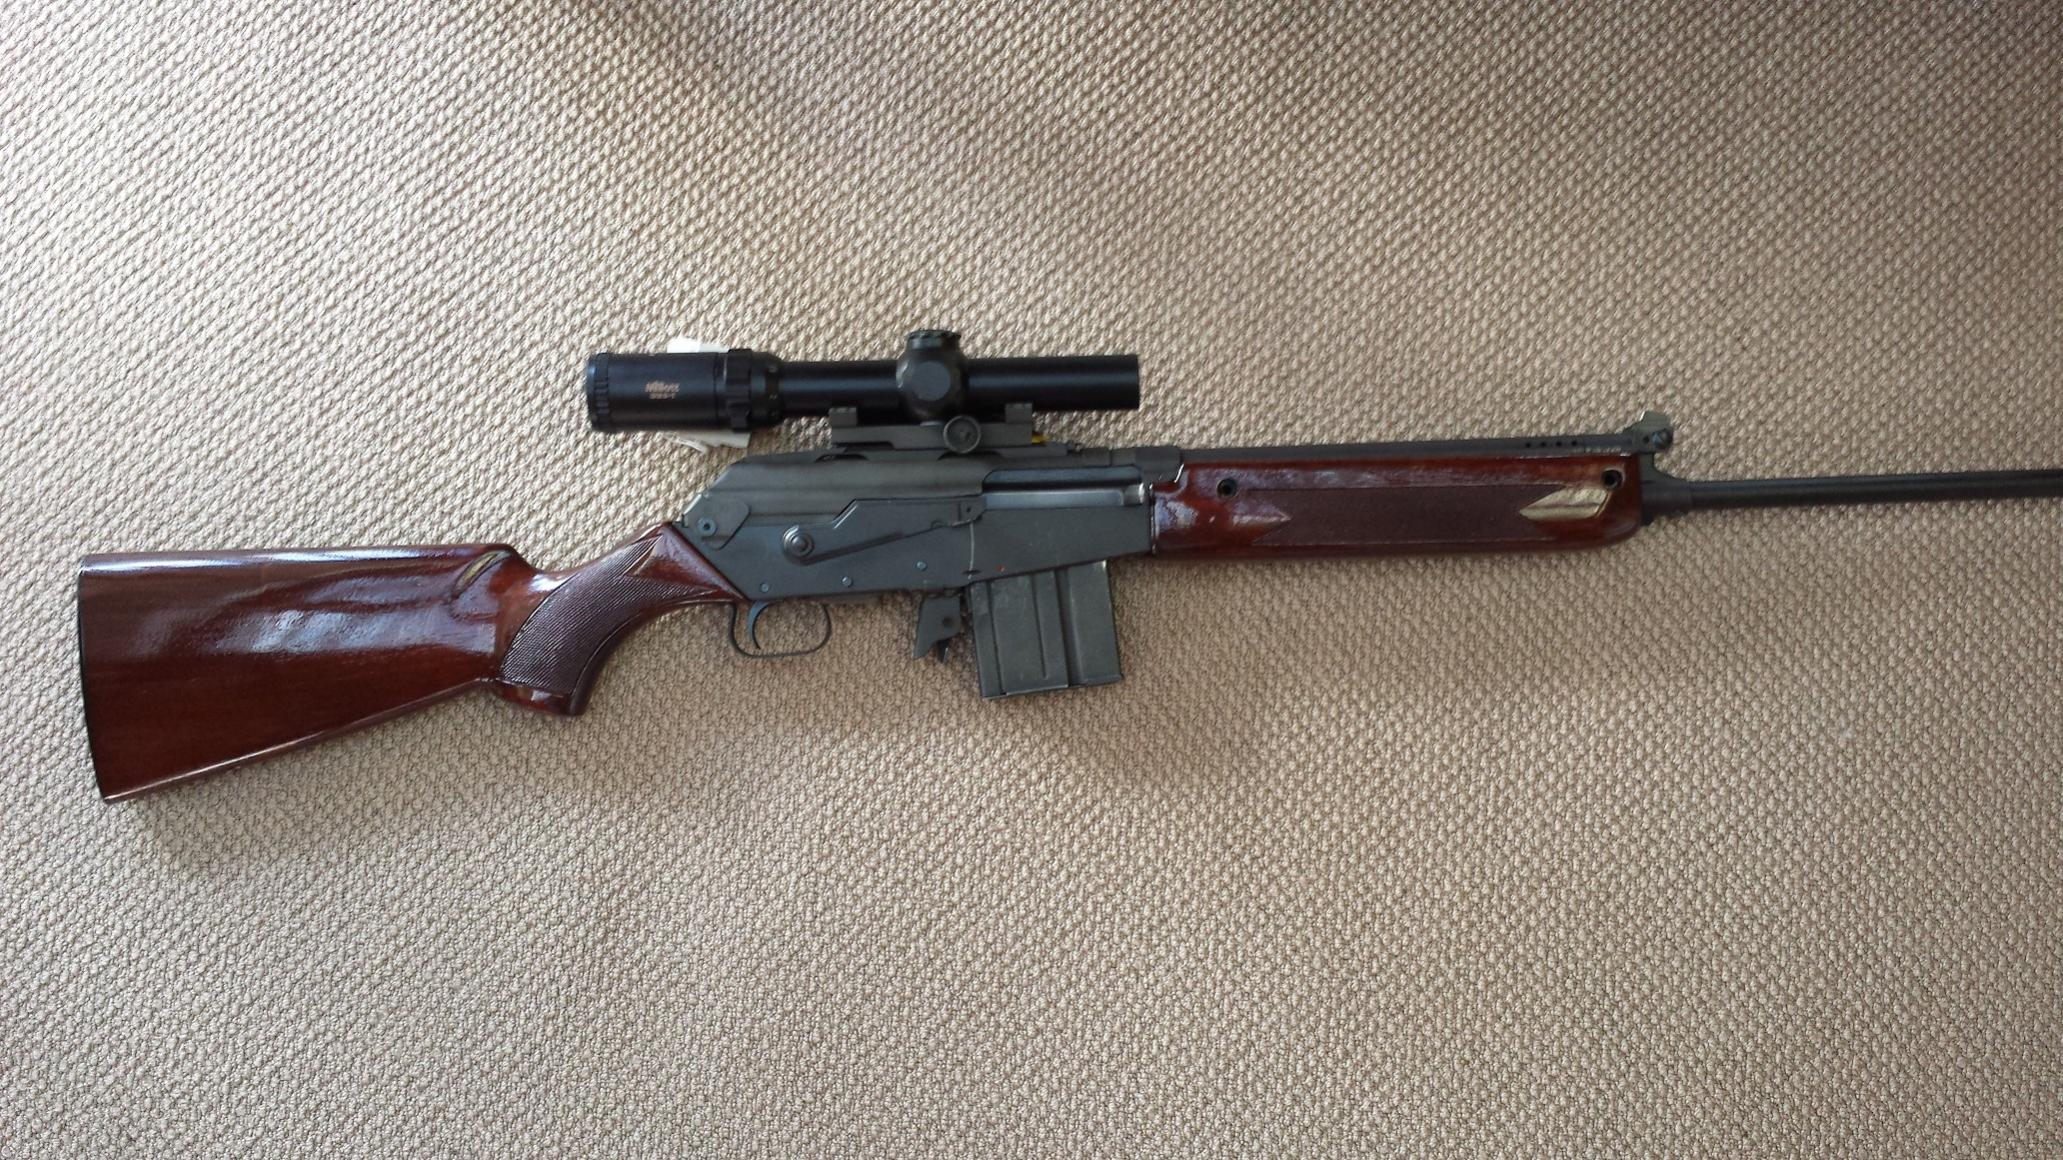 Bryan likes this.
-
27-03-2015, 07:07 PM #29Grant
- Join Date
- Dec 2013
- Location
- Auckland
- Posts
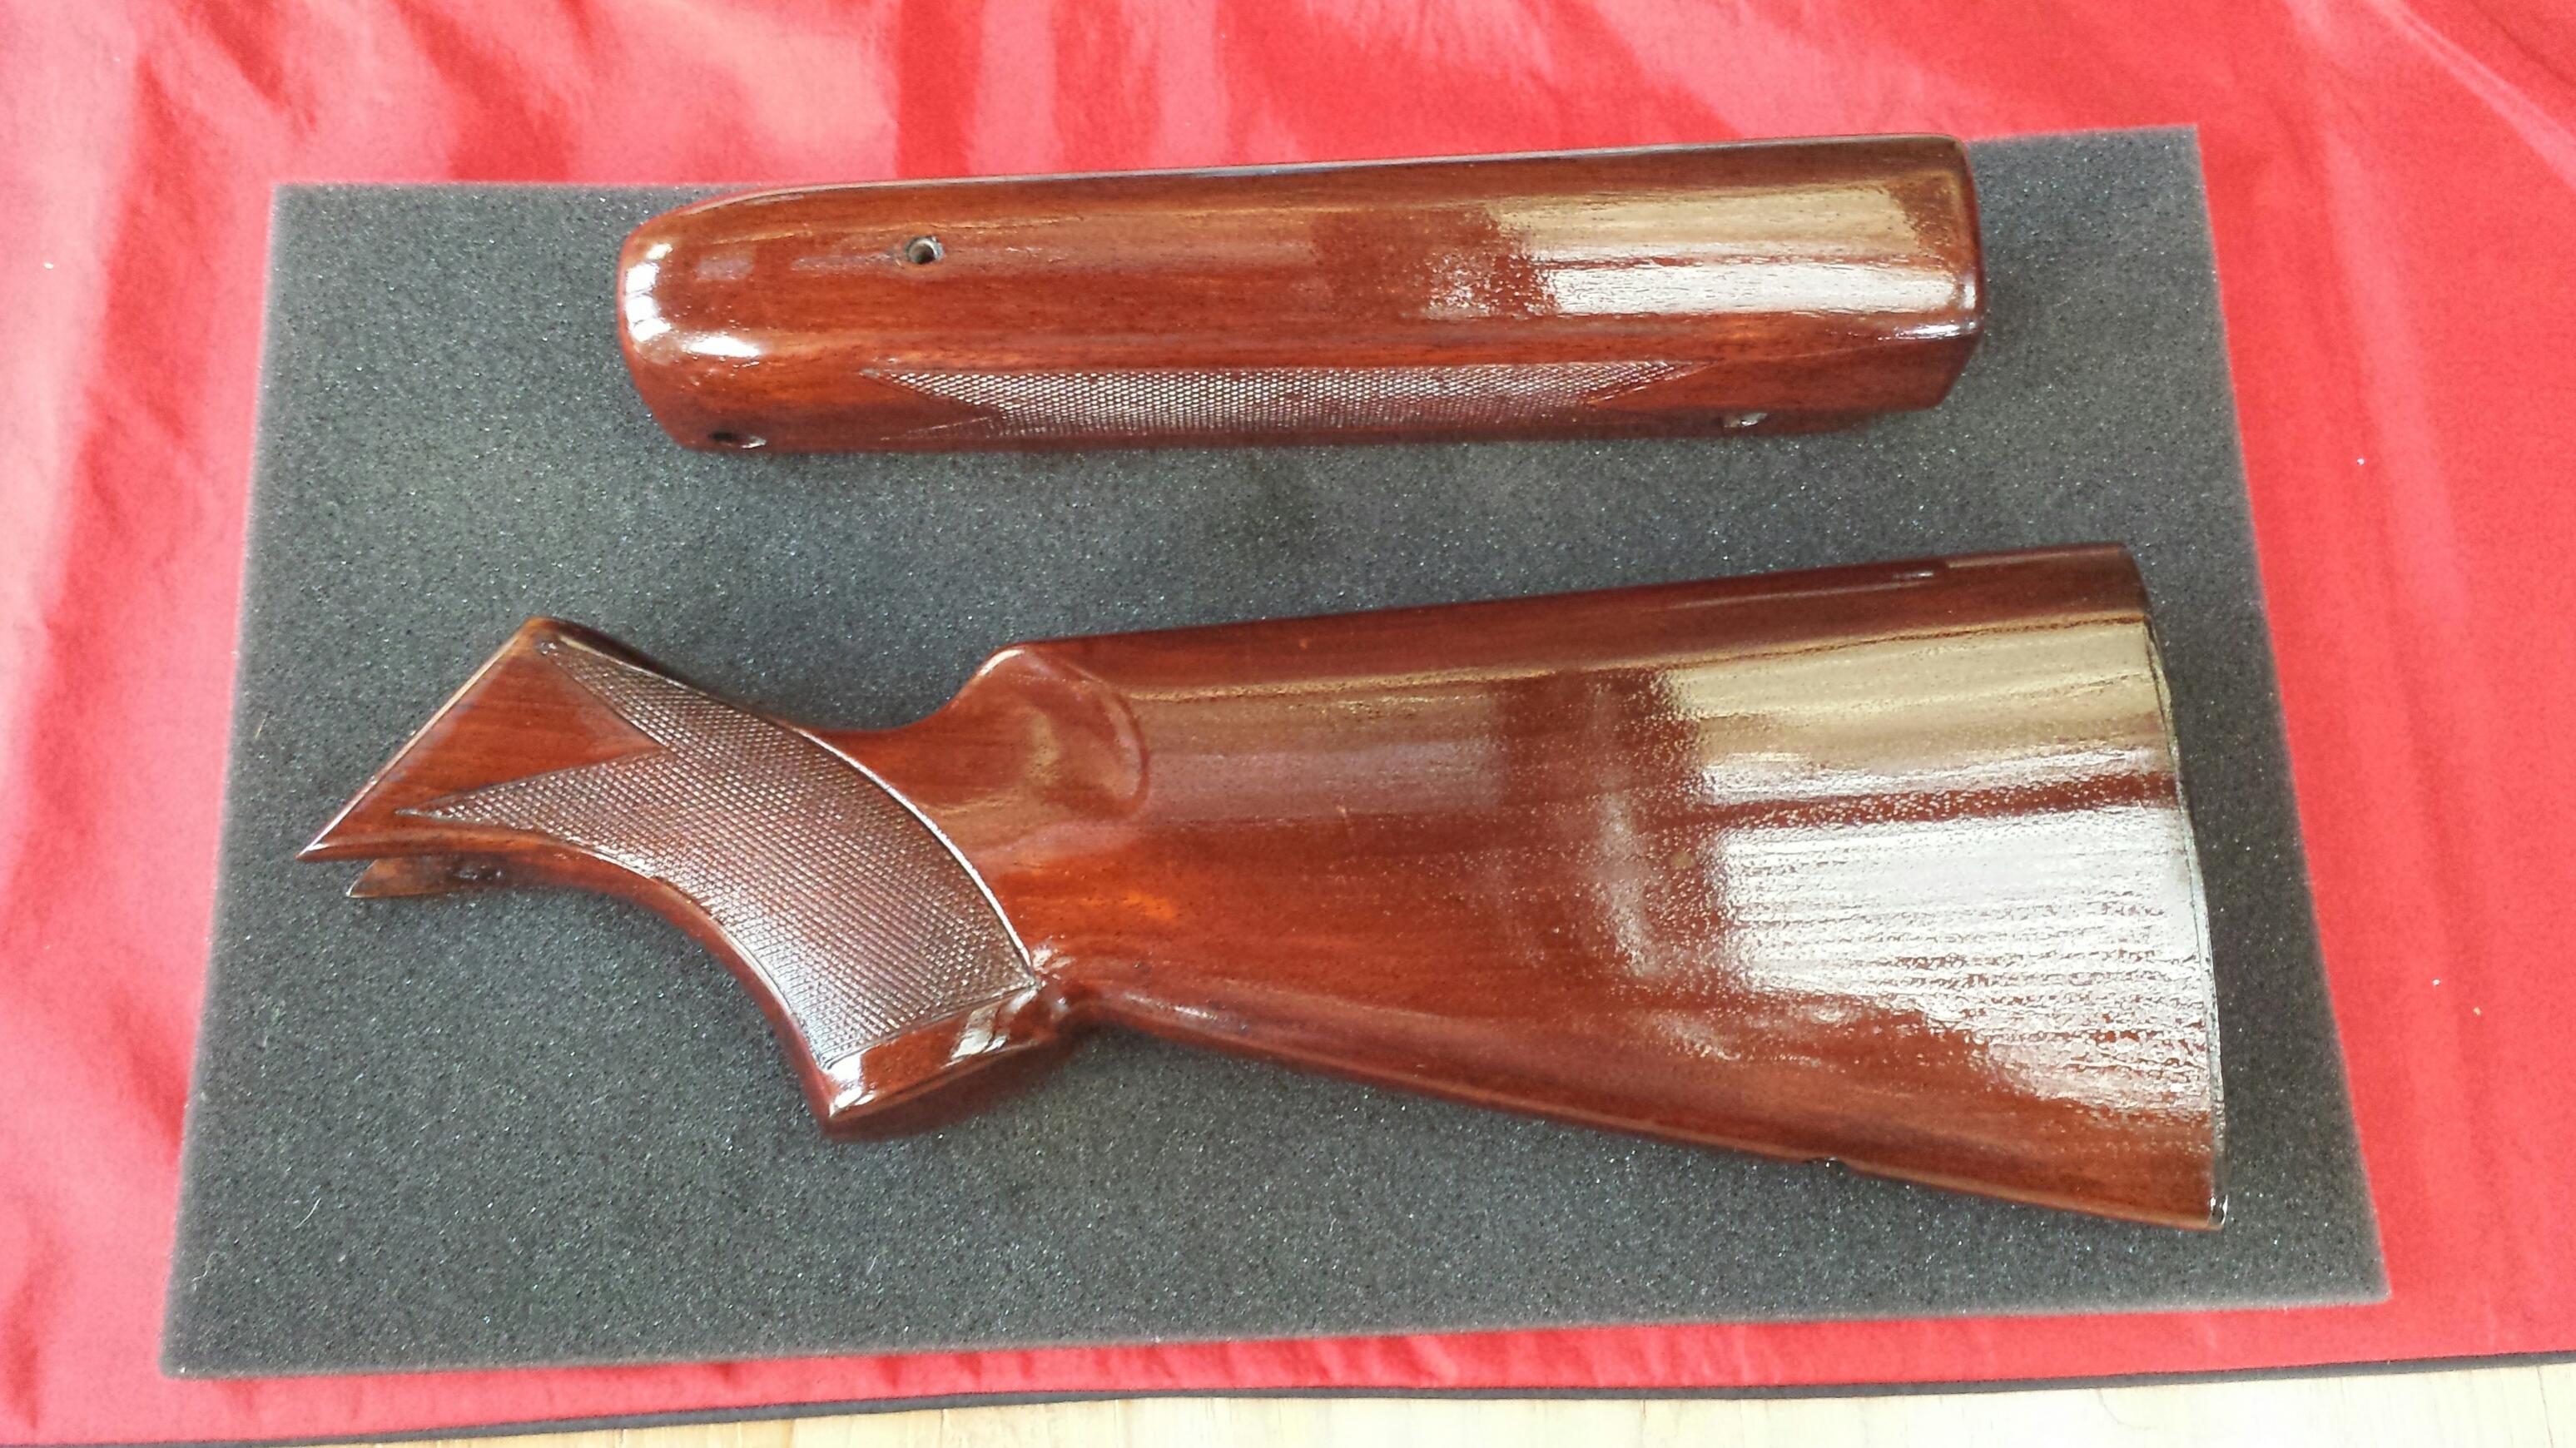
- 958
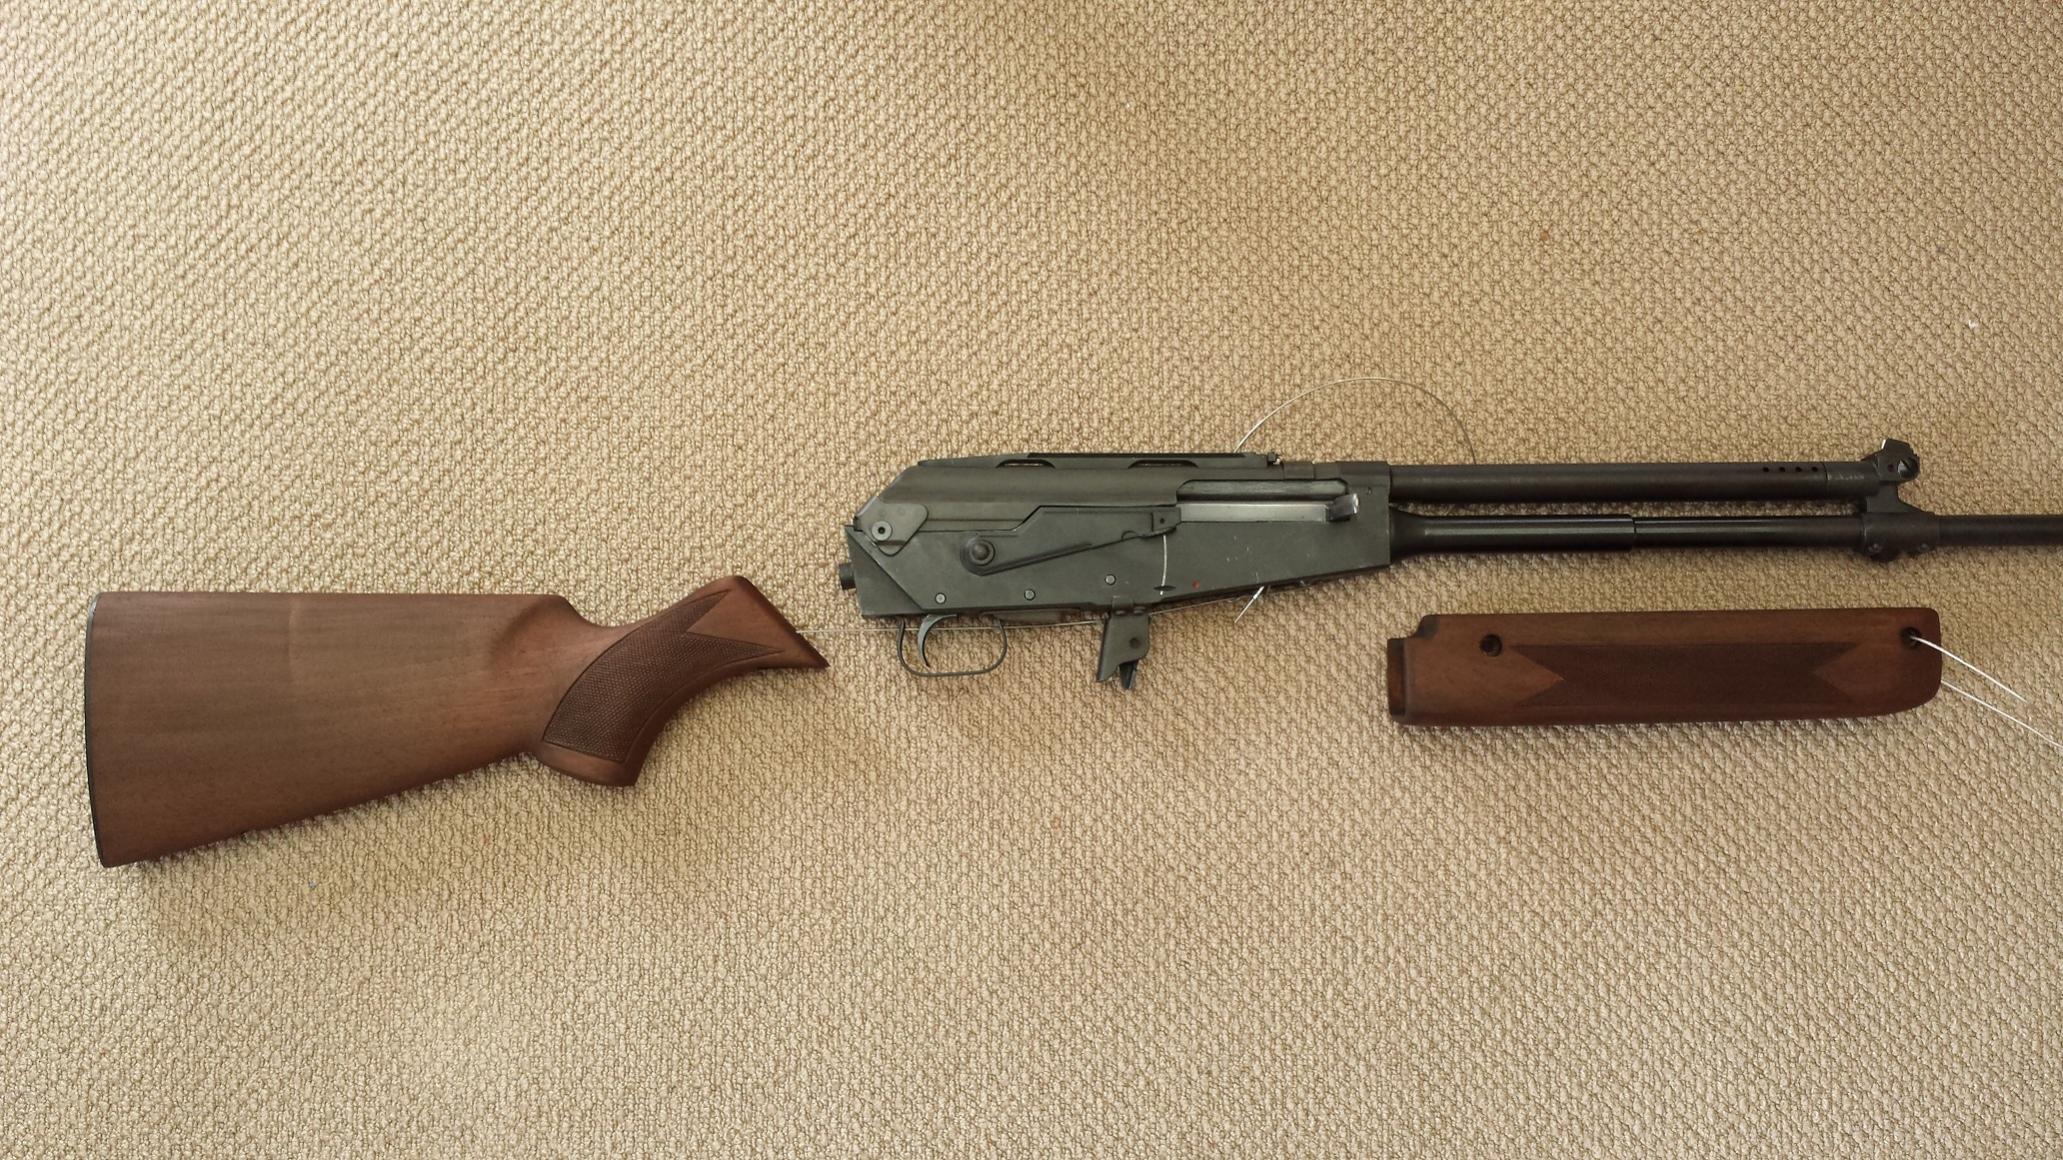
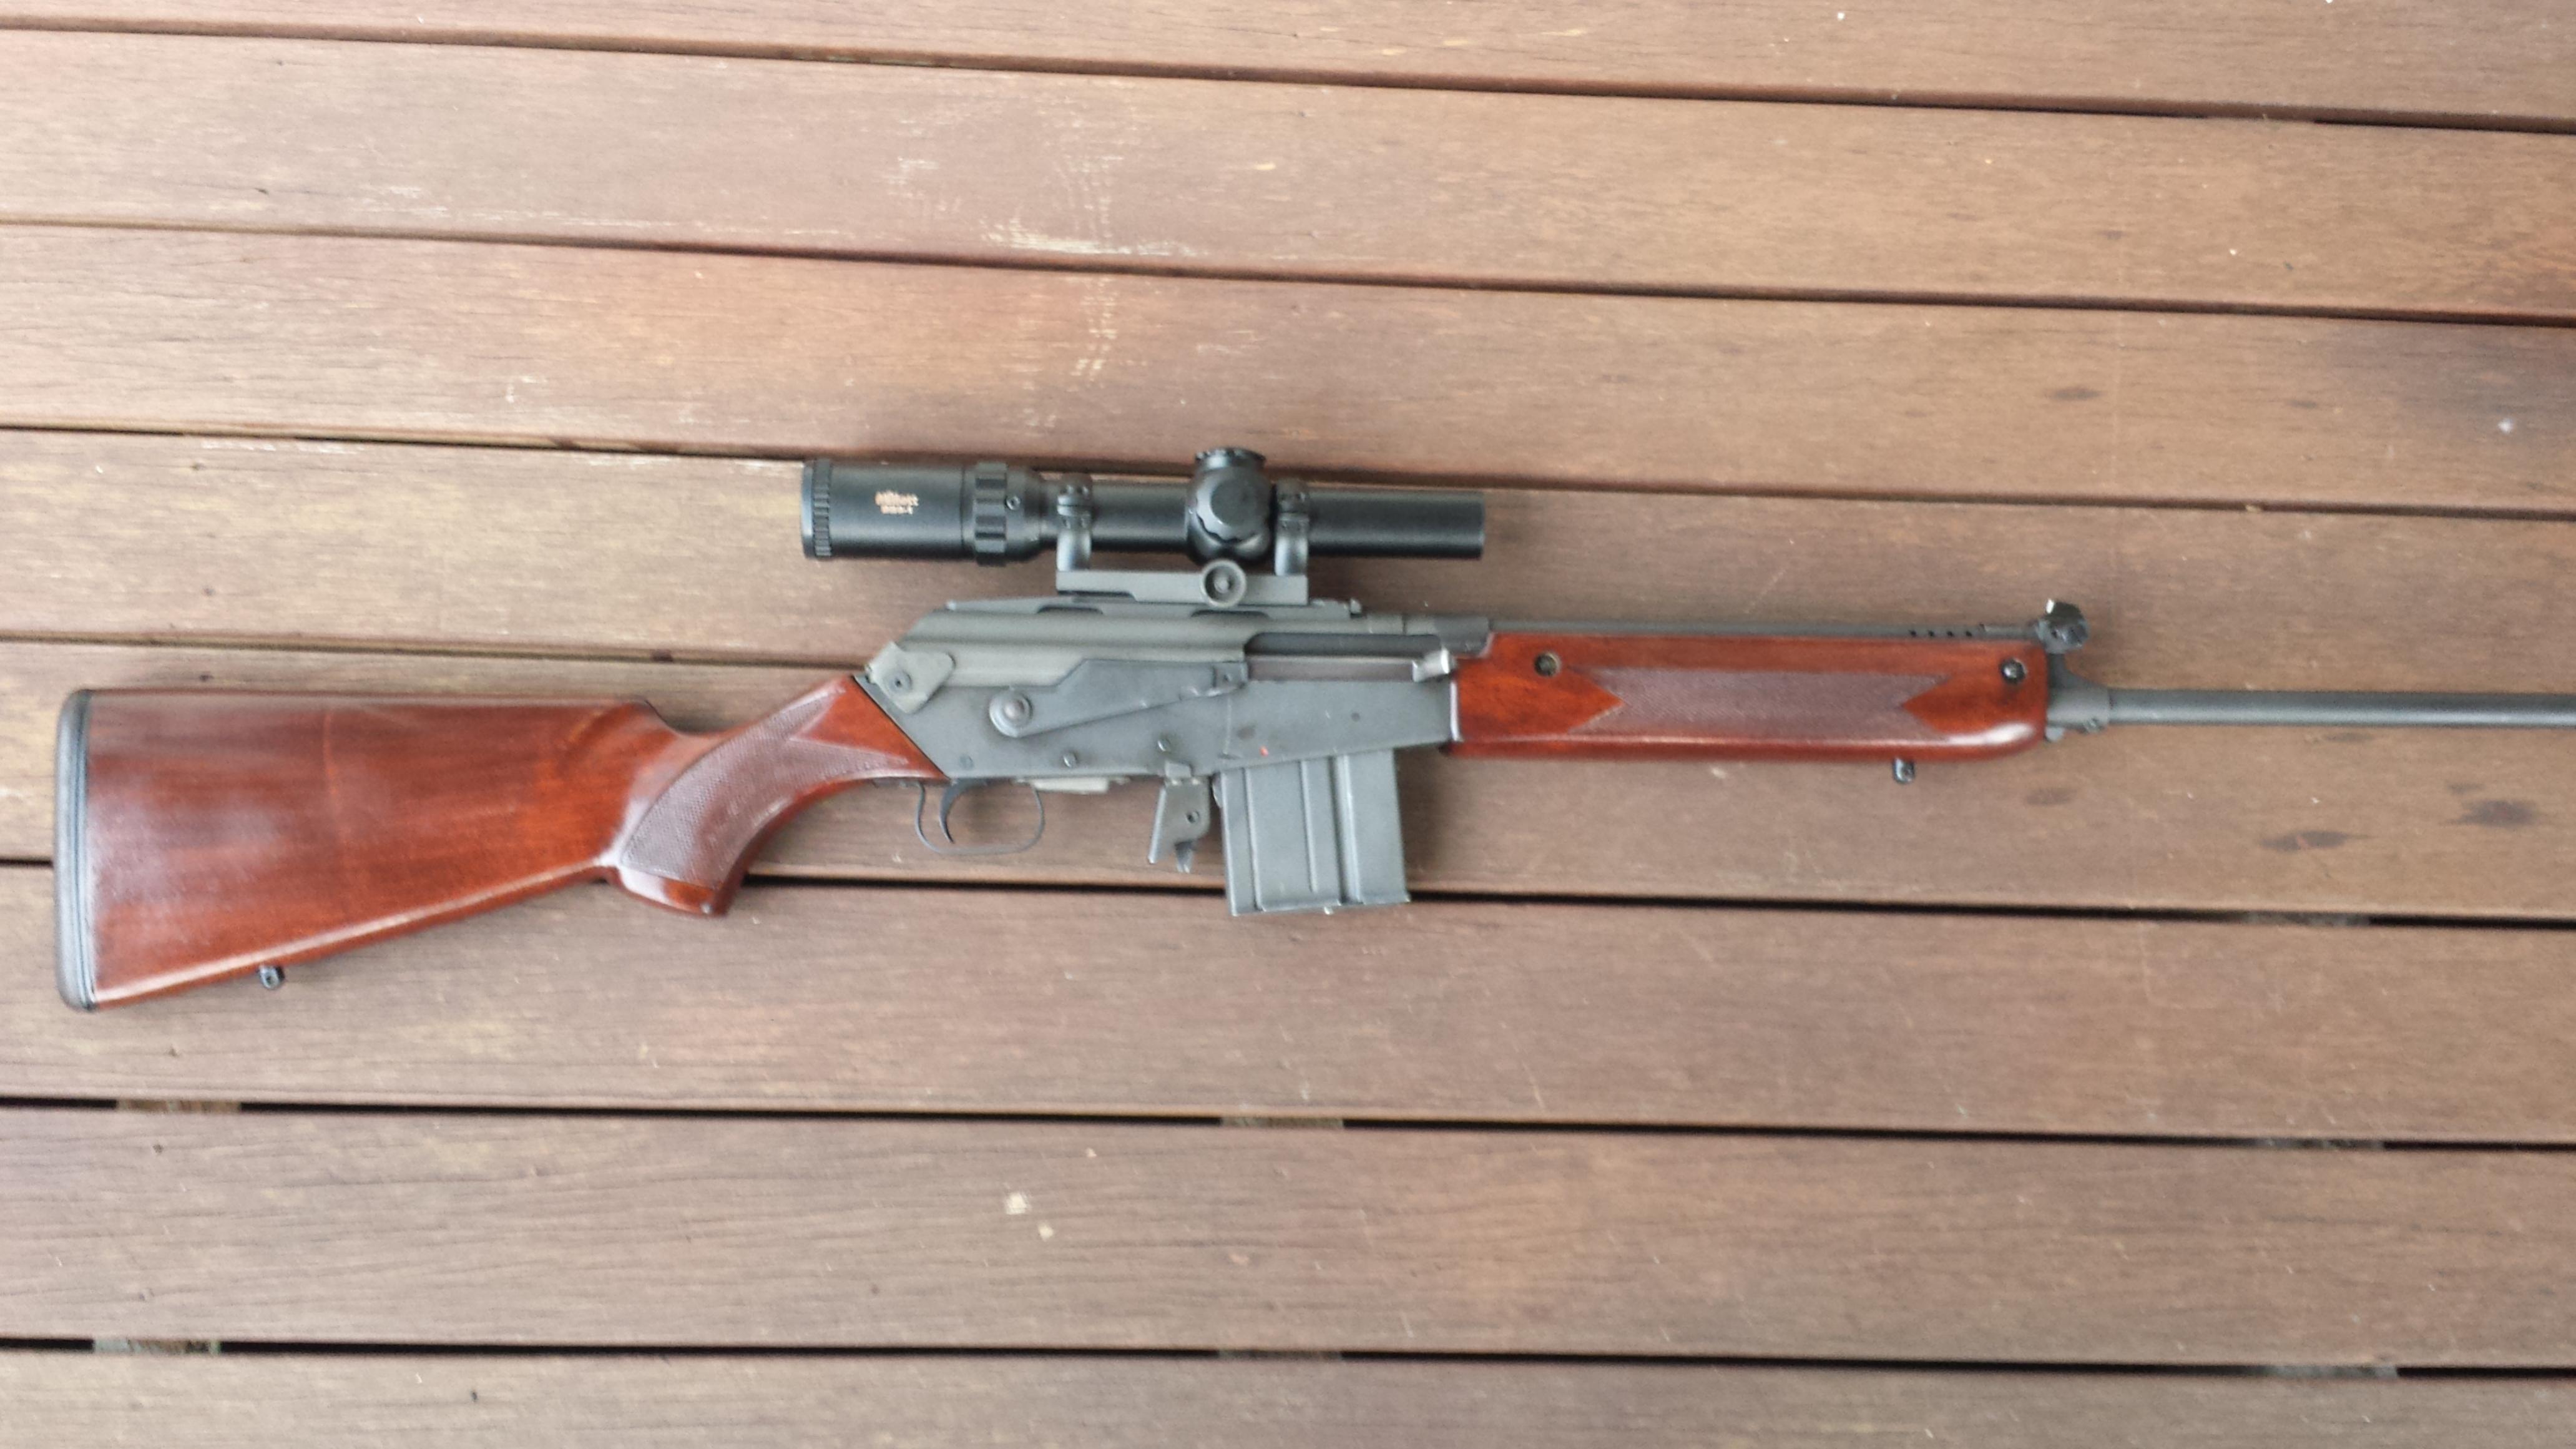
Gave it the final 'Stock Sheen & Conditioner' tonight, and it came out great.
Still a satin finish, but looks better in real life than in the photo's I take, will try and take better pics tomorrow.
in the photo below the steel looks nearly silver...
In the end it got 4 coats of stain, and 4 coats of tru-oil, and so far one rubbing with the conditioner...
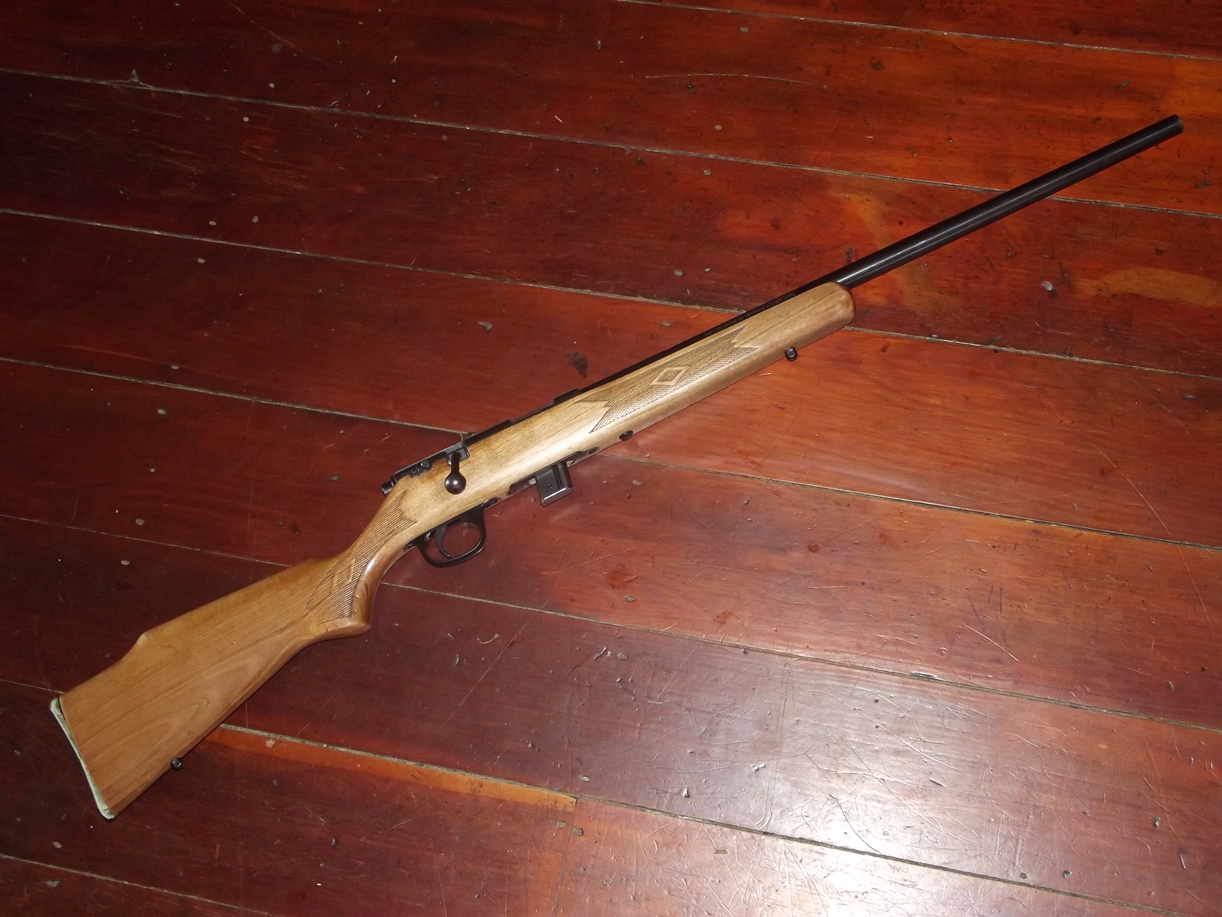
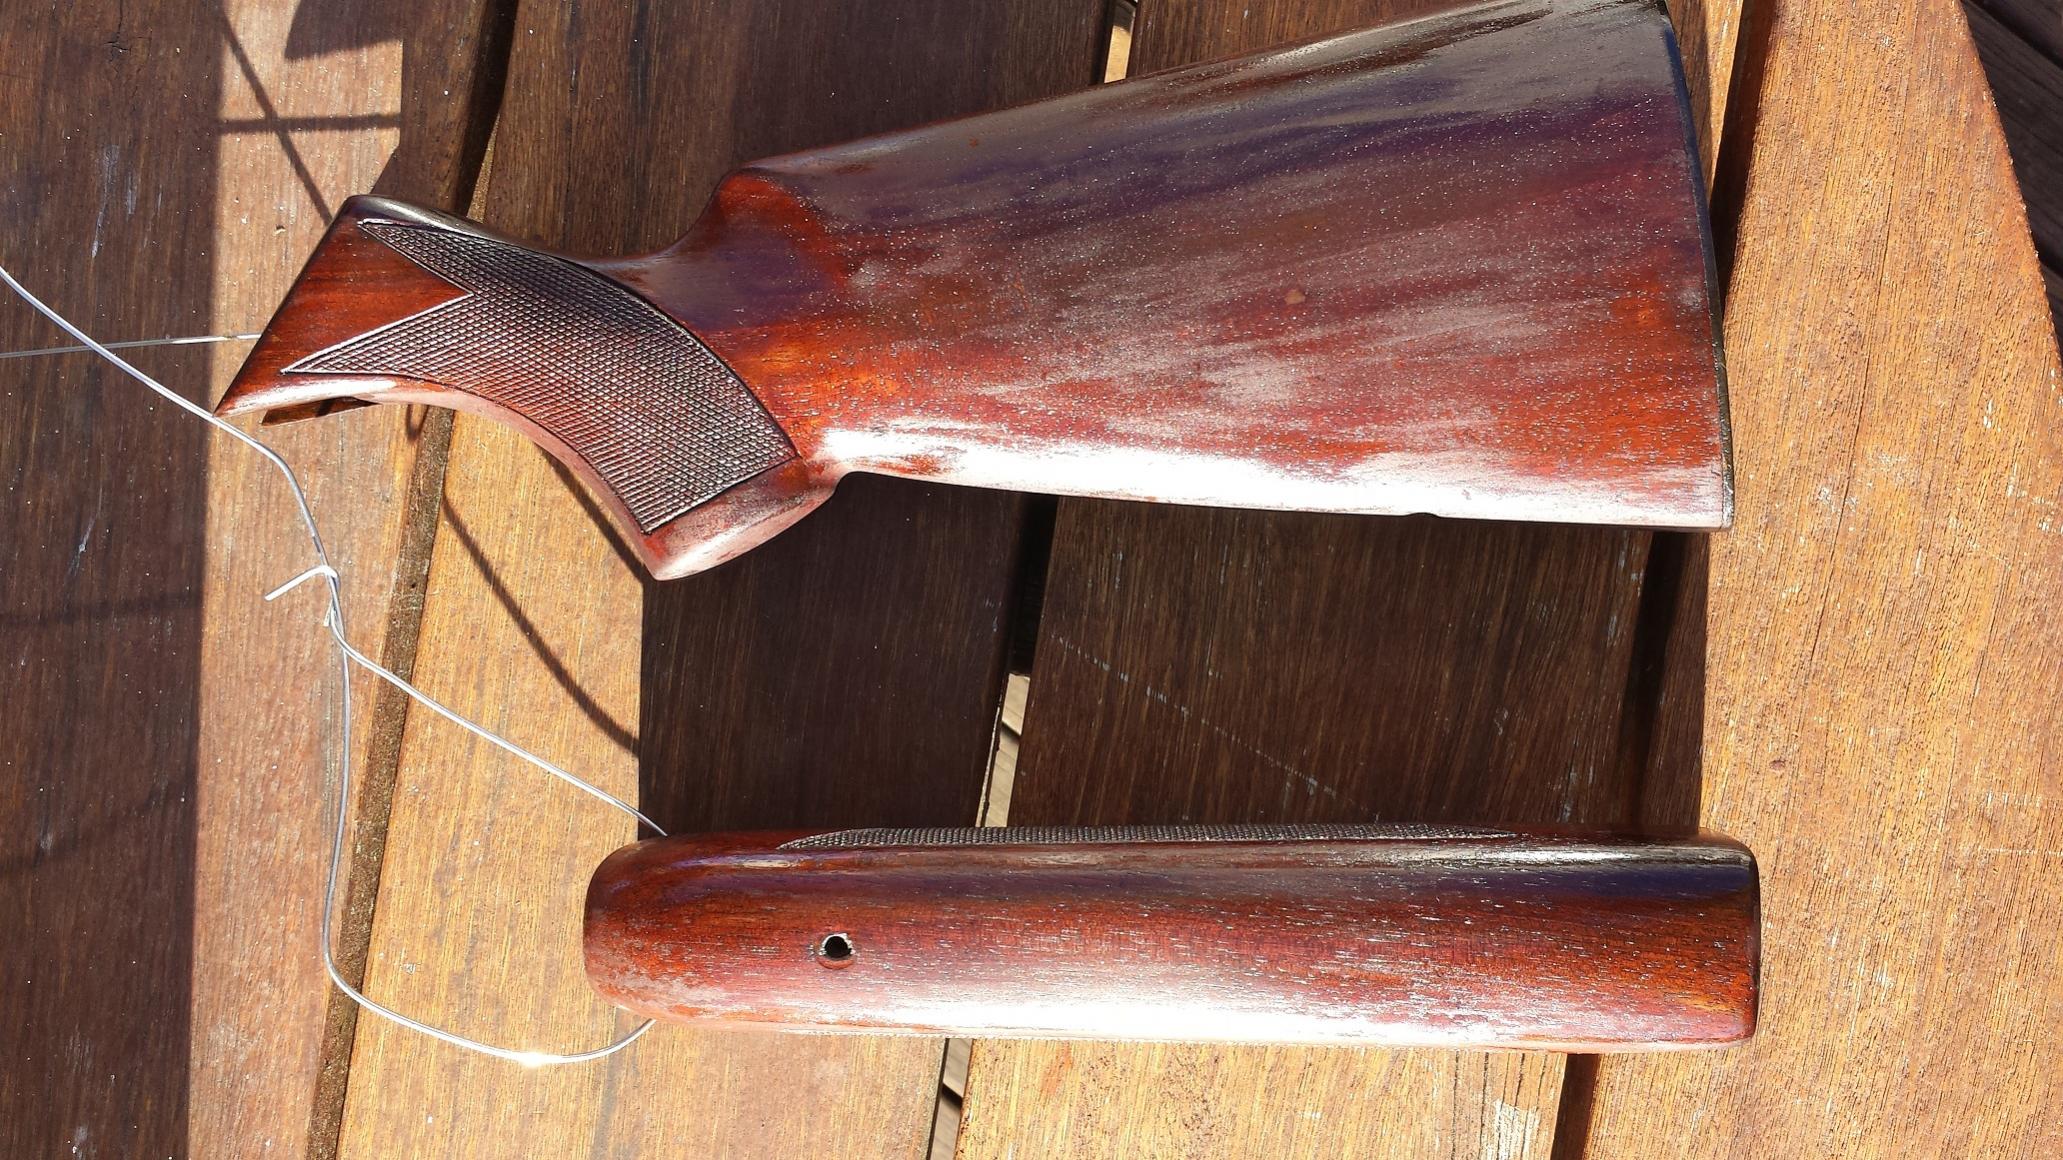
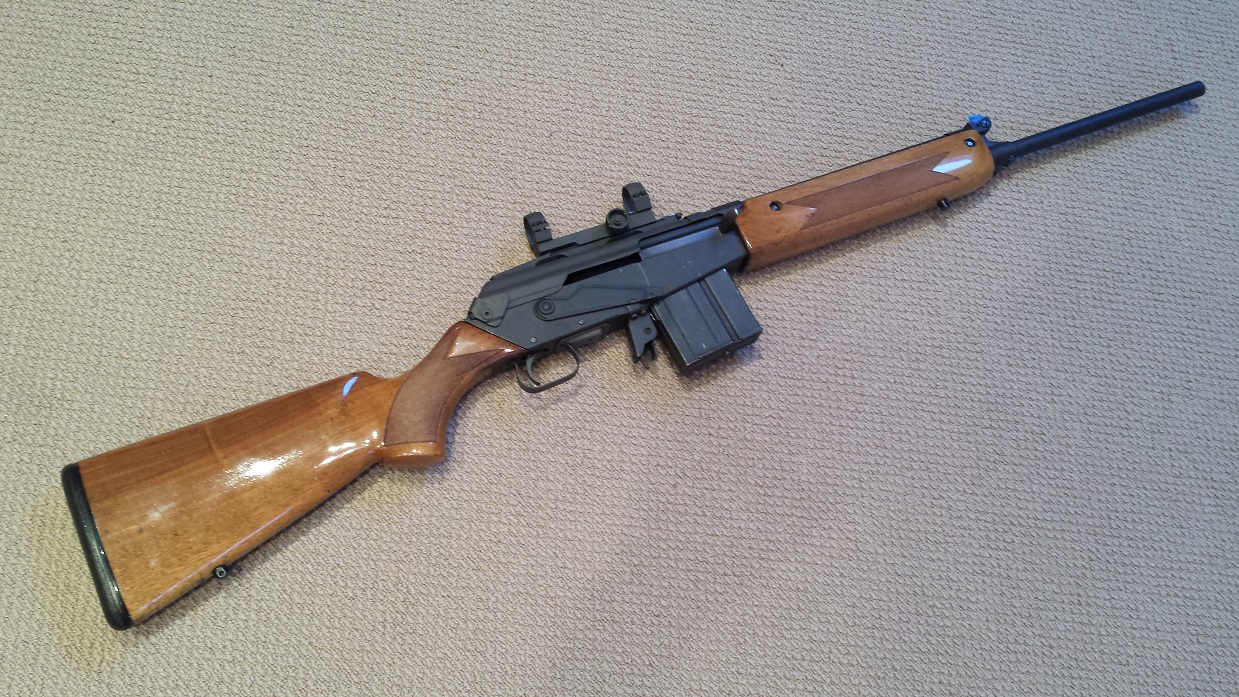
what it looked like when before I started:
 rambo-6mmrem likes this.
-
28-03-2015, 03:59 PM #30Grant
- Join Date
- Dec 2013
- Location
- Auckland
- Posts
- 958
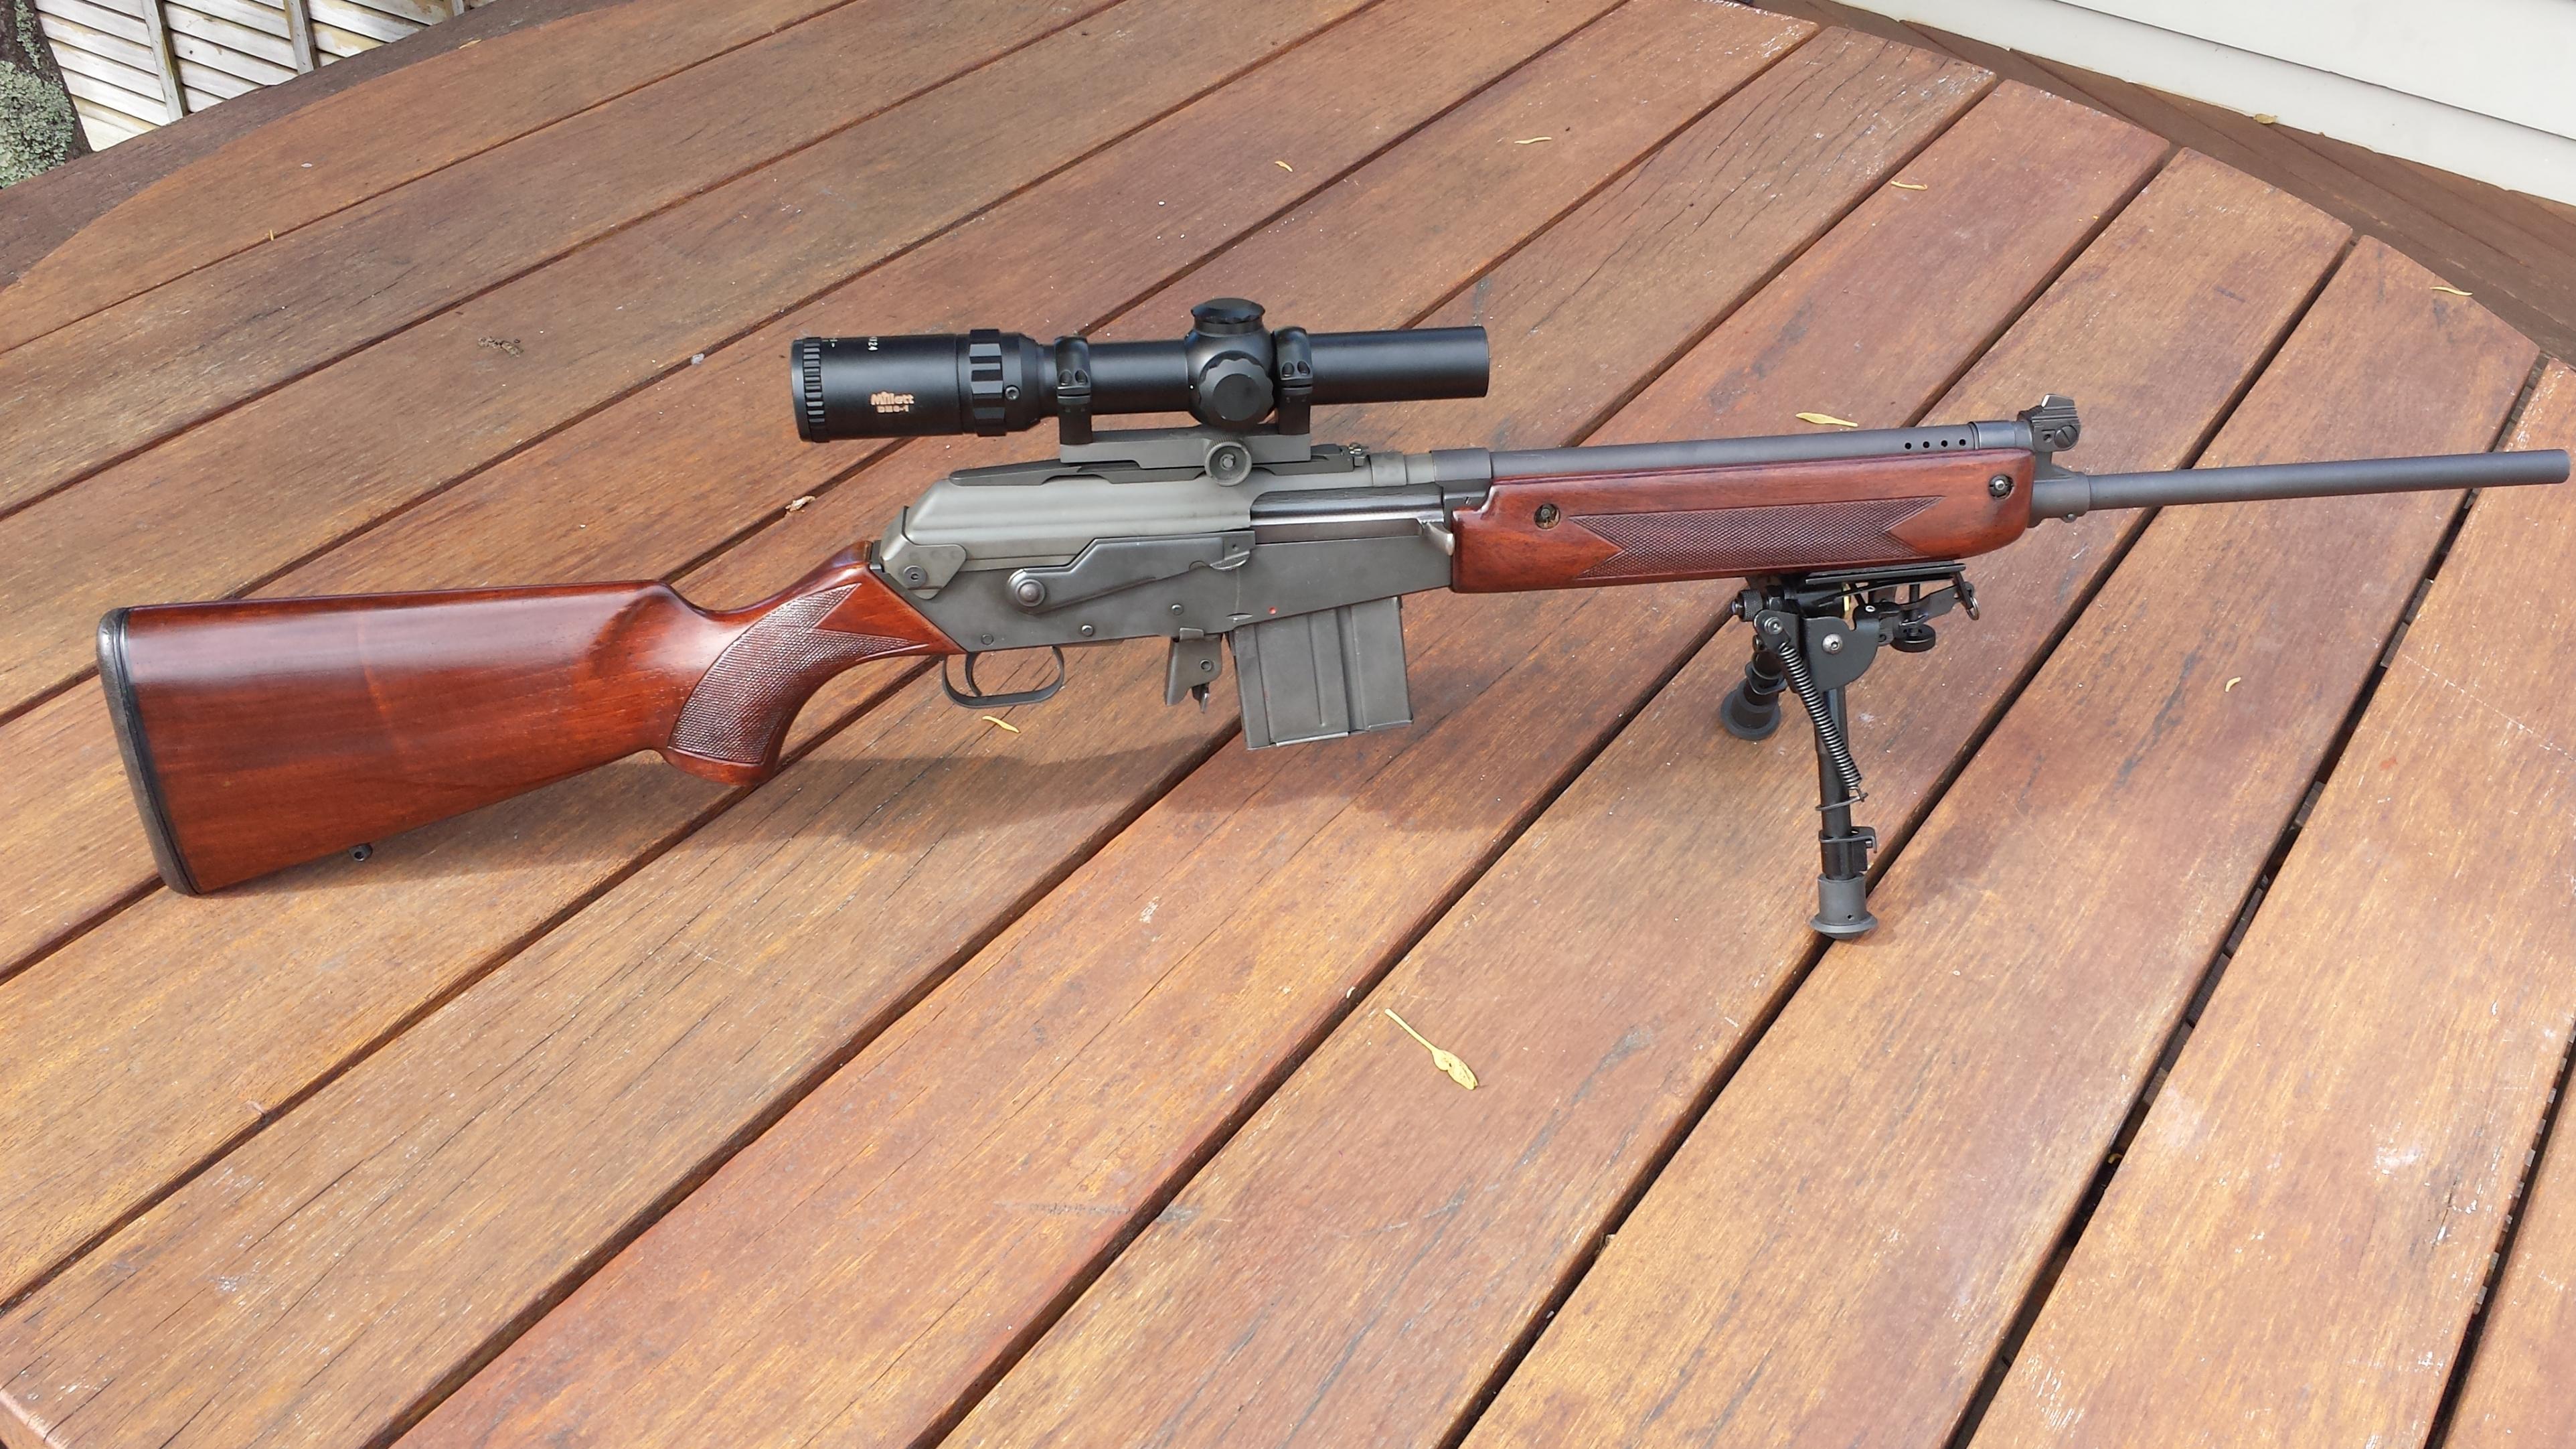
Some slightly better pictures... ready to eat brass


 Reply With Quote
Similar Threads
-
shotgun stock varnish
By RichieRich in forum Projects and Home BuildsReplies: 4Last Post: 03-10-2014, 09:00 PM -
Removing a stock and putting it back on
By phillipgr in forum Firearms, Optics and AccessoriesReplies: 23Last Post: 27-01-2014, 04:57 PM -
Removing powder coating?
By Wildman in forum Projects and Home BuildsReplies: 6Last Post: 09-12-2012, 09:00 PM -
Removing old bases
By Summit in forum Firearms, Optics and AccessoriesReplies: 3Last Post: 30-07-2012, 02:30 PM
Tags for this Thread
 Posting Permissions
- You may not post new threads
- You may not post replies
- You may not post attachments
- You may not edit your posts
Welcome to NZ Hunting and Shooting Forums! We see you're new here, or arn't logged in. Create an account, and Login for full access including our FREE BUY and SELL section Register NOW!!
All times are GMT +13. The time now is 03:24 AM.

Bookmarks