
 1Likes
 LinkBack URL
 About LinkBacks
So after much delay due to the house renovations I found some time to try and make a sheath, I say try because what I ended up with is not very good, in part due to my lack of experience and equipment and in part due to the poor quality of the leather I obtained.
The leather I wanted, which was thick vegetable tanned but undyed was only available by the hide, which was both expensive and way way too much for my needs, instead I found some thin dyed cutoffs, which had only one redeeming feature - it was cheap.
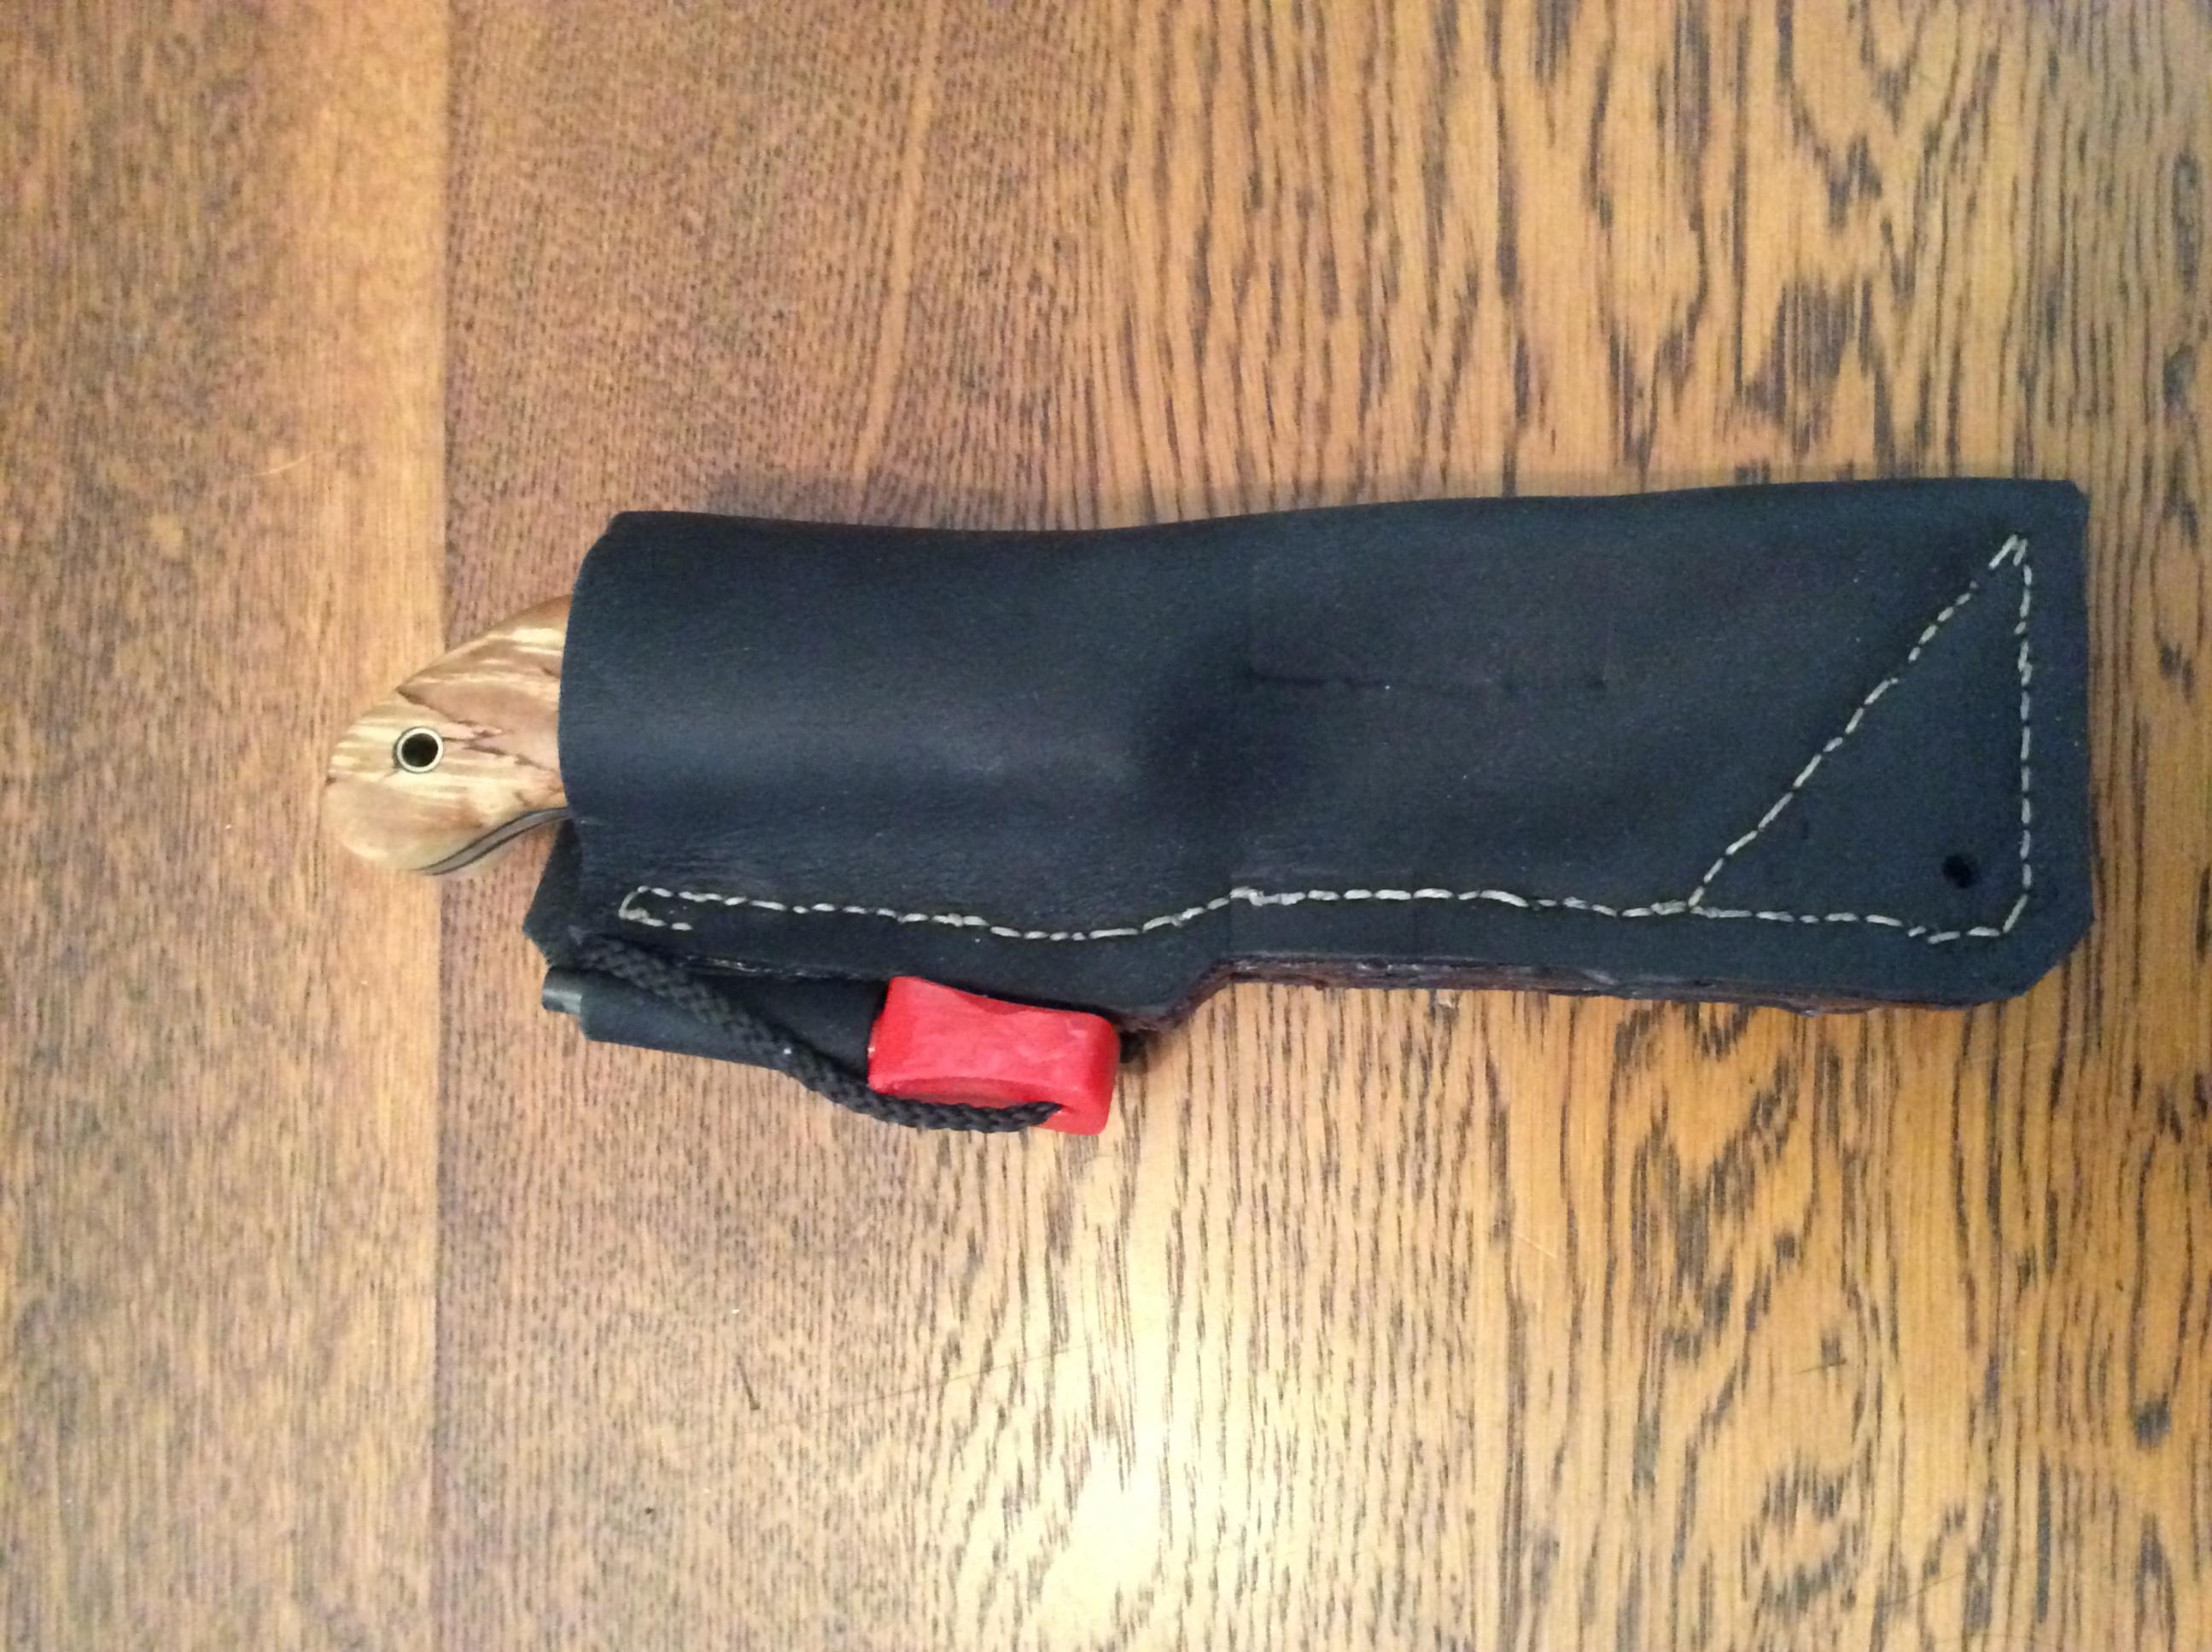
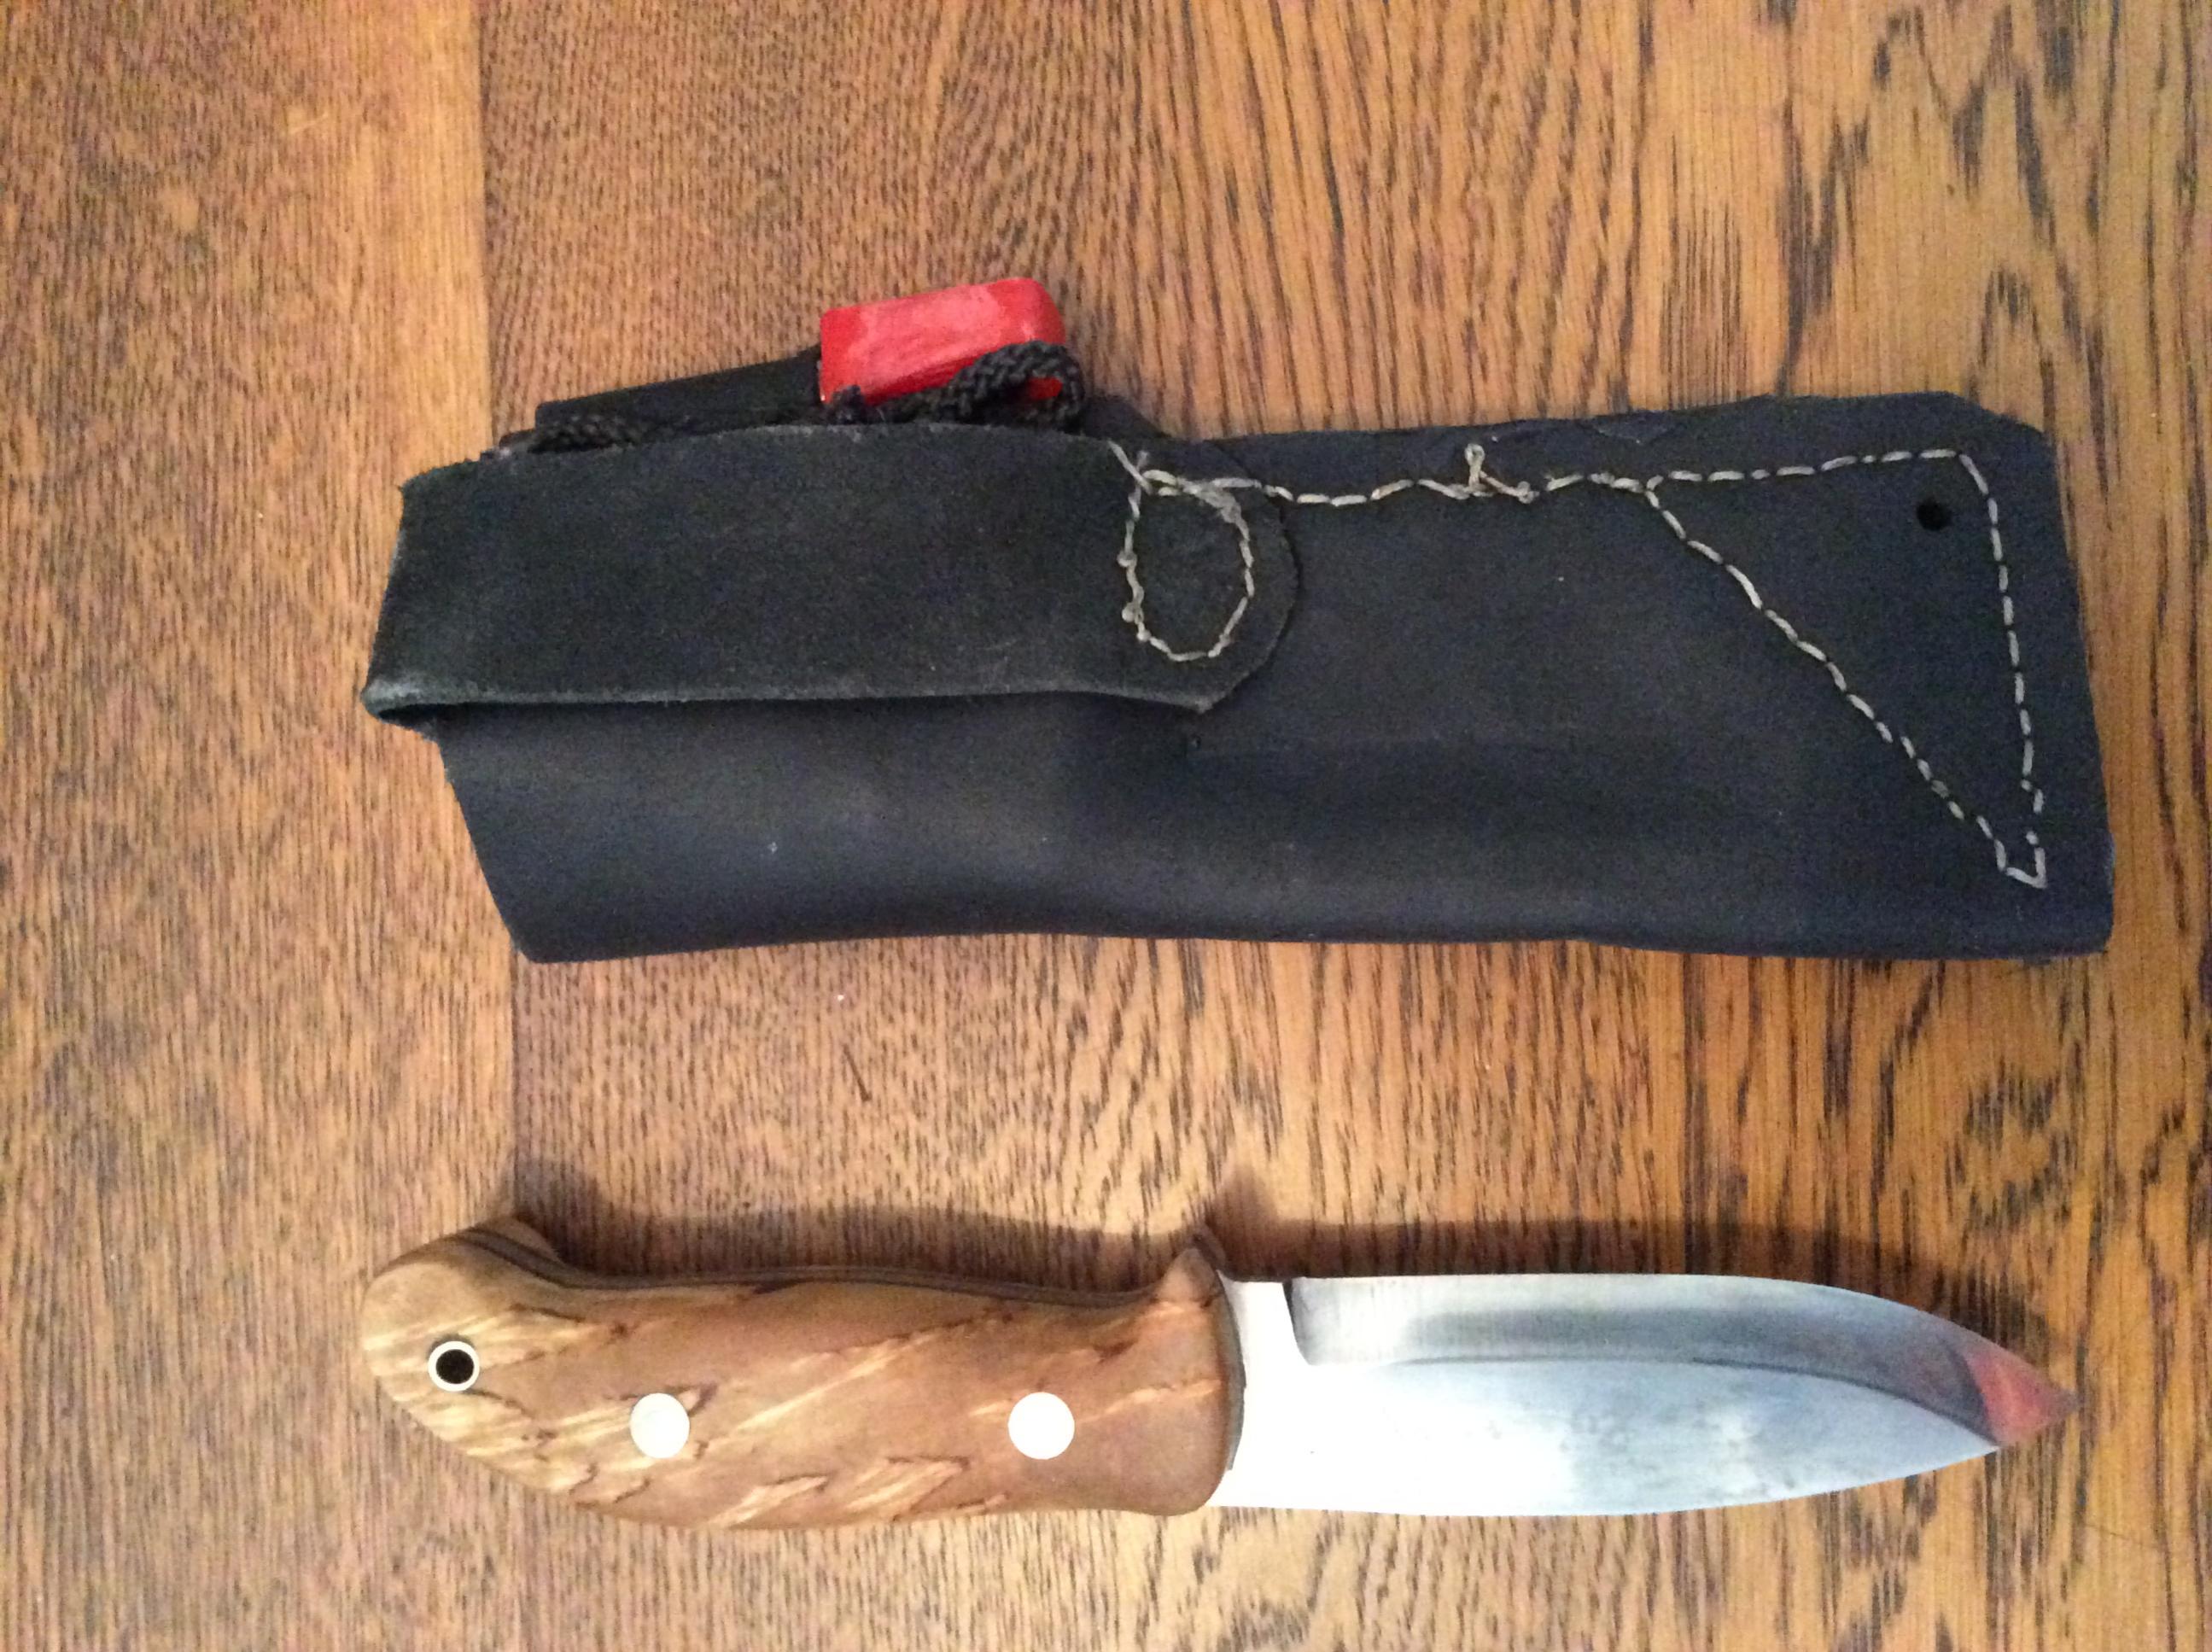
With this in hand I basically wrapped it around the knife, then cut out what I needed, which proved to be too much in the end, cut out some extra bits for the bit where the blade would be resting against, glued those in, put in a firesteel loop, stitched the belt loop on then stitched it up the side using a modified saddle stitch (modified because I lost the instructions for the saddle stitch).
Once it was done I needed the do something about the thin leather, so I soaked the knife in water for 24 hours then plunged it into 80 degree water for 30 seconds, then shoved the blade in and left it to dry, a couple of days later the thin leather had hardened and it was very roughly wet formed to the shape of the blade, its still too soft and if the job I had done was not so lousy then I would go for the second part of the hardening process which is to melt beeswax then pour the melted wax in and over the sheath, then leave that to dry once more.
Anyway here it is...
Whilst not great it should prevent me from poking a hole in myself whilst I test the blade to see if I like a knife like this (a scandi blade very similar to the Woodlore knife that Ray Mears rocks).
If I like the blade enough to consider it a user then I will either have a second go at making a sheath (mainly dependant on getting the right leather and a couple more tools), or getting one made (which will undoubtedly be better but will not be the same as making it myself). Will see.
Next up will be a test of the knife itself.
Shelley
Welcome guest, is this your first visit? Create Account now to join.
Welcome to the NZ Hunting and Shooting Forums.
Search Forums


User Tag List
Results 1 to 1 of 1
Threaded View
-
21-09-2015, 02:30 PM #1Member

- Join Date
- Aug 2014
- Location
- Auckland
- Posts
- 719
Making a knife and a sheath - part 7, sheath construction.
sparky1000 likes this.


 Reply With Quote
Similar Threads
-
making a knife and a sheath part 6 - knife done, sheath musings
By Shelley in forum Gear and EquipmentReplies: 2Last Post: 27-07-2015, 01:19 PM -
making a knife and a sheath, part 5 - attaching the handle to the blade
By Shelley in forum Gear and EquipmentReplies: 2Last Post: 18-07-2015, 08:23 PM -
making a knife and a sheath - part 3 drilling the holes
By Shelley in forum Gear and EquipmentReplies: 2Last Post: 14-07-2015, 10:14 AM -
making a knife and a sheath, part 2 - liners
By Shelley in forum Gear and EquipmentReplies: 5Last Post: 10-07-2015, 12:38 AM -
making a knife and a sheath - part 1 (assembly)
By Shelley in forum Gear and EquipmentReplies: 4Last Post: 05-07-2015, 01:33 PM
Tags for this Thread
 Posting Permissions
- You may not post new threads
- You may not post replies
- You may not post attachments
- You may not edit your posts
Welcome to NZ Hunting and Shooting Forums! We see you're new here, or arn't logged in. Create an account, and Login for full access including our FREE BUY and SELL section Register NOW!!
All times are GMT +13. The time now is 11:14 PM.

Bookmarks