

 25Likes
 LinkBack URL
 About LinkBacks
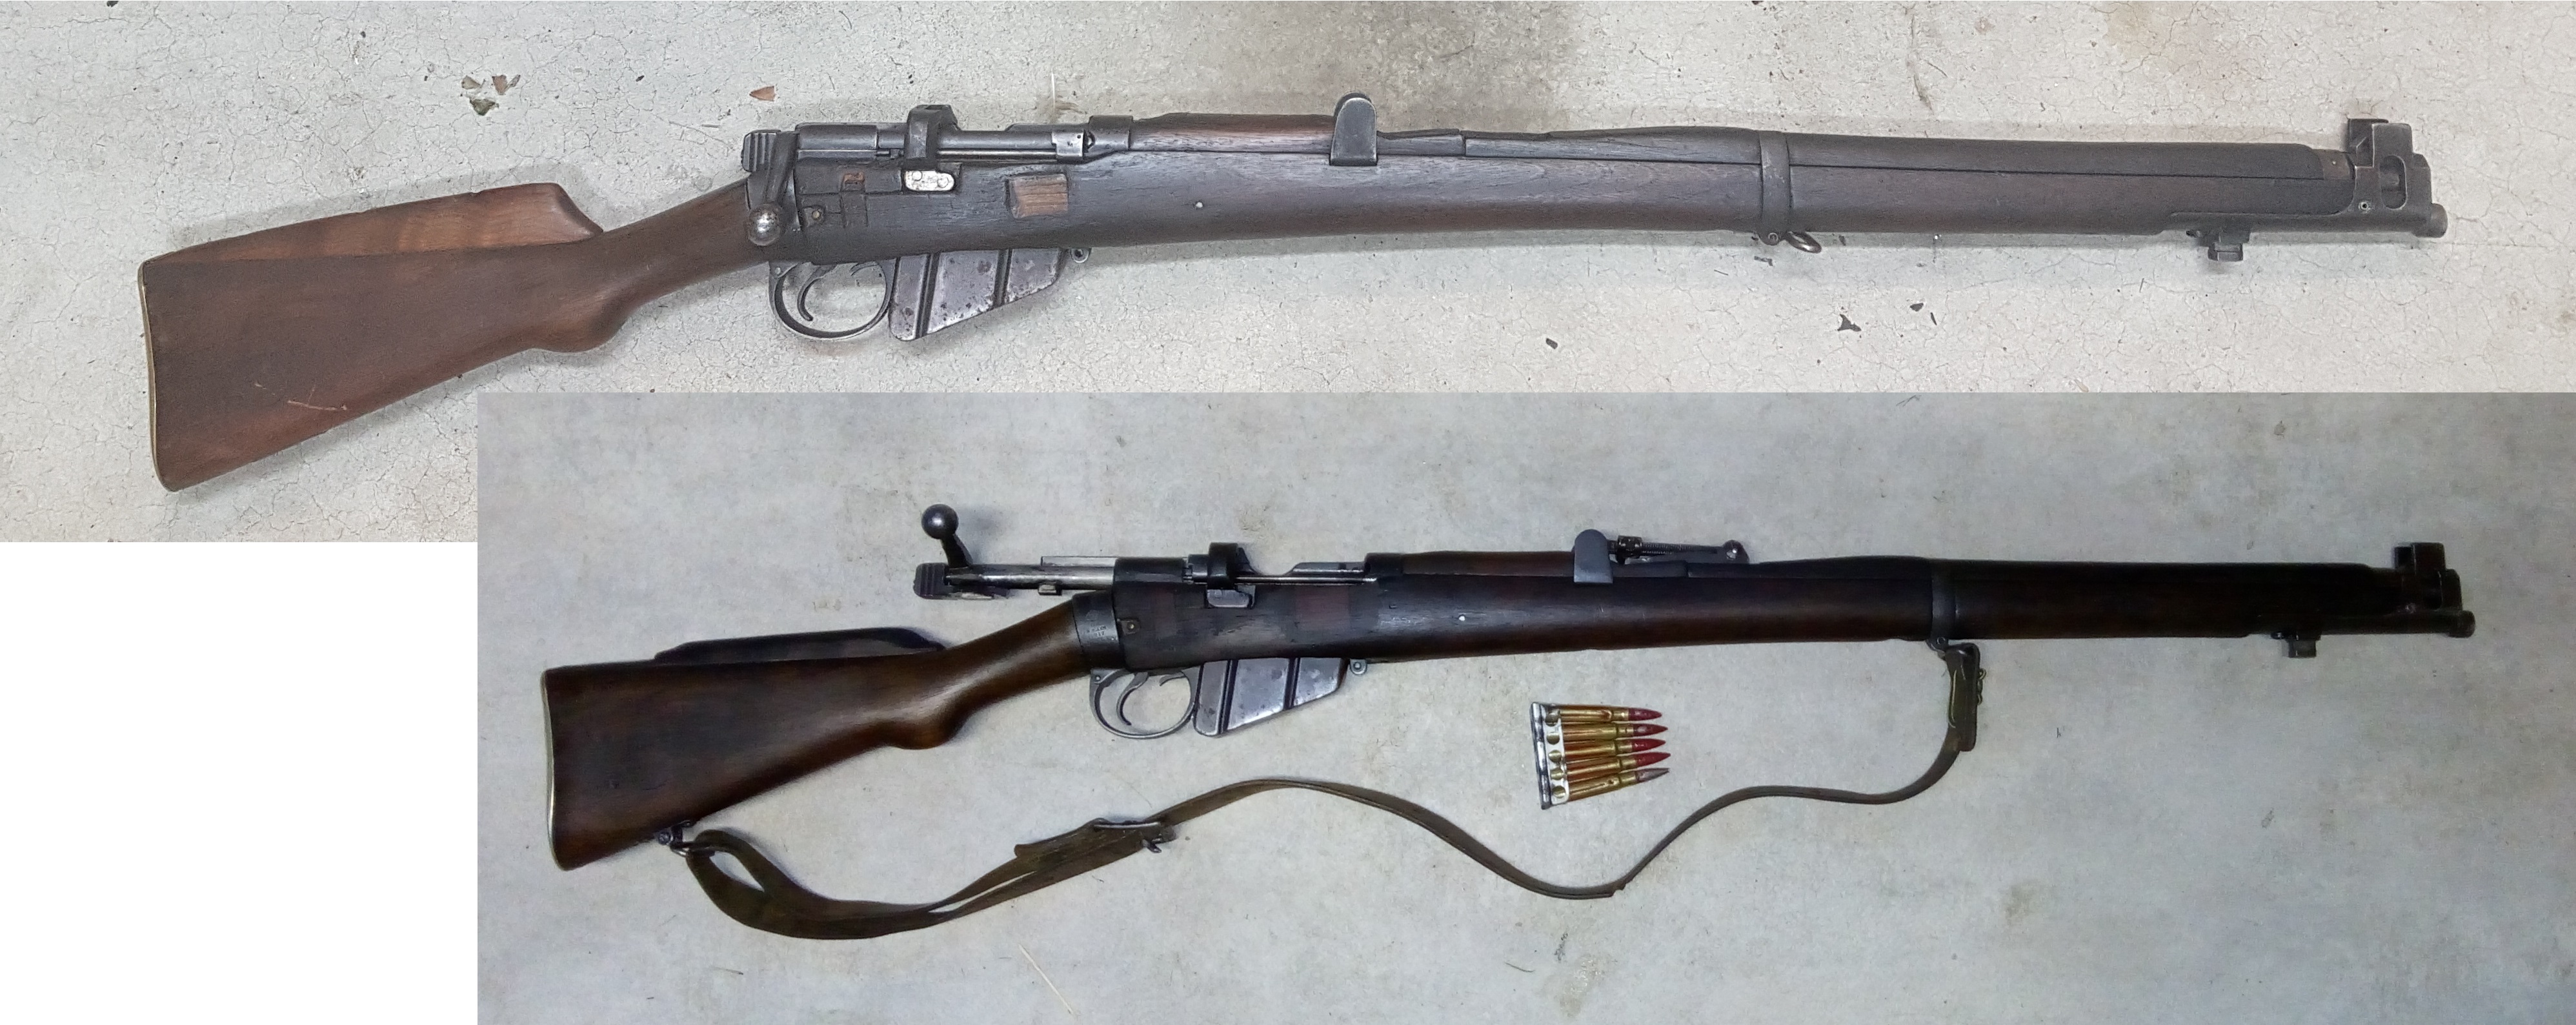
Paid $300 for a 1917 BSA Mk III*. Have had some real fun getting it looking fairly right again.
Has had some grinding to the sides of the charger bridge and was missing its safety, and a prominent cheekpiece was installed, normal open rear sight missing. Very comfy on the cheek. Looks like it was used as a target rifle with a rear diopter sight.
Anyway the ugly 'Pterodactyl comb' cheek piece had to go, but as bubba had shaved the comb of the stock flat to mount it, I decided to leave most of it, reconstructing the back of the comb from the cheek pad rear and leaving a hint of sniper cheekpiece up front, IMHO prettier than a standard LE sniper cheek pad.
Cannibalised a shot out sporter for the bits. (Her "heart" is going to another project. So shot out I may need to buy some .32 bullets from shooternz).
Had fun with the wood at the right side of the receiver. What WAS bubba up to??? Anyway, removed the softwood inlay and filled up everything with walnut taken from a branch I trimmed off in the garden last year. Mistake: it's sapwood, not heartwood, so less grainy and harder to colour to look like the rest. Made up iron acetate wood stain from a steel wool pad and a glass of white vinegar together 36 hrs. Works a treat, but had to use some tea and furniture restorer colour pens too. Needs varnish.
Still need to bed the receiver / lugs but have a feeling she'll shoot straight with shooternz's 204-grainers on order.
Welcome guest, is this your first visit? Create Account now to join.
Welcome to the NZ Hunting and Shooting Forums.
Search Forums


User Tag List
+ Reply to Thread
Results 1 to 15 of 27
Thread: Doing up battered Smelly
-
21-01-2019, 10:18 AM #1Member


- Join Date
- May 2017
- Location
- NZ Mainland (Dunedin)
- Posts
- 5,478
Doing up battered Smelly
An itch ... is ... a desire to scratch
-
-
21-01-2019, 10:28 AM #2Member

- Join Date
- Jul 2018
- Location
- Southland
- Posts
- 4,124
What's the bore like?
-
21-01-2019, 11:38 AM #3Member
- Join Date
- May 2017
- Location
- NZ Mainland (Dunedin)
- Posts
- 5,478
Shiny lands and crisp edges, a bit thin nearer the muzzle and very pitted there which became apparent once I used the CU++ copper remover. Originally Posted by Max Headroom

I went ahead and re-crowned the barrel with a round headed screw, valve grinding paste and a handheld drill, but what will matter is the test at the range. I'd hate to have to counterbore it.
Must say, whatever wood you have at hand, use that for filling gaps, don't use wood filler as it always looks like... wood filler. And even if you do get it to look good, you still know it's as fake as a Chinese Rolex.distant stalker likes this.An itch ... is ... a desire to scratch
-
21-01-2019, 12:53 PM #4Member
- Join Date
- May 2017
- Location
- NZ Mainland (Dunedin)
- Posts
- 5,478
Iron Acetate - white vinegar with a steel wool pad soaked in it for 36 hrs, applies like water, then after 5mins nice chestnut brown - the more penetration the better.

Test piece of sapwood walnut:

Work on top woods visible here. Rear top wood was split lengthwise (when I took it off!!!), a notch missing towards the rear inlet cut, and a lengthwise sliver missing from the left side (wood filler removed and replaced with sliver of wood, sanded flat).
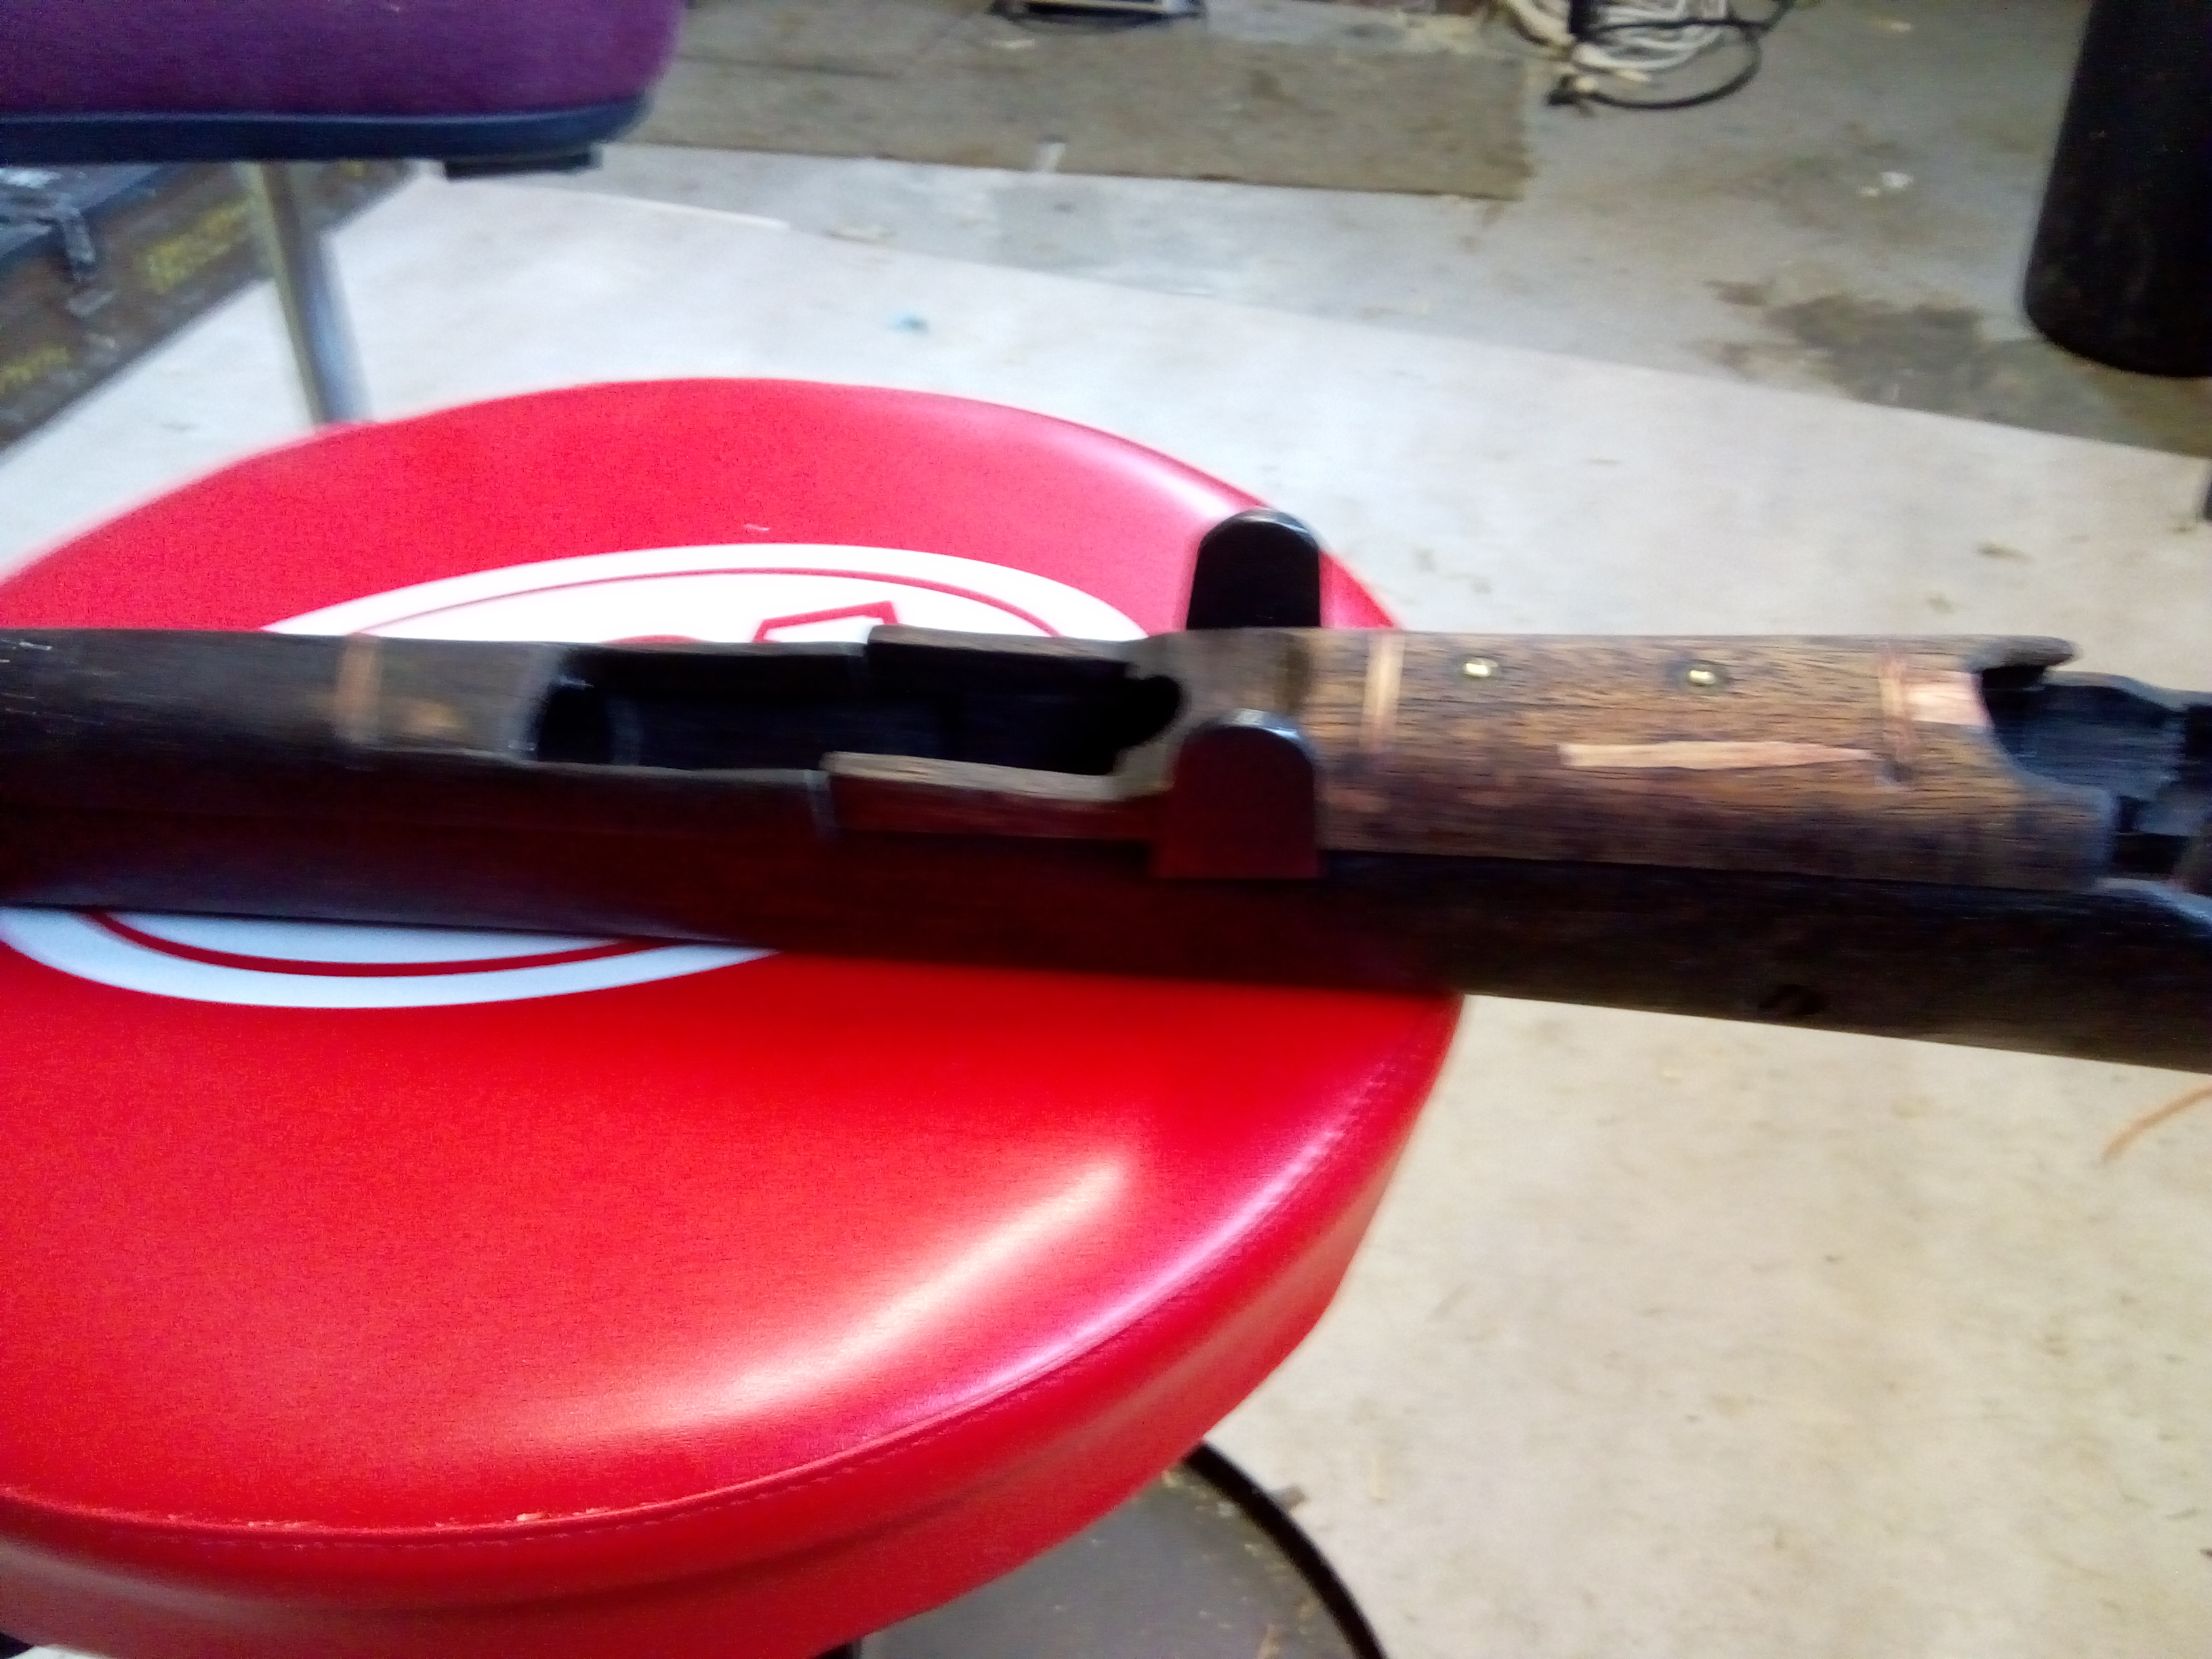
Close up showing the pieces of walnut sapwood put in. I also drilled various holes and inserted bamboo kebab skewers for strength (I was preferring long coarse thread brass screws but Mitre 10 only selling gold colour plated steel ones - none of the expensive stuff any more, fair enough). Procedure of gluing is to wet both fitted pieces lightly with water, then apply Gorilla 3-Hour polyurethane glue to one and work them well together, clamping. Strong stuff, tended to leave overnight and not trust the "3-hour" promise. Sanded flat using a flat hard sanding block to keep truly flat and not round the corners.

The stays for the recoil lugs will be next. I wonder if I should try and source some oak, but walnut is pretty hard anyway. Anyway, with the Lee Enfields they are not really recoil lugs as the receiver is connected by the wrist to the shoulder stock - the whole lower forewood arrangement is more of a barrel resonance control thing, boffin magic at its best.An itch ... is ... a desire to scratch
-
25-01-2019, 06:32 AM #5Member
- Join Date
- Feb 2013
- Location
- spreydon christcurch.
- Posts
- 6,709
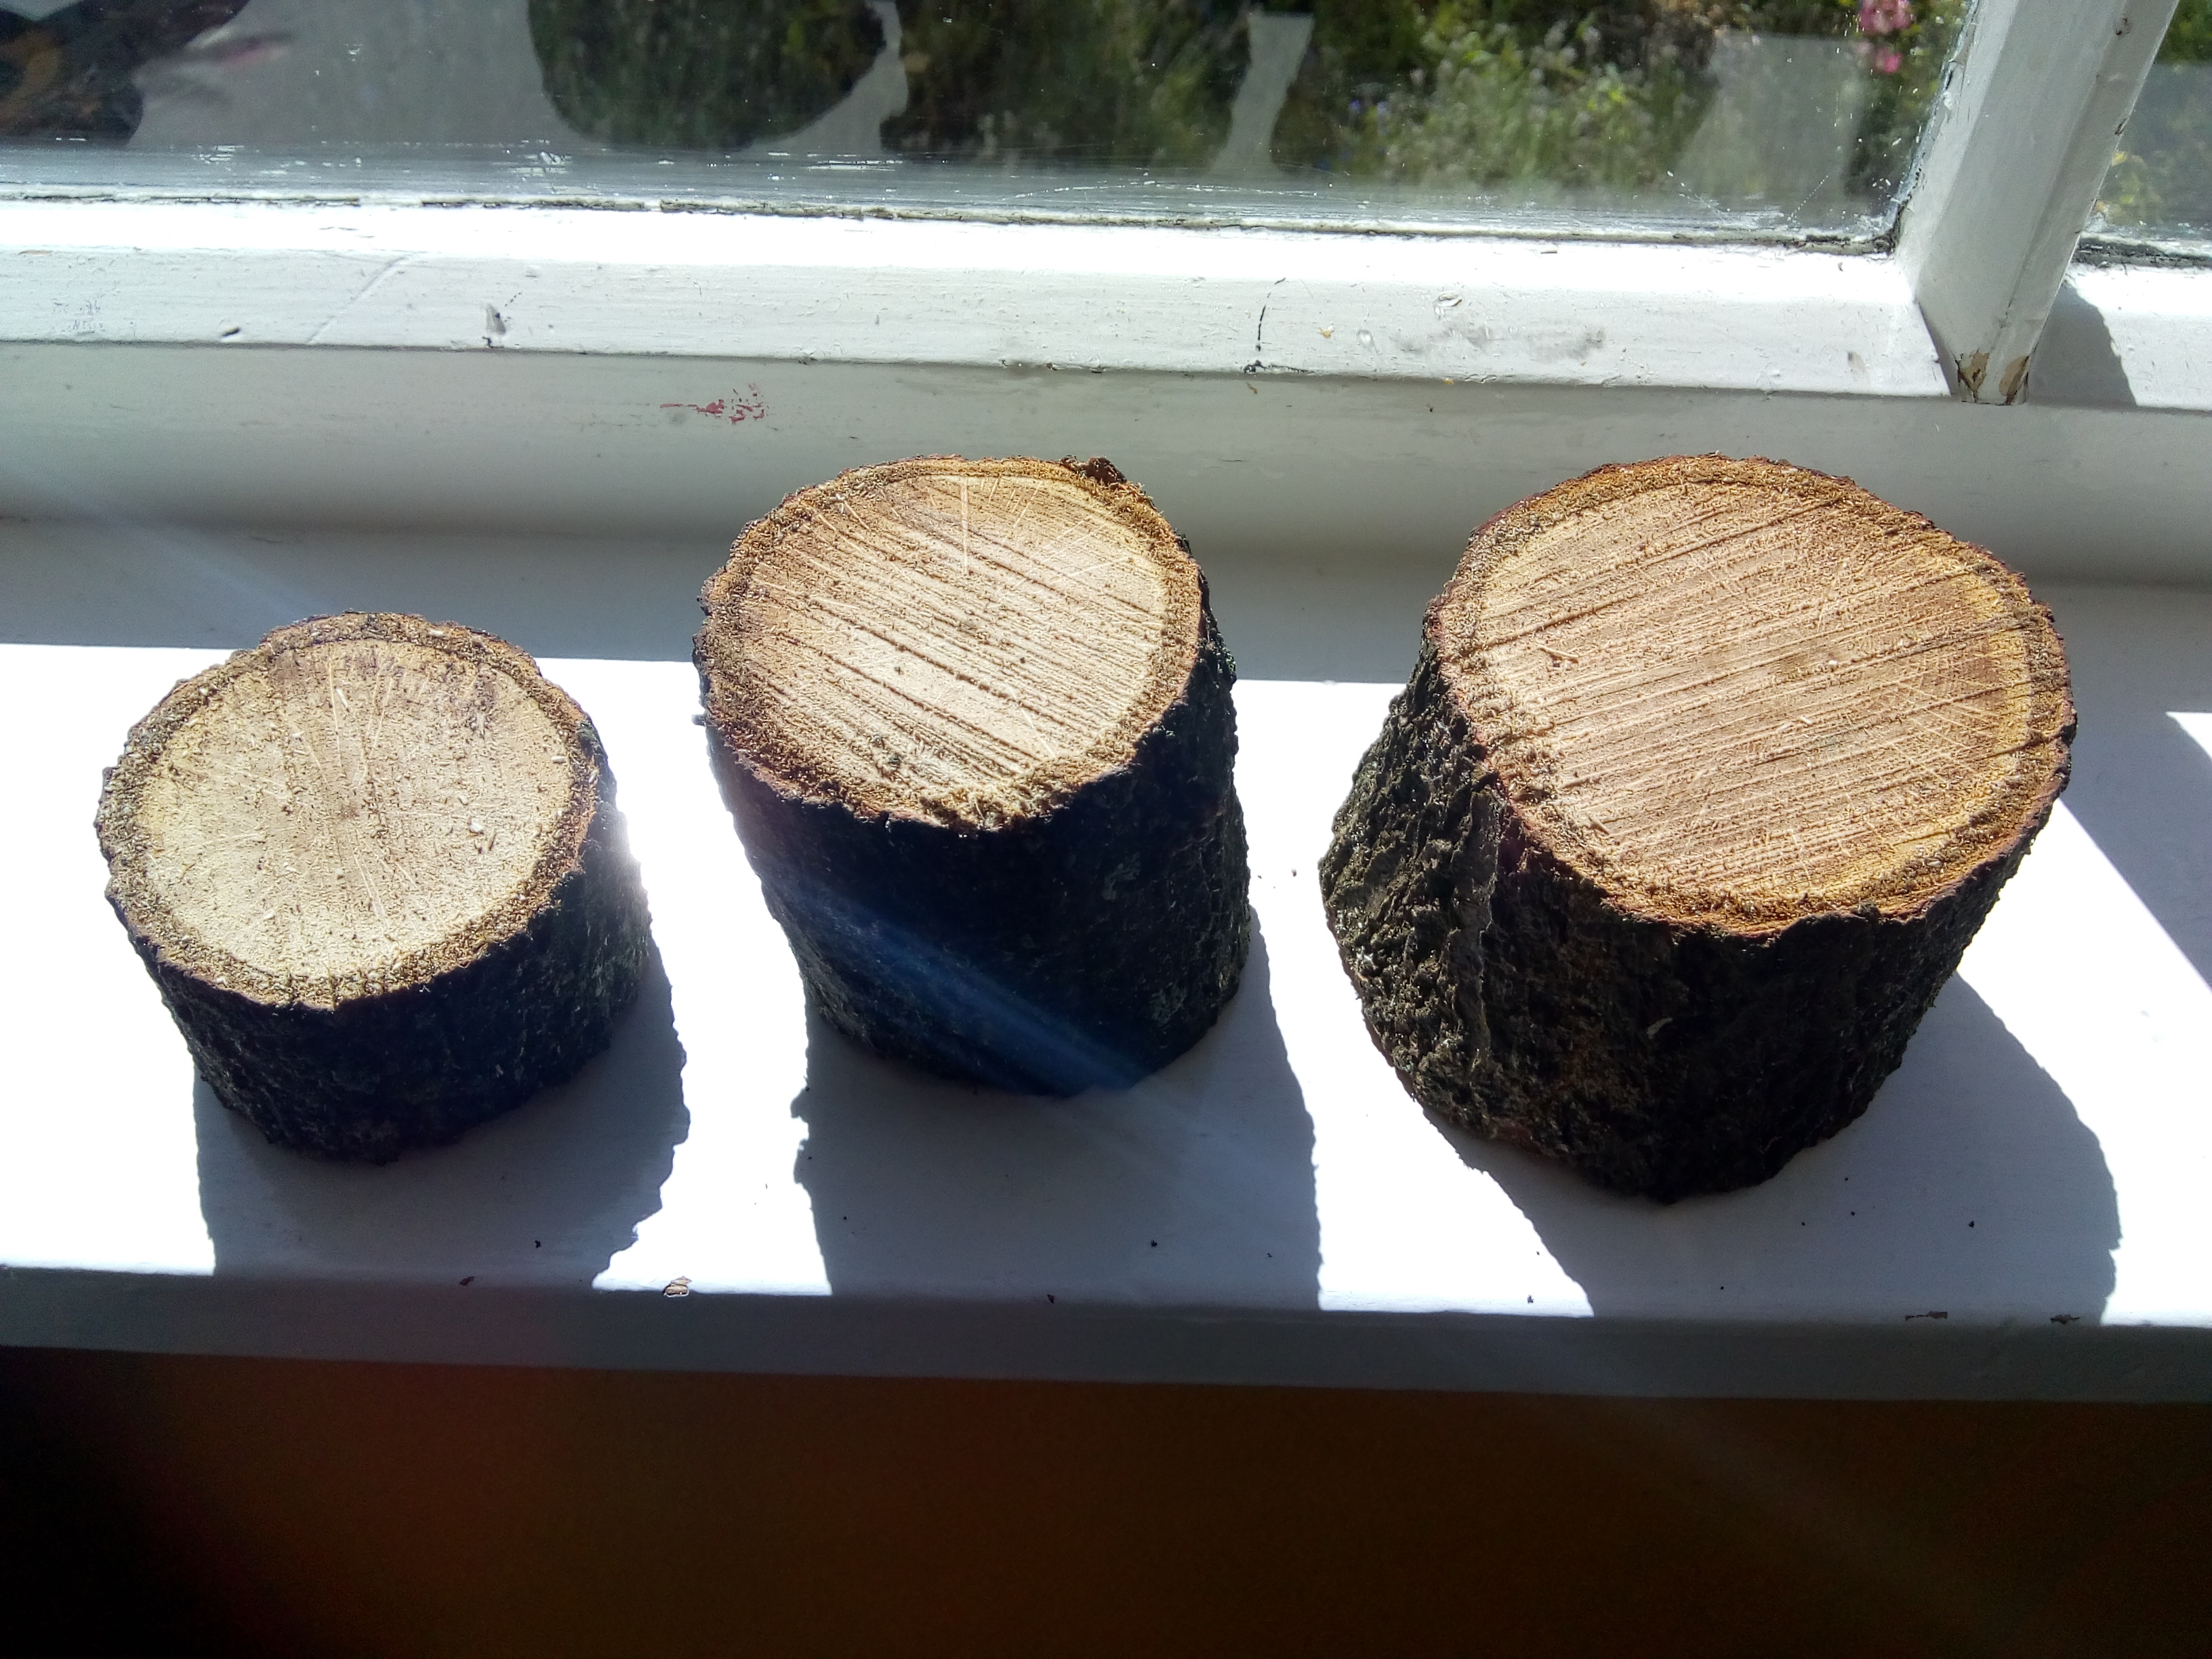
cordite -had a branch tear off our oak tree in tuesday nights storm -if youve got anyone in chch who can pick it up youre welcome to some pieces.
-
25-01-2019, 07:38 AM #6Member
- Join Date
- May 2017
- Location
- NZ Mainland (Dunedin)
- Posts
- 5,478
Thanks. Would a courier bag do? Just need one 1.5" disc from a thick part to be able to make harder bits from the core of that. Originally Posted by kotuku
-
25-01-2019, 08:22 AM #7Sending it

- Join Date
- Feb 2013
- Location
- The Hill
- Posts
- 23,208
My Mrs died a leather poof with Iron Acetate Originally Posted by Cordite
Cordite likes this.
-
25-01-2019, 02:05 PM #8Banned
- Join Date
- Mar 2015
- Location
- North Canterbury
- Posts
- 5,462
Isn't the stock wood European Beech ??. I have one growing here and would gladly cut you a piece but I don't know how long it would take to season Originally Posted by Cordite
-
25-01-2019, 03:42 PM #9Member
- Join Date
- May 2017
- Location
- NZ Mainland (Dunedin)
- Posts
- 5,478
Cheers for that but dont think it is necessary. Anyway I think Kotuku was talking of helping me get wood for the hard wee pads where the draws rest, not for stock in general. Originally Posted by Moa Hunter
You could well be right about the wood type used for the SMLE stock, I should have researched it as I cant tell by looking. ... But as I had a walnut piece it had to be a walnut stock... Just as when I have a hammer the problem must be a nail. O-:>
Re seasoning, less of an issue with small wood pieces, they dry out only too fast under the rafters in a zinc alume garage. I of course dont mind it splitting from drying too fast as I only need small chips. Would be a nightmare for someone wanting to turn a bowl out of a chunk of wood --they need it to dry extra slow, wrap it ito retard evaporation etc. Deep respect for guys who can make a whole gun stock!
-
25-01-2019, 04:03 PM #10Member

- Join Date
- Oct 2014
- Location
- Tararua
- Posts
- 6,676
At first glance I thought this was about deep fried billy goat pleased to see that it isn't. However if someone has a recipe and advice on how to get the stink out afterwards feel free to post.
Moa Hunter and Cordite like this.
-
25-01-2019, 04:06 PM #11Member
- Join Date
- Jul 2018
- Location
- Southland
- Posts
- 4,124
I'm intrigued. Originally Posted by Gibo
-
25-01-2019, 04:55 PM #12Member
- Join Date
- May 2017
- Location
- NZ Mainland (Dunedin)
- Posts
- 5,478
Great music. Have to remember you can use the iron acetate to colour leather slings too. As long as there is tannin in the substance it will work, as that is what interacts with the iron acetate. You can pre-treat something with tea, dry it and then apply the iron acetate for better effect for that reason.

Last edited by Cordite; 25-01-2019 at 05:17 PM.
-
25-01-2019, 07:56 PM #13Member
- Join Date
- Nov 2014
- Location
- Central Otago
- Posts
- 2,223
Originally Posted by Gibo
Is that a well-tanned faggot?Moa Hunter and Cordite like this.
-
26-01-2019, 01:40 PM #14Member
- Join Date
- Feb 2013
- Location
- spreydon christcurch.
- Posts
- 6,709
pm me your details I have it sitting wrapped ready to go.-3pieces just in case .be aware its fesh off the tree. Originally Posted by Cordite
Cordite likes this.
-
01-02-2019, 04:14 PM #15Member
- Join Date
- May 2017
- Location
- NZ Mainland (Dunedin)
- Posts
- 5,478
Cheers @kotuku! Sending me that oak was very dense of you (-:. Great you sawed one a bit longer -- that one is now useful for pegs as well, not just the wee blocks.


 Reply With Quote
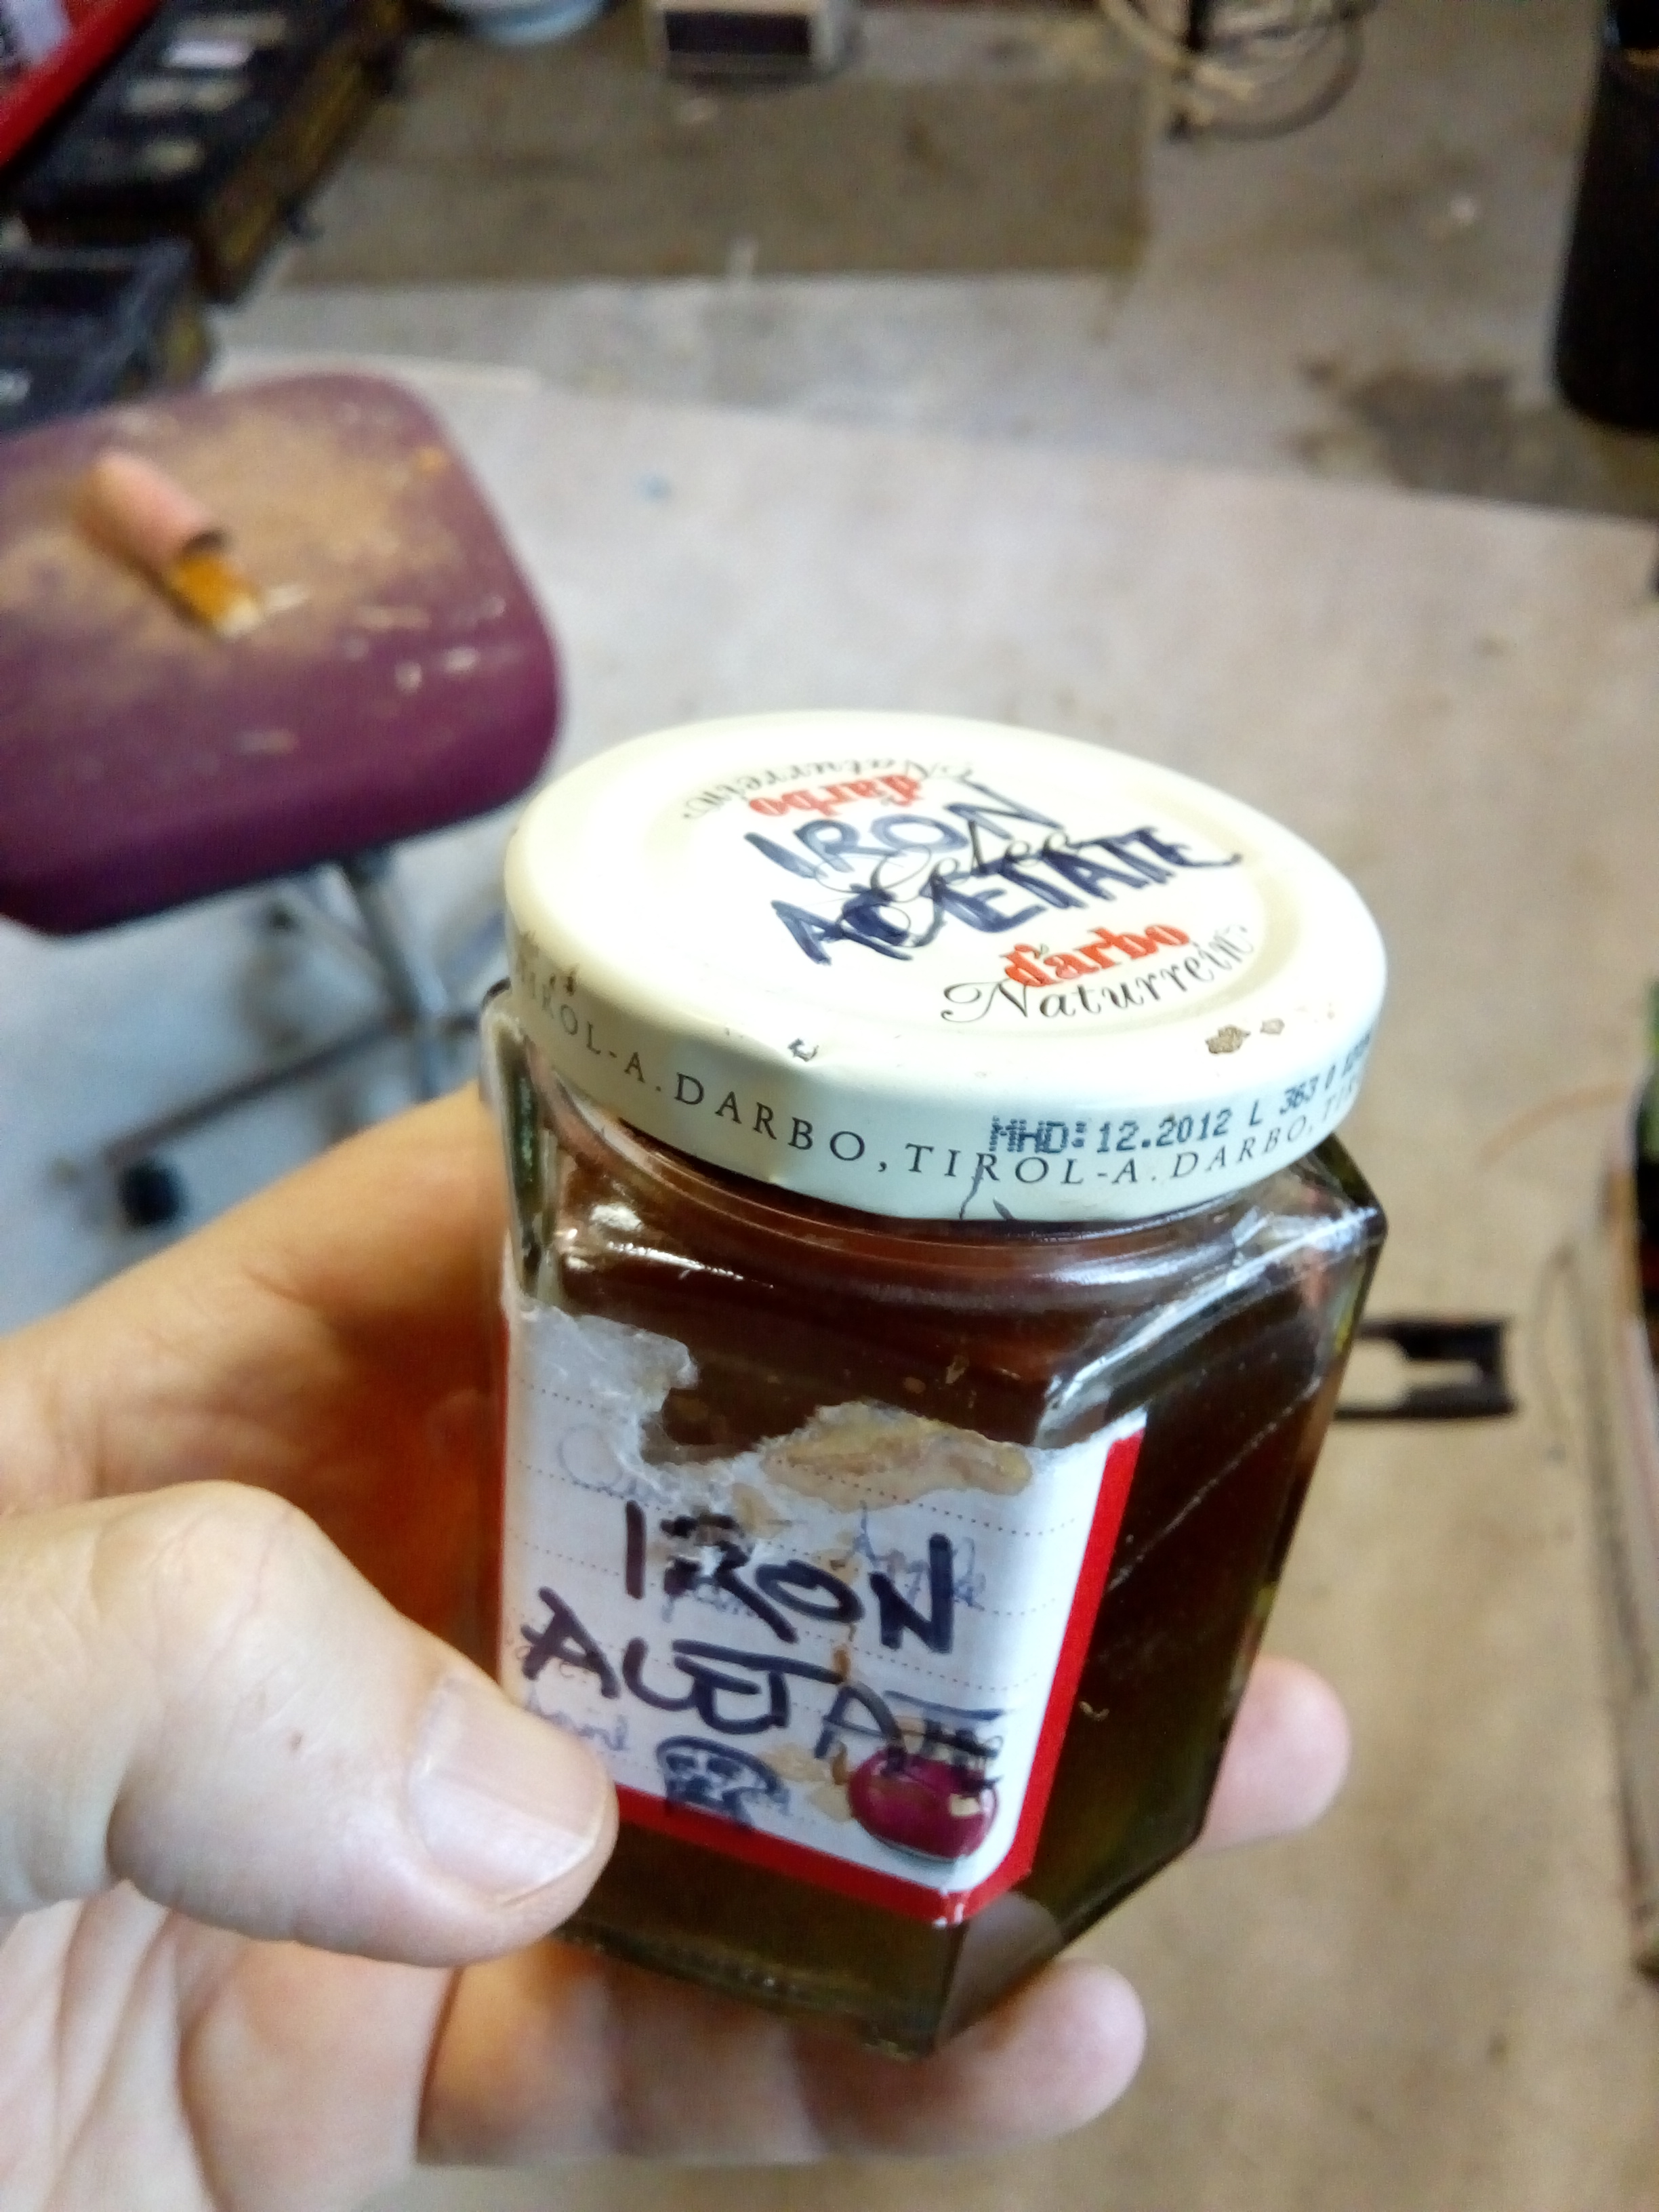
Tags for this Thread
 Posting Permissions
- You may not post new threads
- You may not post replies
- You may not post attachments
- You may not edit your posts
Welcome to NZ Hunting and Shooting Forums! We see you're new here, or arn't logged in. Create an account, and Login for full access including our FREE BUY and SELL section Register NOW!!
All times are GMT +13. The time now is 10:27 PM.

Bookmarks