

 63Likes
 LinkBack URL
 About LinkBacks
I had a crack at a skinning knife a couple of weeks back just to fill in a quiet week.
I used to make knives when I was a kid, raiding my uncles workshop for random off cuts of stainless steel etc. They were never overly pretty but kept a 10 year old busy and more importantly developing my hand tool skills.
So with the jnr years of self taught skills and the later years of engineering experience I thought it was time to have another go.
I have always been a fan of Japanese knife making styles and love a good bit of damascus and hammer finished rustic metals.
A couple of years ago I mentioned to a ex black smith friend @Mikey-p my intention and my favored styles and he said wait there, I have just the thing for you.. he goes to his car and returns with a rusted heavy pitted piece of steel he had forged and hands it to me.. ummm like who would have that just hanging out in the boot of their car???!!!
Like most projects that piece of metal sat on my shelf in the workshop for 2 years before I finally got on to it.
It had sat there so long Id forgotten what the mix of metals were so I had to confirm that before starting.
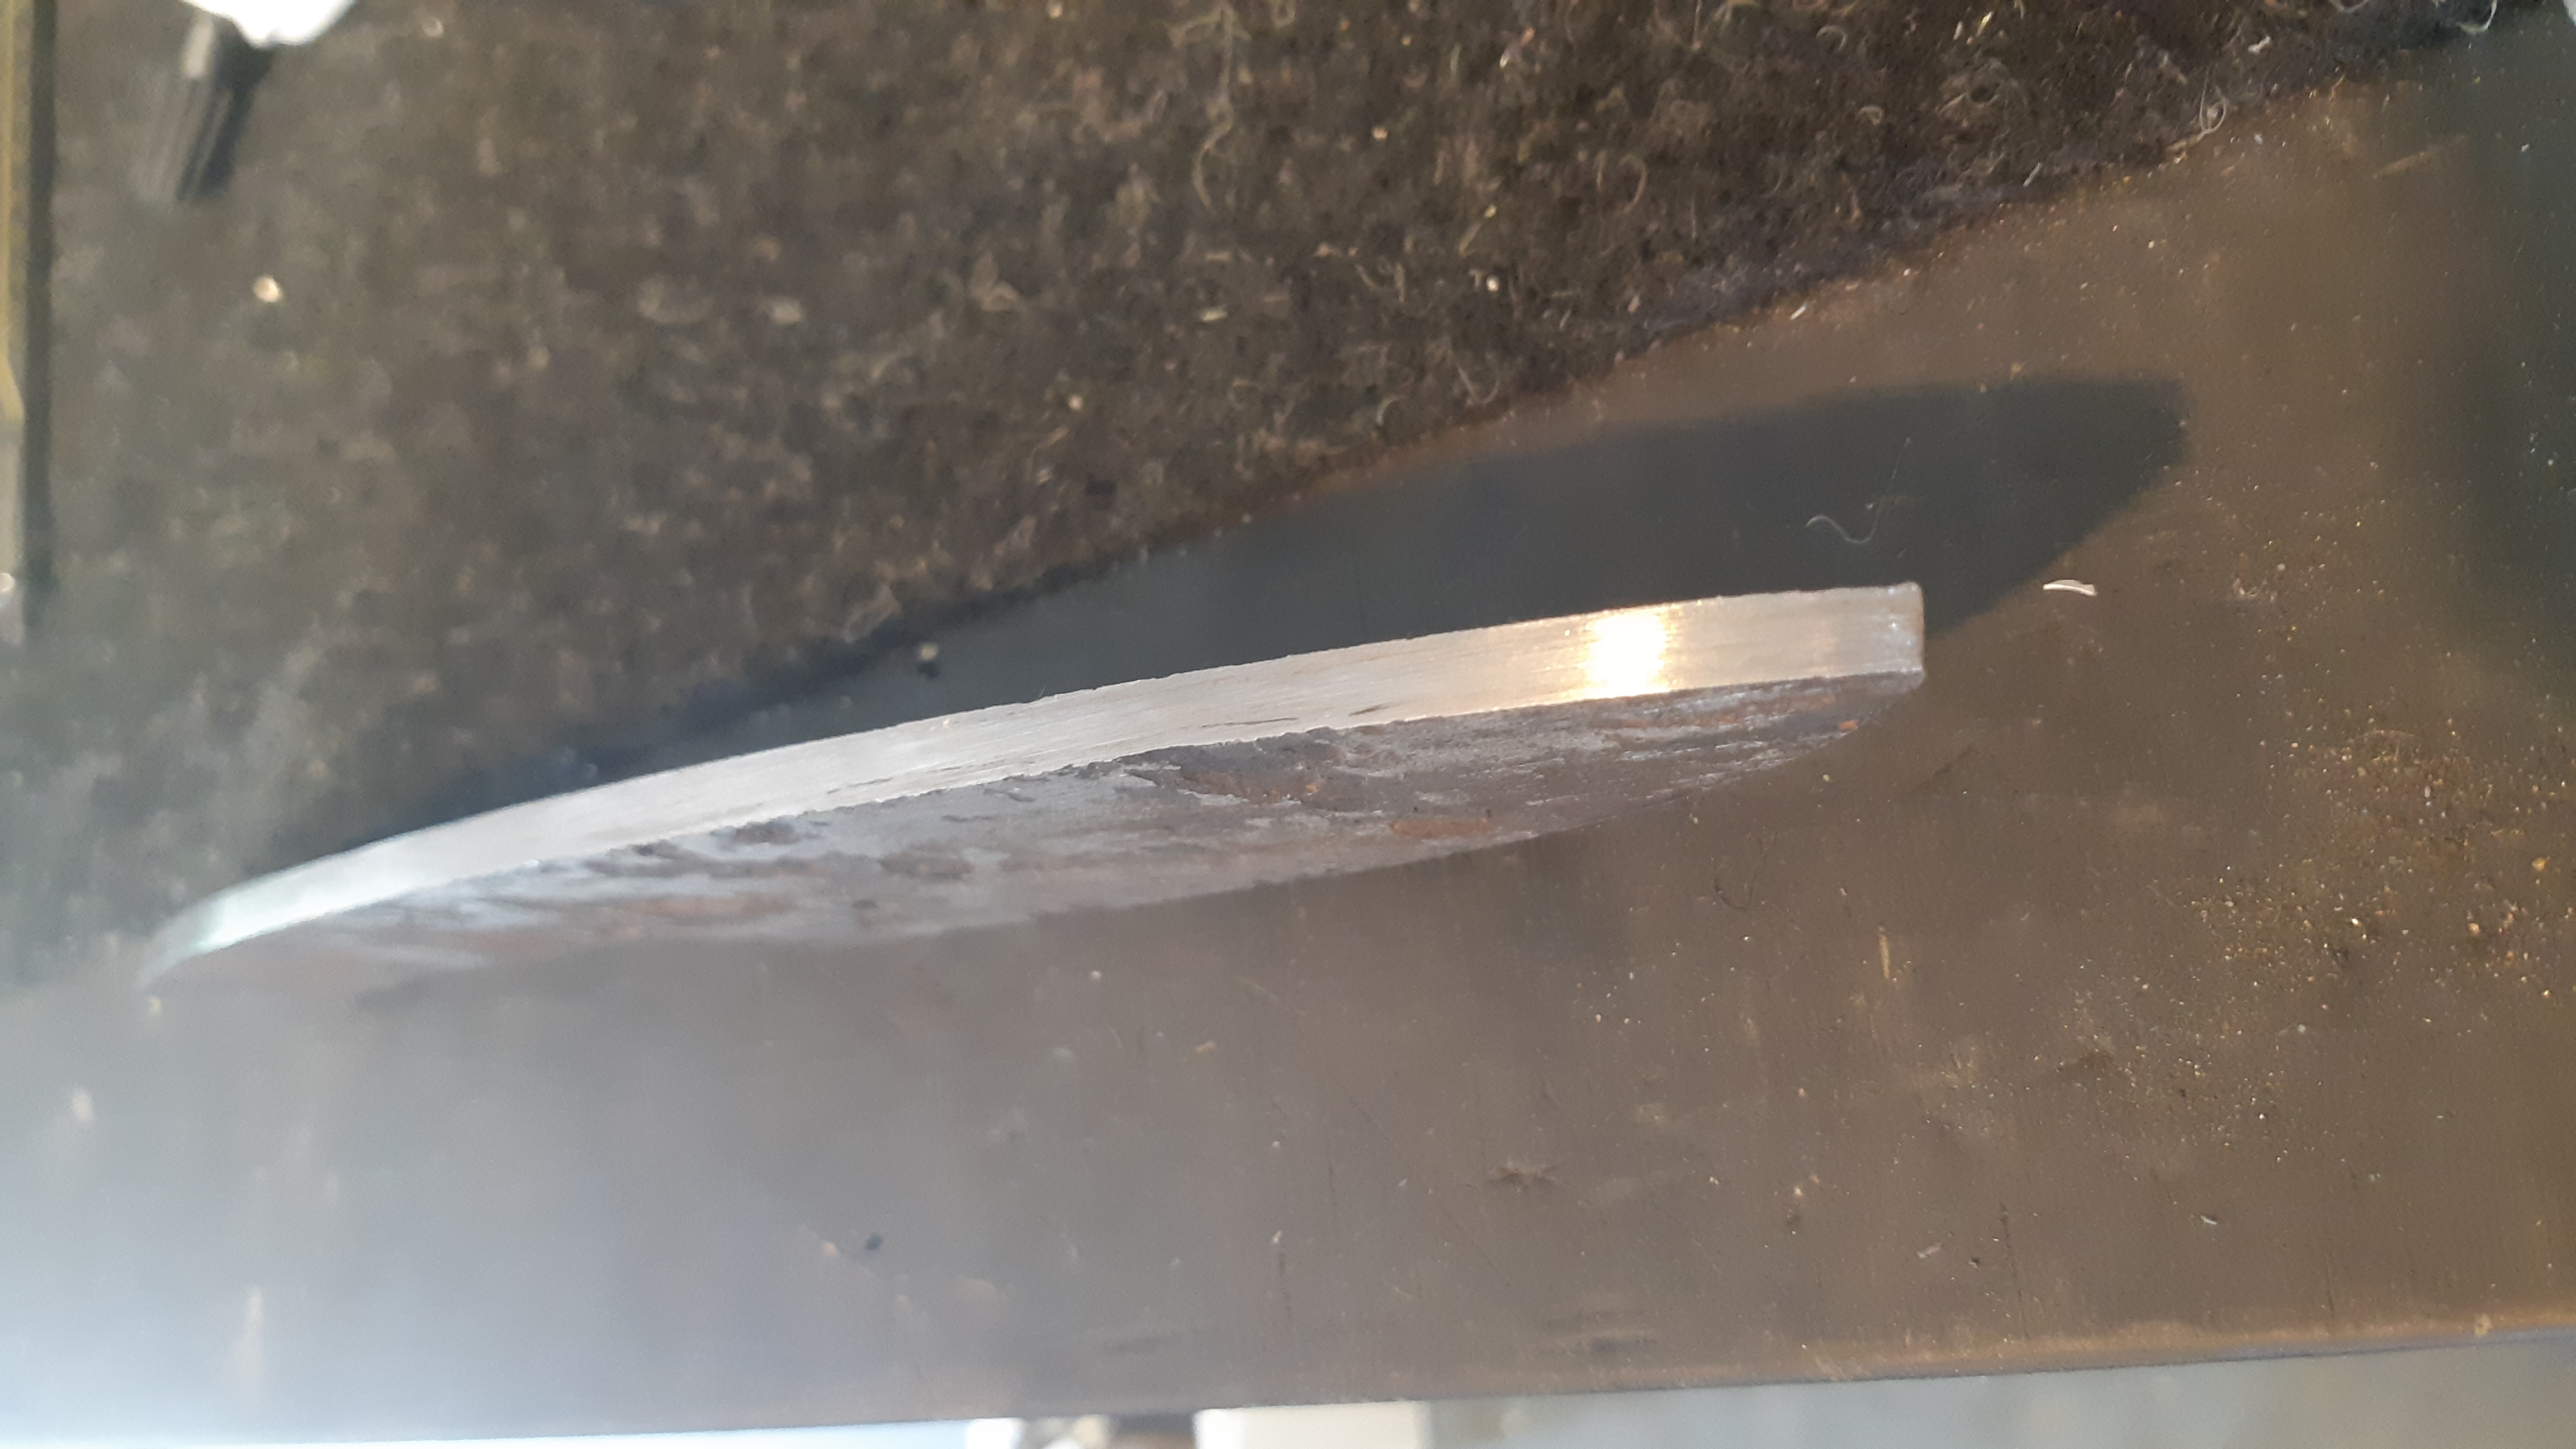
It is a Japanese San Mai style which is a softer often non hardenable steal forged around a high carbon steal inner.
In this case he had forged a piece of 100+ year old wrought iron ships anchor chain around a piece of 2mm high carbon 1084. The laminates over all thickness is about 5mm.
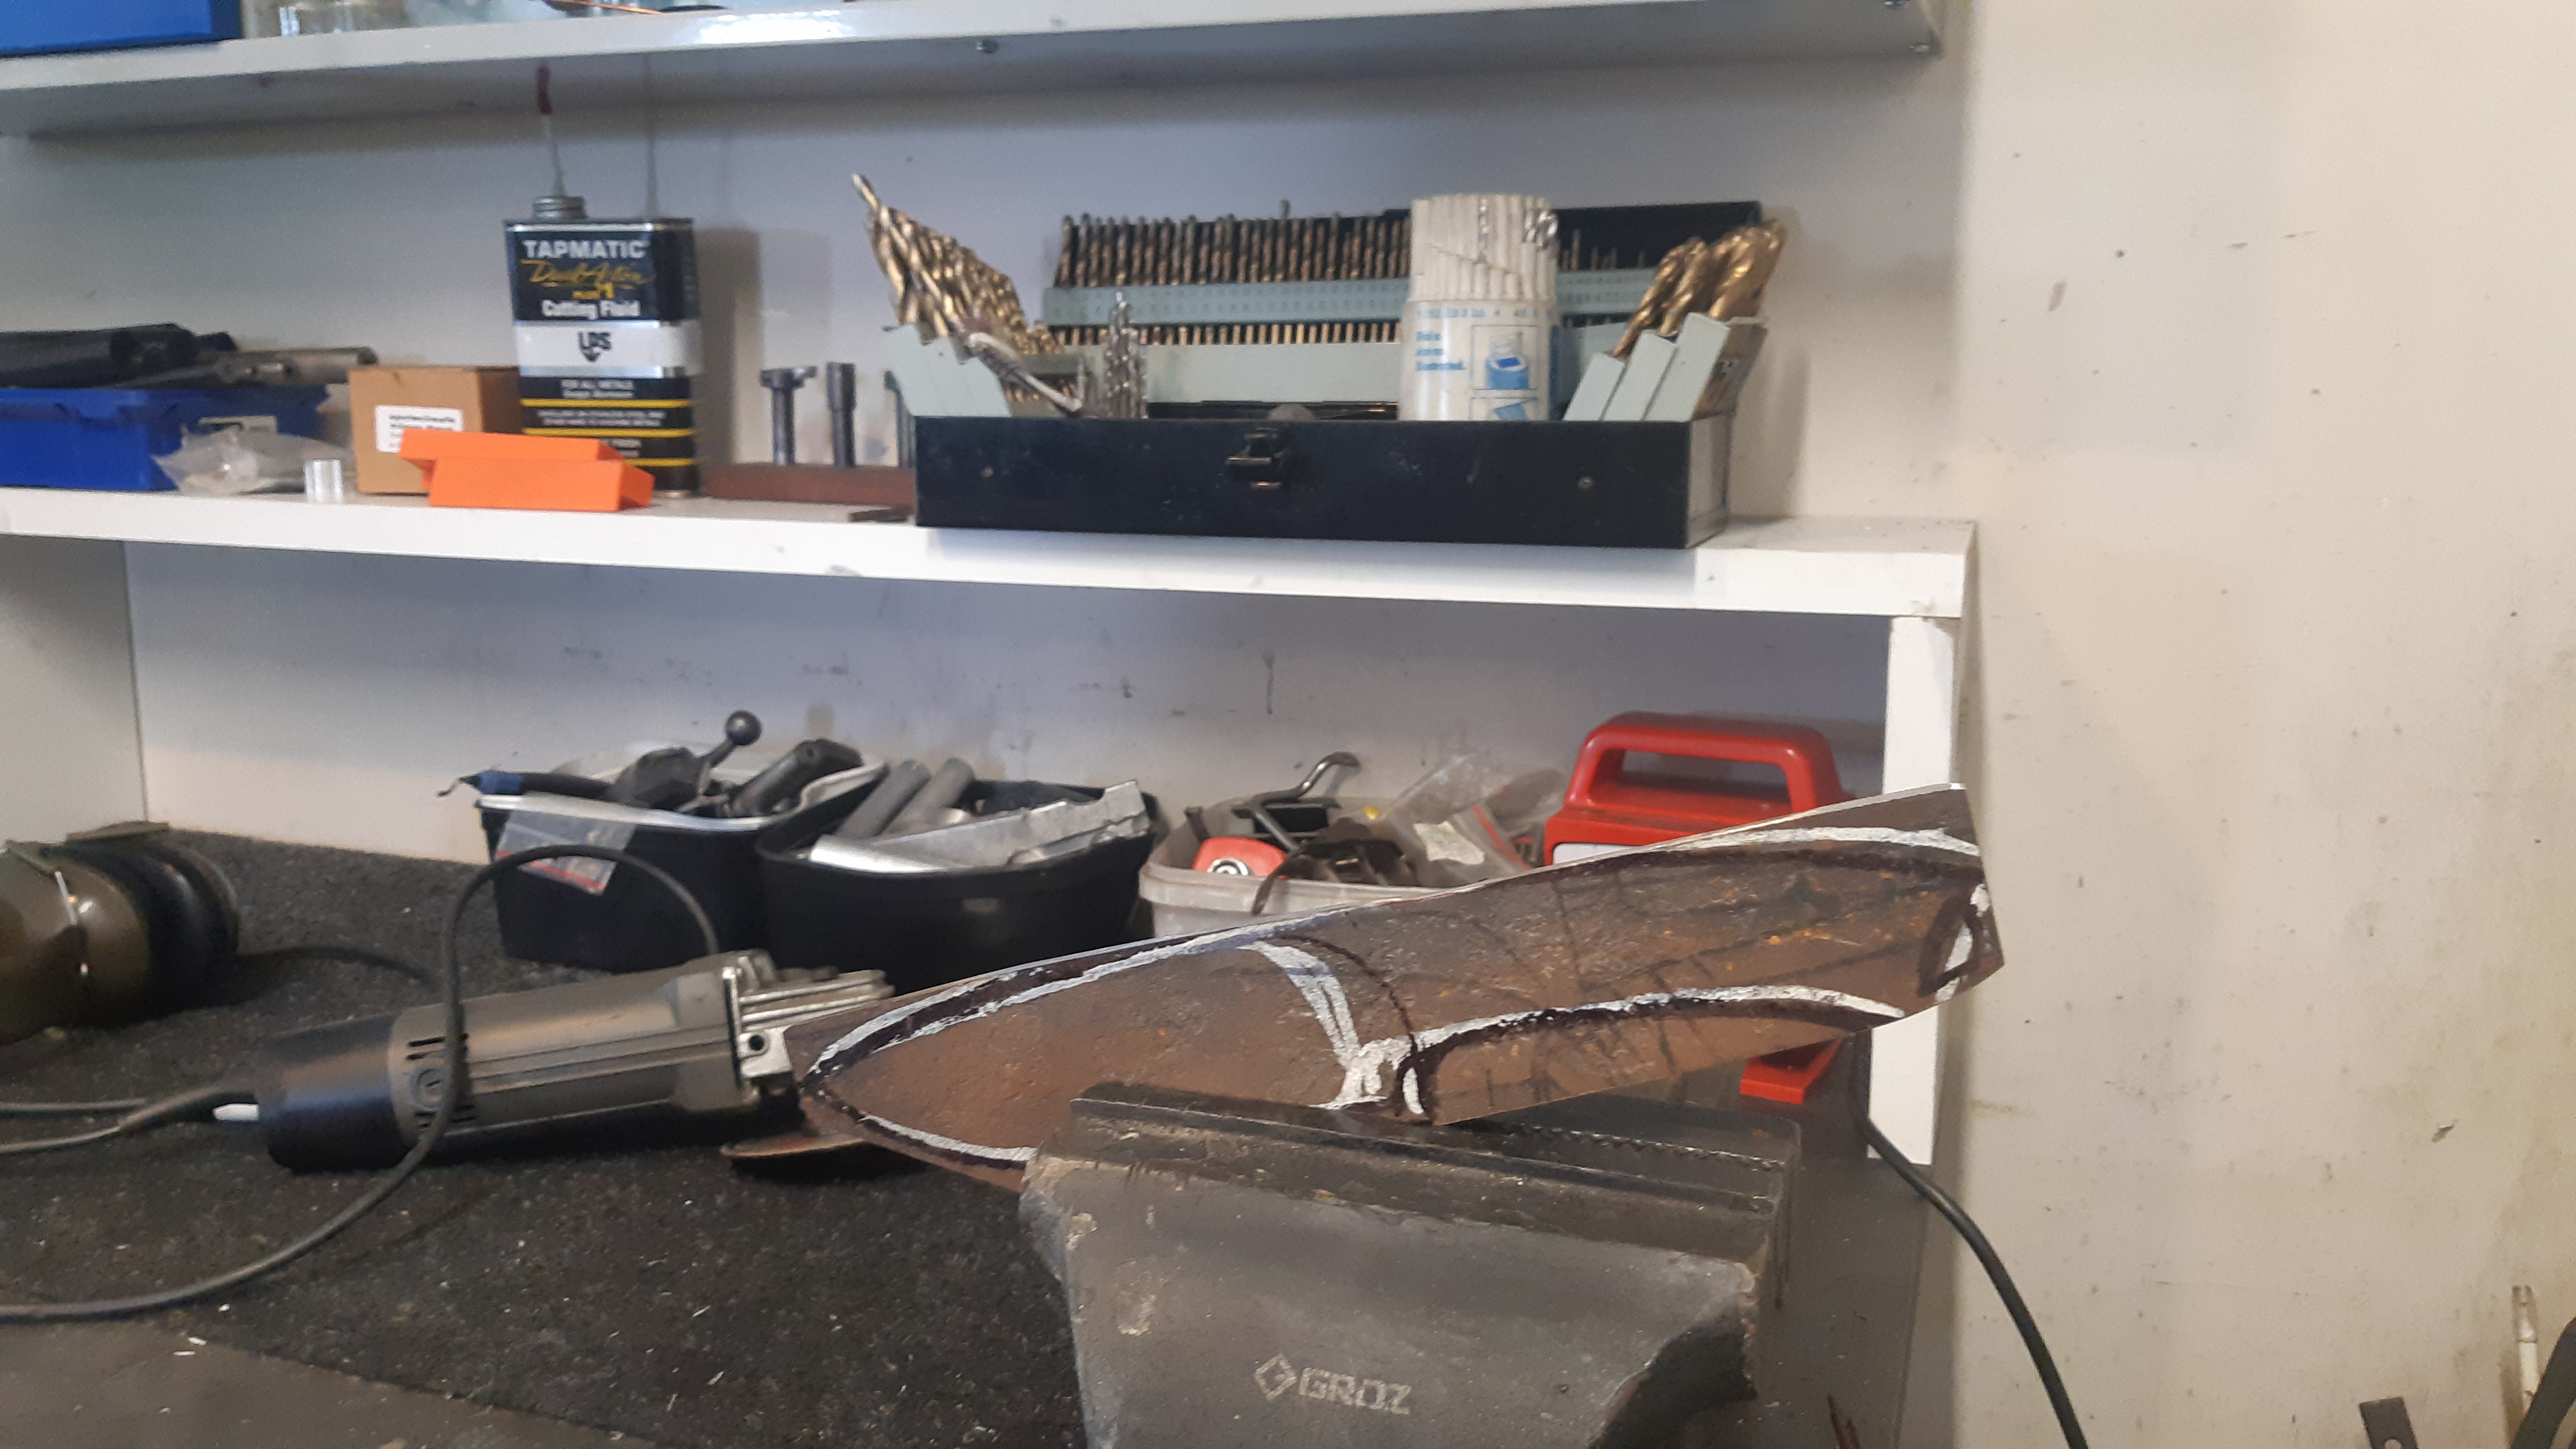
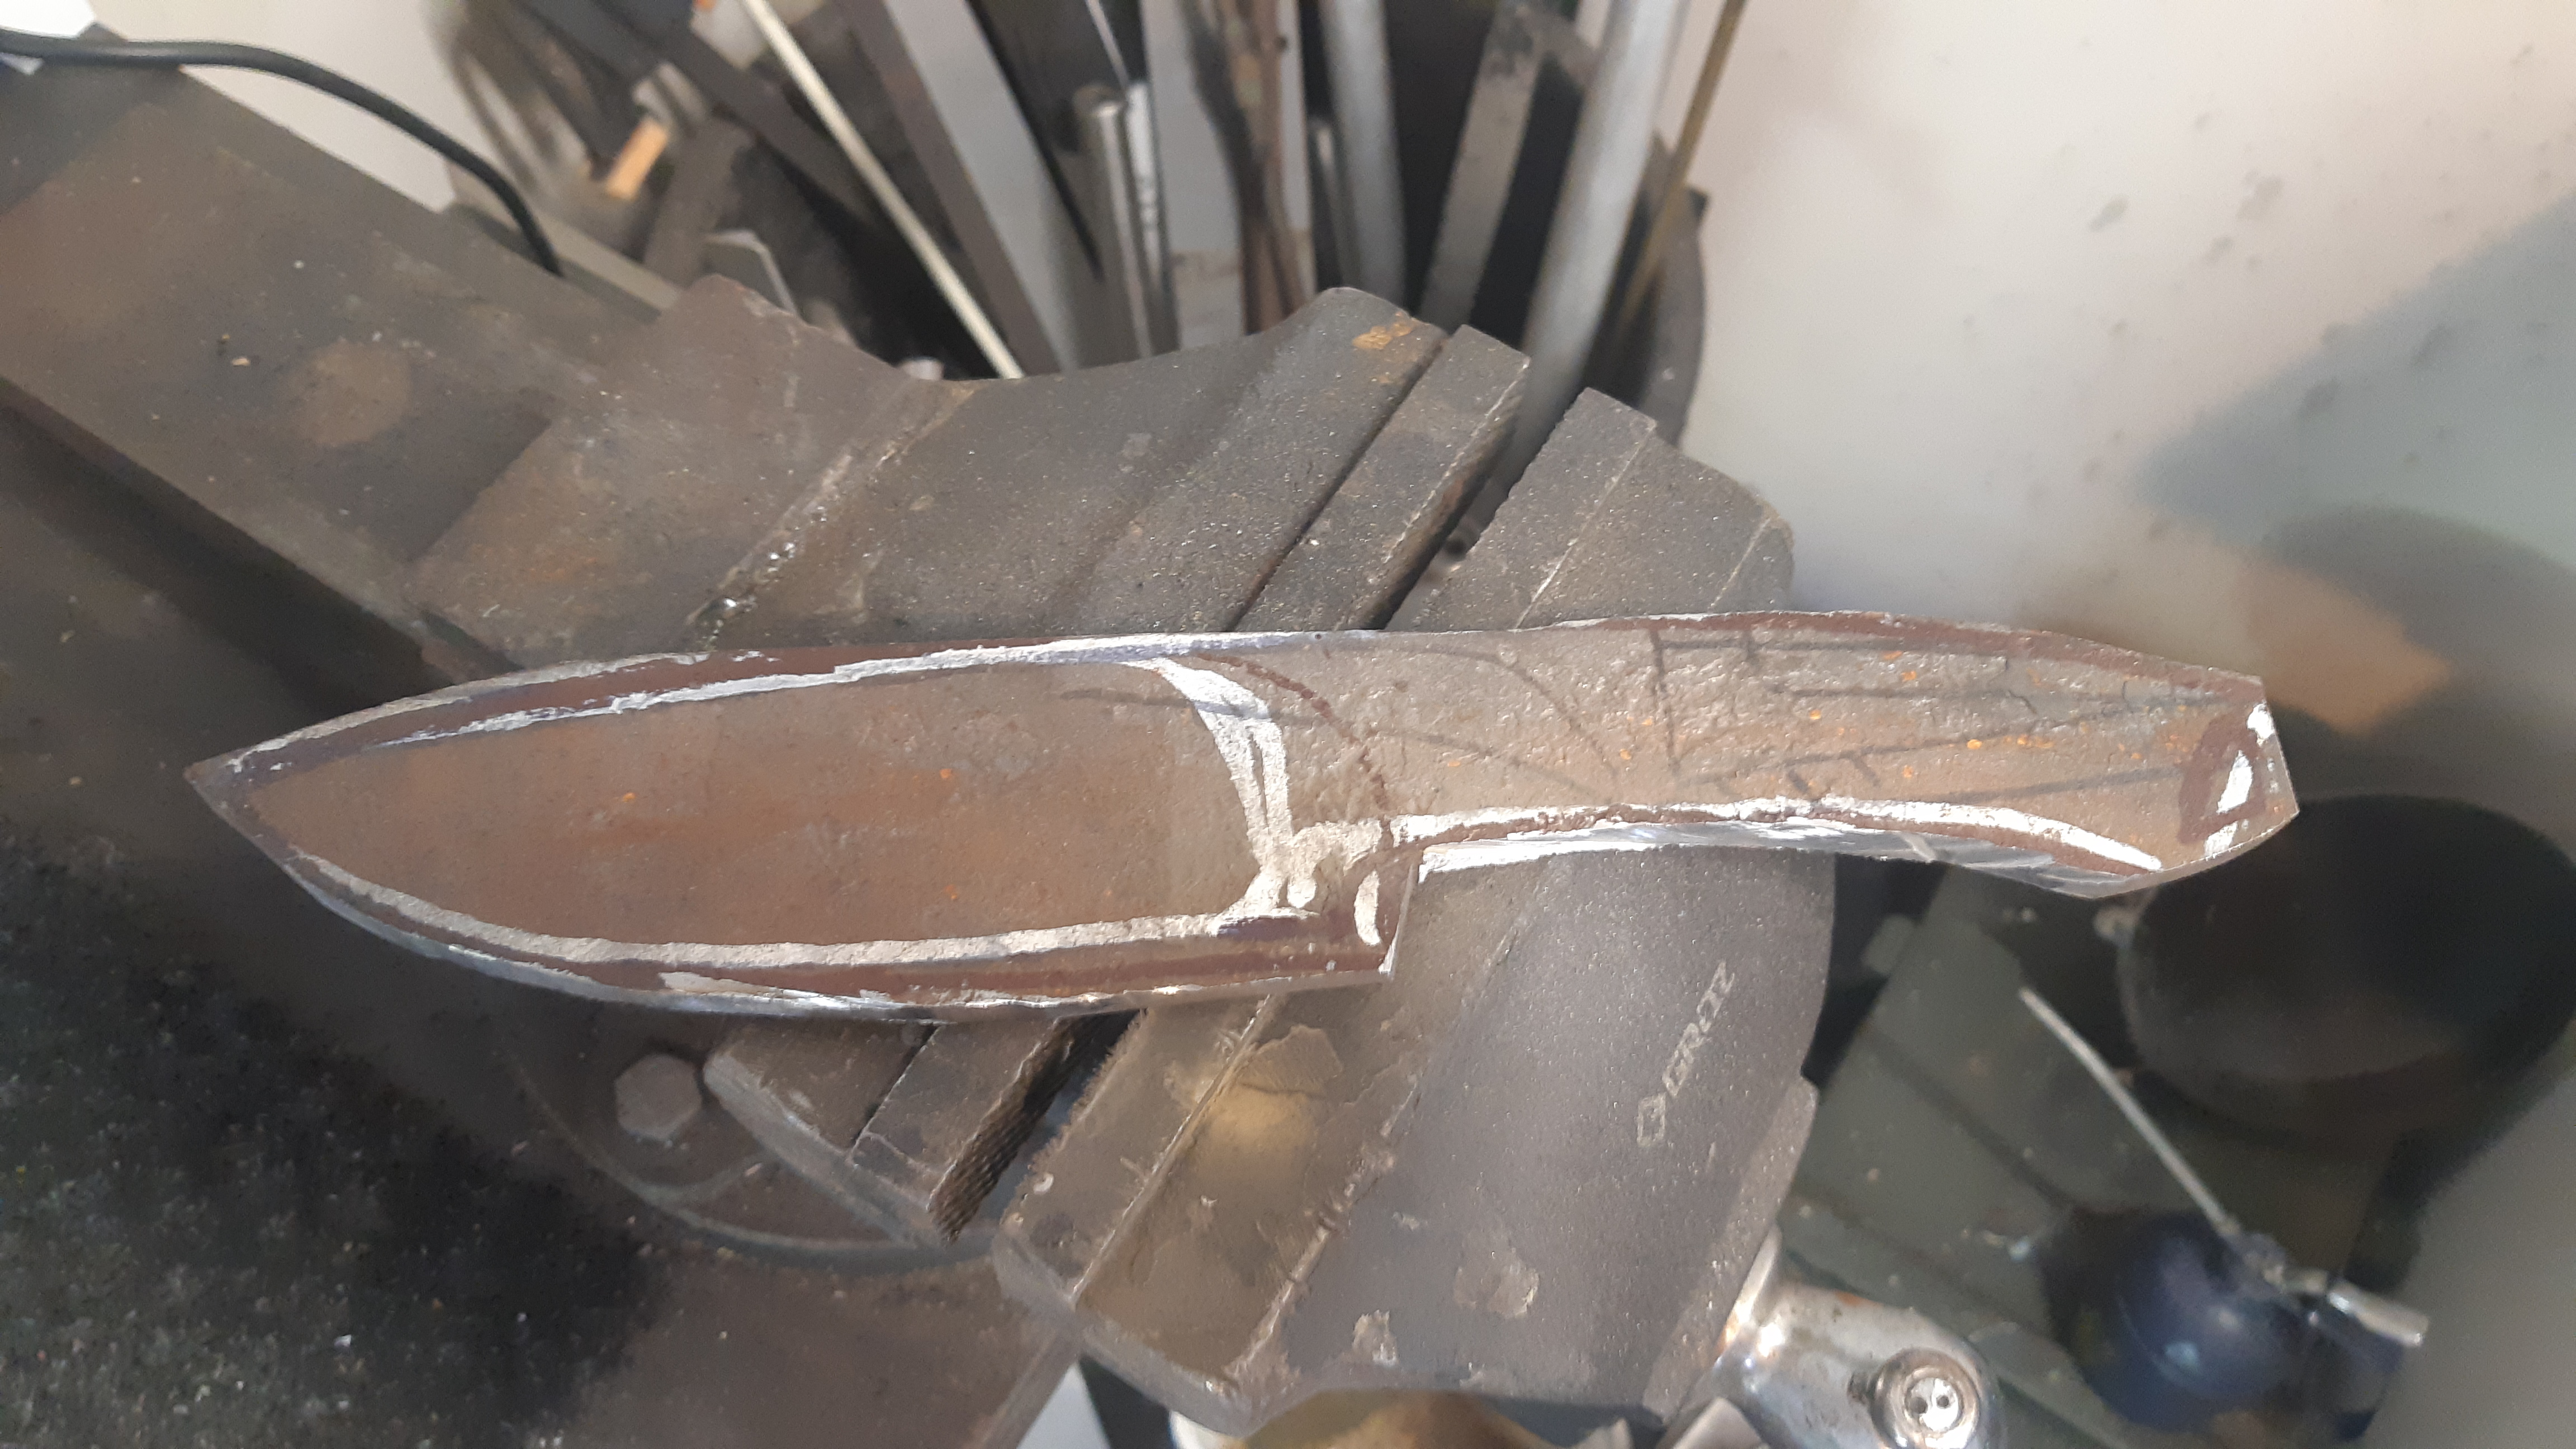
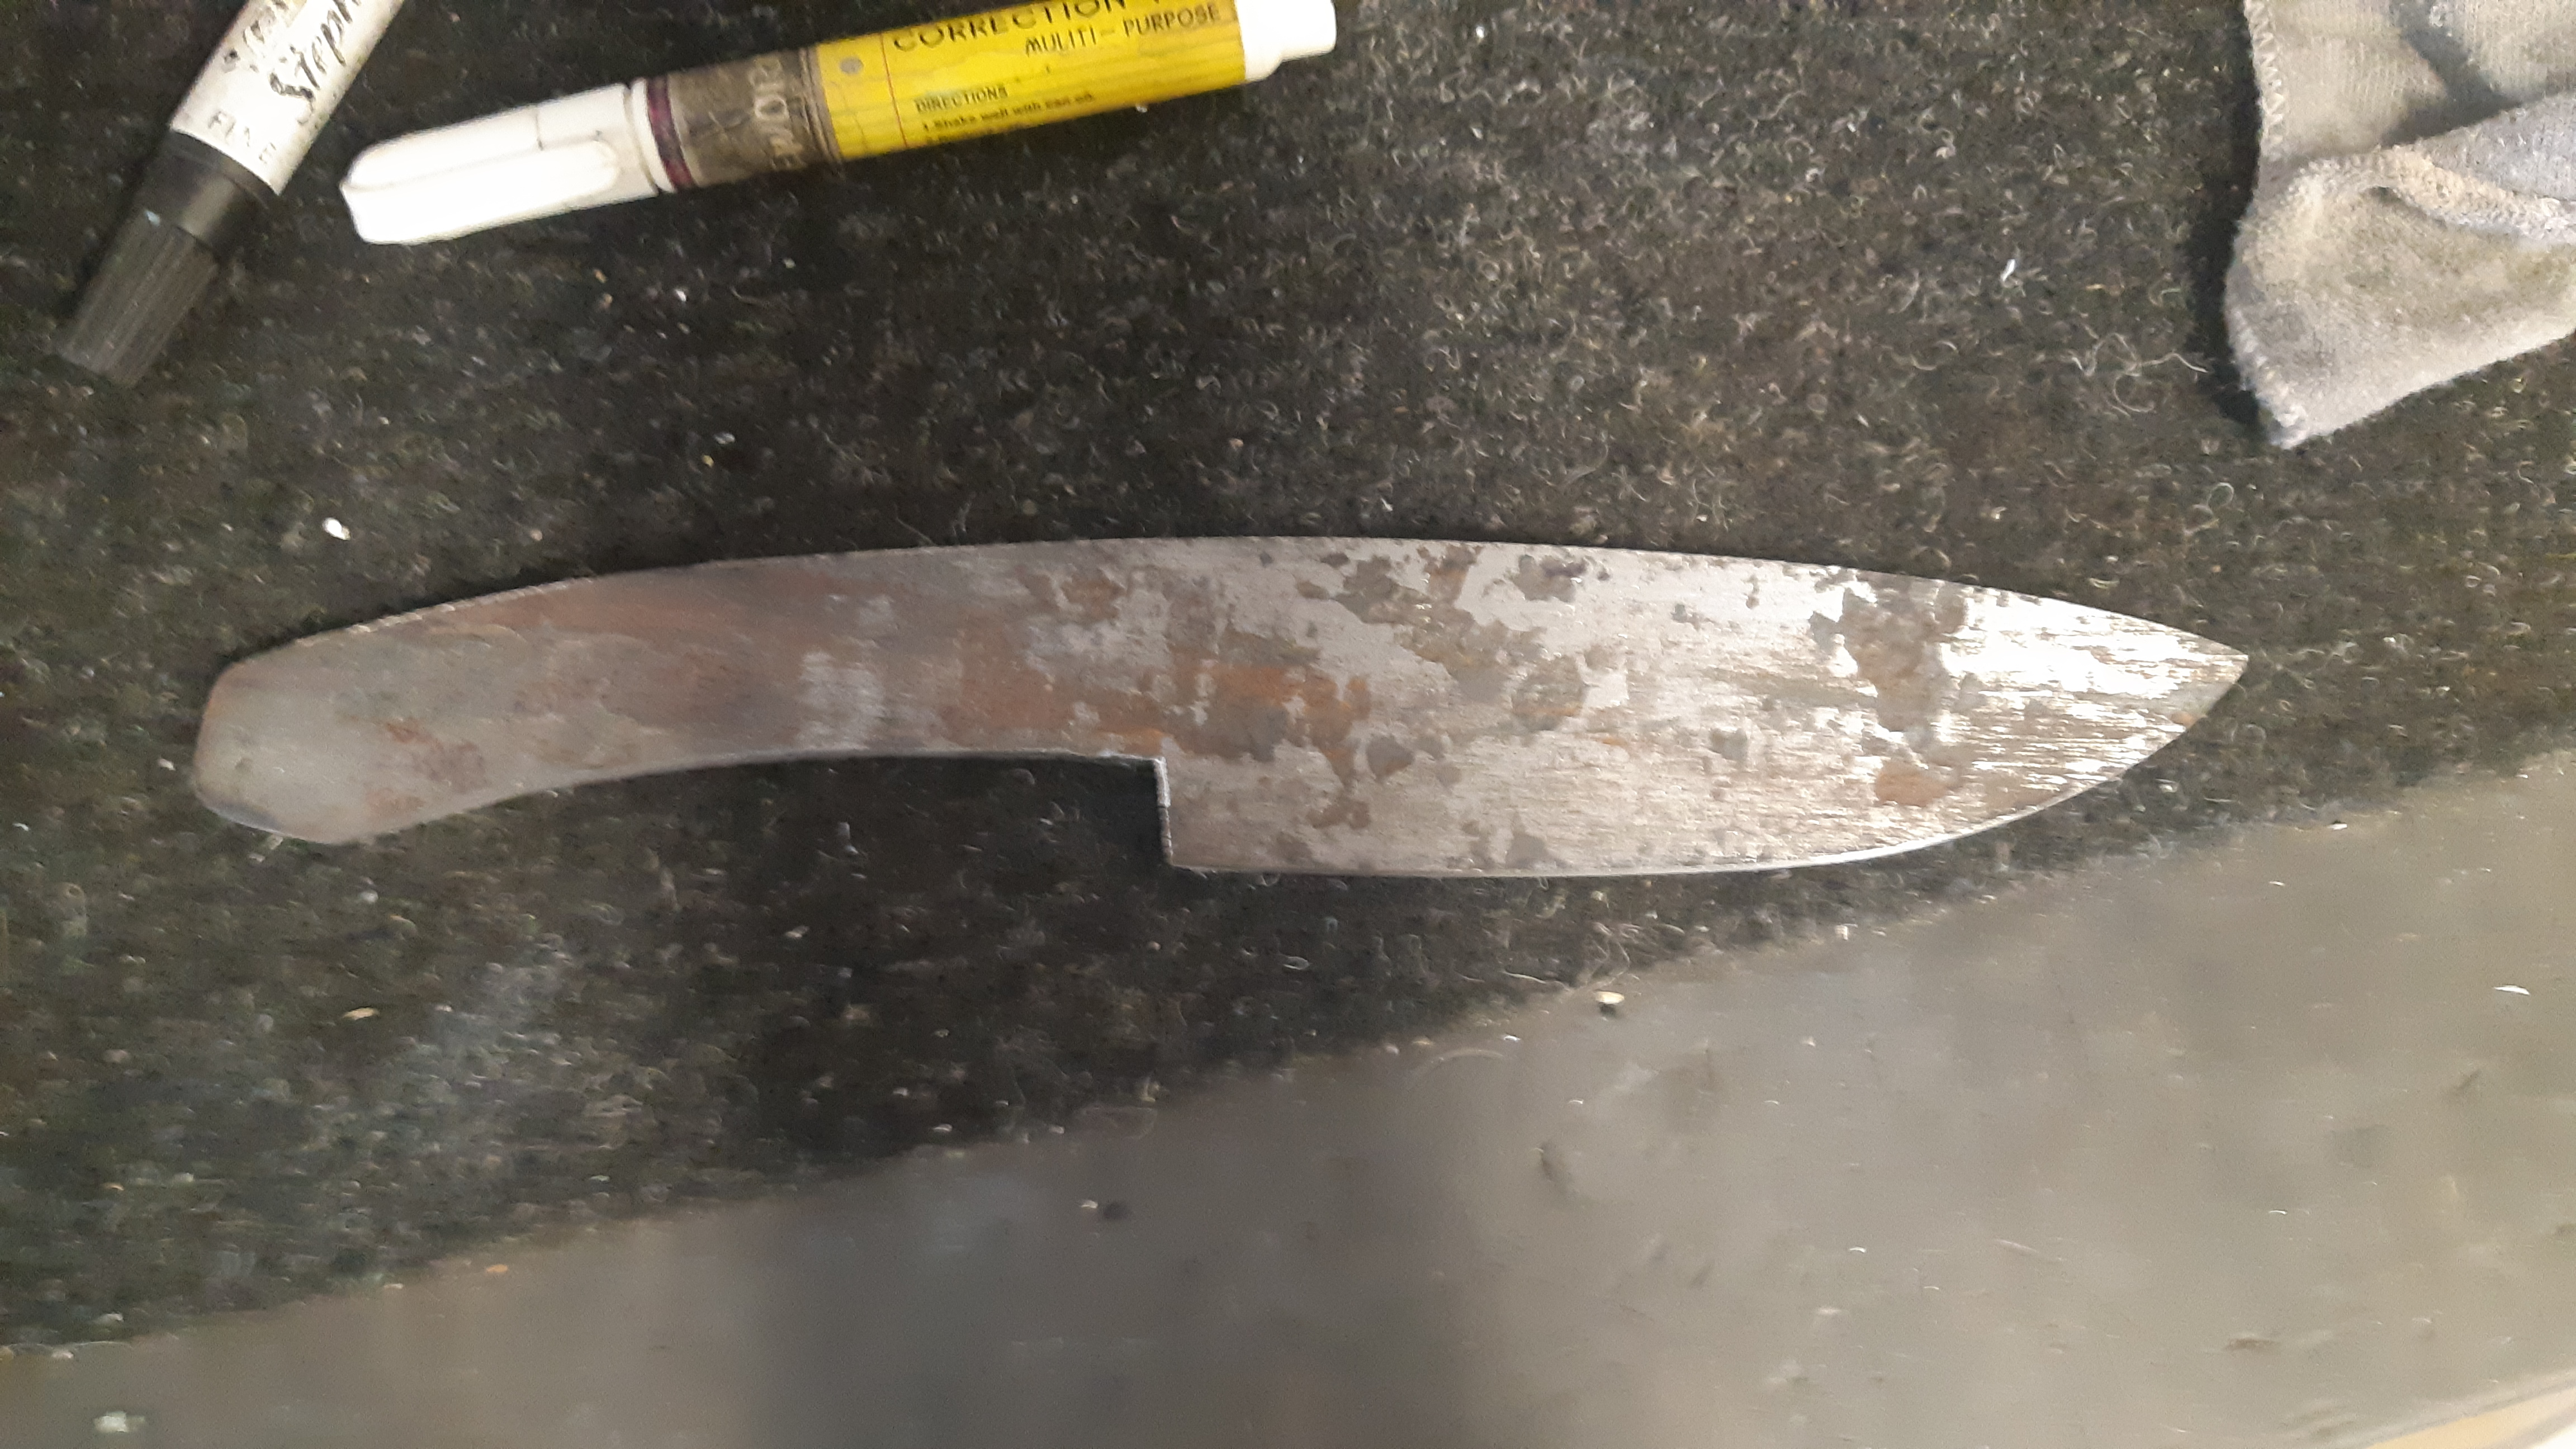
There was a gap in my knife collection for a decent fixed blade skinnier so that is what I intended to make.
Roughly drawn up I took to it with a 2mm cut of disk to rough out the shape before hitting the belt sander.
Welcome guest, is this your first visit? Create Account now to join.
Welcome to the NZ Hunting and Shooting Forums.
Search Forums


User Tag List
+ Reply to Thread
Results 1 to 15 of 16
-
29-11-2020, 08:29 AM #1Member


- Join Date
- Aug 2018
- Location
- Waikato
- Posts
- 1,887
San mai style skinning knife build
Last edited by Wingman; 29-11-2020 at 08:41 AM.
-
-
29-11-2020, 10:00 AM #2Member
- Join Date
- Aug 2018
- Location
- Waikato
- Posts
- 1,887
For the scales I had some nice heart Walnut and a piece of Wenge wood to choose from that was left over from some pistol grips I made years ago. I am leaning toward the darker Wenge wood as it will match the blacks in the blade once etched.

The forge lamination of metals was quite visible after the first grind on the spine.

The next step was the grind, some careful belt work was required as I wanted to retain some of the raw pitting in the wrought iron but also didnt want a aggressive chisel grind as a thinner edged skinner is my preference.


After the first rough grind I etched it in vinegar to get an Idea of how much more need to be ground to get a nice even and attractive edge pattern


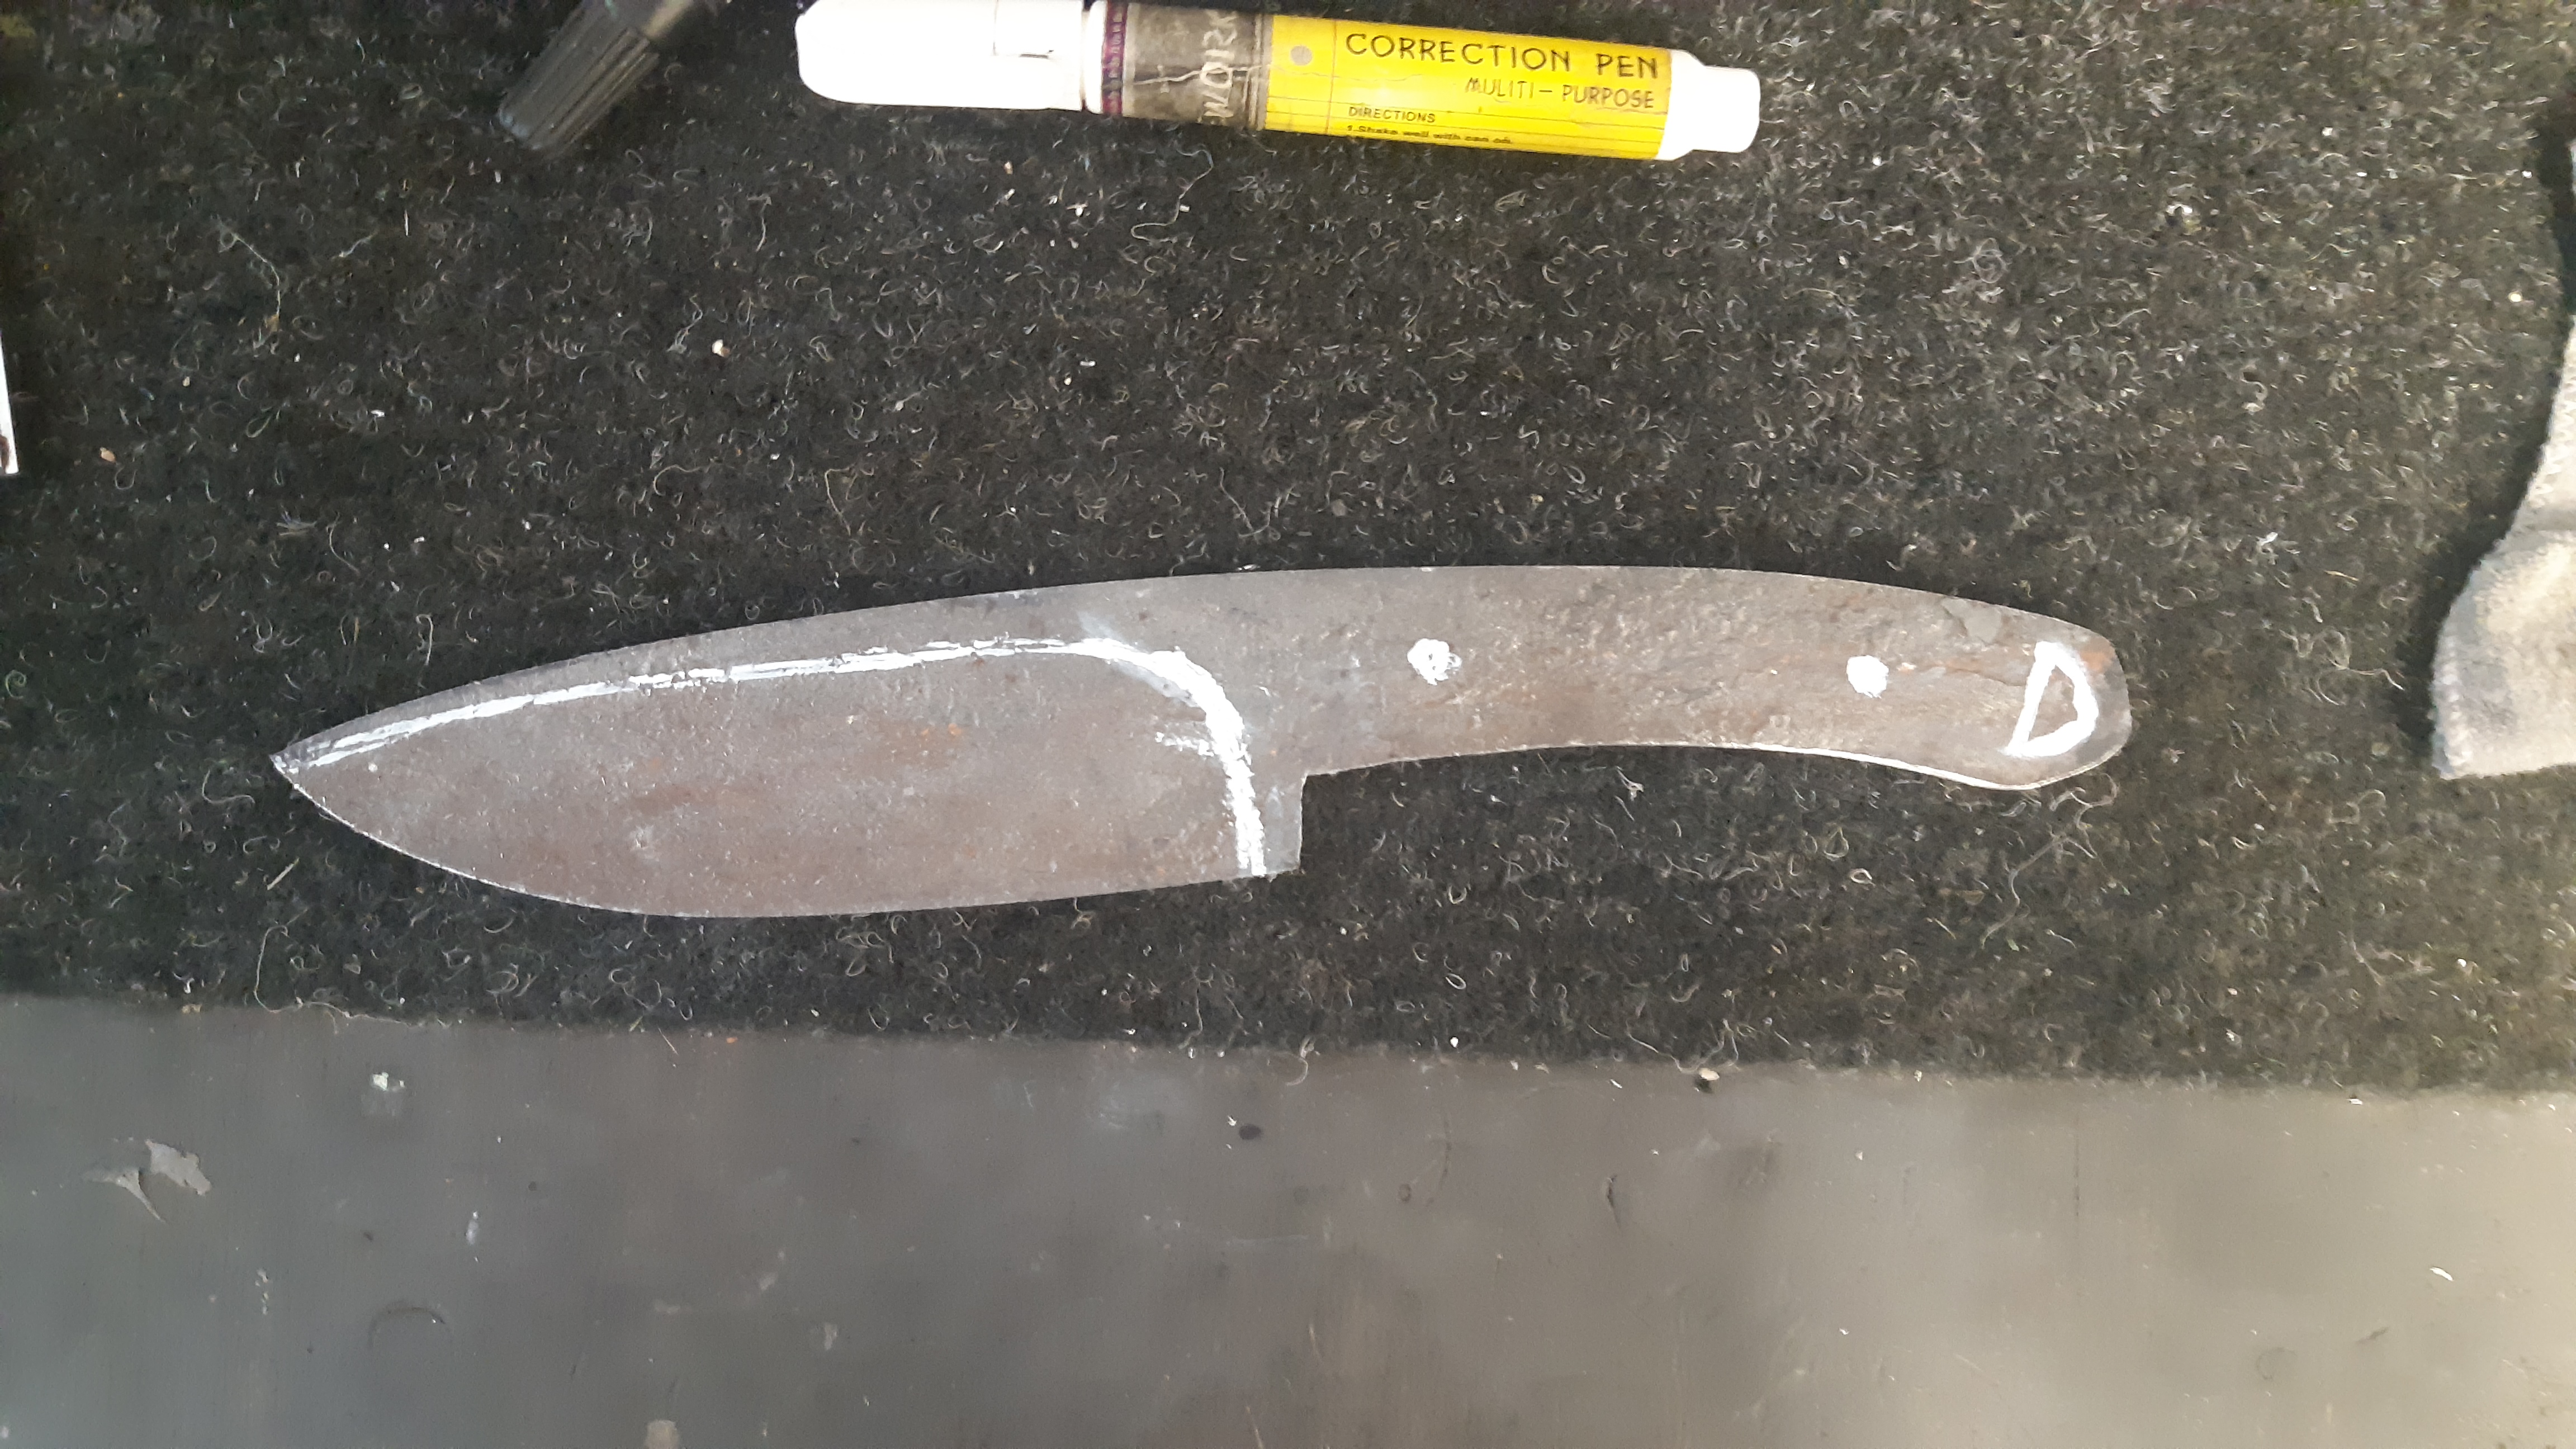
This gave me a good indication of where I needed to take a bit more material off to even it up and finish up the first stage of the grind. I tapered the tang thickness too which will give it a nice balance.
Lastly I drilled the tang for the scale pins and drilled/filed out a triangular lanyard hole.


-
29-11-2020, 10:14 AM #3Member
- Join Date
- Aug 2018
- Location
- Waikato
- Posts
- 1,887
Happy with the first grind, its on to the heat treat and temper. @Mikey-p warned me that the heat treat on this type of forged steel can be very risky, the different metals heat and cool at different speeds which can cause cracks, deformation and delamination. His advice was to just heat the 1084 edge and not the whole blade to cherry red.
So this is what I did, I got the first 15mm of the cutting edge glowing red with the gas torch and plunged it into hot canola oil leaving the upper spine out.


It worked great and I was relieved to see no warping or delamination.
It was nice and hard on the cutting edge and a file just skated over it without biting.
Next I gave it a quick polish with sand paper to indicate the colour while tempering.
It took 50 mins at 200 deg in the oven then air cooled to temper just right.


Last edited by Wingman; 29-11-2020 at 10:30 AM.
-
29-11-2020, 10:45 AM #4Unapologetic gun slut


- Join Date
- May 2018
- Location
- Oxford, North Canterbury
- Posts
- 8,558
Am I the only one that thinks this would look sex as with a antler handle scales ?
bunji and Micky Duck like this.#DANNYCENT
-
29-11-2020, 11:01 AM #5Member
- Join Date
- Aug 2018
- Location
- Waikato
- Posts
- 1,887
Im not sure why I didnt consider that as the natural curve would have followed the drop point blade and the texture would matched the scaly wrought iron nicely.. Originally Posted by dannyb

I guess I was staying closer to the Japanese traditional San mai roots
-
29-11-2020, 11:22 AM #6A shortish tall guy

- Join Date
- Jul 2016
- Location
- Nelson
- Posts
- 3,287
Yep, that or Beech Burr Originally Posted by dannyb
dannyb likes this.
-
29-11-2020, 11:25 AM #7Member
- Join Date
- Aug 2018
- Location
- Waikato
- Posts
- 1,887
Next was the final grind and polish process which I didnt seem to take any pics of?


Onto the scales, I went with the Wenge wood as predicted and roughed out the shape then used the belt sander again to give them the final shape. I used a couple of tight fitting drill bits to hold them in place while shaping as they had to come off again to etch the blade.


I wanted fairly thin scales as I tend to only hold the knife with my thumb and forefingers when skinning.

Its about this stage when I remember how much I dislike working with wood and why doing wood work in an engineering workshop is a stupid idea.
The mess aside, I got it to a stage where it could be epoxied on and final sanding/oiling after the blade is etched.


-
29-11-2020, 12:08 PM #8Member
- Join Date
- Aug 2018
- Location
- Waikato
- Posts
- 1,887
Heres the part I was really looking forward to.. the acid etch.
I was uneasy about using hot vinegar for the etch acid as its not very strong so would need to be left in over night. I didnt want to etch it too deep or find the iron fizzled away in the morning so I mixed up a stronger solution of sodium bisulphate which I had on hand from treating the spa pool water and submerged the blade while warming it on the gas hob for about 5 mins.


I was pretty happy with the resulting etch and the layers were exposed nicely while the pores in the wrought iron opened up nicely for the next process.


-
29-11-2020, 01:02 PM #9Member
- Join Date
- Aug 2018
- Location
- Waikato
- Posts
- 1,887
The acid etch removed all the loose scale and cleaned out all the rust in the forging pits which was not the look I wanted so I decided to re rust the blade now it was etched so the pits would look blackened.
I used a mixed process of slow rust blueing and electrolysis rust removal.
I used another spa pool chemical, Sodium carbonate (not sodium bicarbonate aka baking soda) to make the electrolyte solution and a 12v dc battery charger with a rusty bolt to use as an anode.
Electrolysis involves electrical charge travelling from one piece of iron to another through an electrolyte solution. When this happens, one piece of iron is sacrificed to help repair the other.
Normally this set up is used to strip old rusty parts of rust and move it to a clean piece of sacrificial steel anode. To reverse this process I just swapped the polarities on the anode (a very rusty old bolt) to the negative lead and attached the knife to the positive lead.

In a very short time the solution turns into a thick rust soup fizzing with hydrogen bubbles so I watched it closely as I didnt want to pit the 1084 internal steel.
Once it was at an even orange rusty stage I was happy with I gave it a light polish with 0000 steel wool dropped it into a pot of boiling water to boils away for about half an hour. This process converts the orange iron oxide into black iron phosphate leaving all the low spots and open pores from the etch black. From the pot of hot water it went into canola oil over night.


The next day I made some steel scale locator pins and used a bit of cold blue solution to match the blades darkness. I epoxied the scales on and let it cure for the required 72 hours.

After the final sand of the scales I oiled them and sealed them with bees wax.
I gave it a final sharpen and shaved a bunch of paper into a shredded mess just for shits and giggles.
I am certainly no blade smith but it was a lot of fun revisiting an old hobby (and chemistry class) and Im happy with the result.
These crappy phone photos in the dark workshop dont do this piece of steel justice but the video link below is in better light. Ill take some better pics outside once the leather sheath is finished.
Thanks again to @<u><a href="https://www.nzhuntingandshooting.co.nz/member.php?u=7956" target="_blank">Mikey-p</a></u> for his random piece of San mai steel he just happend to have in his car.
https://youtu.be/jhJGn5o-5M8


https://youtu.be/jhJGn5o-5M8
-
29-11-2020, 01:28 PM #10A shortish tall guy
- Join Date
- Jul 2016
- Location
- Nelson
- Posts
- 3,287
That has turned out beaut. Well done.
Preacher likes this.
-
29-11-2020, 08:01 PM #11Member

- Join Date
- Mar 2017
- Location
- Tasman bay NZ
- Posts
- 2,653
Nice work man, looks great

Sent from my SM-G950F using TapatalkIts not what you get but what you give that makes a life !!
-
28-12-2020, 07:45 AM #12Member
- Join Date
- Oct 2013
- Location
- Manawatu
- Posts
- 115
Well done. That is a lovely looking knife. Enjoyed following your process (looks like you did a bit of homework there).
-
29-12-2020, 05:24 AM #13Caretaker - Gone But Not Forgotten

- Join Date
- Dec 2011
- Location
- here
- Posts
- 7,477
Great job.
Quis custodiet ipsos custodes?
-
29-12-2020, 09:50 AM #14Member
- Join Date
- Feb 2013
- Location
- Wanganui without an "h"
- Posts
- 3,023
I am very impressed/. Some excellent skill sets in use there........as well as providing enjoyment to us readers.

-
29-12-2020, 04:39 PM #15Member

- Join Date
- Mar 2012
- Location
- North Loburn
- Posts
- 4,376
I like that and bang on with the thinner handles. A knife I'd be happy to have in the collection.


 Reply With Quote
Similar Threads
-
Anyone used a Puukko style knife for boning our meat?
By hotbarrels in forum HuntingReplies: 25Last Post: 10-09-2017, 06:40 PM
Tags for this Thread
 Posting Permissions
- You may not post new threads
- You may not post replies
- You may not post attachments
- You may not edit your posts
Welcome to NZ Hunting and Shooting Forums! We see you're new here, or arn't logged in. Create an account, and Login for full access including our FREE BUY and SELL section Register NOW!!
All times are GMT +13. The time now is 07:40 AM.


Bookmarks