
 2Likes
 LinkBack URL
 About LinkBacks
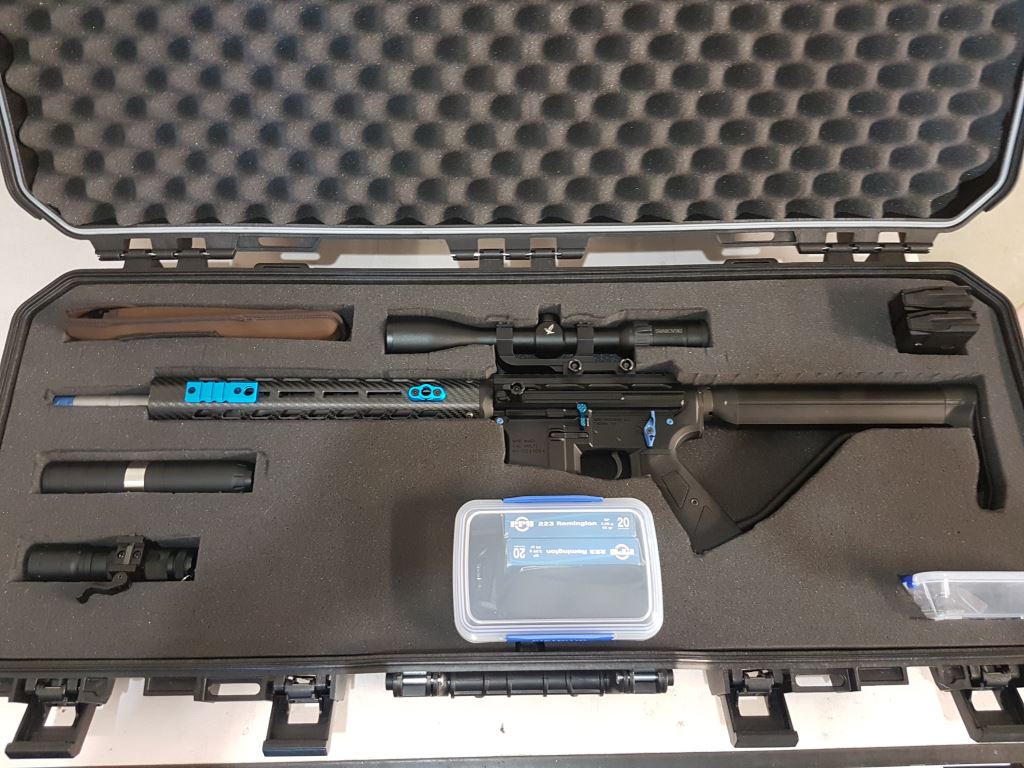
I recently purchased yet another case for carrying a rifle. Being a fussy bugger I wasn't happy with the "pluck foam" insert but for the time being I figured it would do... at least until such time as I'd accumulated all the necessary items I wanted to put in the case. The long term plan is to go for closed-cell foam.
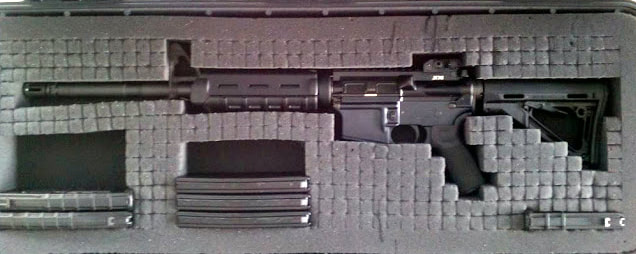
This is a typical result (thanks to Google):
Cutting foam nicely is always one of those difficult jobs to achieve. You have laser-like perfection in your minds eye, but the result looks like a 5 year old has taken to the foam with a blunt fork. All is not lost!! After mucking about with ideas on hot-wires (dumb idea), knives and electric knives (don't tell the wife), I think I have it sorted. Finally.
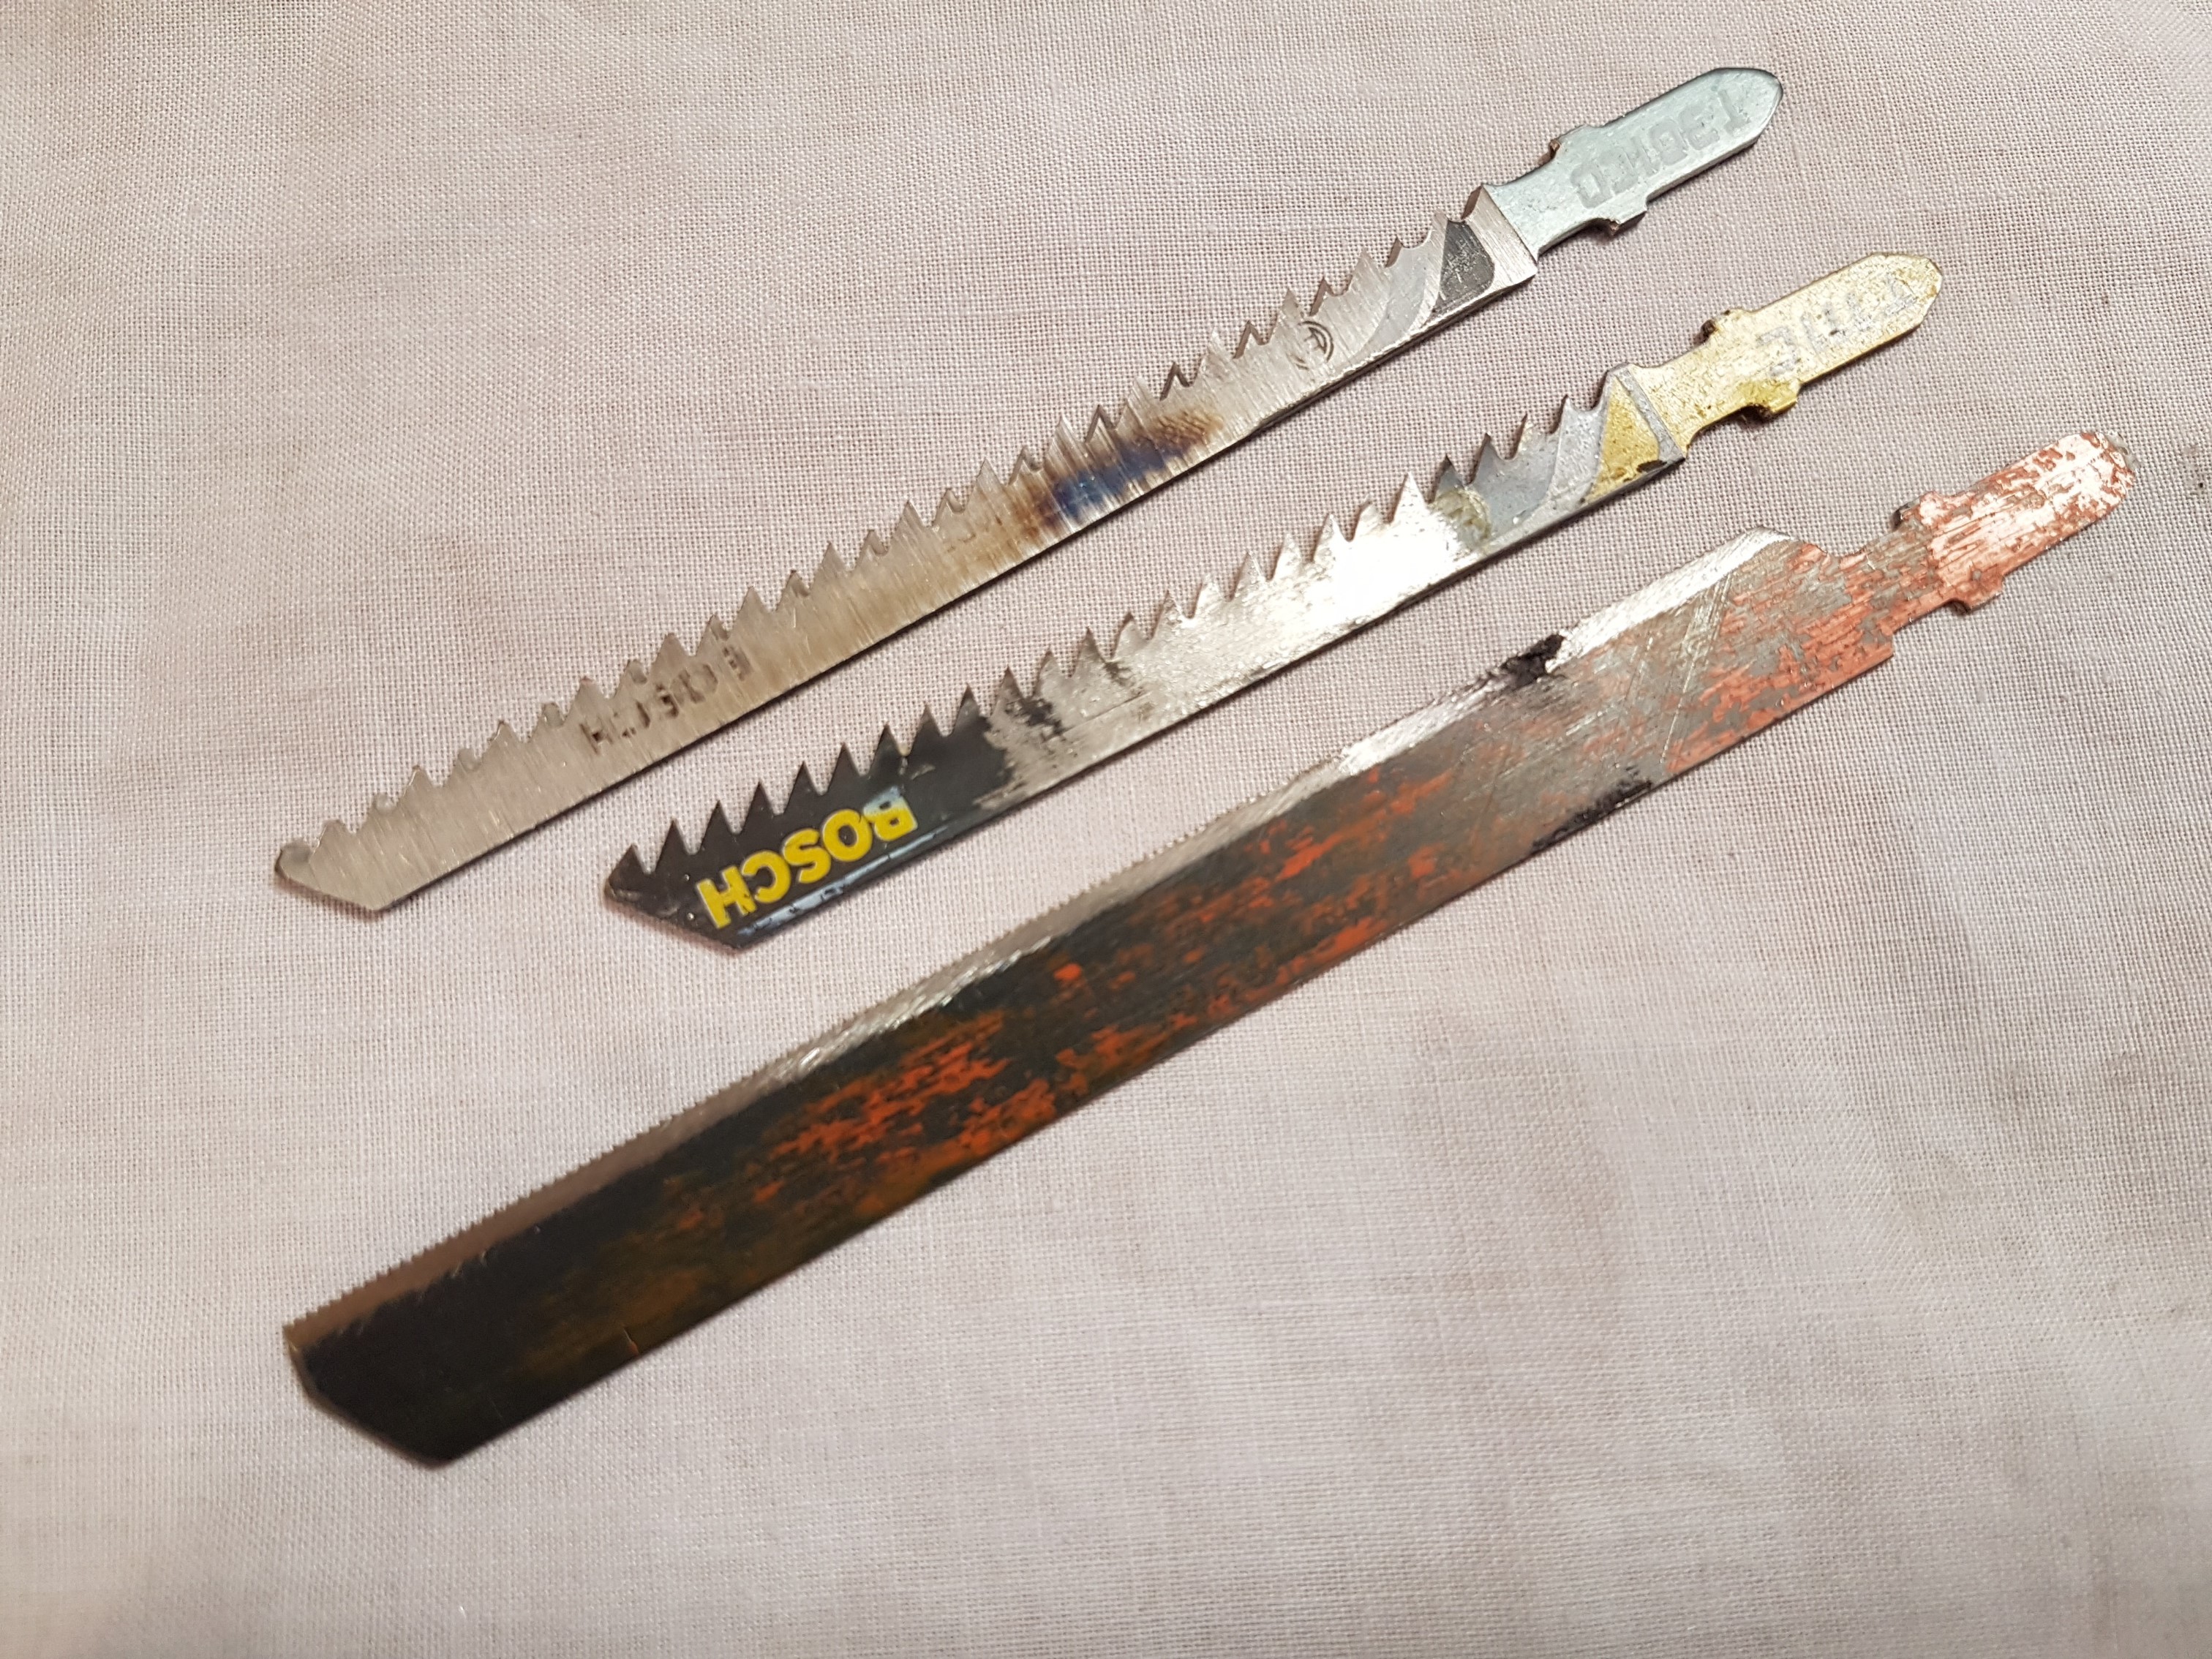
Using a broken hacksaw blade with fine teeth (32 TPI) I ground the cutting edge like a knife but retained just the remnants of the teeth on the leading edge. I then filed out the shank to fit my jigsaw and trimmed off the length of the blade to suit the thickness of material I wanted to cut.
Photo: A couple of normal jigsaw blades and my modified hacksaw blade.
This worked a treat and when tested on pluck-foam and closed-cell foam provided a very clean, precise cut.
Additional thoughts:
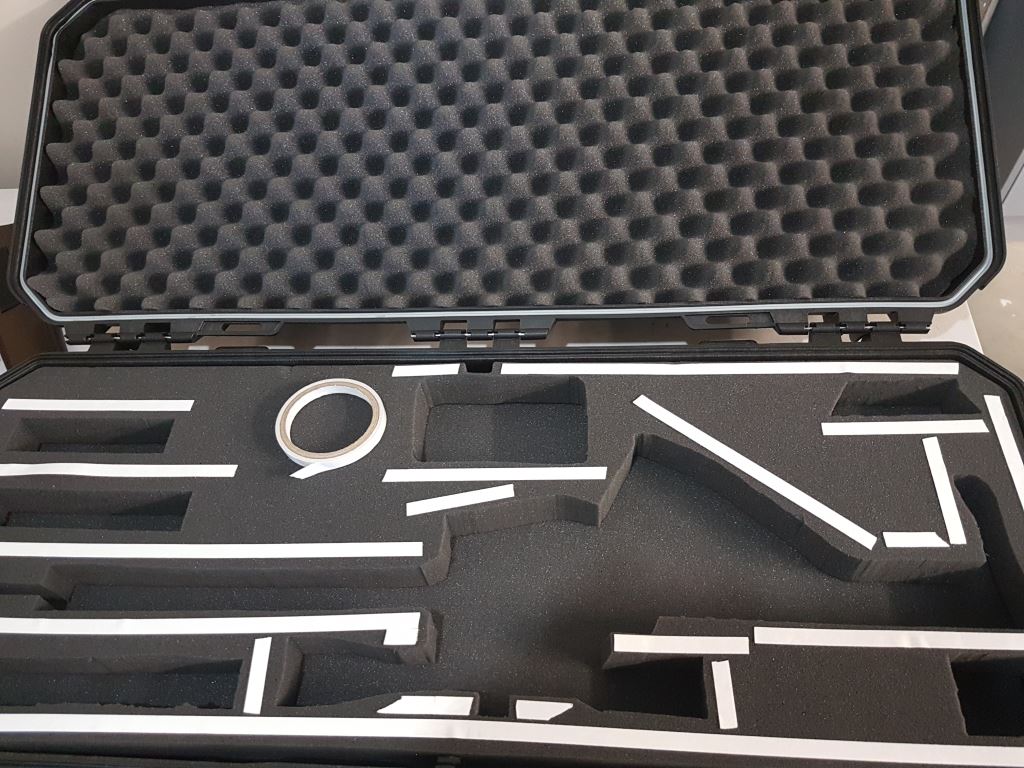
1 Flip your foam over and lay everything out on the rear side before drawing around it with a marker. This way your pen markings will not be on the visible foam. Remember to lay things out in a "mirror image" so items are where you want them when you flip the foam upright.
2. Where possible, align straight edges with the pluck foam layout.
3. Use double-sided tape to keep the cut foam pad from moving about on the lower foam pad. If you glue it from the start you won't be able to make easy adjustments later.
4. Once you have your cut-outs set in stone, use spray adhesive to glue the foams together. You'll do this the day before you realise you want to add something else!
This layout will do for now. I'll run this layout for a year and see how it goes then eventually I'll get some closed-cell foam and do it all up properly. A nice blue underlay will look sharp next time around.
Welcome guest, is this your first visit? Create Account now to join.
Welcome to the NZ Hunting and Shooting Forums.
Search Forums


User Tag List
Results 1 to 6 of 6
Thread: Gun Case - A tip on cutting foam
Threaded View
-
12-03-2019, 12:35 PM #1Member

- Join Date
- Mar 2016
- Location
- Arrowtown
- Posts
- 1,350
Gun Case - A tip on cutting foam


 Reply With Quote
Similar Threads
-
Closed cell foam for fish mounting
By Preacher in forum TaxidermyReplies: 10Last Post: 17-01-2019, 03:57 PM -
DIY Foam Target
By Blue Arrow in forum ArcheryReplies: 13Last Post: 28-11-2015, 06:53 AM
Tags for this Thread
 Posting Permissions
- You may not post new threads
- You may not post replies
- You may not post attachments
- You may not edit your posts
Welcome to NZ Hunting and Shooting Forums! We see you're new here, or arn't logged in. Create an account, and Login for full access including our FREE BUY and SELL section Register NOW!!
All times are GMT +13. The time now is 05:52 PM.

Bookmarks