


 LinkBack URL
 About LinkBacks
Following @RV1's request for info on making a tarp, thought I'd post it here.
My UK Army basha is slowly making its way back from UK, so thought I'd have a crack at making one.
Went to Spotlight, and bought:
- 3.5m of ripstop nylon (1.5m wide roll)
- 5m of 20mm nylon webbing
- Strongest synthetic thread they had
Sewing shop
- 3.5m nylon ribbon (lighter than webbing)
From a sailing/marine shop:
- 15m of 2.0mm cord (the sheathed 'paracord' is a bugger for twisting, so if you can find just the braided nylon, that's better)
- 5m of 2.5 or 3mm cord
Then from Bunno's:
- type of 100% silicon (clear)
- 4L unscented turps
Then back to Spotlight to buy:
- the other half of 3.5m of ripstop nylon (1.5m wide roll)... oops
The ripstop nylon is slippery shit, so was quite hard to keep together. I ended up gluing it along the main ridge seam to keep it together when sewing, but this wasn't entirely successful.
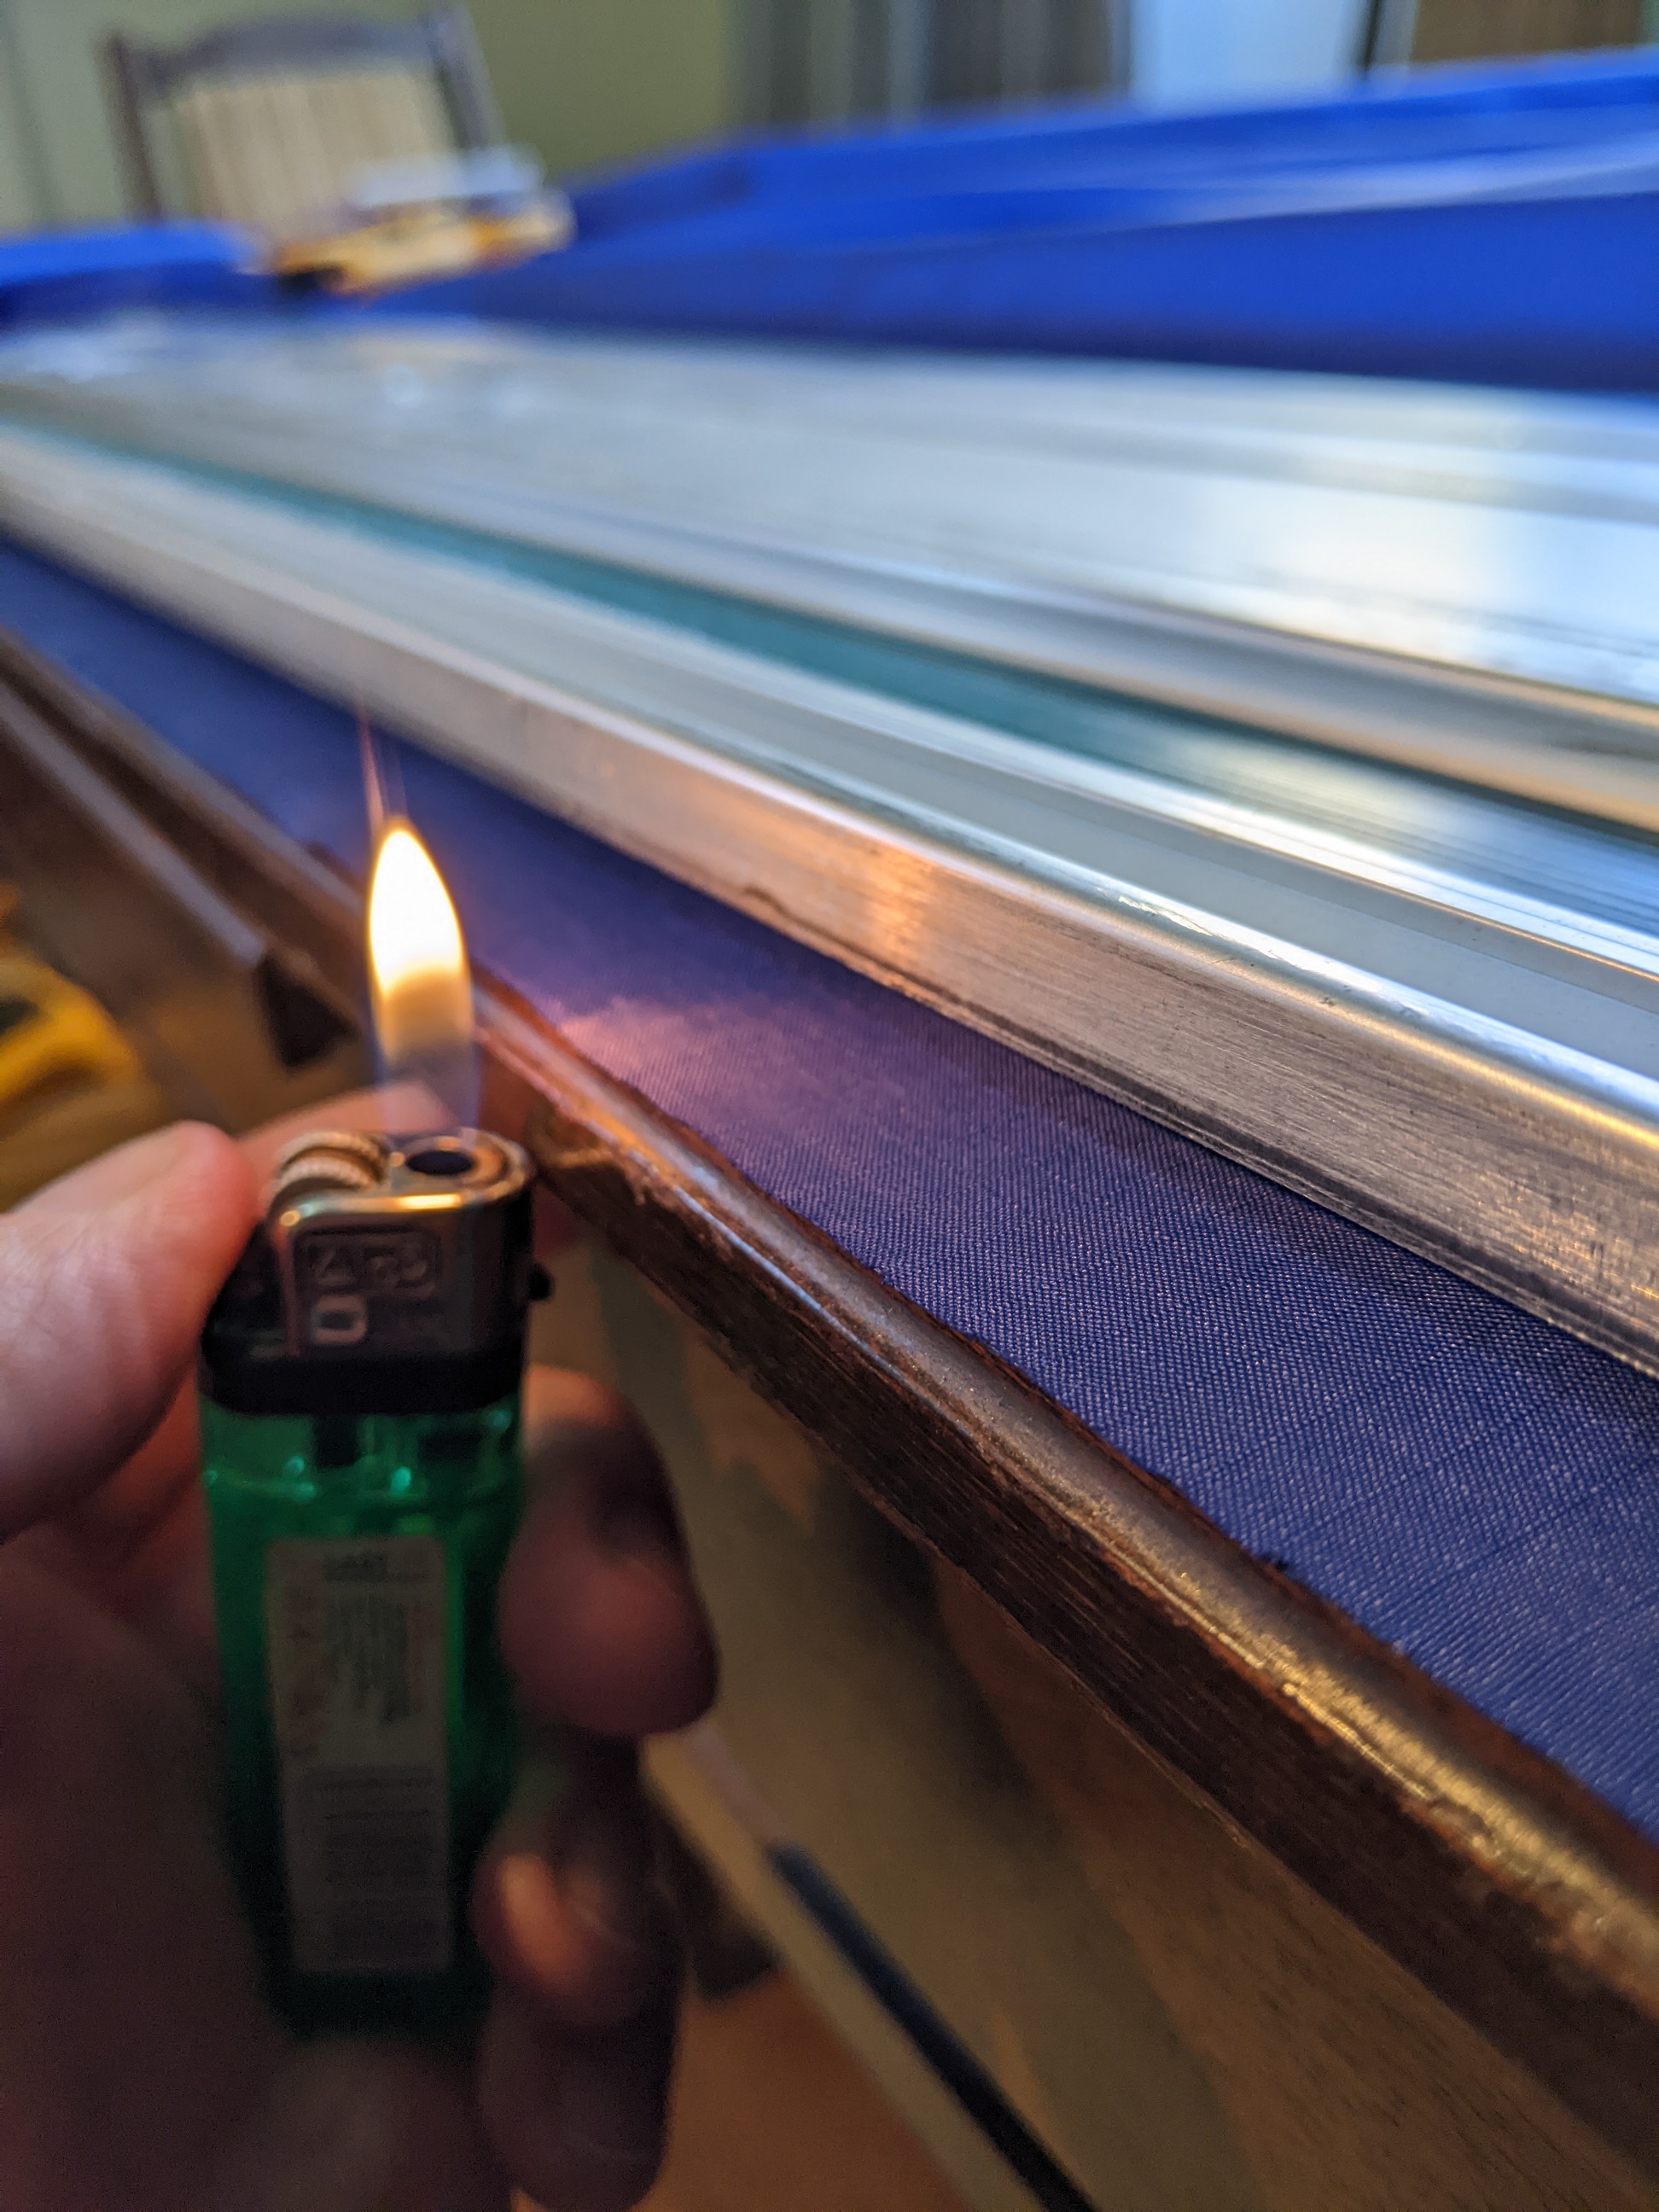
First got a straight-edge, and cut... straight edges. Then got a lighter and melted all the edges so they wouldn't fray.
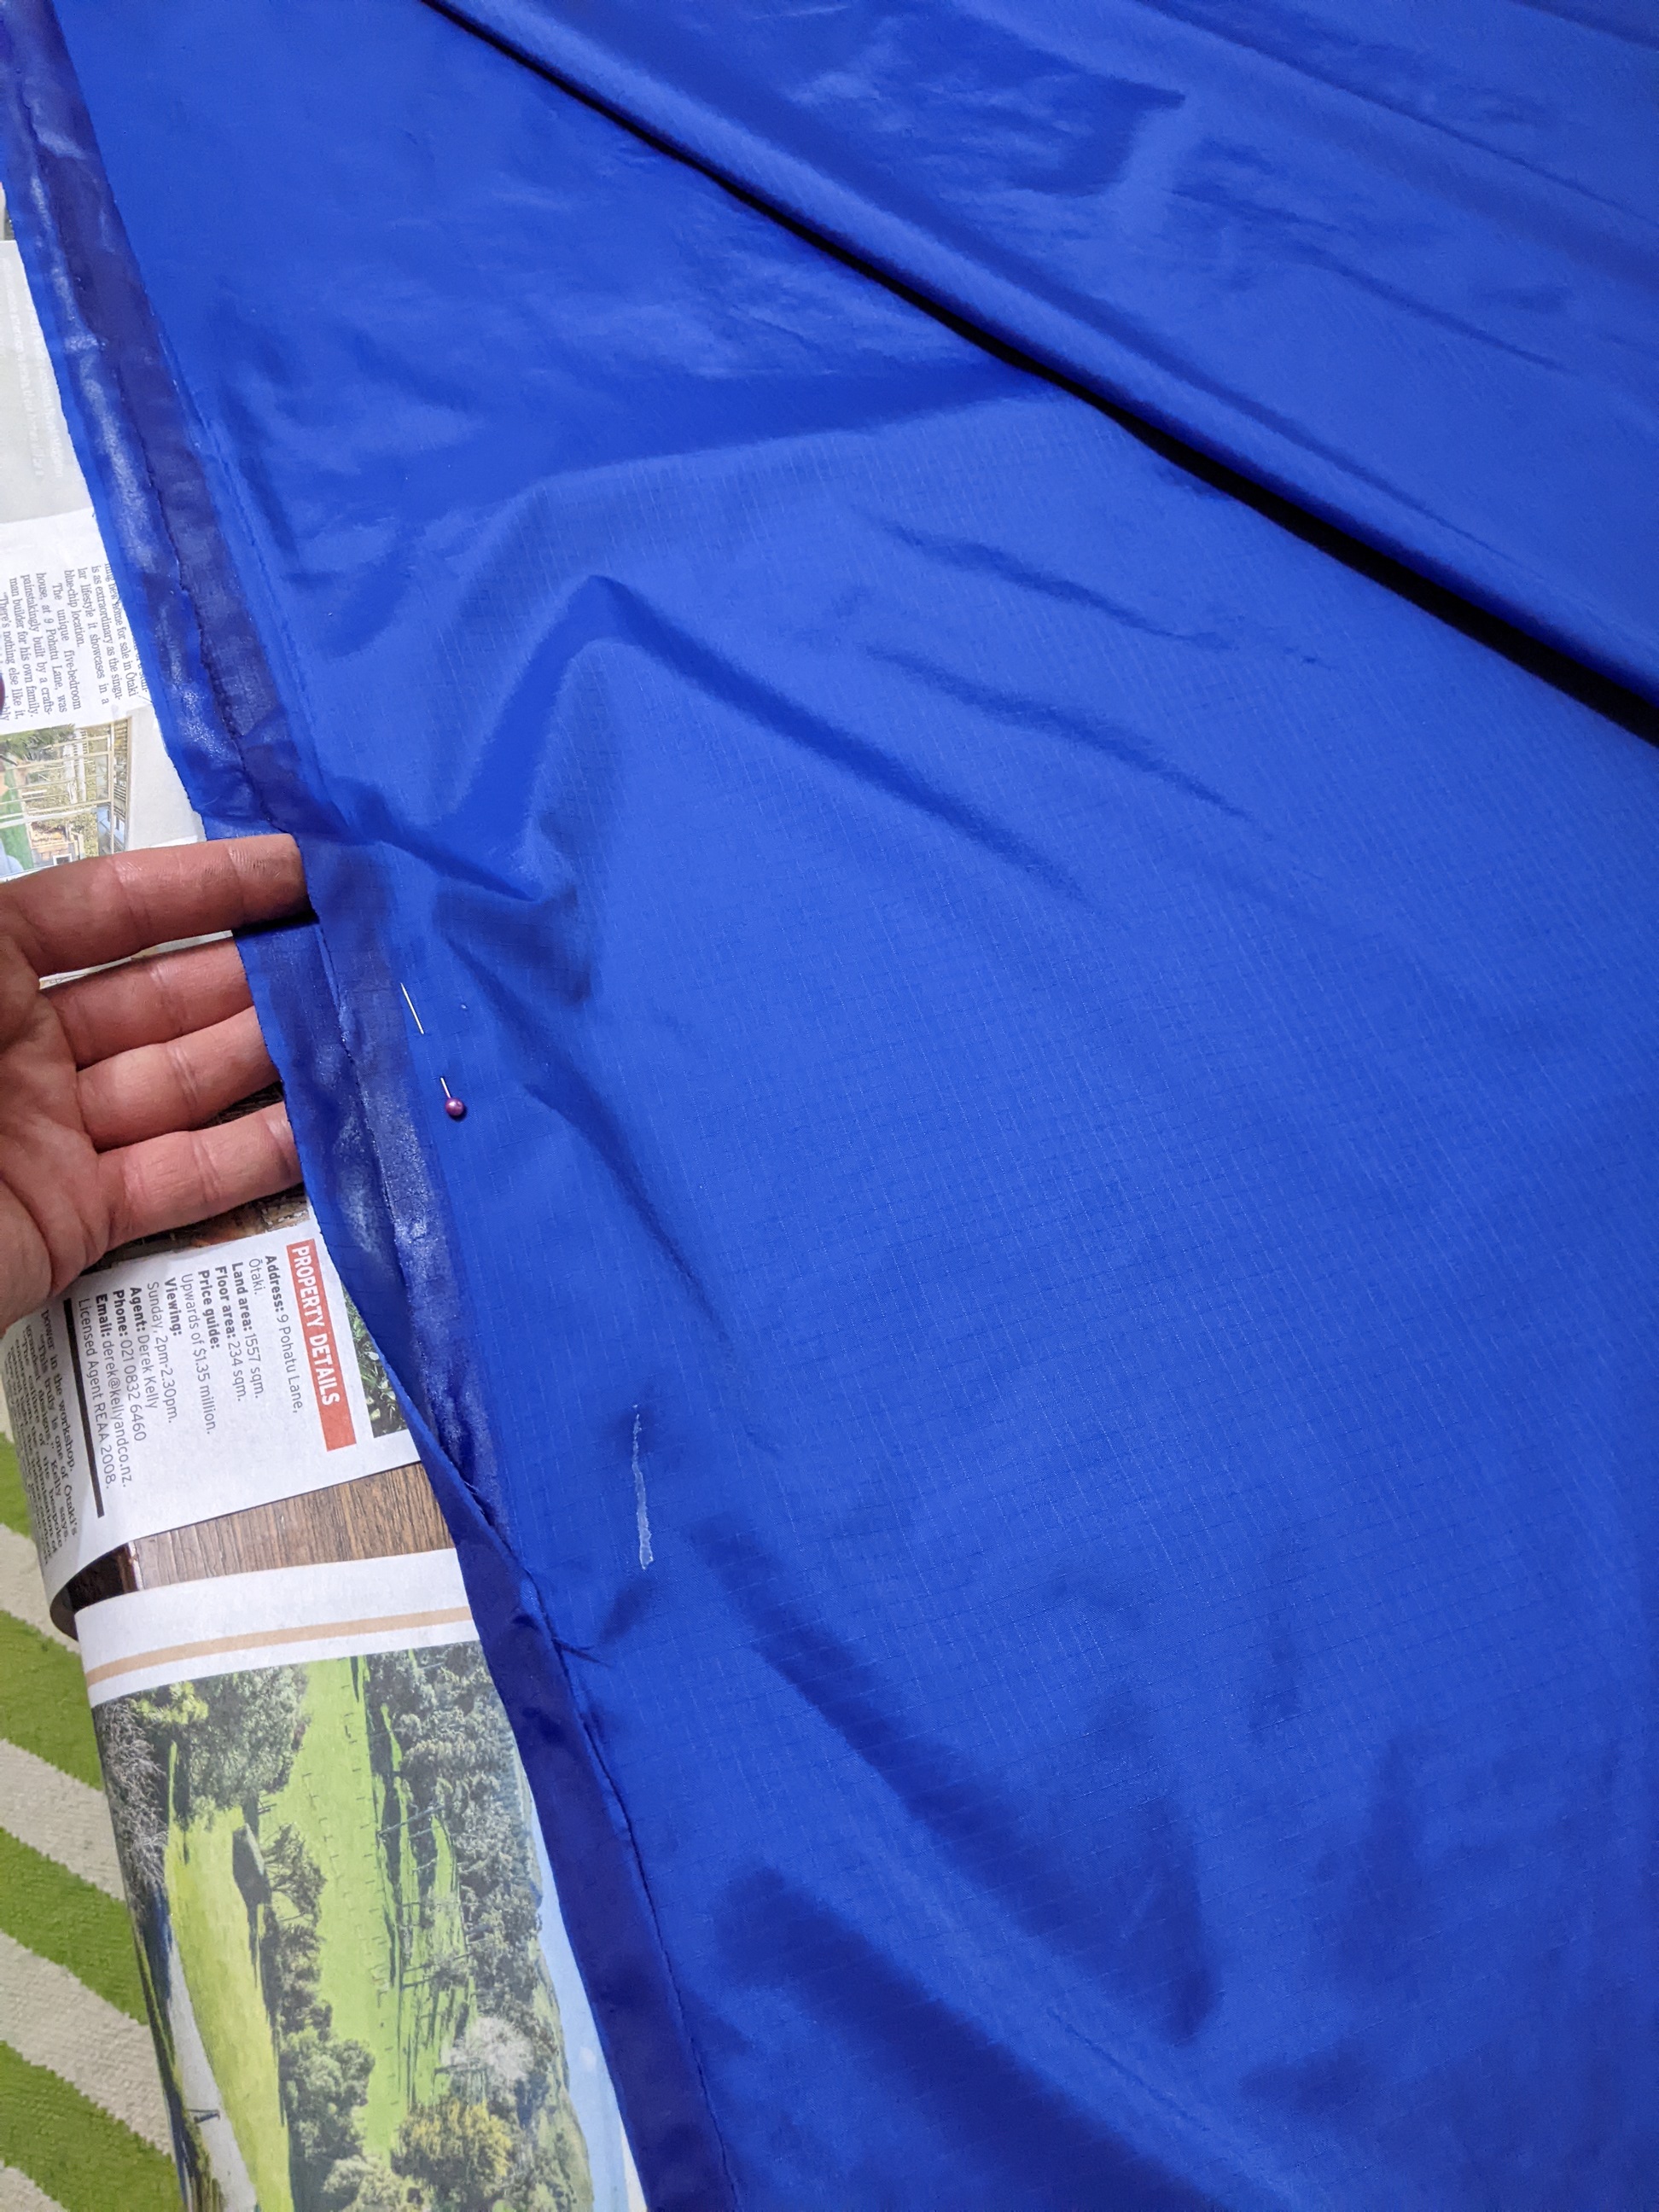
With a hot iron (surprised it didn't melt it, but it didn't), folded over a 8-10mm edge along the long side of one piece of the fabric.
Then glued (used that spray-mount stuff... not overly successful, could maybe try Ados F2? It's just to hold it in place while sewing) the flap over the other long edge of the other piece. Once this had set, I ran a line of stitching along the whole thing to hold them together.
(Using glue to try hold the folded edges together...)
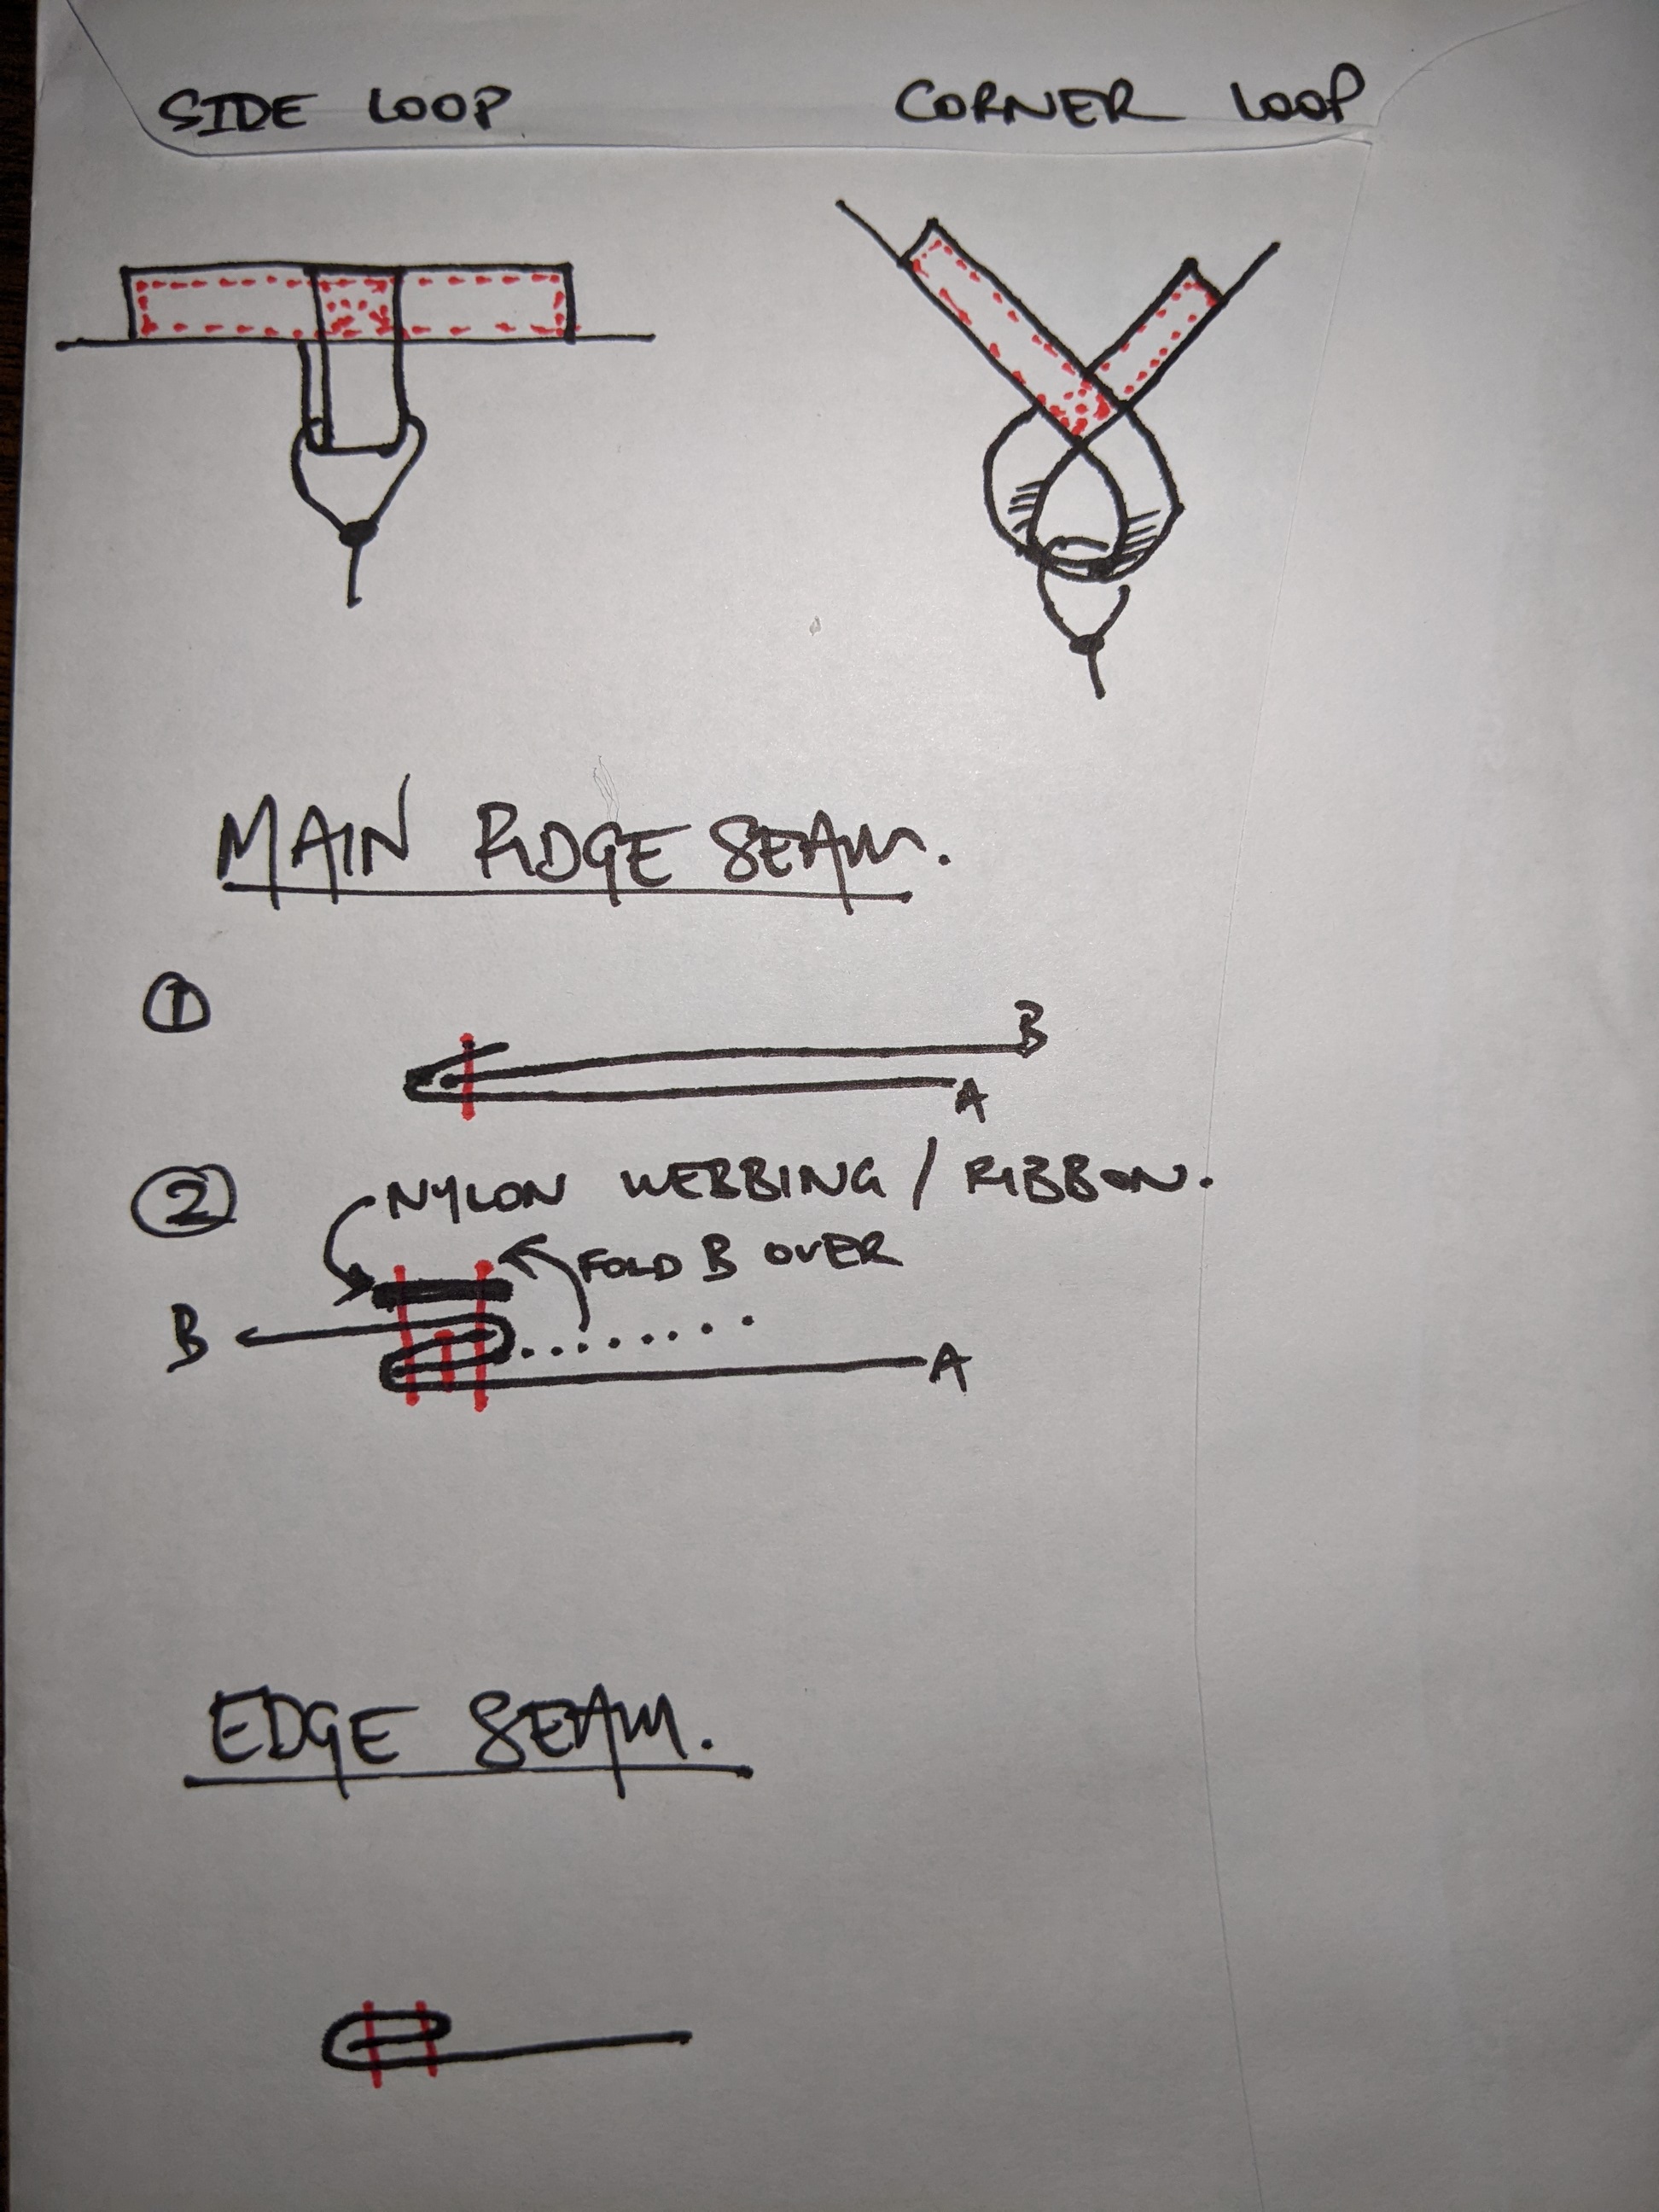
Then folded and ironed the second piece the opposite way to the first fold, to create sort of a 'Z'.
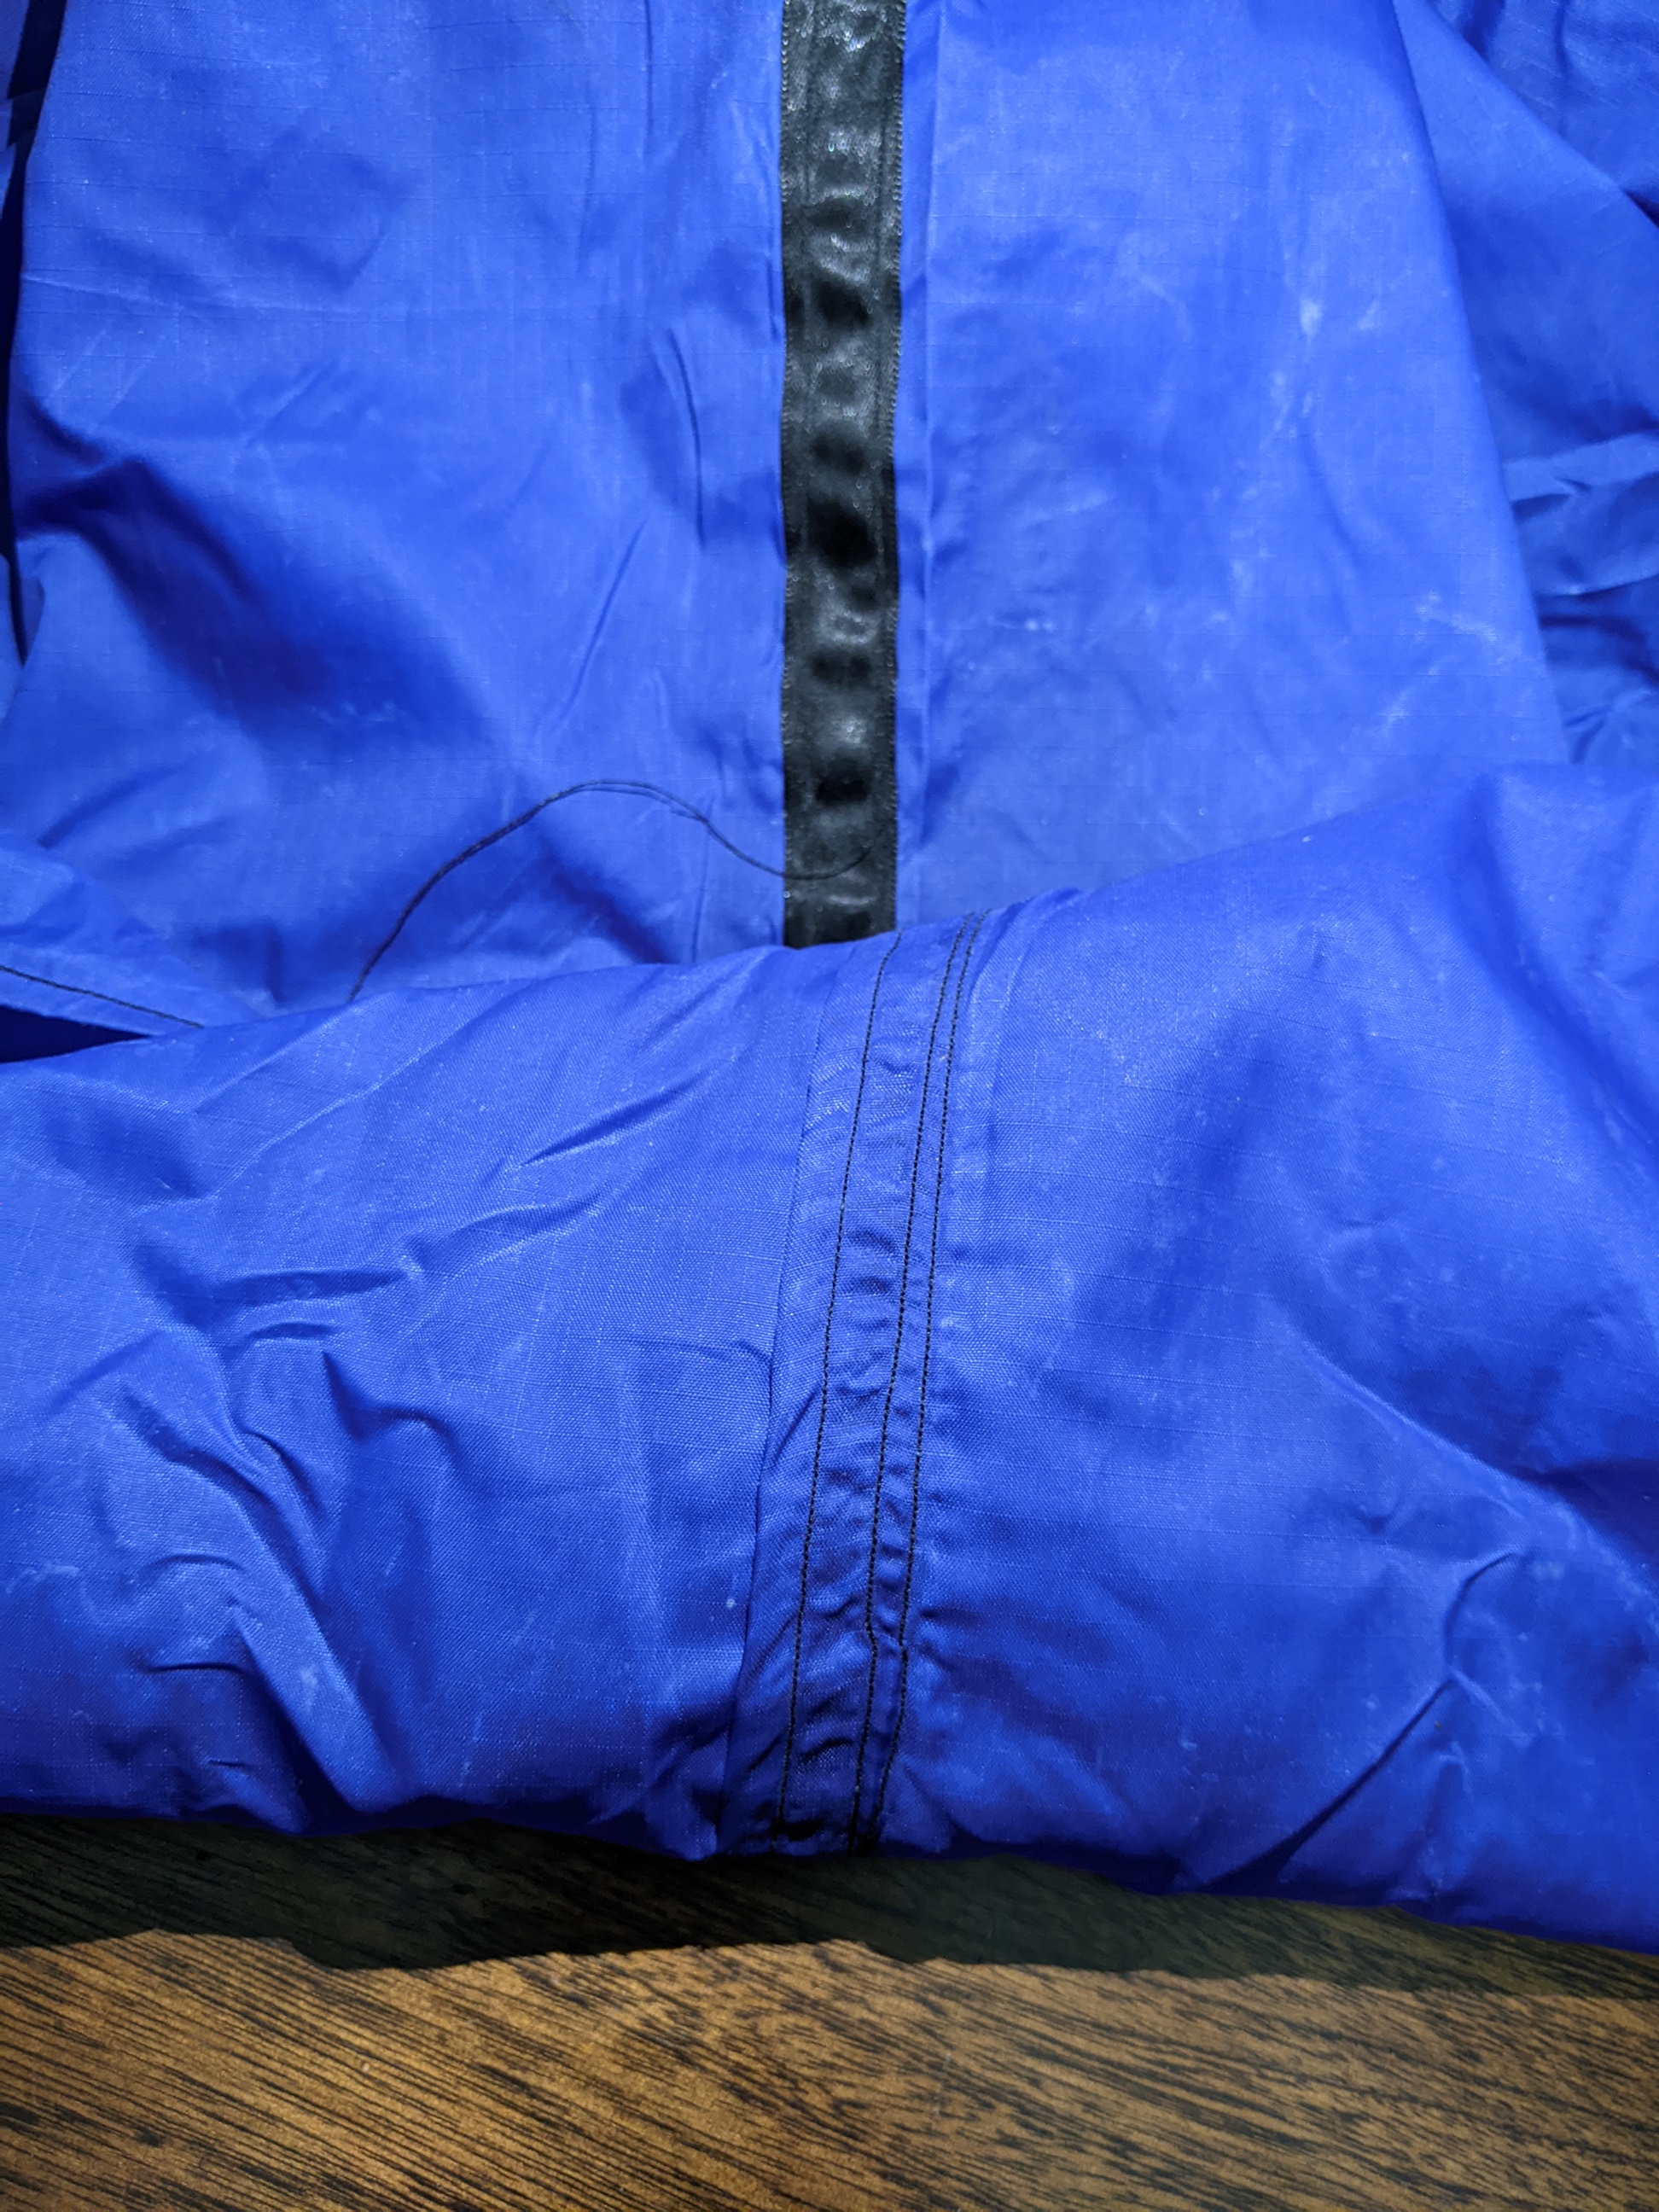
Along the top of the 'Z', laid the nylon ribbon, then stitched all the way along on both sides, far enough in from the edge to pick up all layers of fabric below. Tried to draw it - hope it makes sense.
At each end, I had planned to make a loop from the ribbon along the ridge, but forgot, so stitched on a loop of the webbing, which was probably harder wearing anyway.
(Loops at end of ridge line)
(Top and bottom of main ridge)
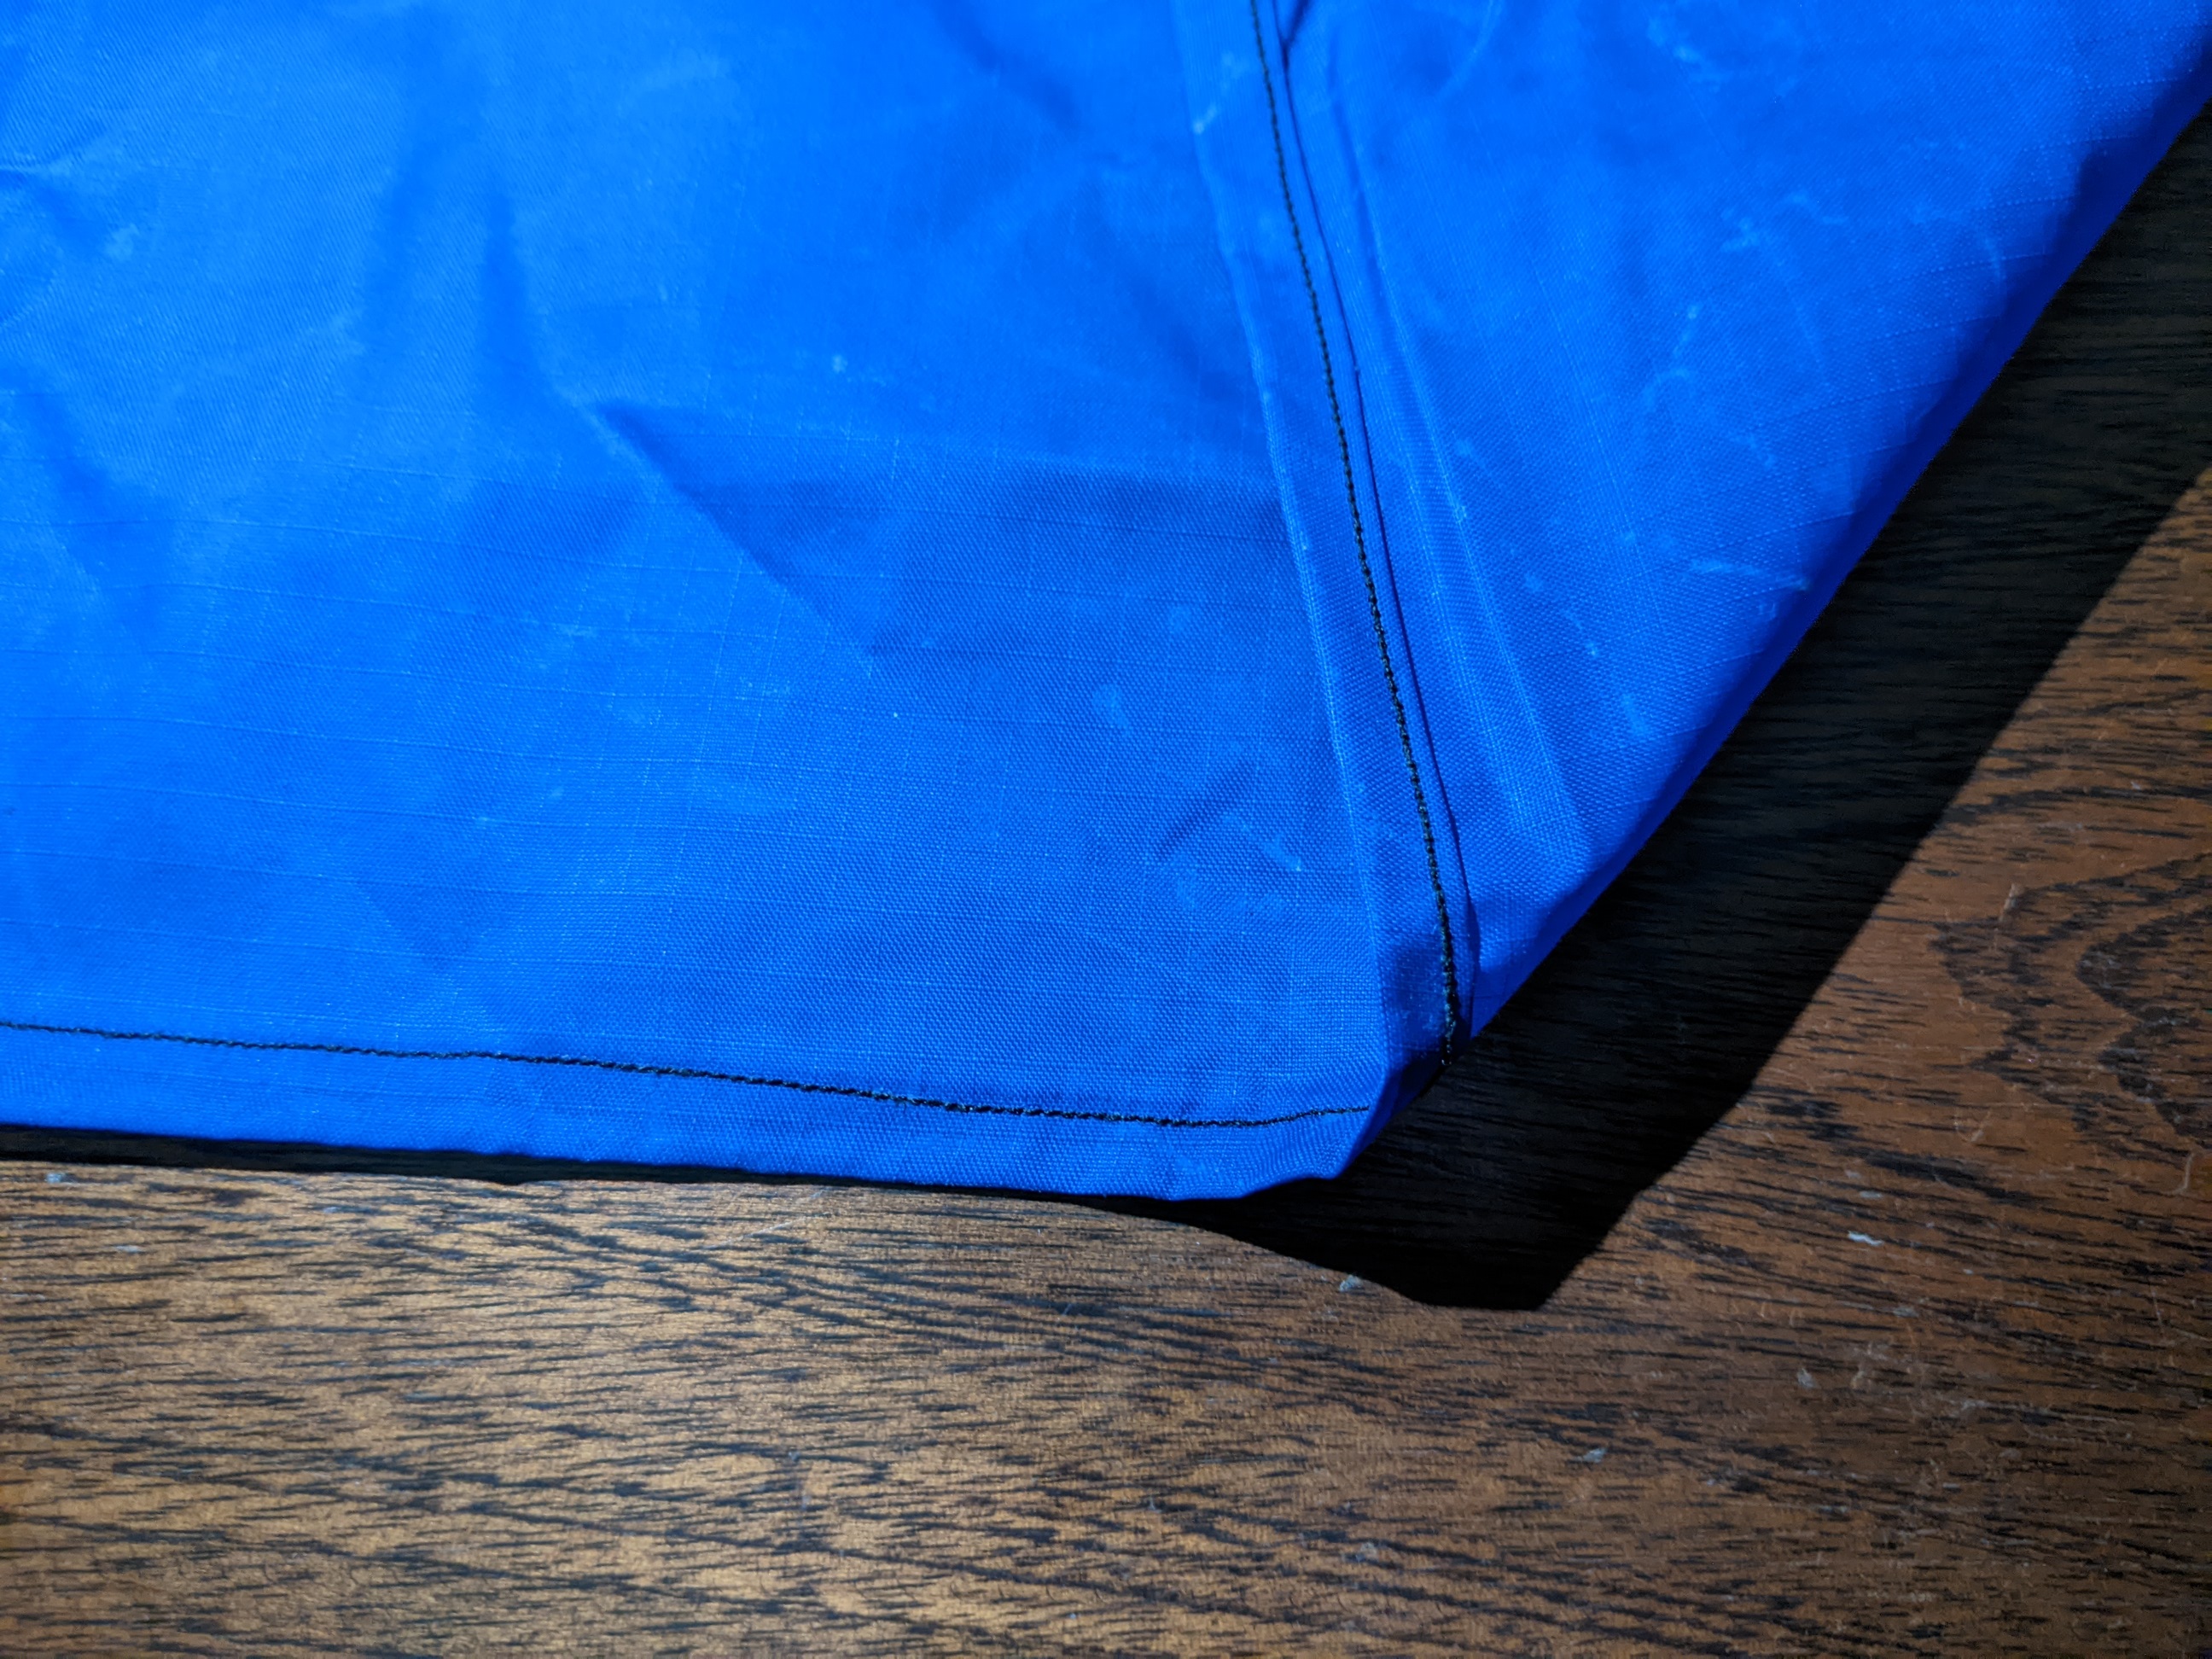
For the outer edges, I ironed a crease, then folded that and ironed it again, so the edge was inside the second fold. Then stitched around this, picking up both folds - apparently supposed tondontwo lines of stitching, but CBF. I had ordered some fancy sewing foot that did this automatically, but it didn't turn up in time.
(Top and bottom of edge seam)
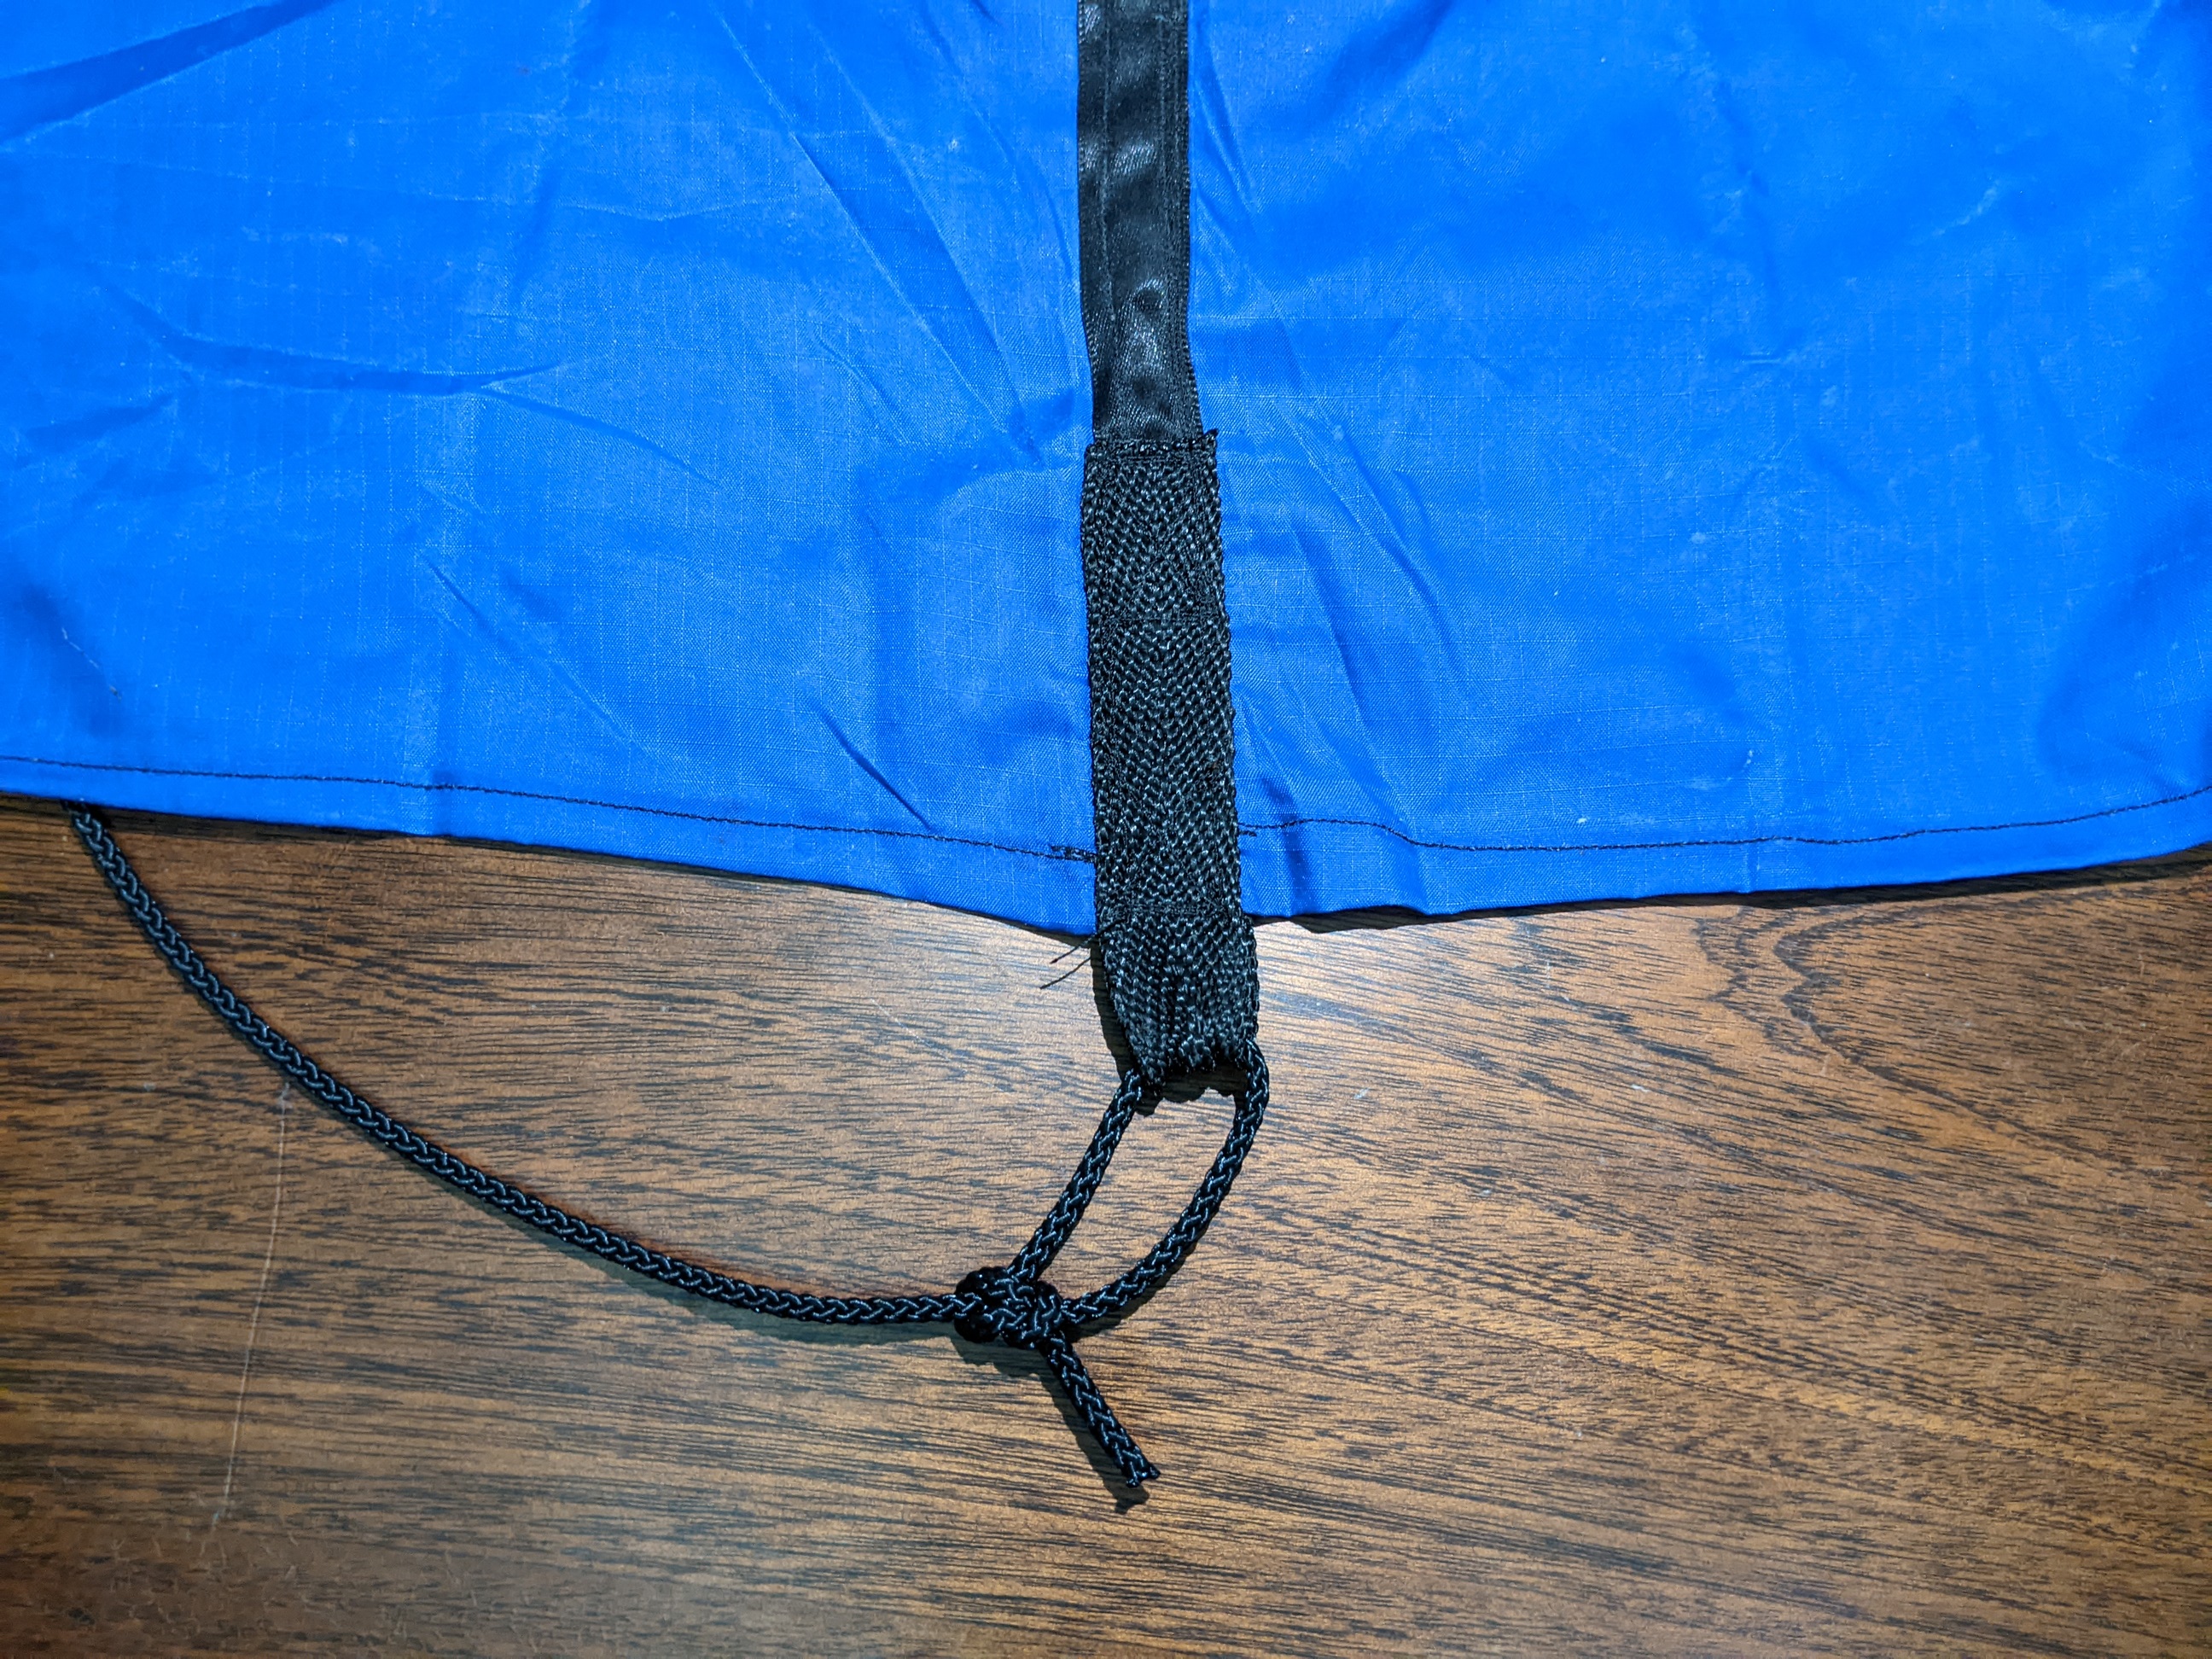
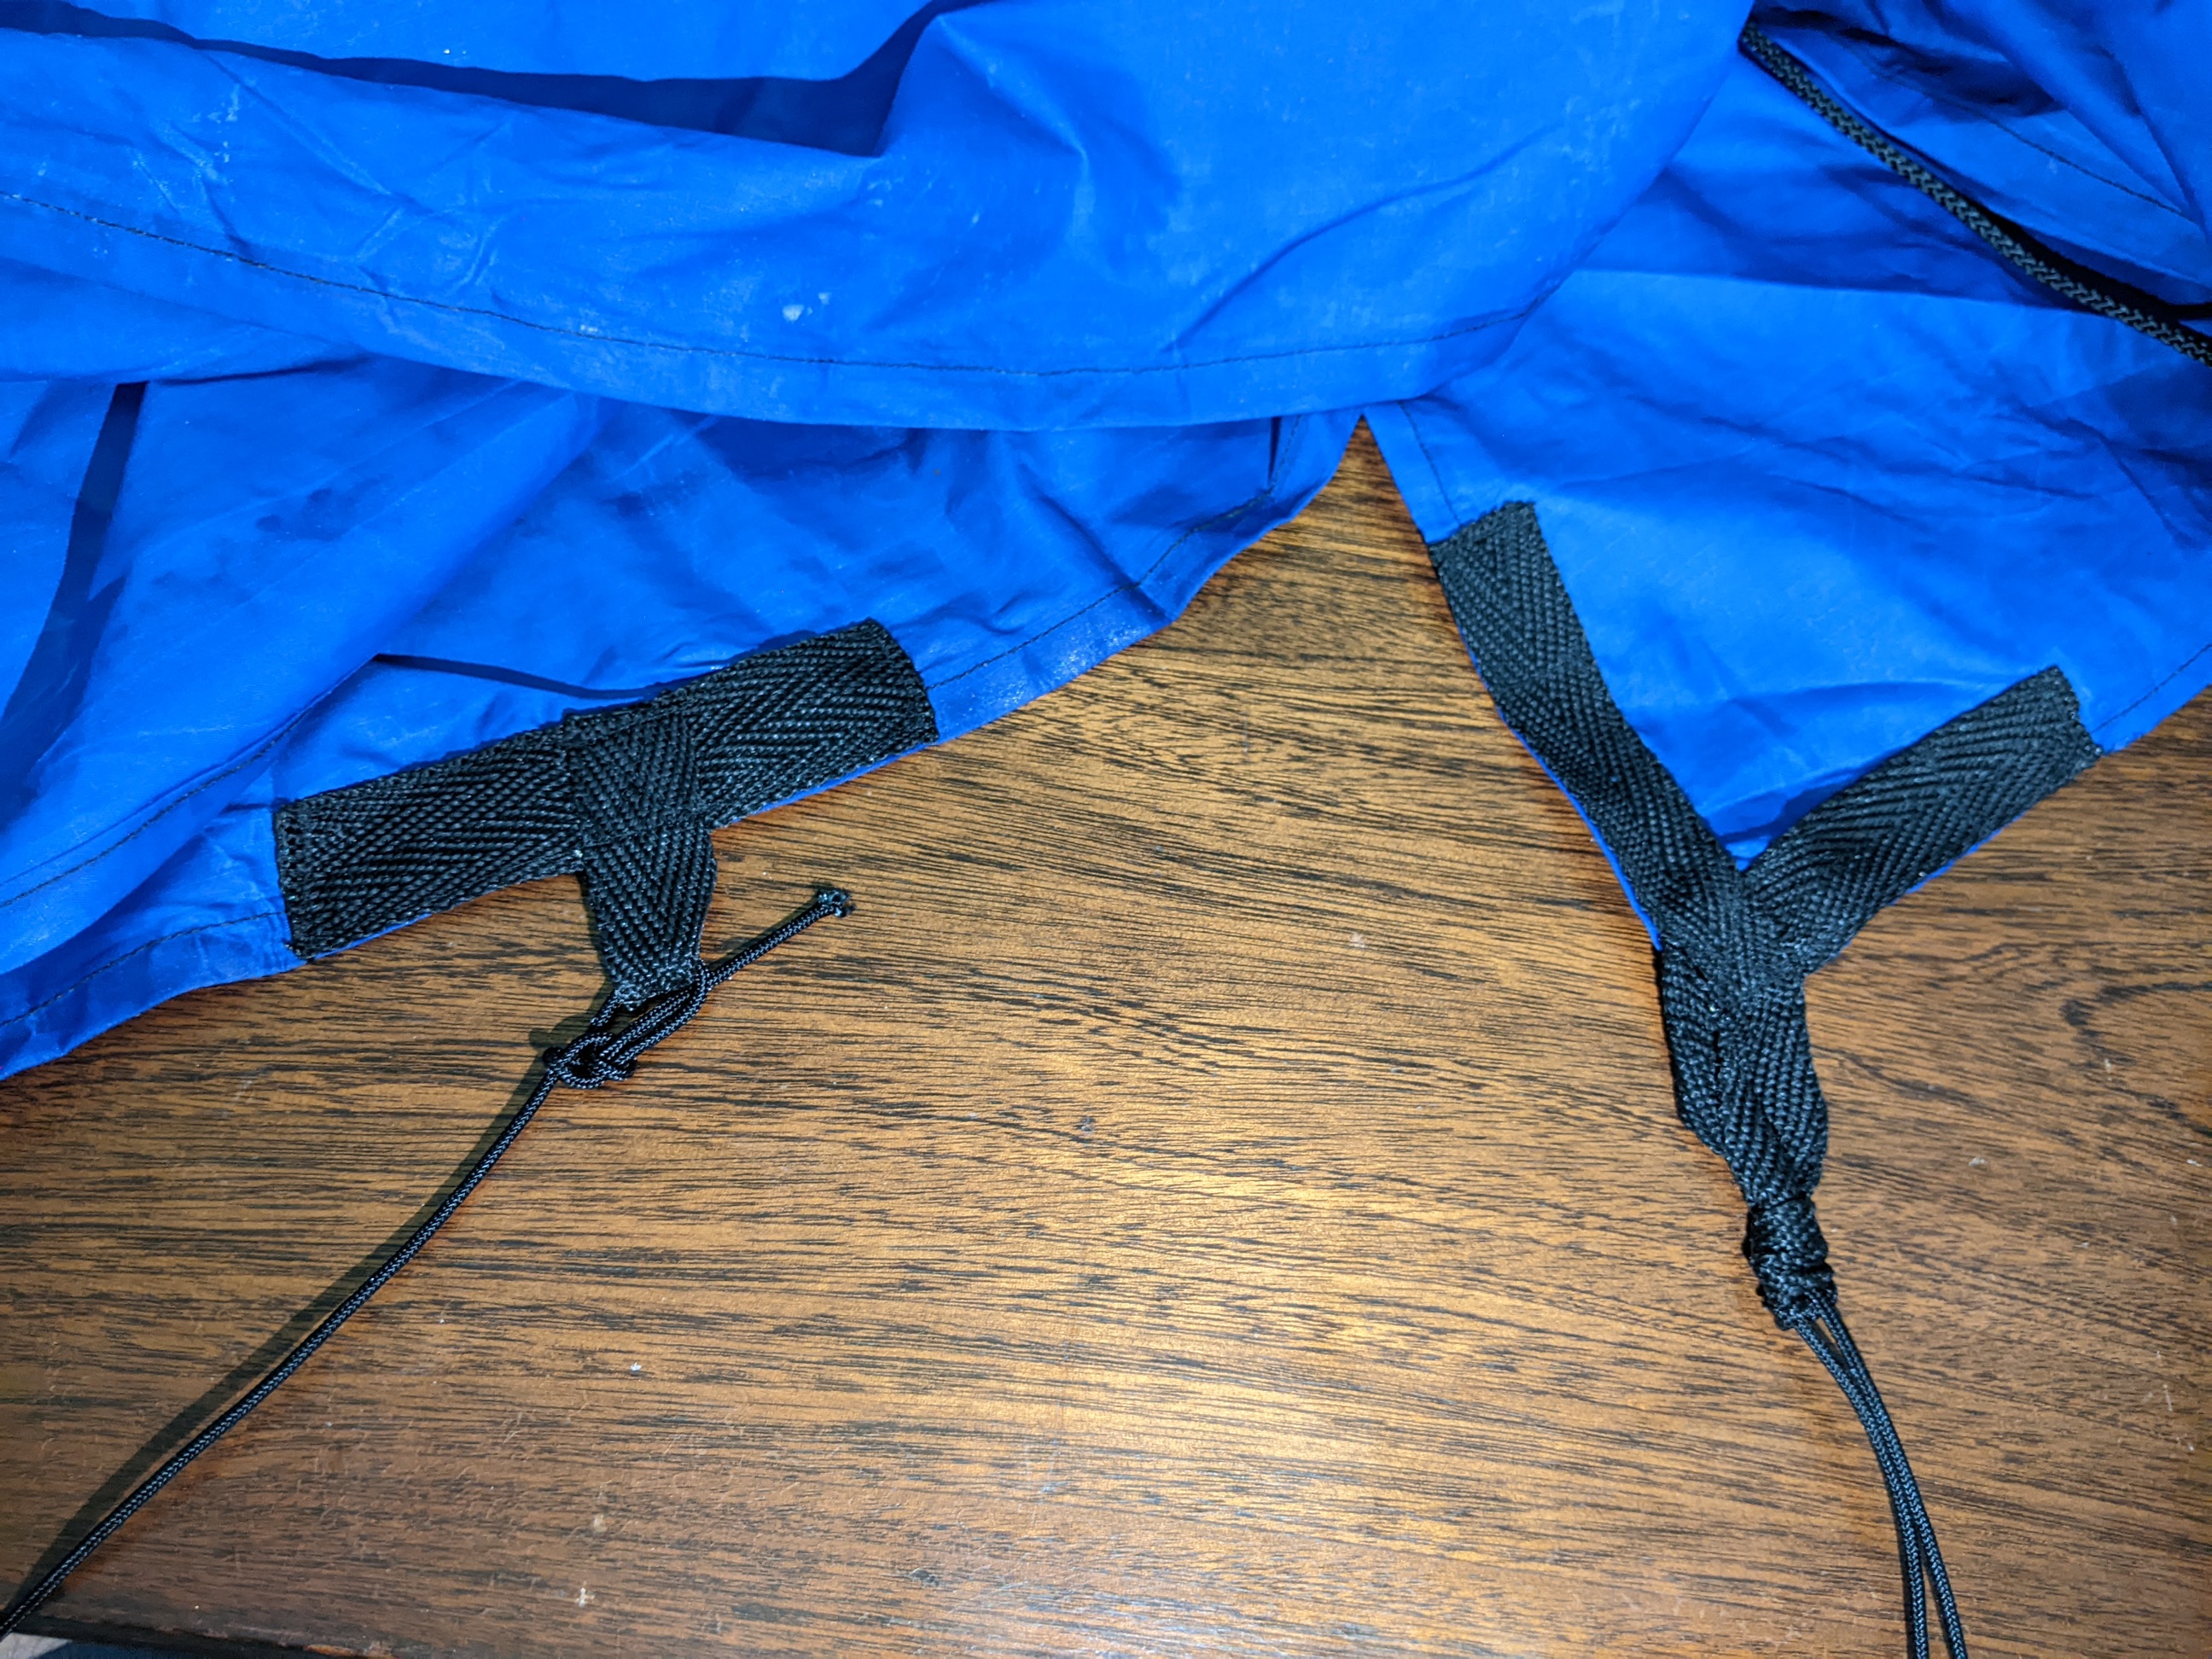
On all four corners, stitched a loop as photographed below, and then stitched loops at the centre of each side, and one in the middle of the ridge line - this is handy to tie the centre up to a branch to give the ridge a bit more strength when it's windy.
(Corner and side loops)
Then to each end of the main ridge, tied a 2-3m length of the 2.5 or 3.0mm cord, and to each of the three loops along each side, tied 2-3m of the 2.0mm cord.
Lastly, to waterproof it, mixed half a tube of silicon to 2L of turps in a bucket till there was no lumps of silicon left in the mixture. Then just dunked it in and mixed it about till it all had a good coating. Hung it up to dry, and left it for a couple of days in the sun. The turps all evaporated off, and just leaves the coating of silicon on the nylon... and my fecking concrete. Plenty of super-serious pullhards on YouTube showing how to do it - this guy was the only one that didn't make me want to stab my eyeballs out while watching it: https://m.youtube.com/watch?v=-UTZPllgqSc
Lessons:
- ripstop nylon is slippery as a greased eel swimming in baby oil, and in sewing the main ridge seam, I didn't quite get it straight, so there's a saggy bit on one side of the ridgline (pic below). Next time, was going to sew the ridgline with a slight concave shape to prevent this. Apparently you can also do concave cuts on the side edges to help with tension. I could prob still do this, but can't be arsed redoing the side loops.
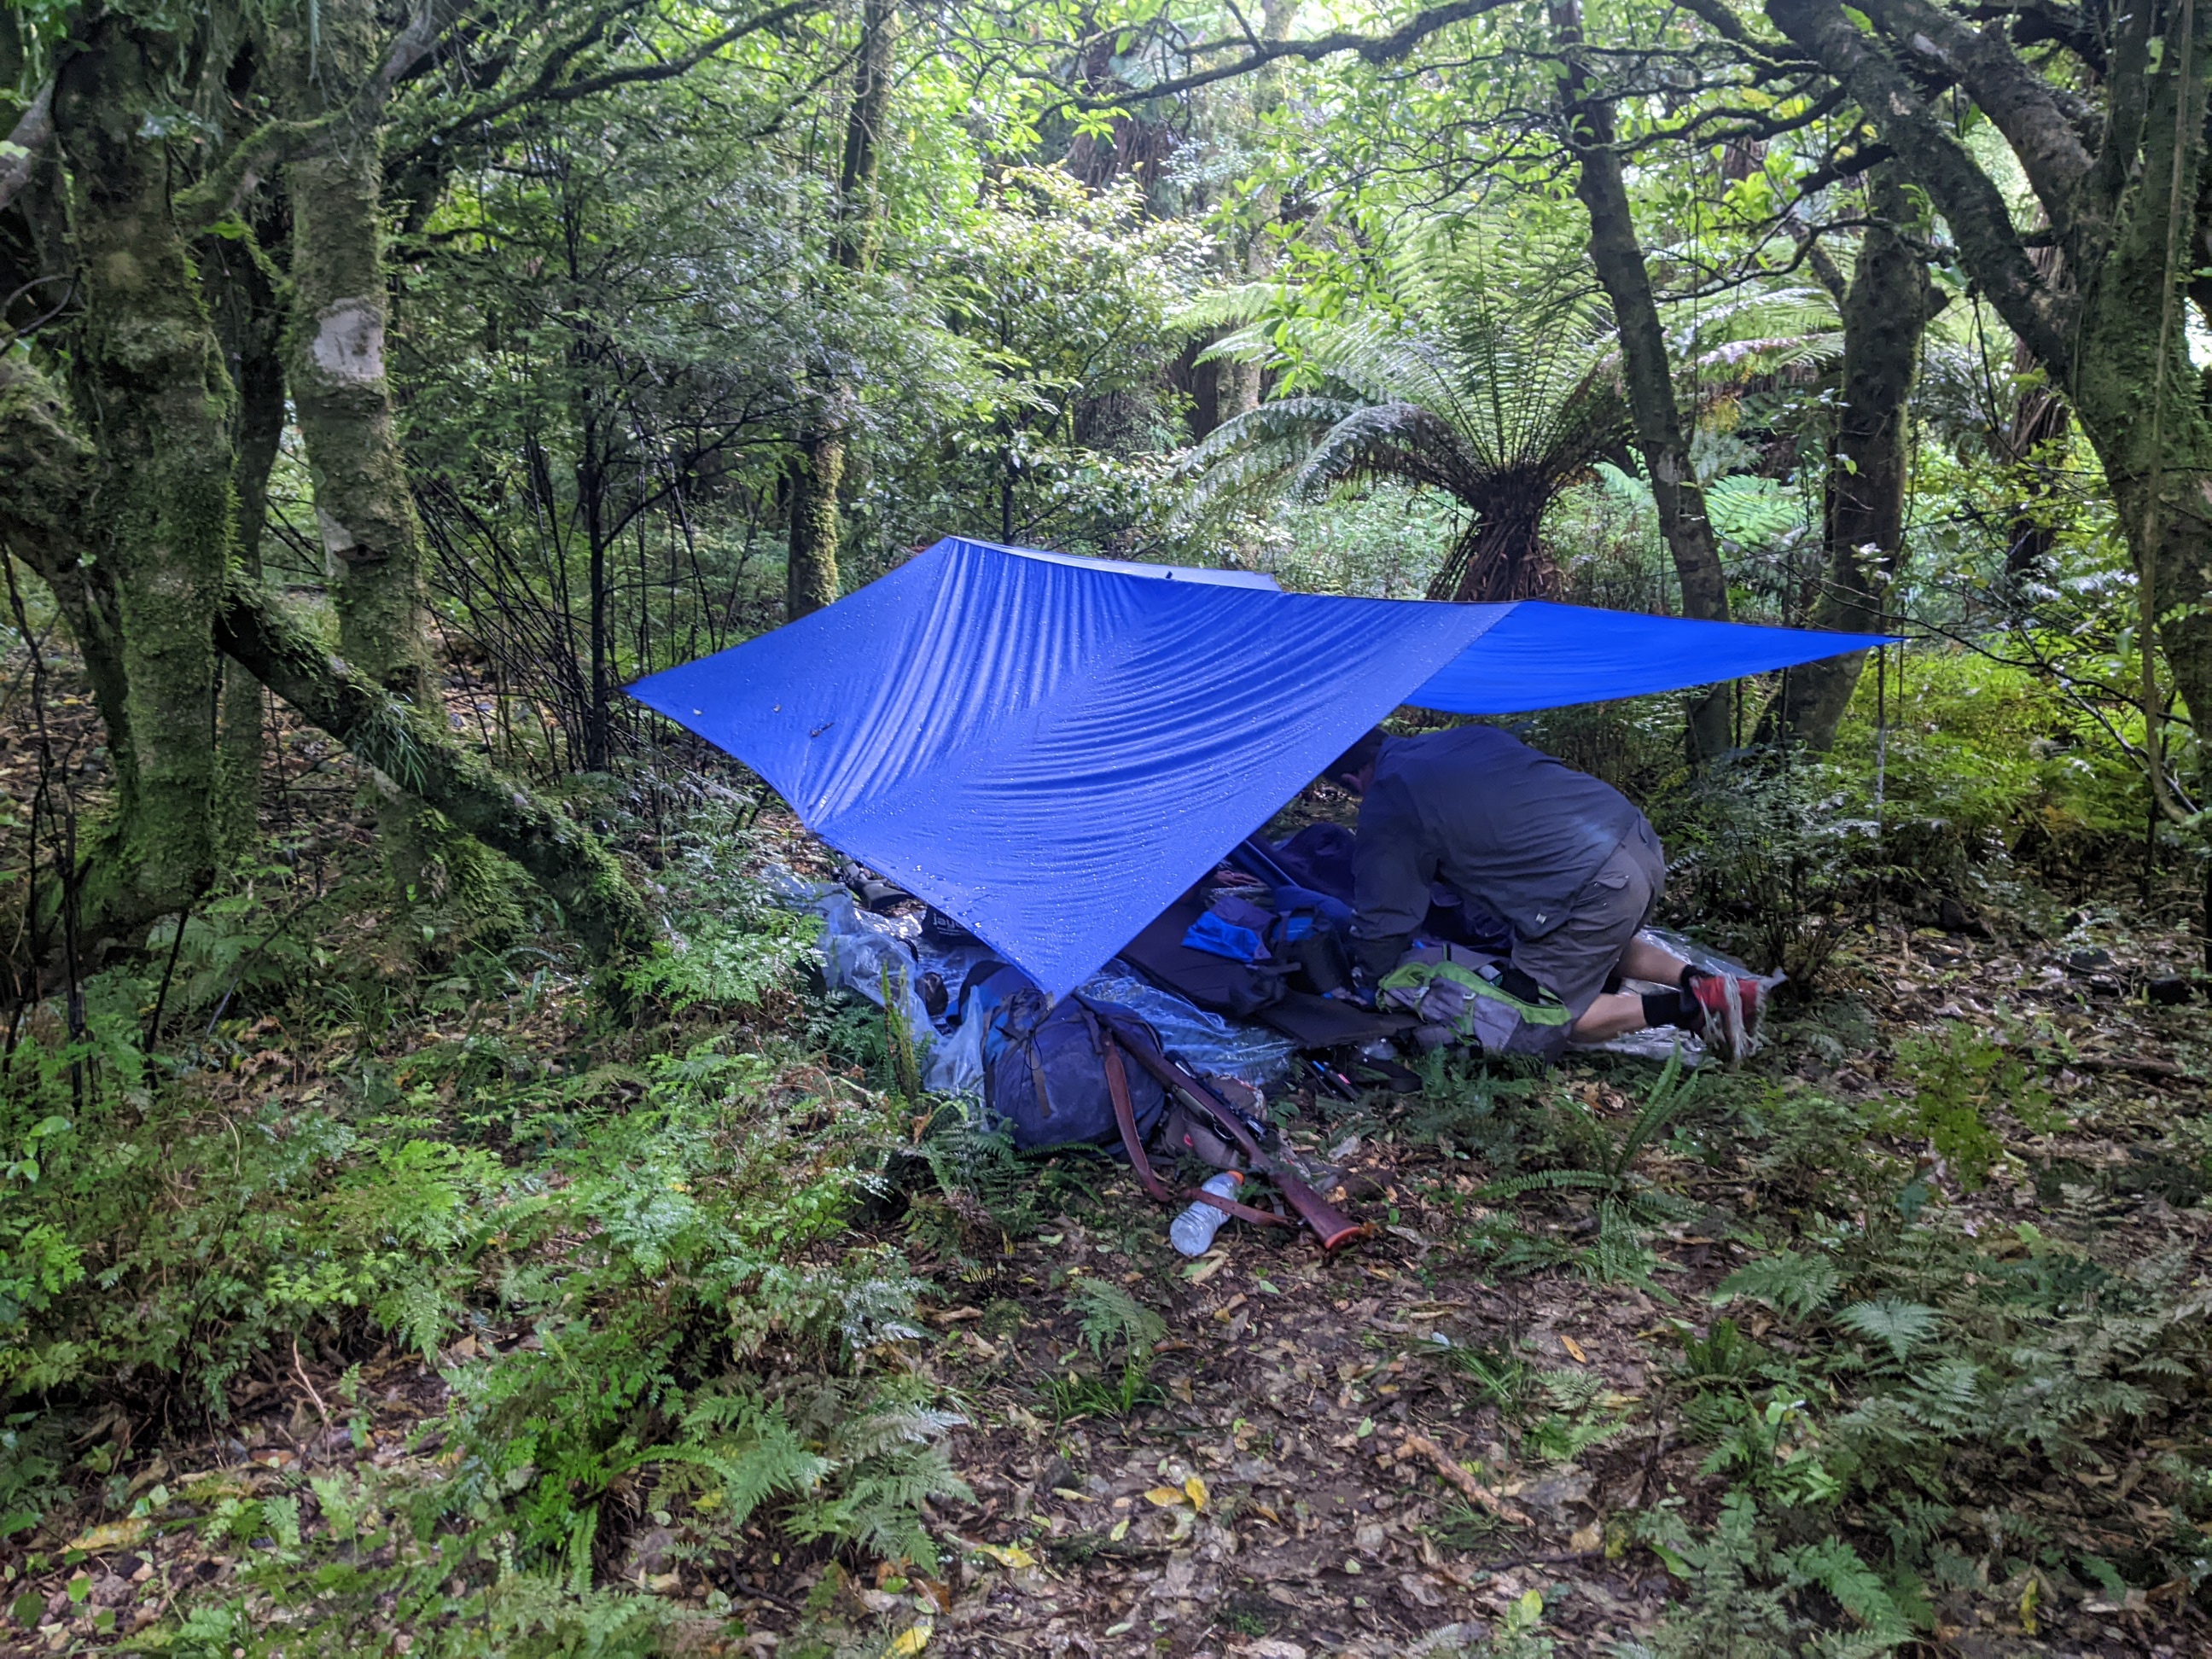
(See it's tight along the bottom, but still some sag along the centre. Also see the beautiful Model 70 Featherweight. 270 rearing to go! This slept 3ppl across with room for packs above our heads)
- the silicon thing worked pretty well. Slight whiff of turps, but not too bad. It rained pretty heavily the first night it got used, and with heavy drops of branches/leaves above, you would get a very, very fine mist come through, so ideally needed another coat, will do that with a paintbrush to ensure a good coating.
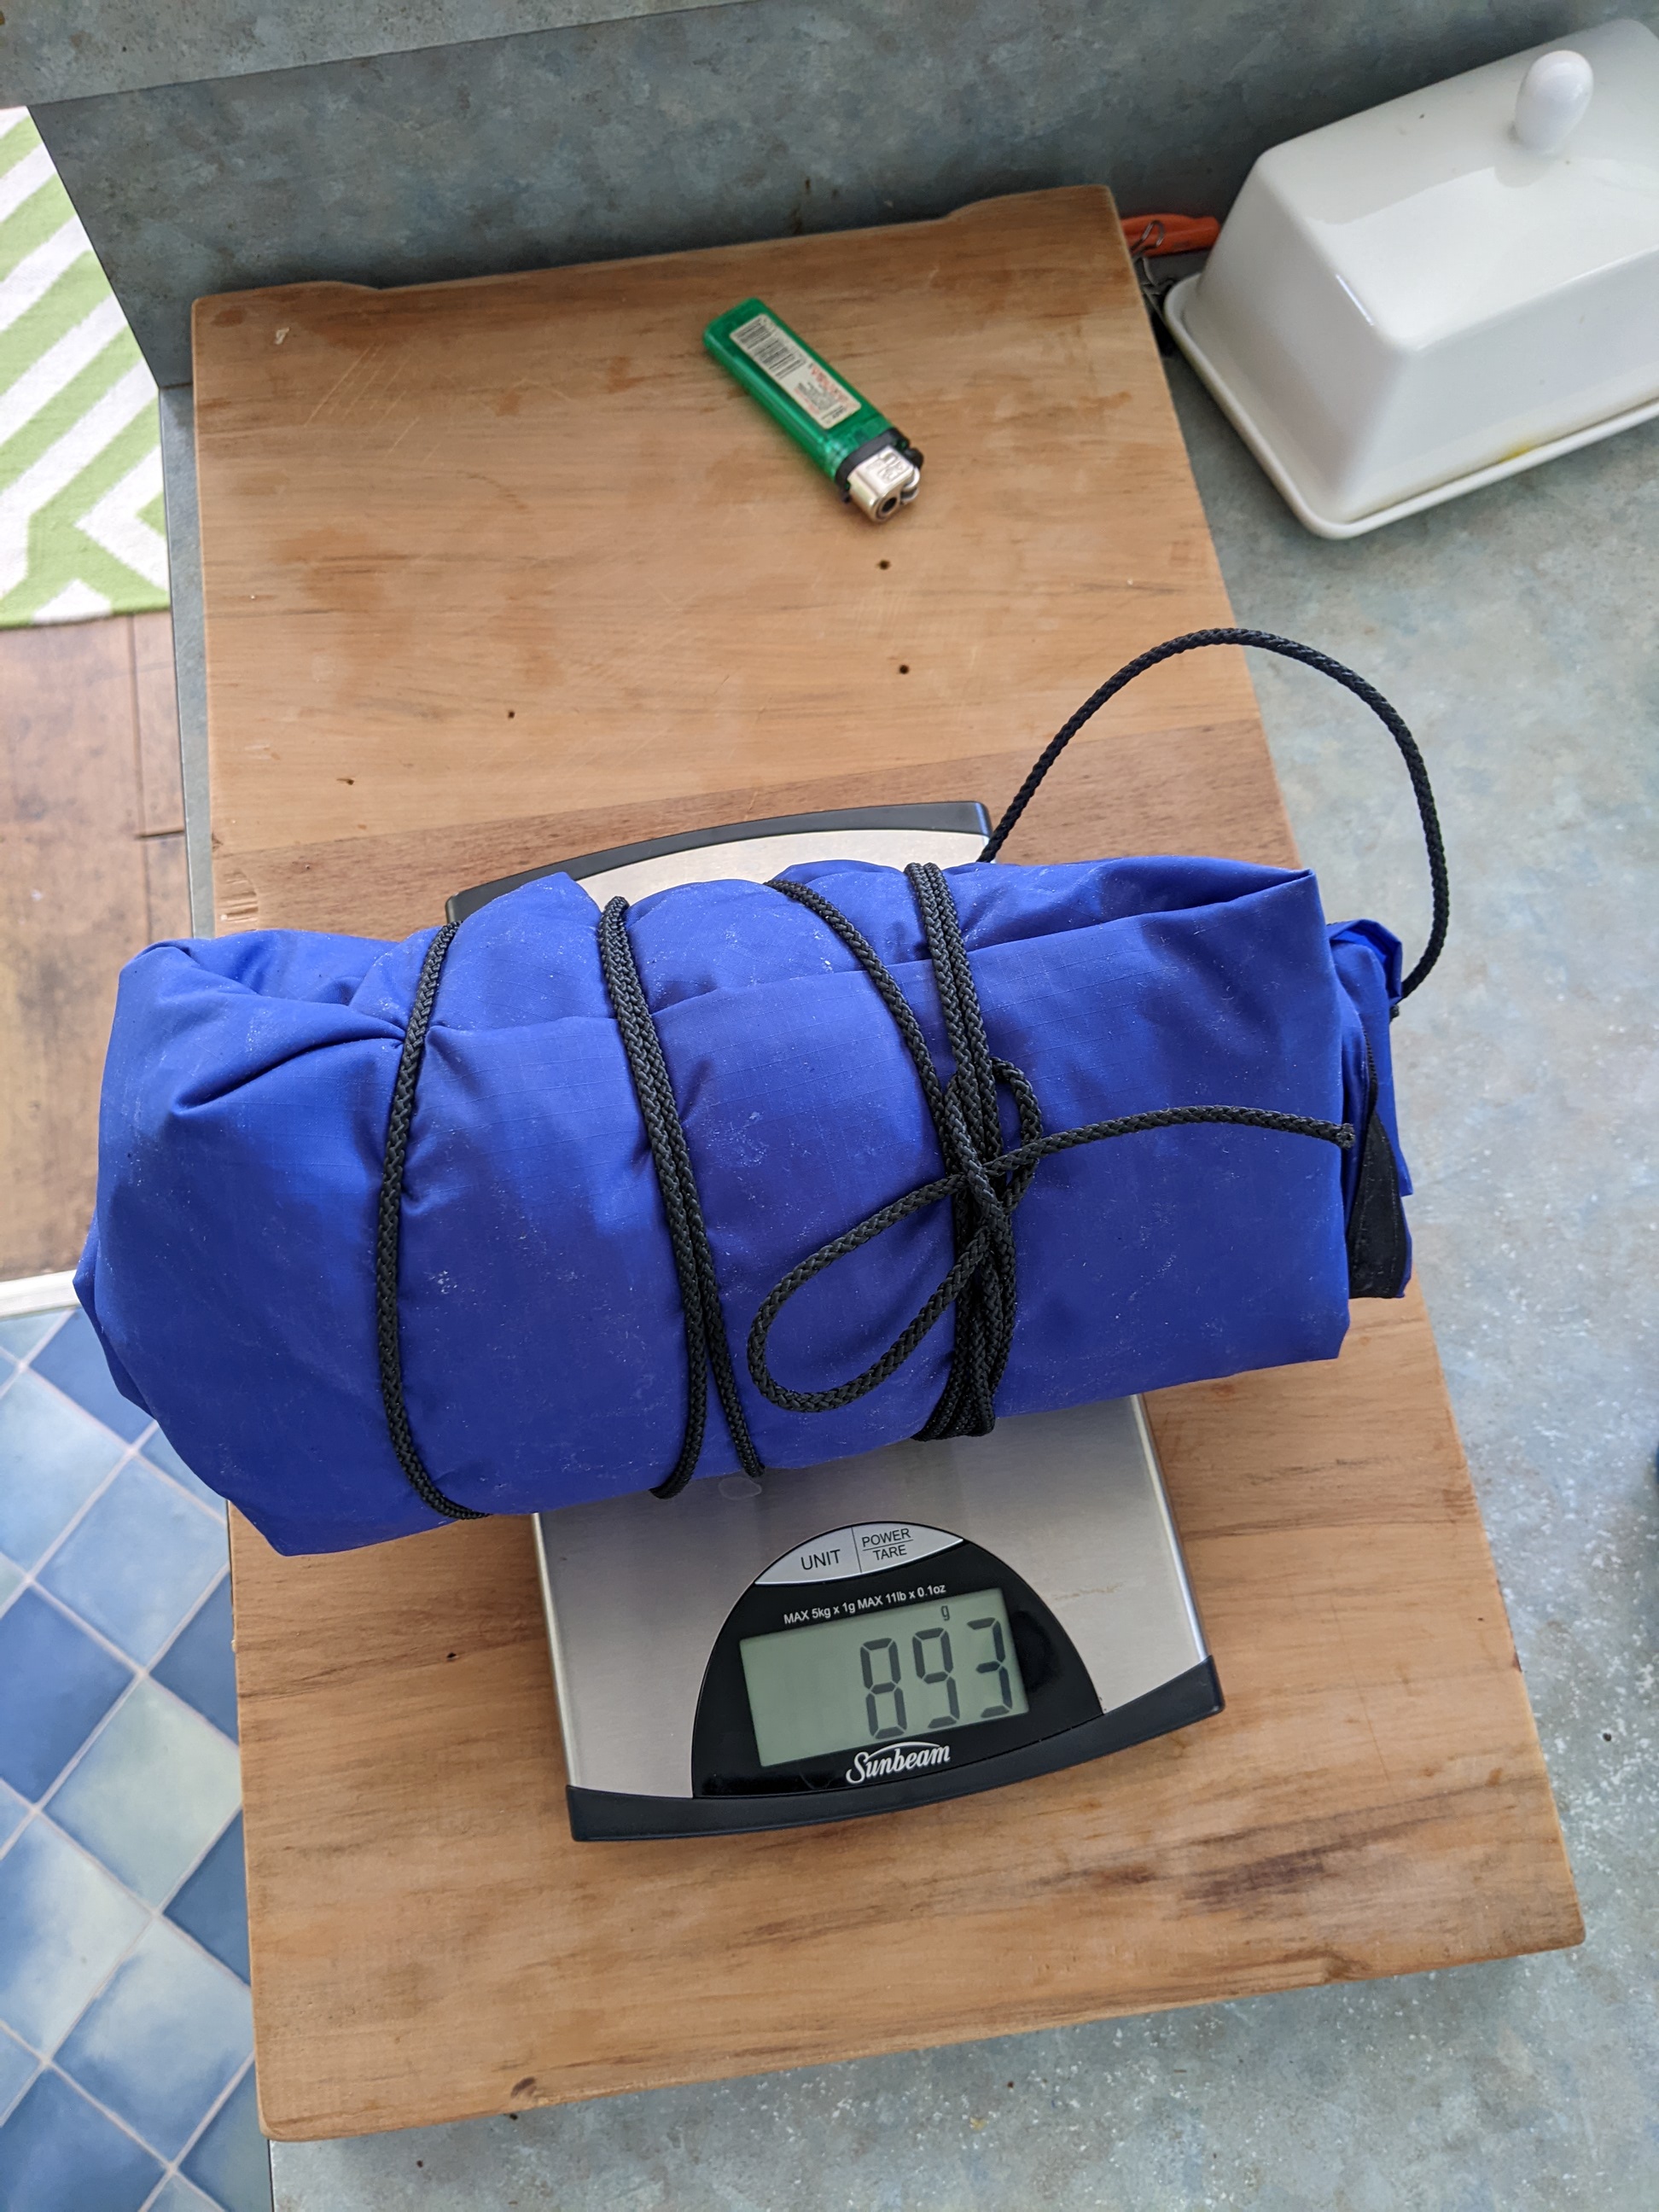
- if I calculated my time, not sure I save that much money, but wanted something big enough for 2-3 people plus gear at the end. Also handy as a second layer over tents and bigger vestibule for longer trips.
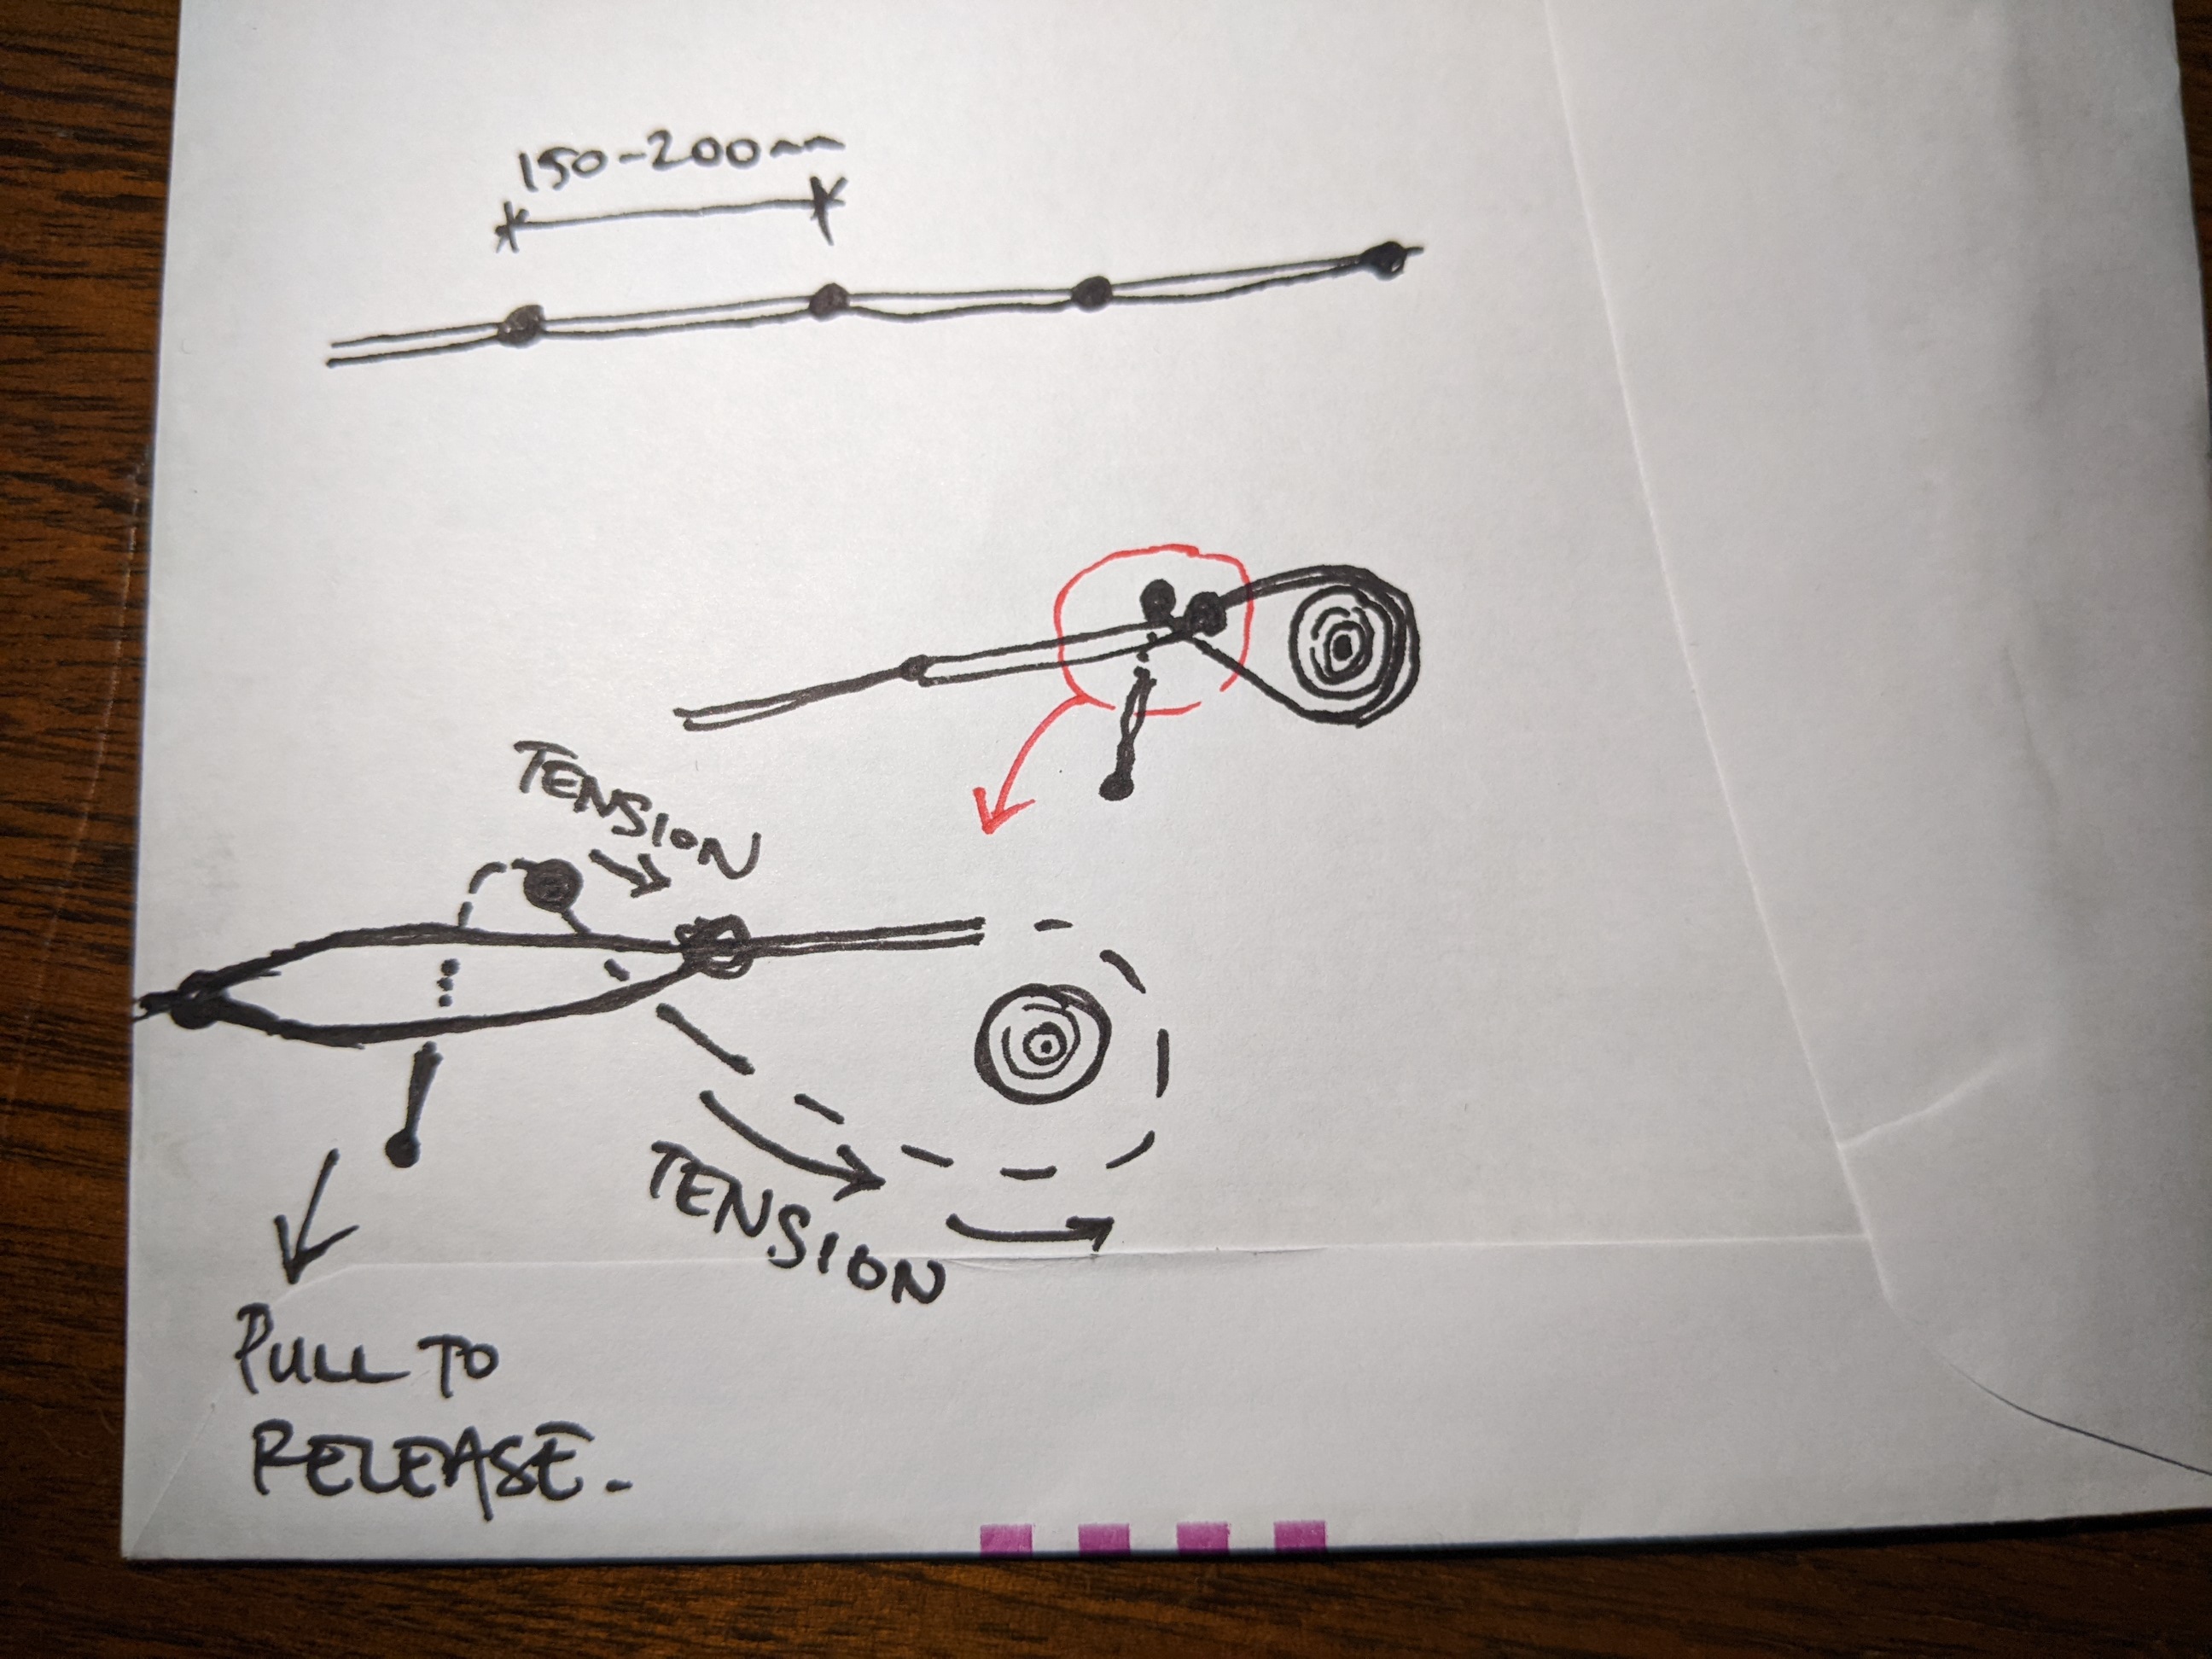
- to tie it up, my Brit basha has doubled up cord with knots every 150-200mm. Used to put the doubled up cord around a tree/branch, put the nearest knot between the nearest two bits of cord, then the tension would slide the knot back to wedge up against the next knot, and be held in place by the tension. To remove it, you just gave a tug on the end, it pulled the knot out, and off you trot. That was an awful explanation, diagram below.
And the least annoying YouTube clip I could find: https://m.youtube.com/watch?v=2pAe1C1YMWo (save yourself some time and either set playback speed to 2x, or just watch from 6'30" to 6'40", and you will see all you need to see) I didn't have enough cord to do that on this one, so just used an Italian Hitch/Munter Hitch, locked off with a looped half hitch.
Most info off internet - it's all be done before! Sing out if anyone is stupi... ummmm... determined enough to try it, and wants any info on what not to do. Worth also noting the last time used a sewing machine was in Form 1 at Manual in Ashvegas, so it was all pretty rough.
Tune in to tomorrow's episode, where we'll feature a home made fleece pikau!
Welcome guest, is this your first visit? Create Account now to join.
Welcome to the NZ Hunting and Shooting Forums.
Search Forums


User Tag List
Results 1 to 11 of 11
 24Likes
Thread: Home made gear
Threaded View
-
03-04-2023, 01:03 AM #1Member

- Join Date
- Oct 2021
- Location
- Wellington
- Posts
- 555
Home made gear
bunji likes this.


 Reply With Quote
Similar Threads
-
Home made annealing
By charliehorse in forum Reloading and BallisticsReplies: 14Last Post: 22-11-2020, 08:00 AM -
Home Made Safe
By Tailfeathers in forum Firearm SafetyReplies: 32Last Post: 08-10-2019, 09:22 AM -
Home made rifle stock, made from good old native Rimu. check this vid out
By kingstoncowboy in forum Projects and Home BuildsReplies: 24Last Post: 10-02-2014, 12:21 PM
Tags for this Thread
 Posting Permissions
- You may not post new threads
- You may not post replies
- You may not post attachments
- You may not edit your posts
Welcome to NZ Hunting and Shooting Forums! We see you're new here, or arn't logged in. Create an account, and Login for full access including our FREE BUY and SELL section Register NOW!!
All times are GMT +13. The time now is 10:12 AM.

Bookmarks