12 Attachment(s)
Sharpening a D2 knife blade: some photos, observations, and opinions
Sharpening a D2 knife blade: some photos, observations, and opinions
I ended up with a couple of small chips out of the edge of my re-handled Spyderco Junction after my post-lockdown trip. The PSF27 in that knife is a variant of D2 tool steel. The edge was snagging a little on paper although I couldnt by eye see the reason for this. I have a cheapie fixed magnification 100x microscope however - courtesy of AliExpress for $10 - that despite the price was sufficient to quickly identify the cause.
Having decided to take these chips out as part of a re-sharpen, I thought Id also take a few photographs of the surface of the edge as I went along, linking them to the size of the abrasive being used, and then post them here for forum members who are interested in this sort of thing. The abrasives were all diamond water stones from Venev that I reviewed here a few months back.
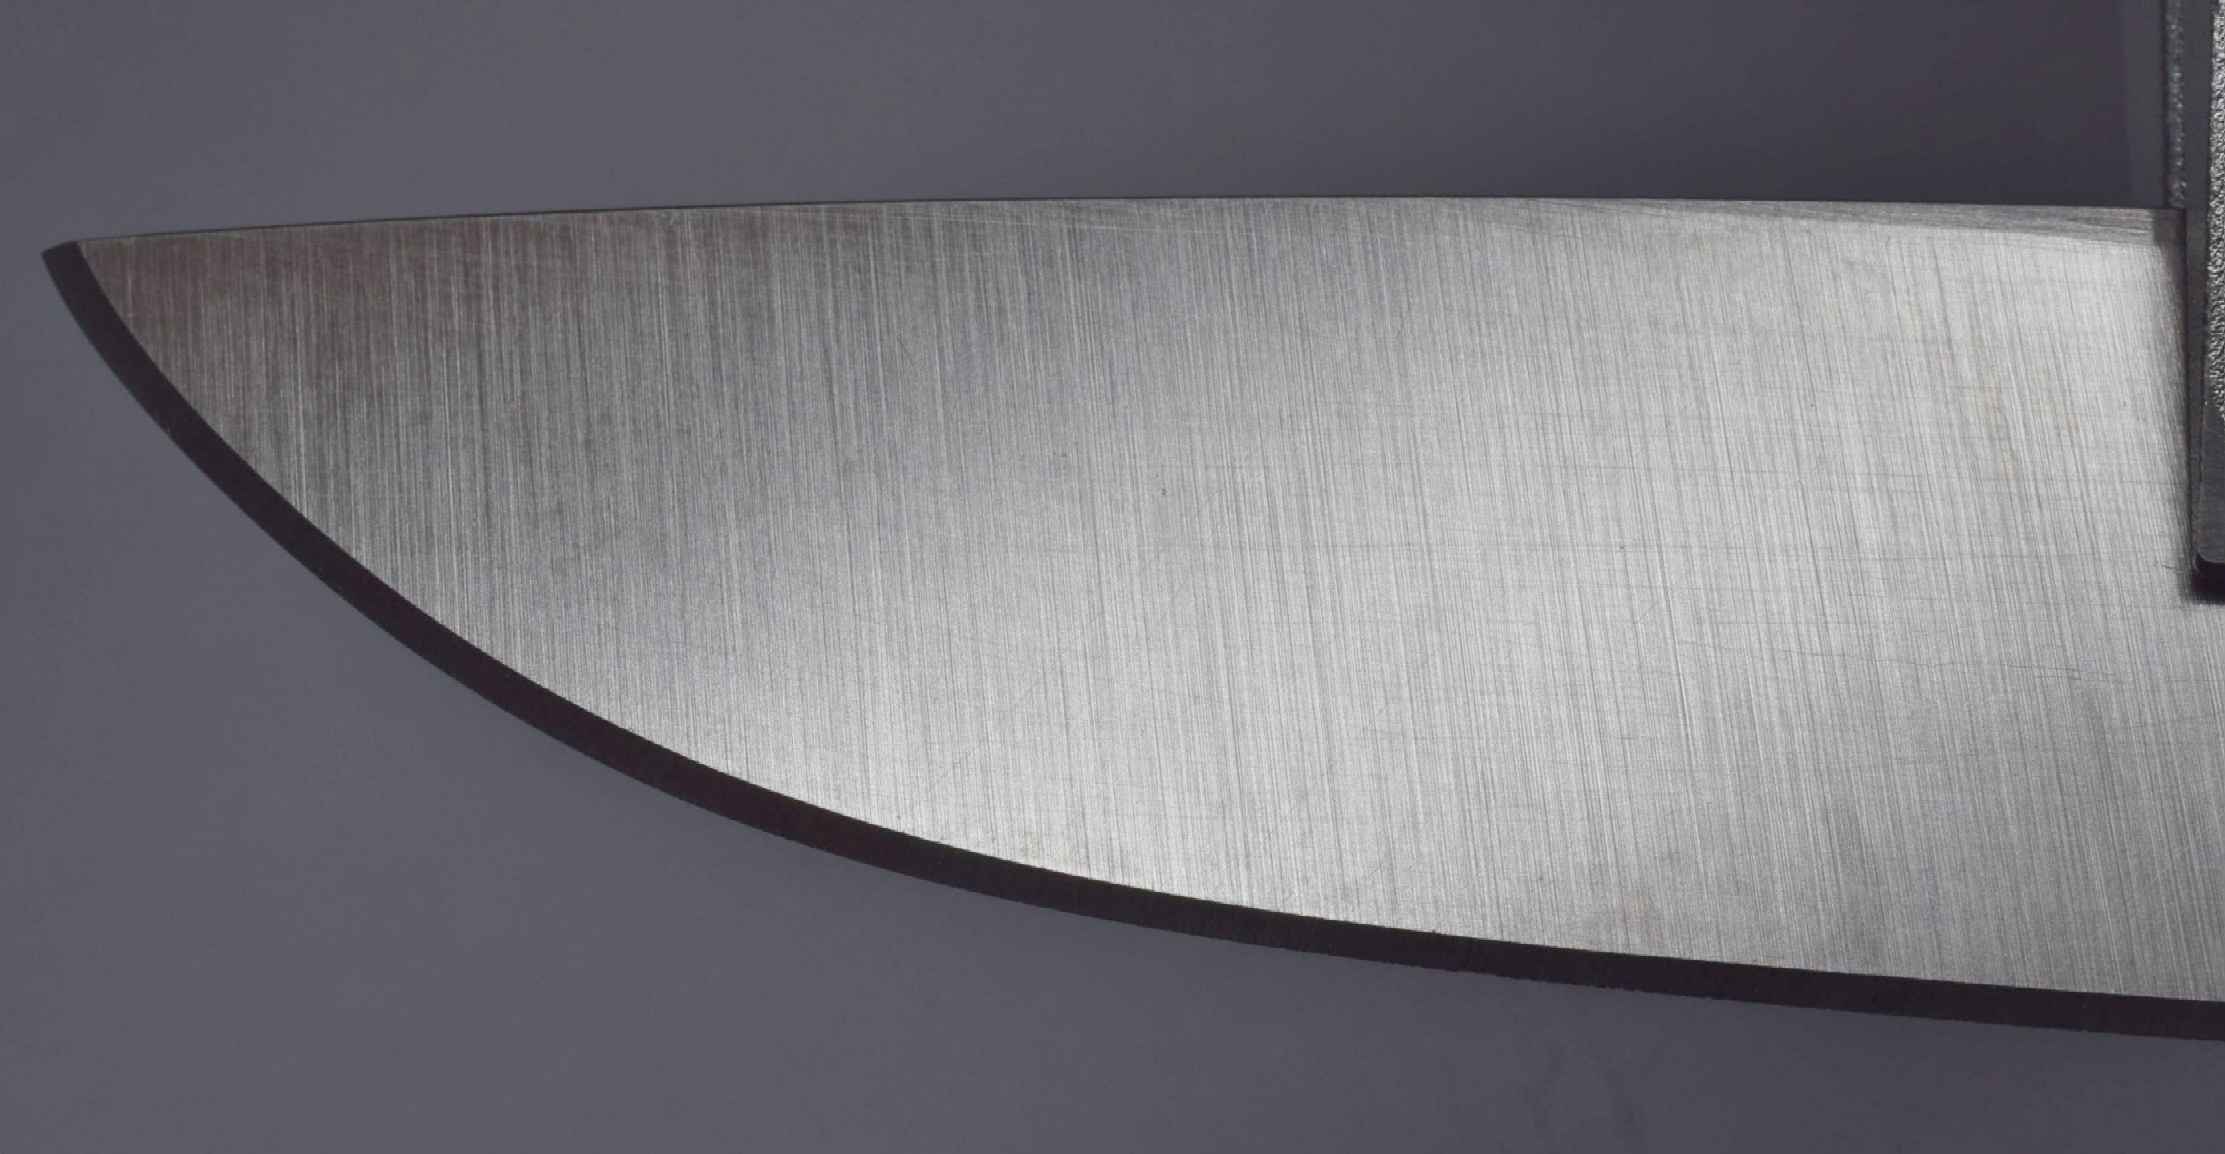
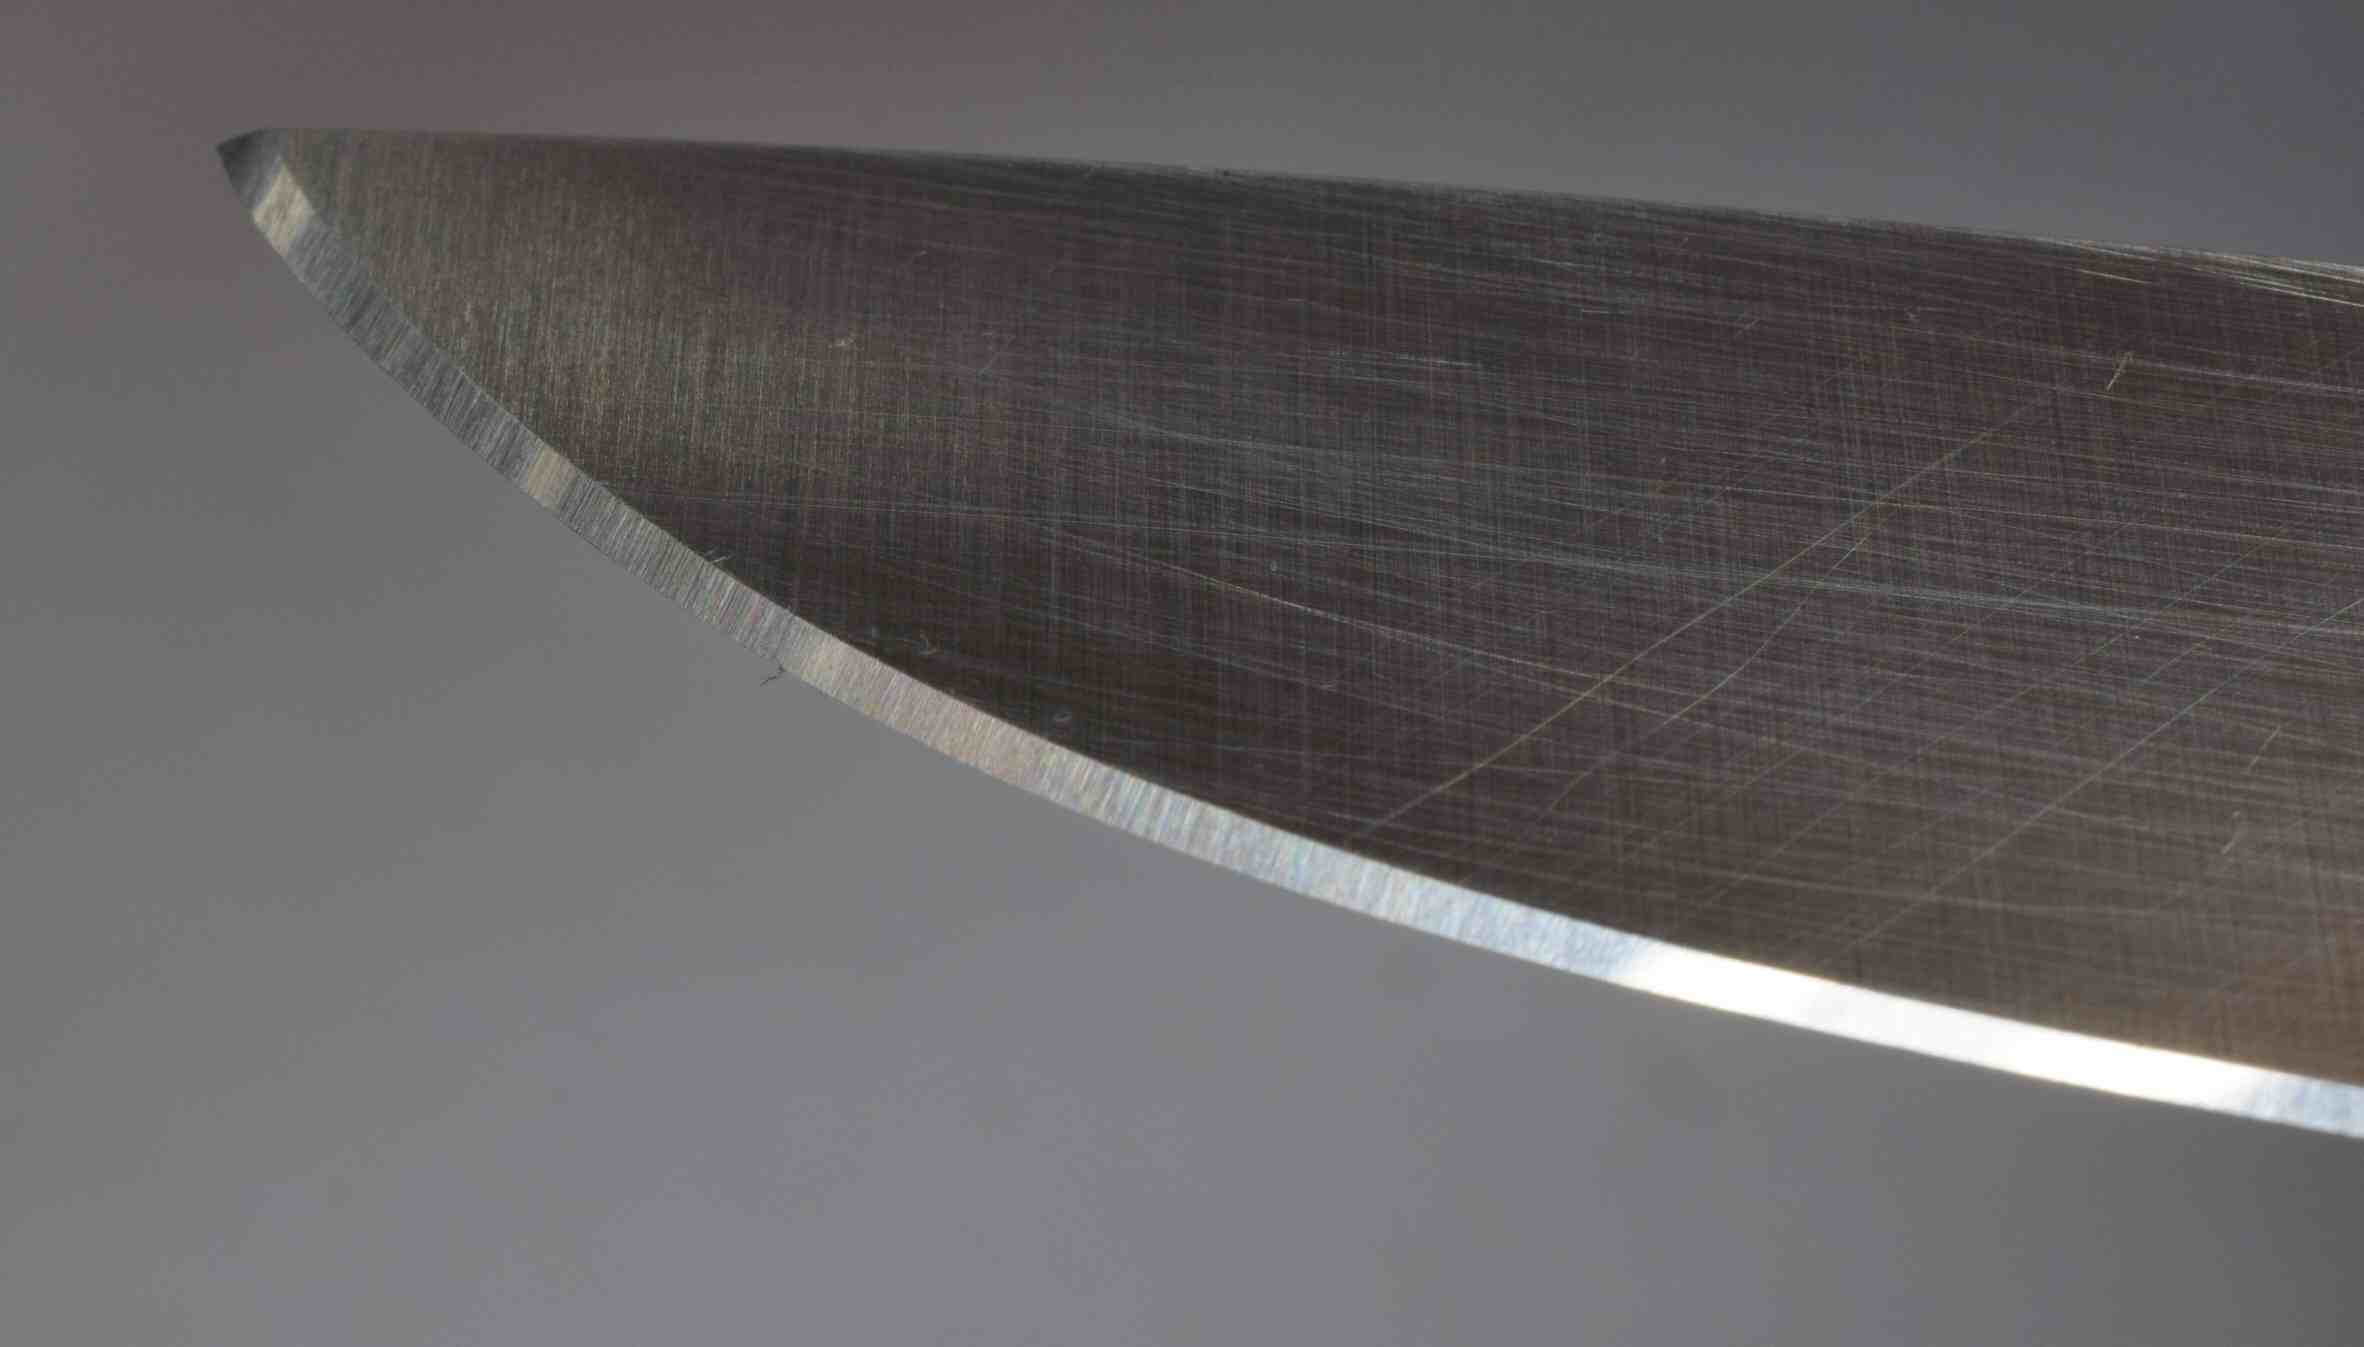
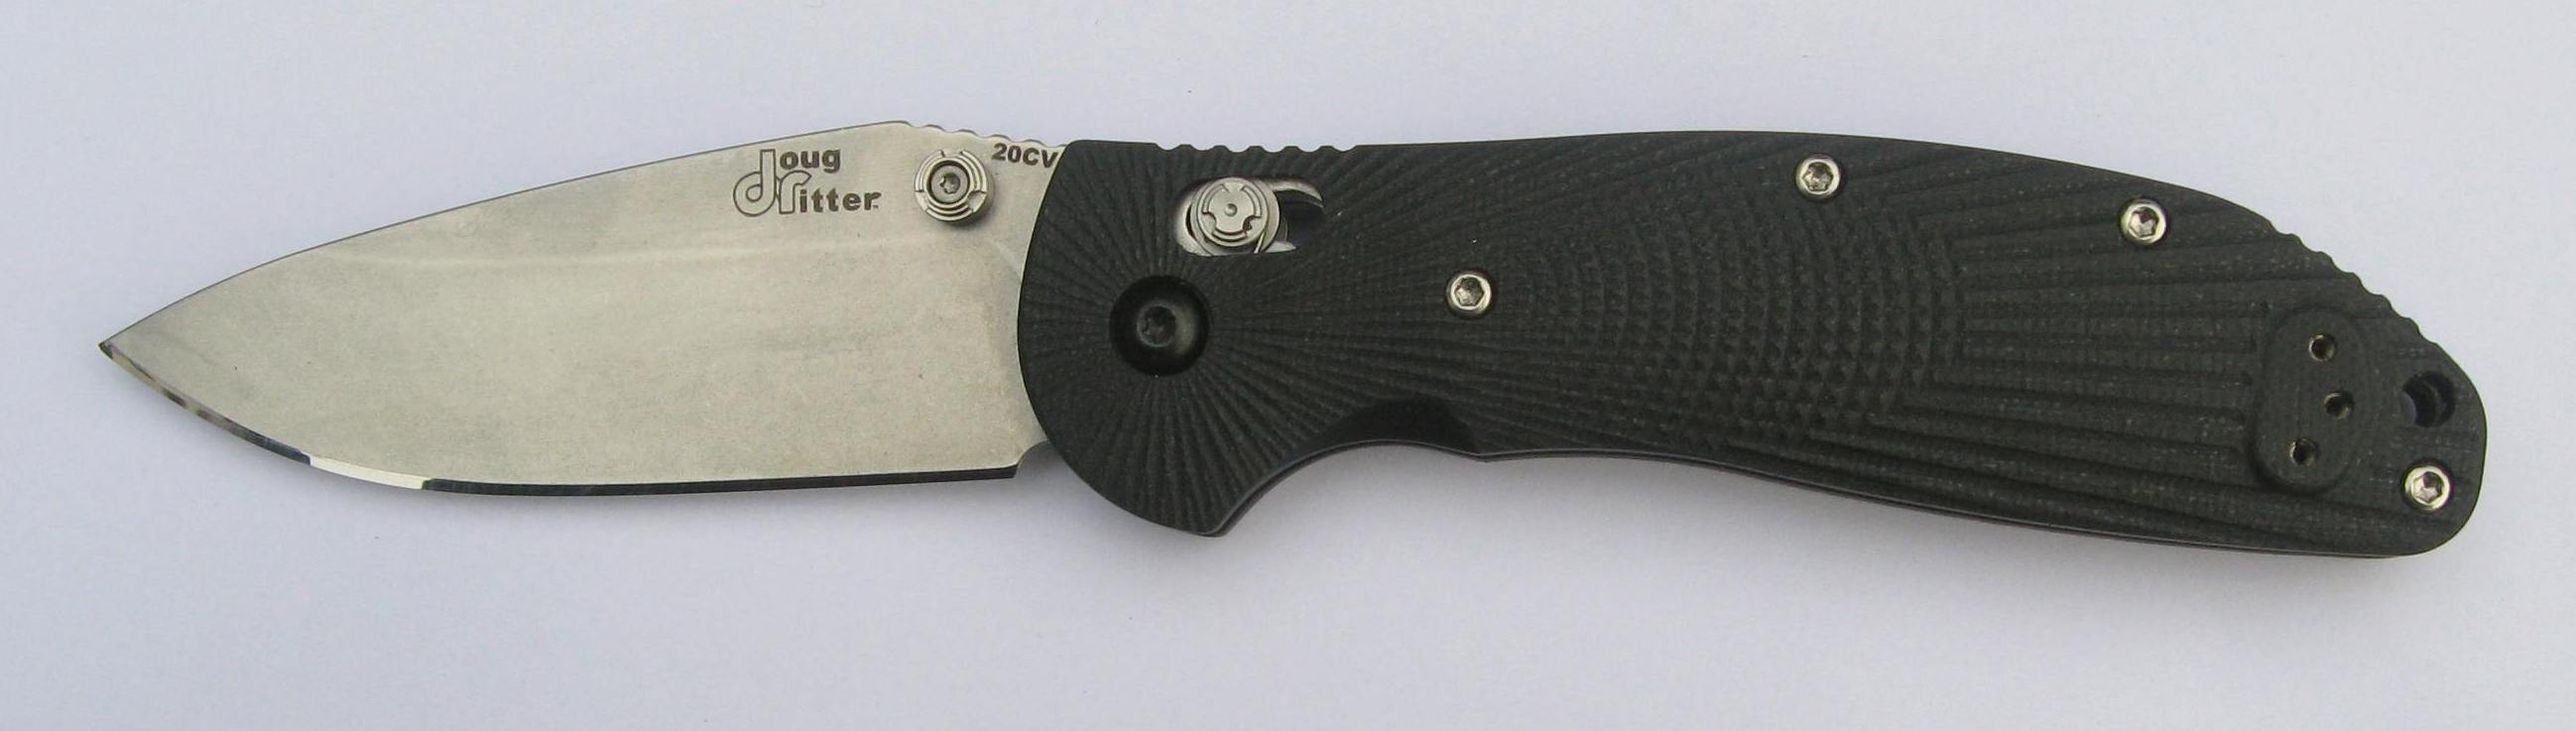
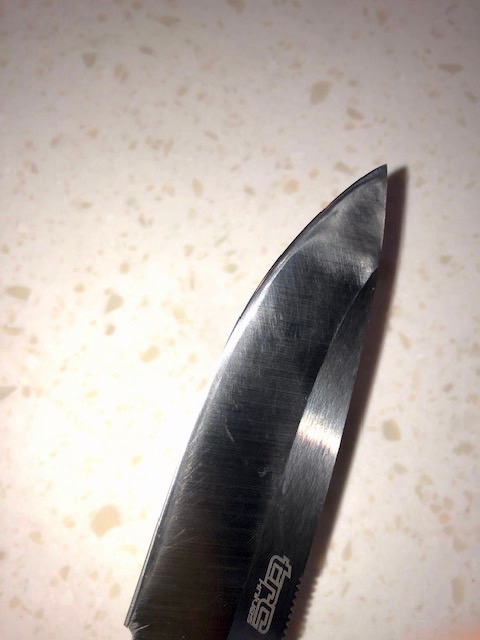
For starters, this is the front end of the blade being sharpened. The blade is a full flat grind, about 0.55mm behind the edge, and overall 25mm deep. I apply a 15° edge, so the bevel according to my calculations should average a little over 1mm in width. These dimensions will give a sense of scale to some of the photos. The close-up images of the scratch patterns show about 0.7mm of the bevel.
Attachment 140419
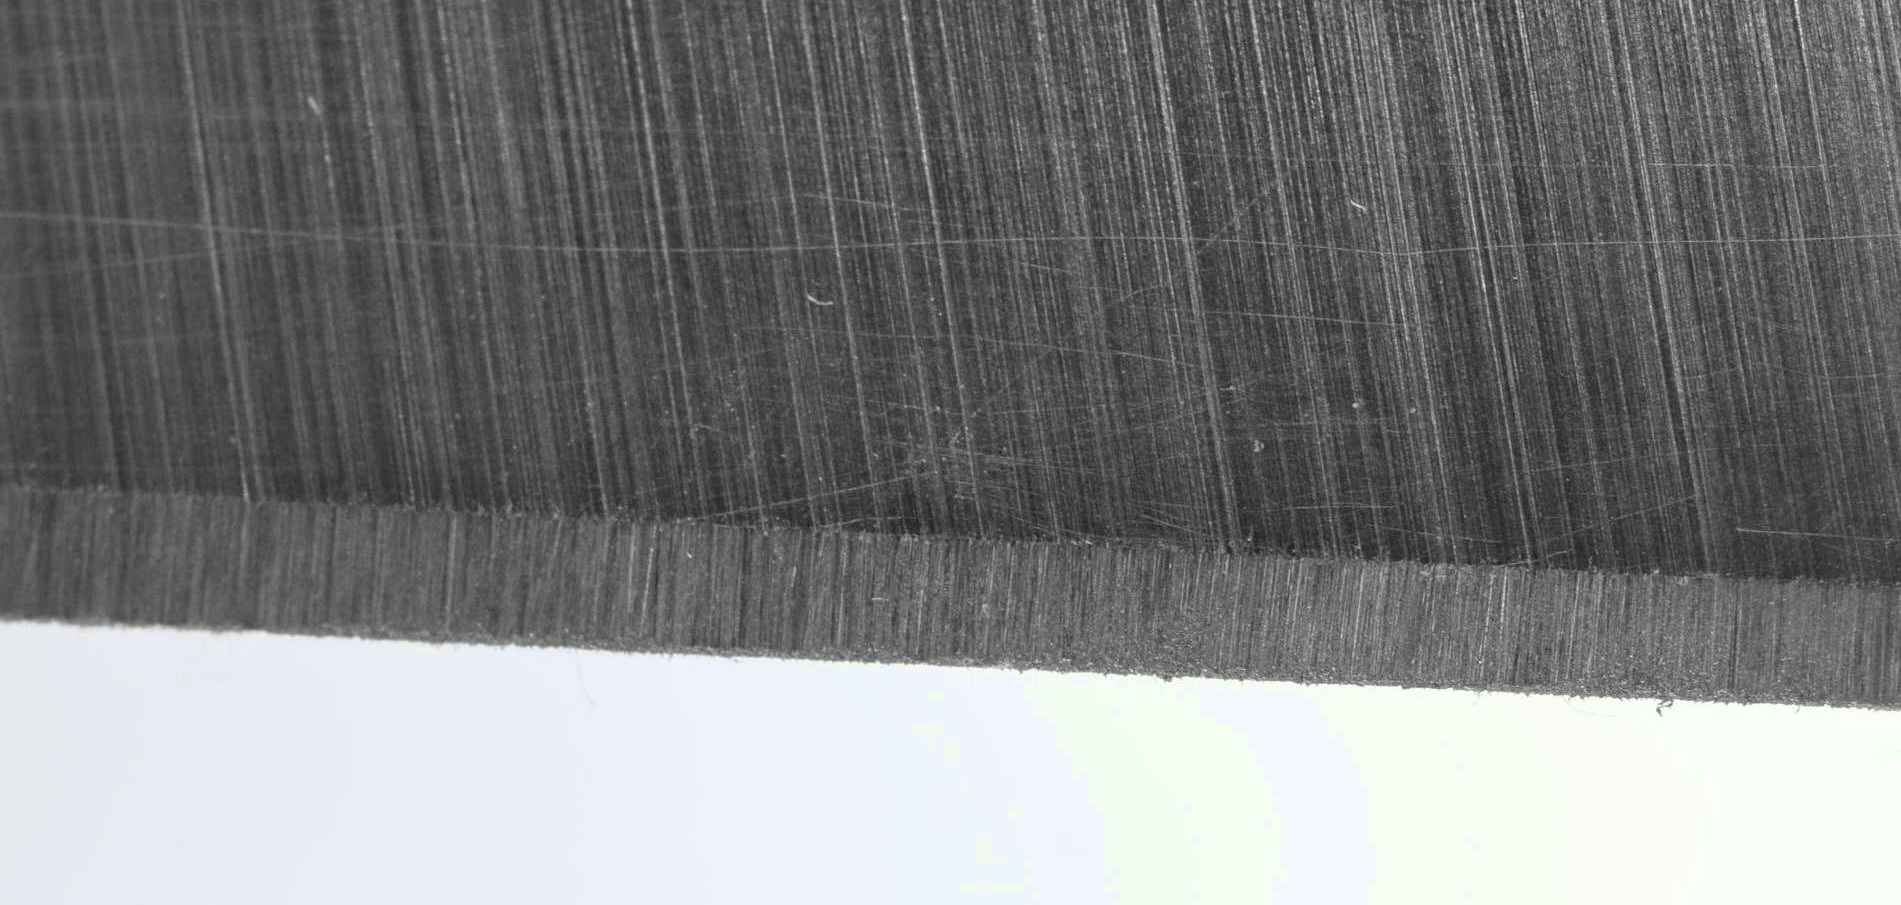
Below is the edge following removal of the chipping with an 80-100 micron stone.
I included this so that the edge finish may be compared to the brushed finish on the primary grind.
Attachment 140420
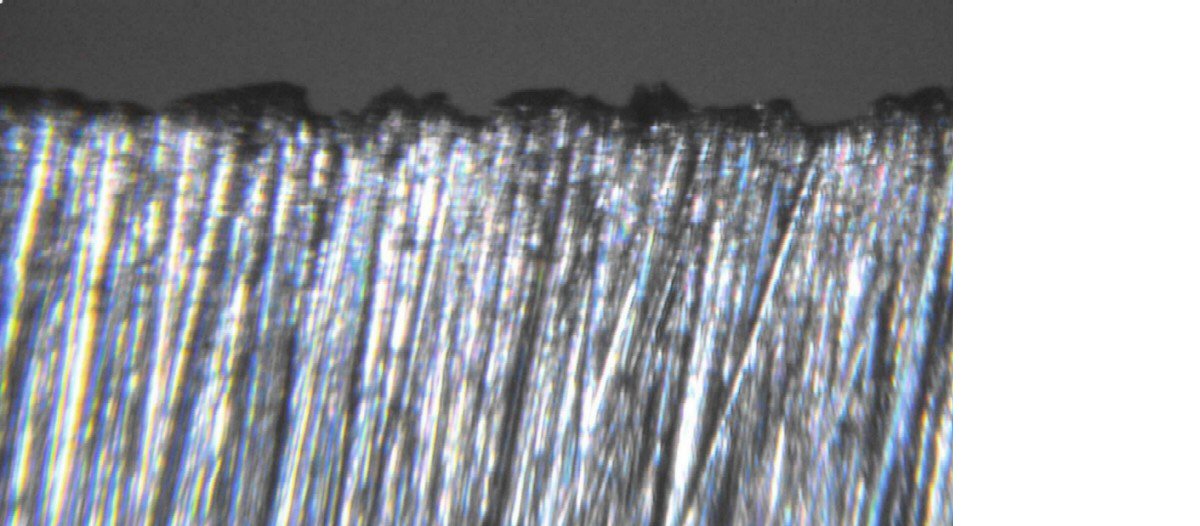
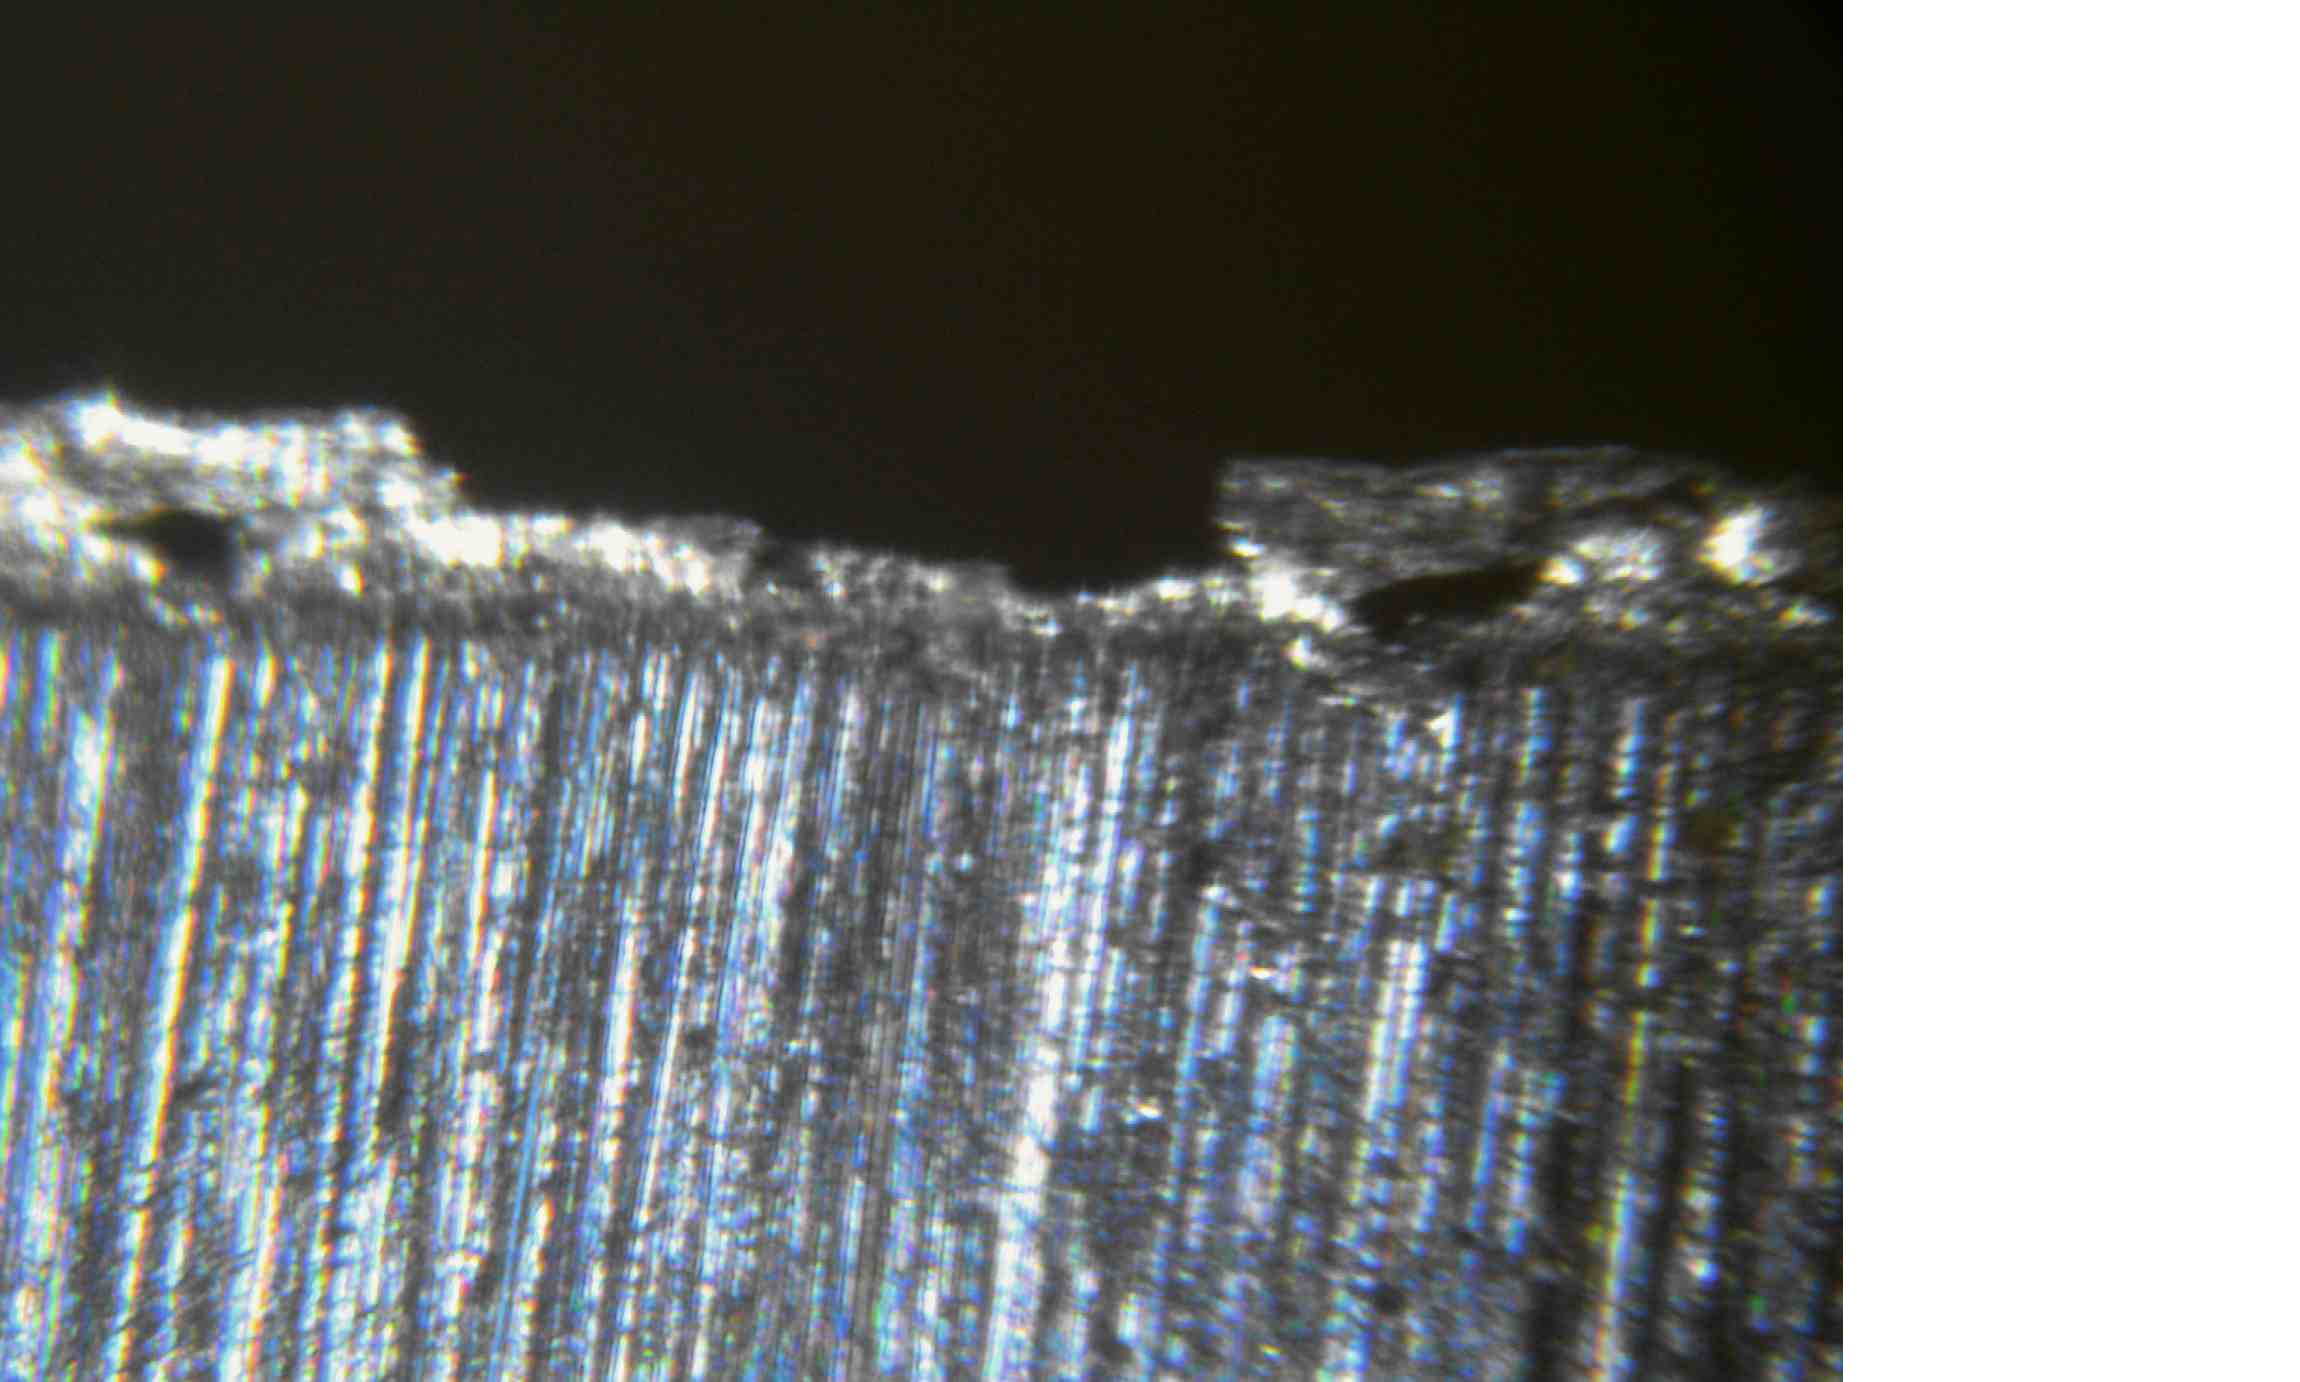
This is a view through the microscope of the apex with the light source directed along the edge to maximise surface contrast. This is on the side where I had just finished with the 80-100µm stone. The dark edges are the back of the burr. This unevenness is not easily seen by the unaided eye at least not by my eyes.
Attachment 140421
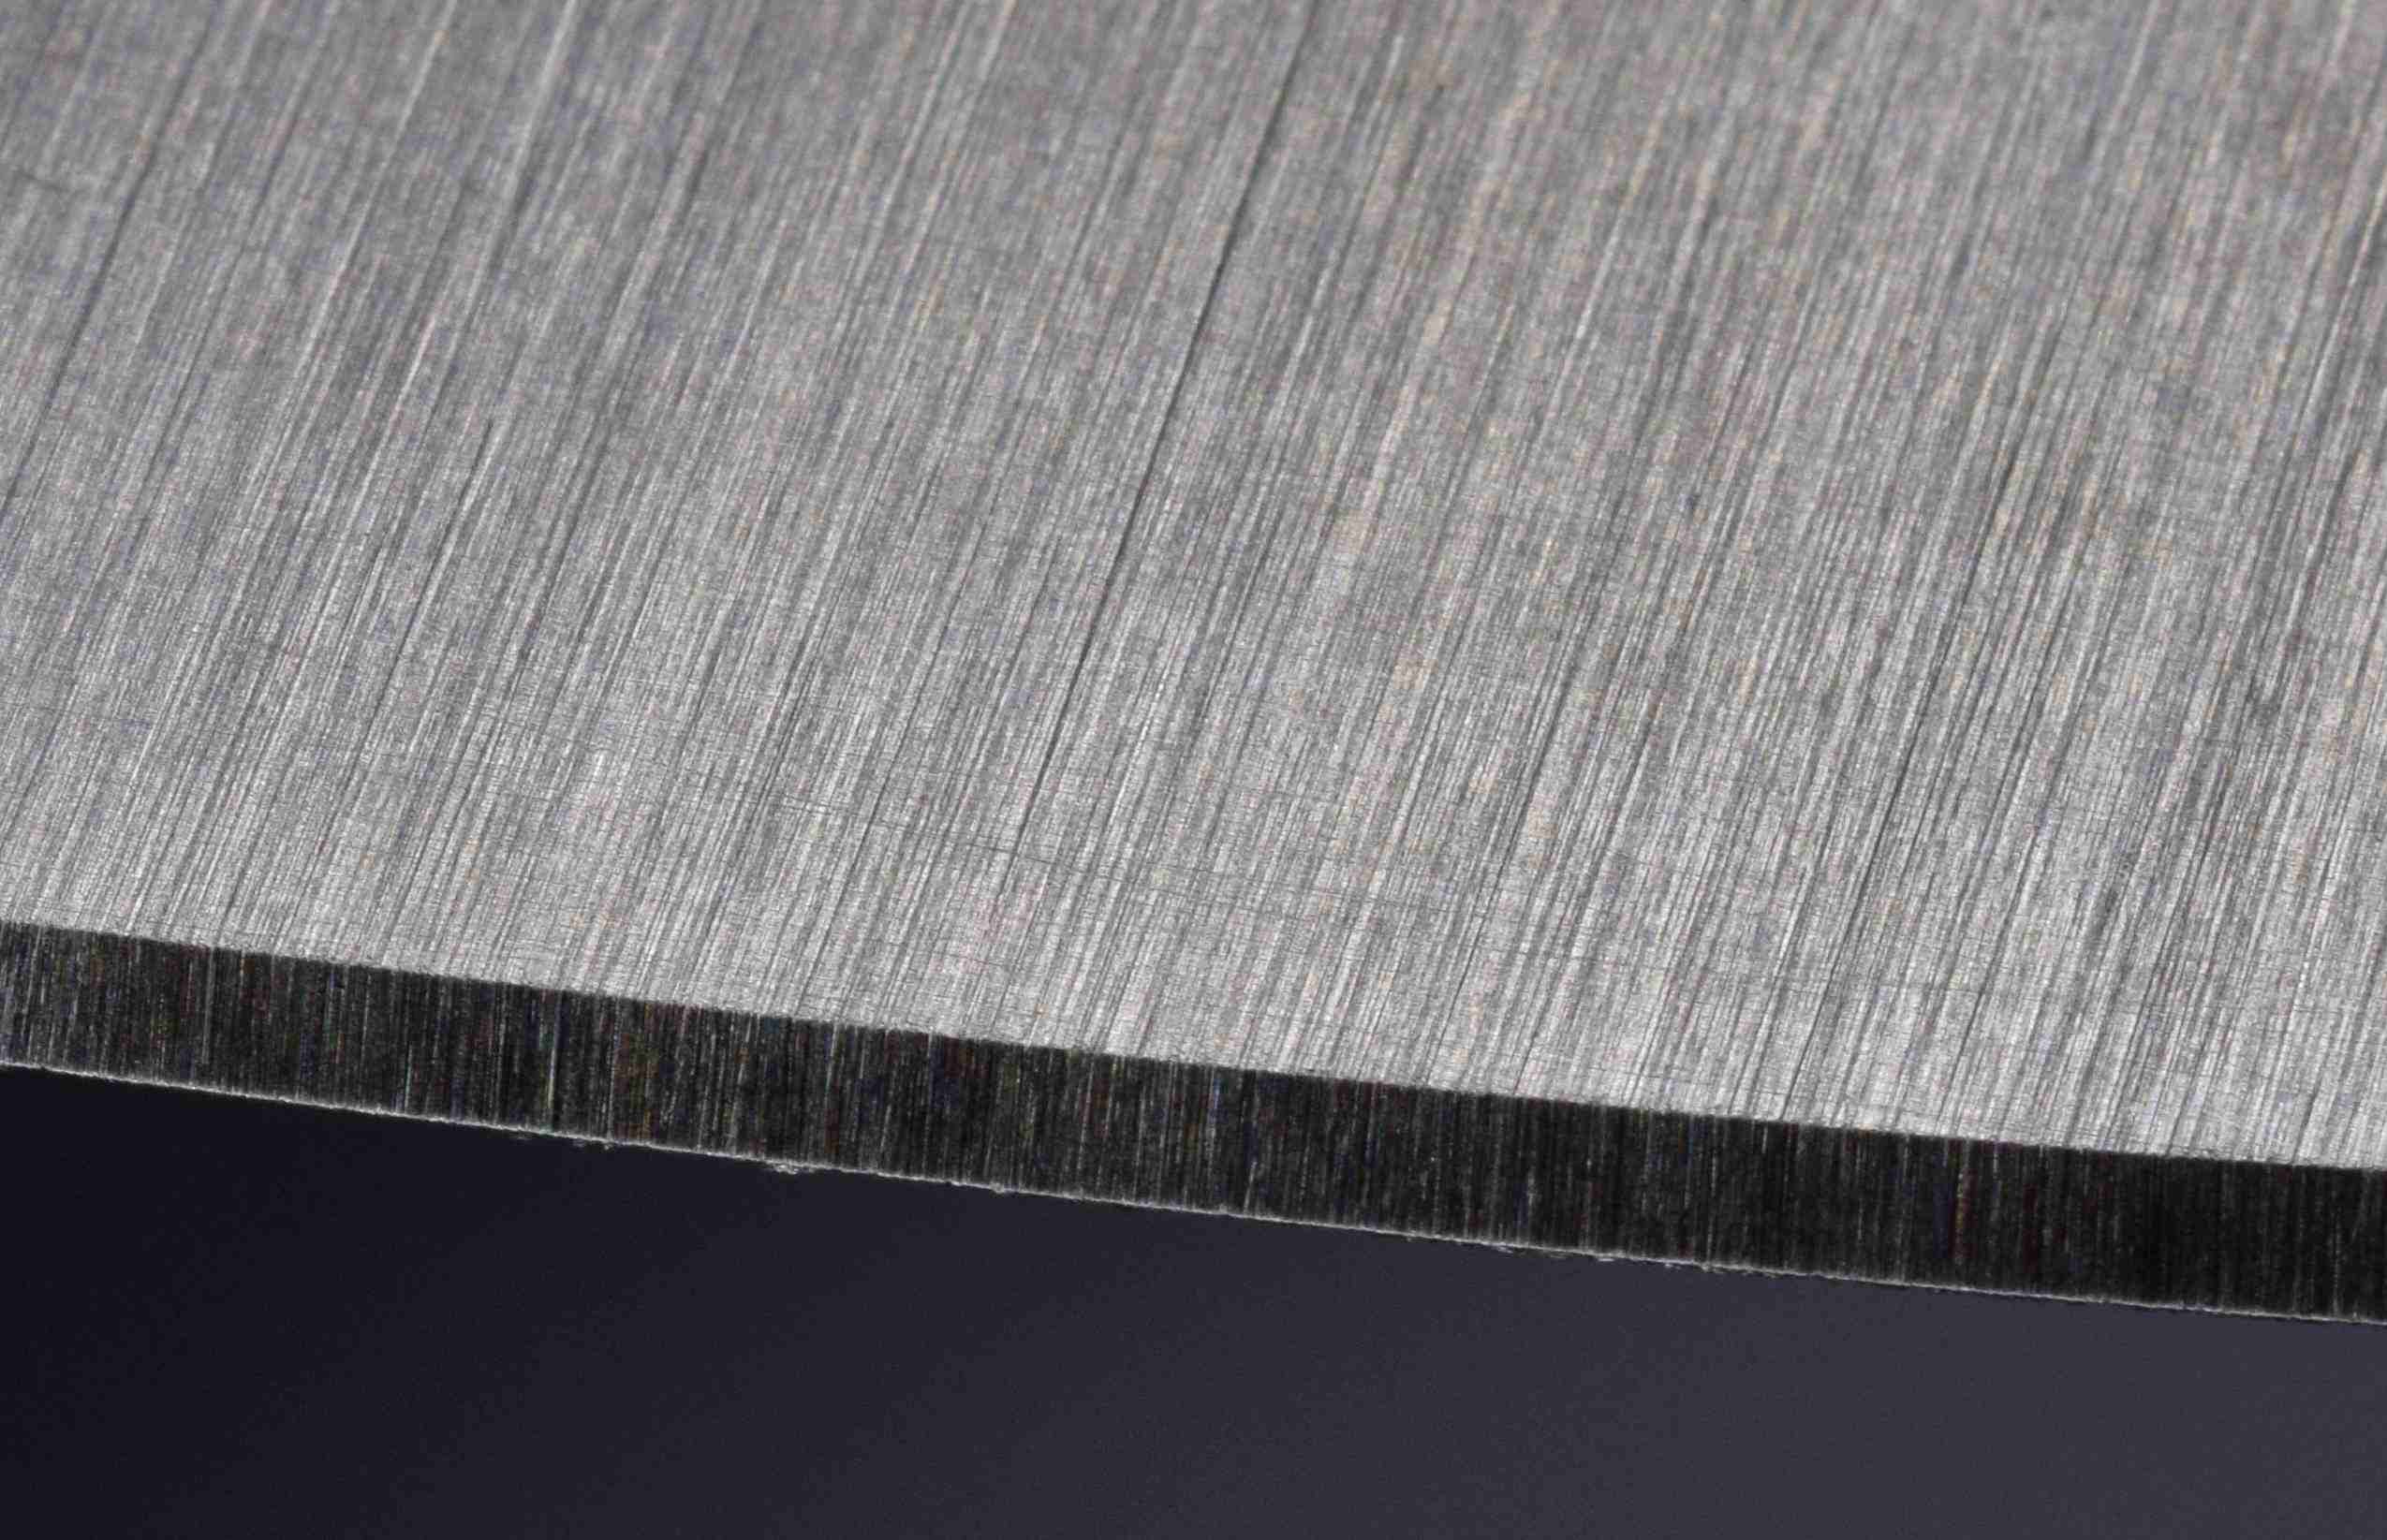
By flipping the blade over to the reverse side, the burr can be best seen by getting it to catch the light with the angle just right. It can be more easily felt on a fingernail than seen.
Attachment 140422
Here is a look at part of that burr from the 80-100µm stone on the reverse side through the microscope.
Attachment 140423
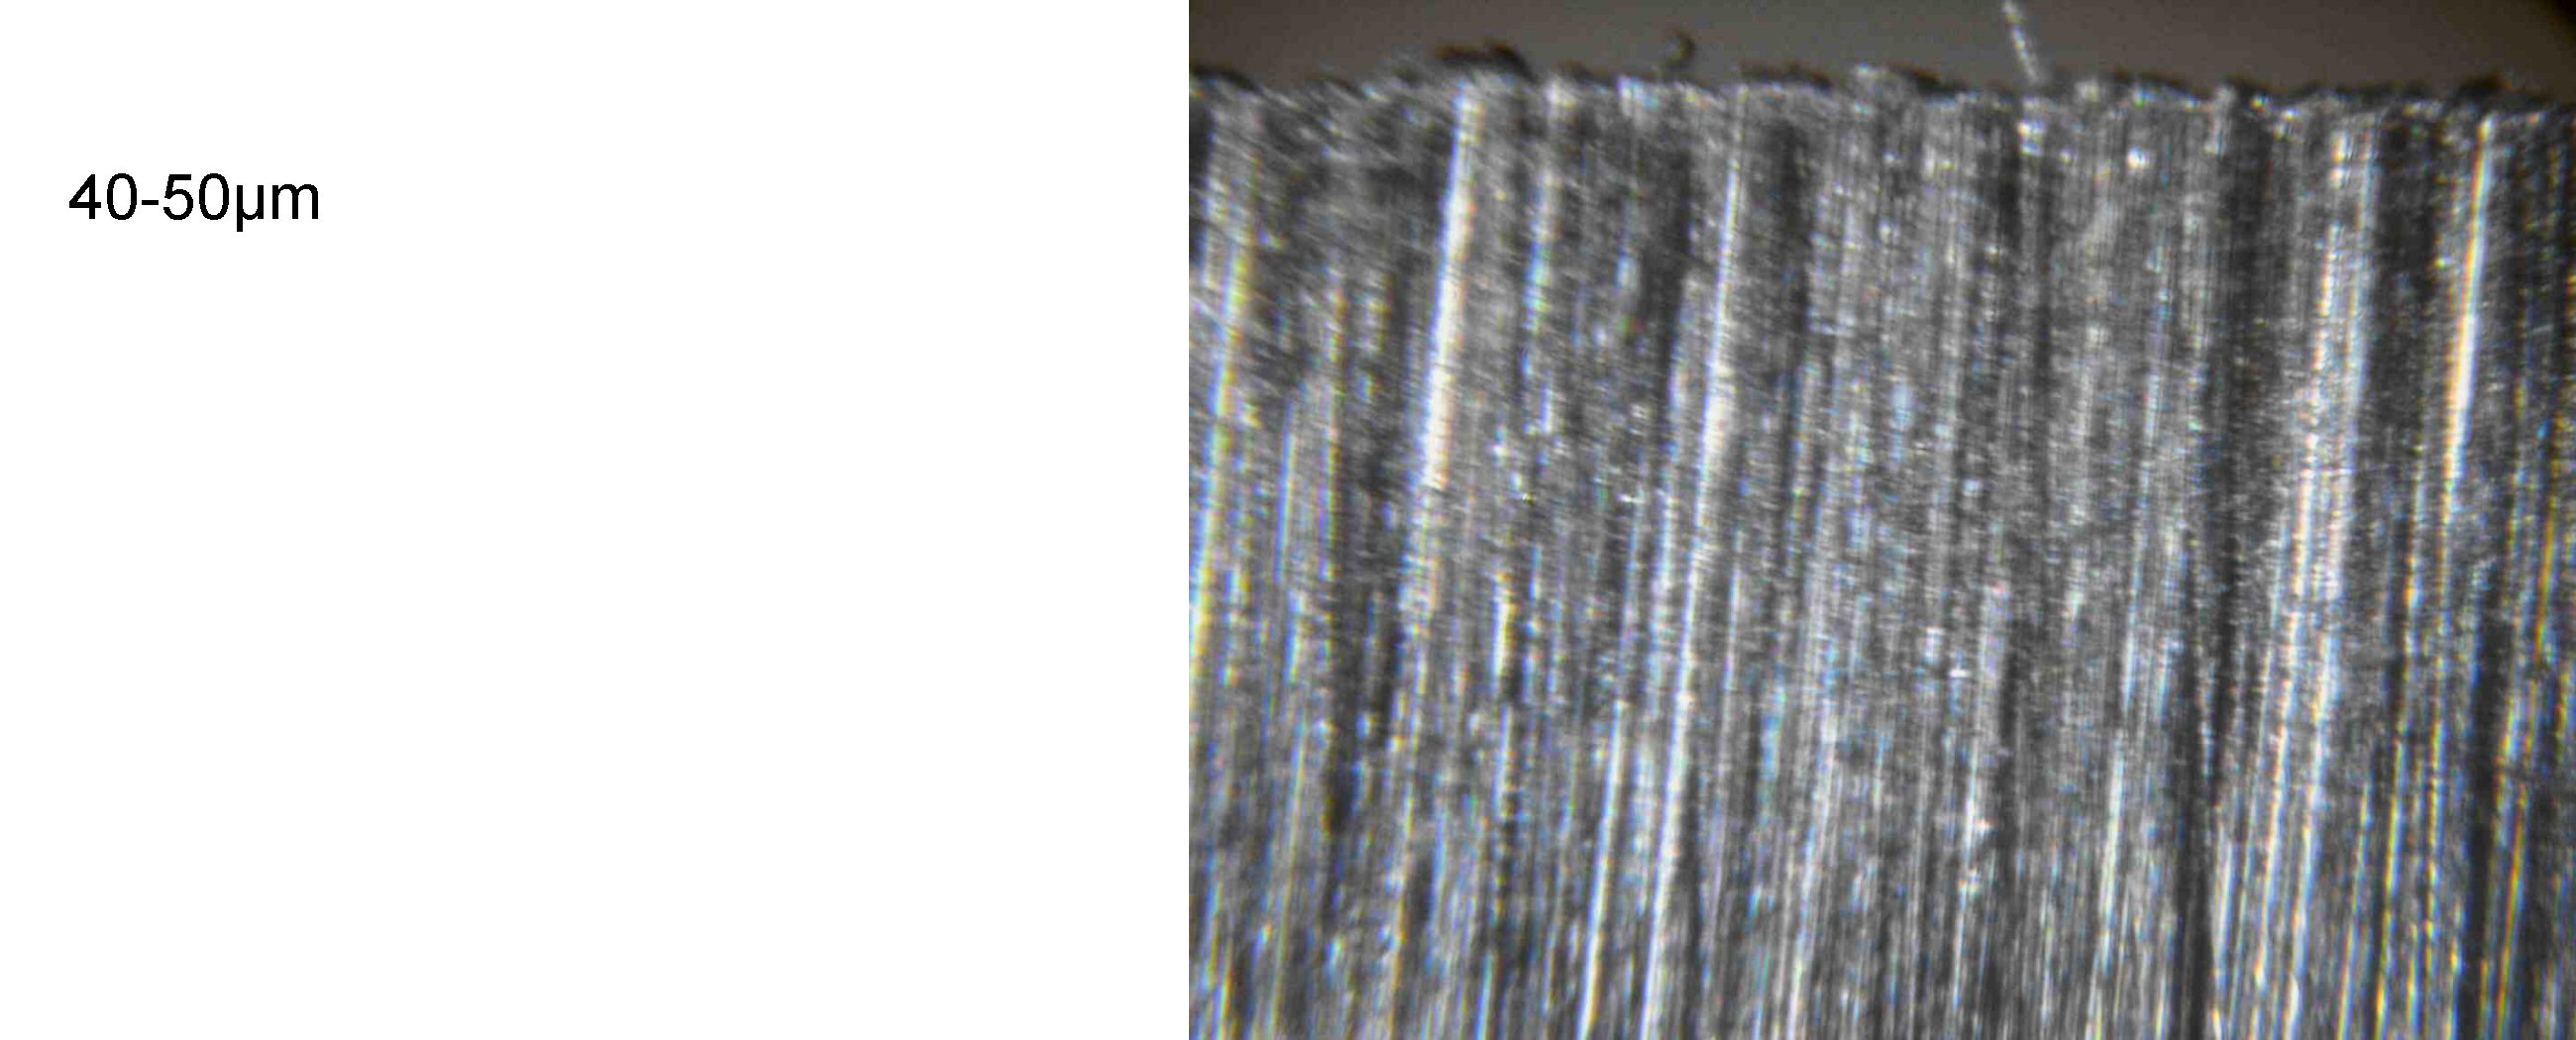
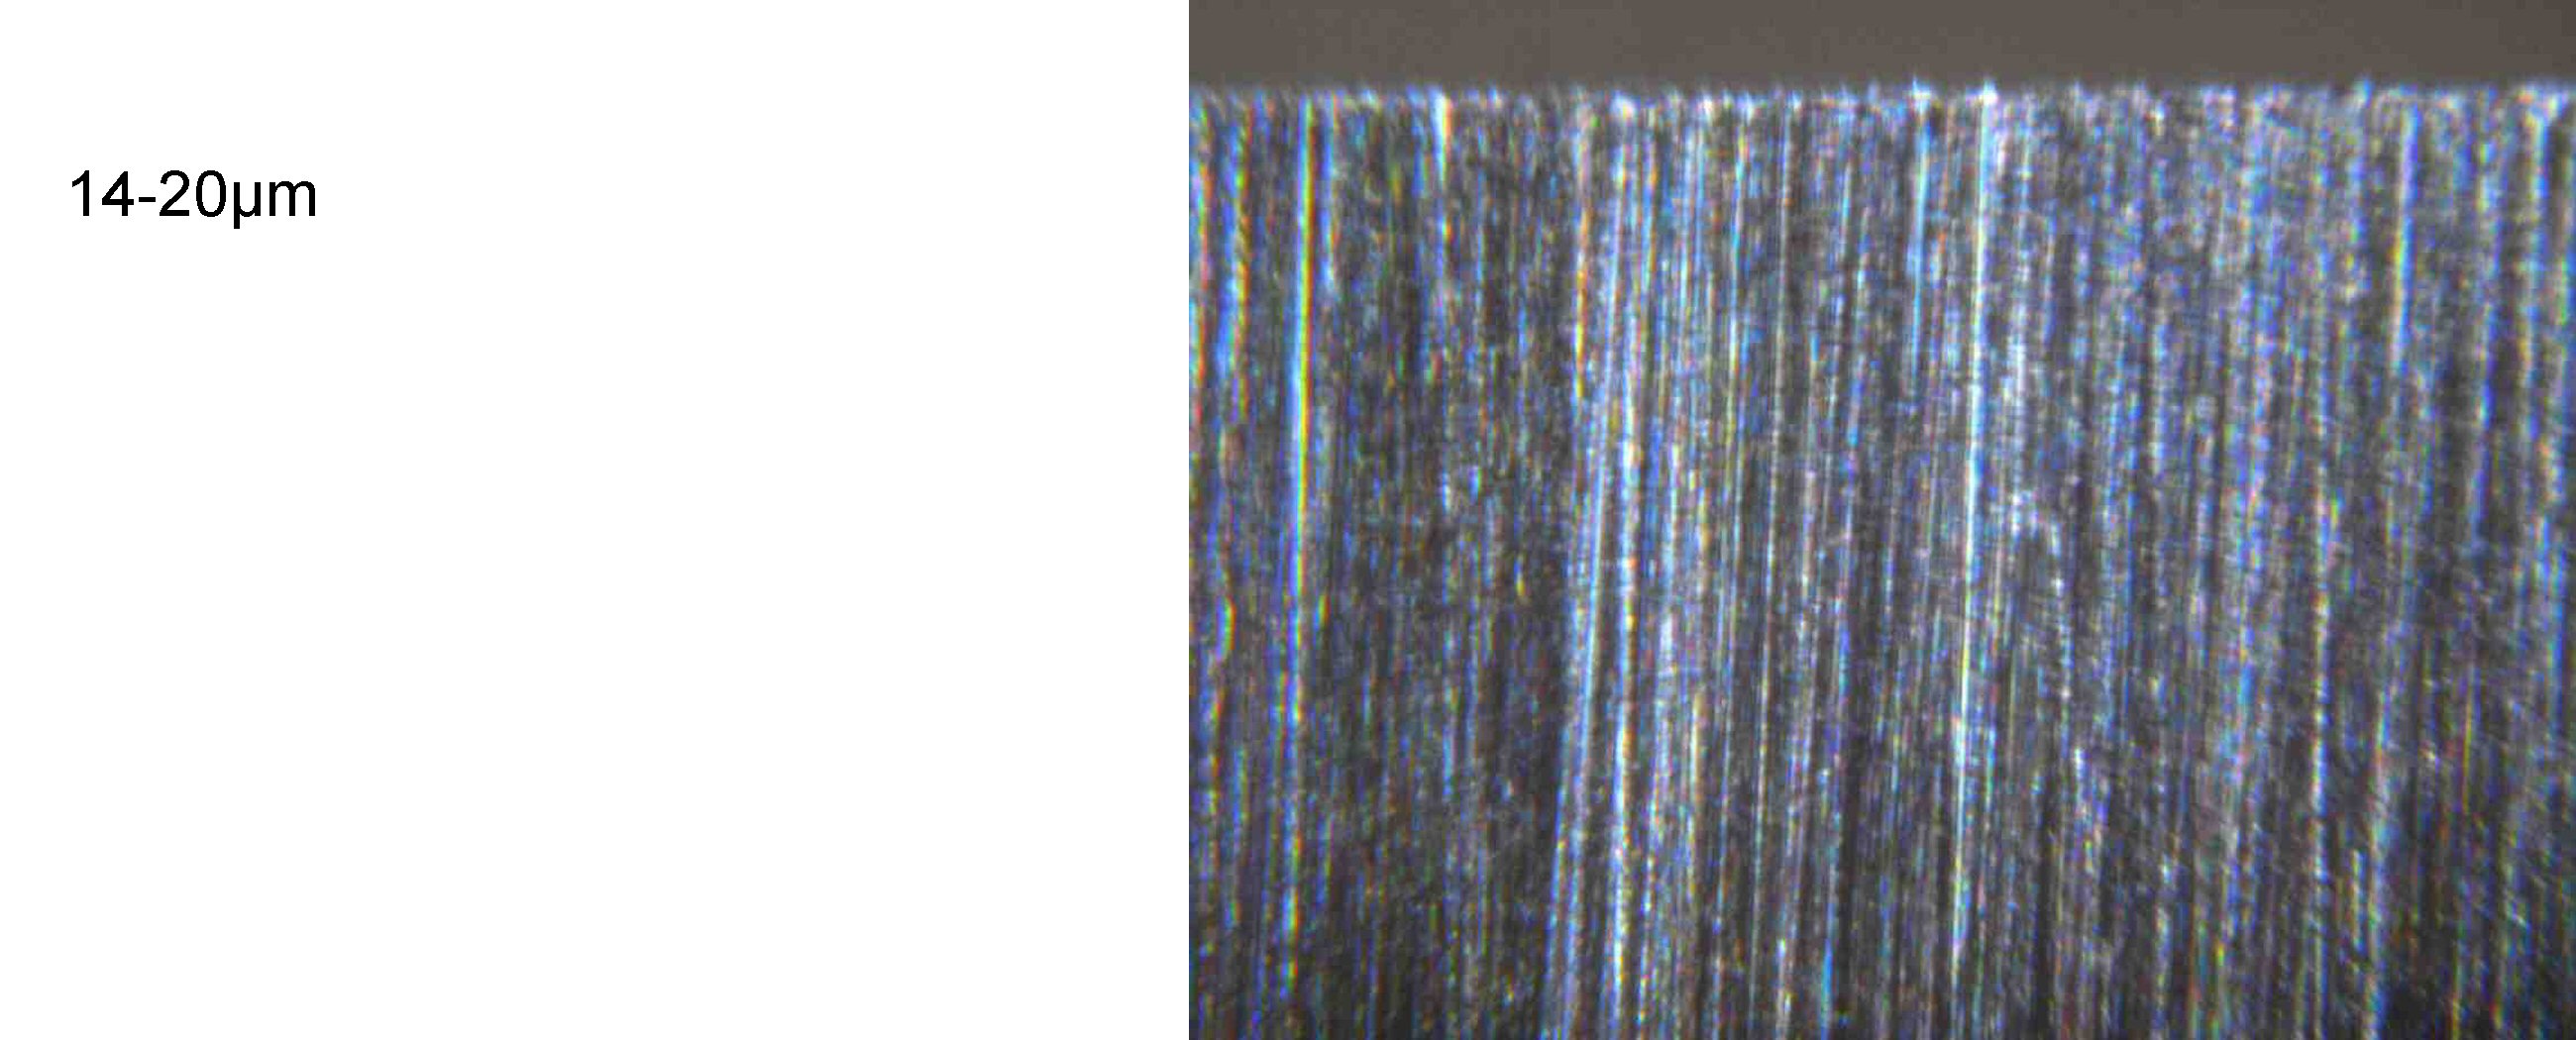
I then took the edge through the 40-50µm and 14-20µm stones. 14-20µm is where something approaching a reflection begins to be seen off the edge.
Attachment 140424
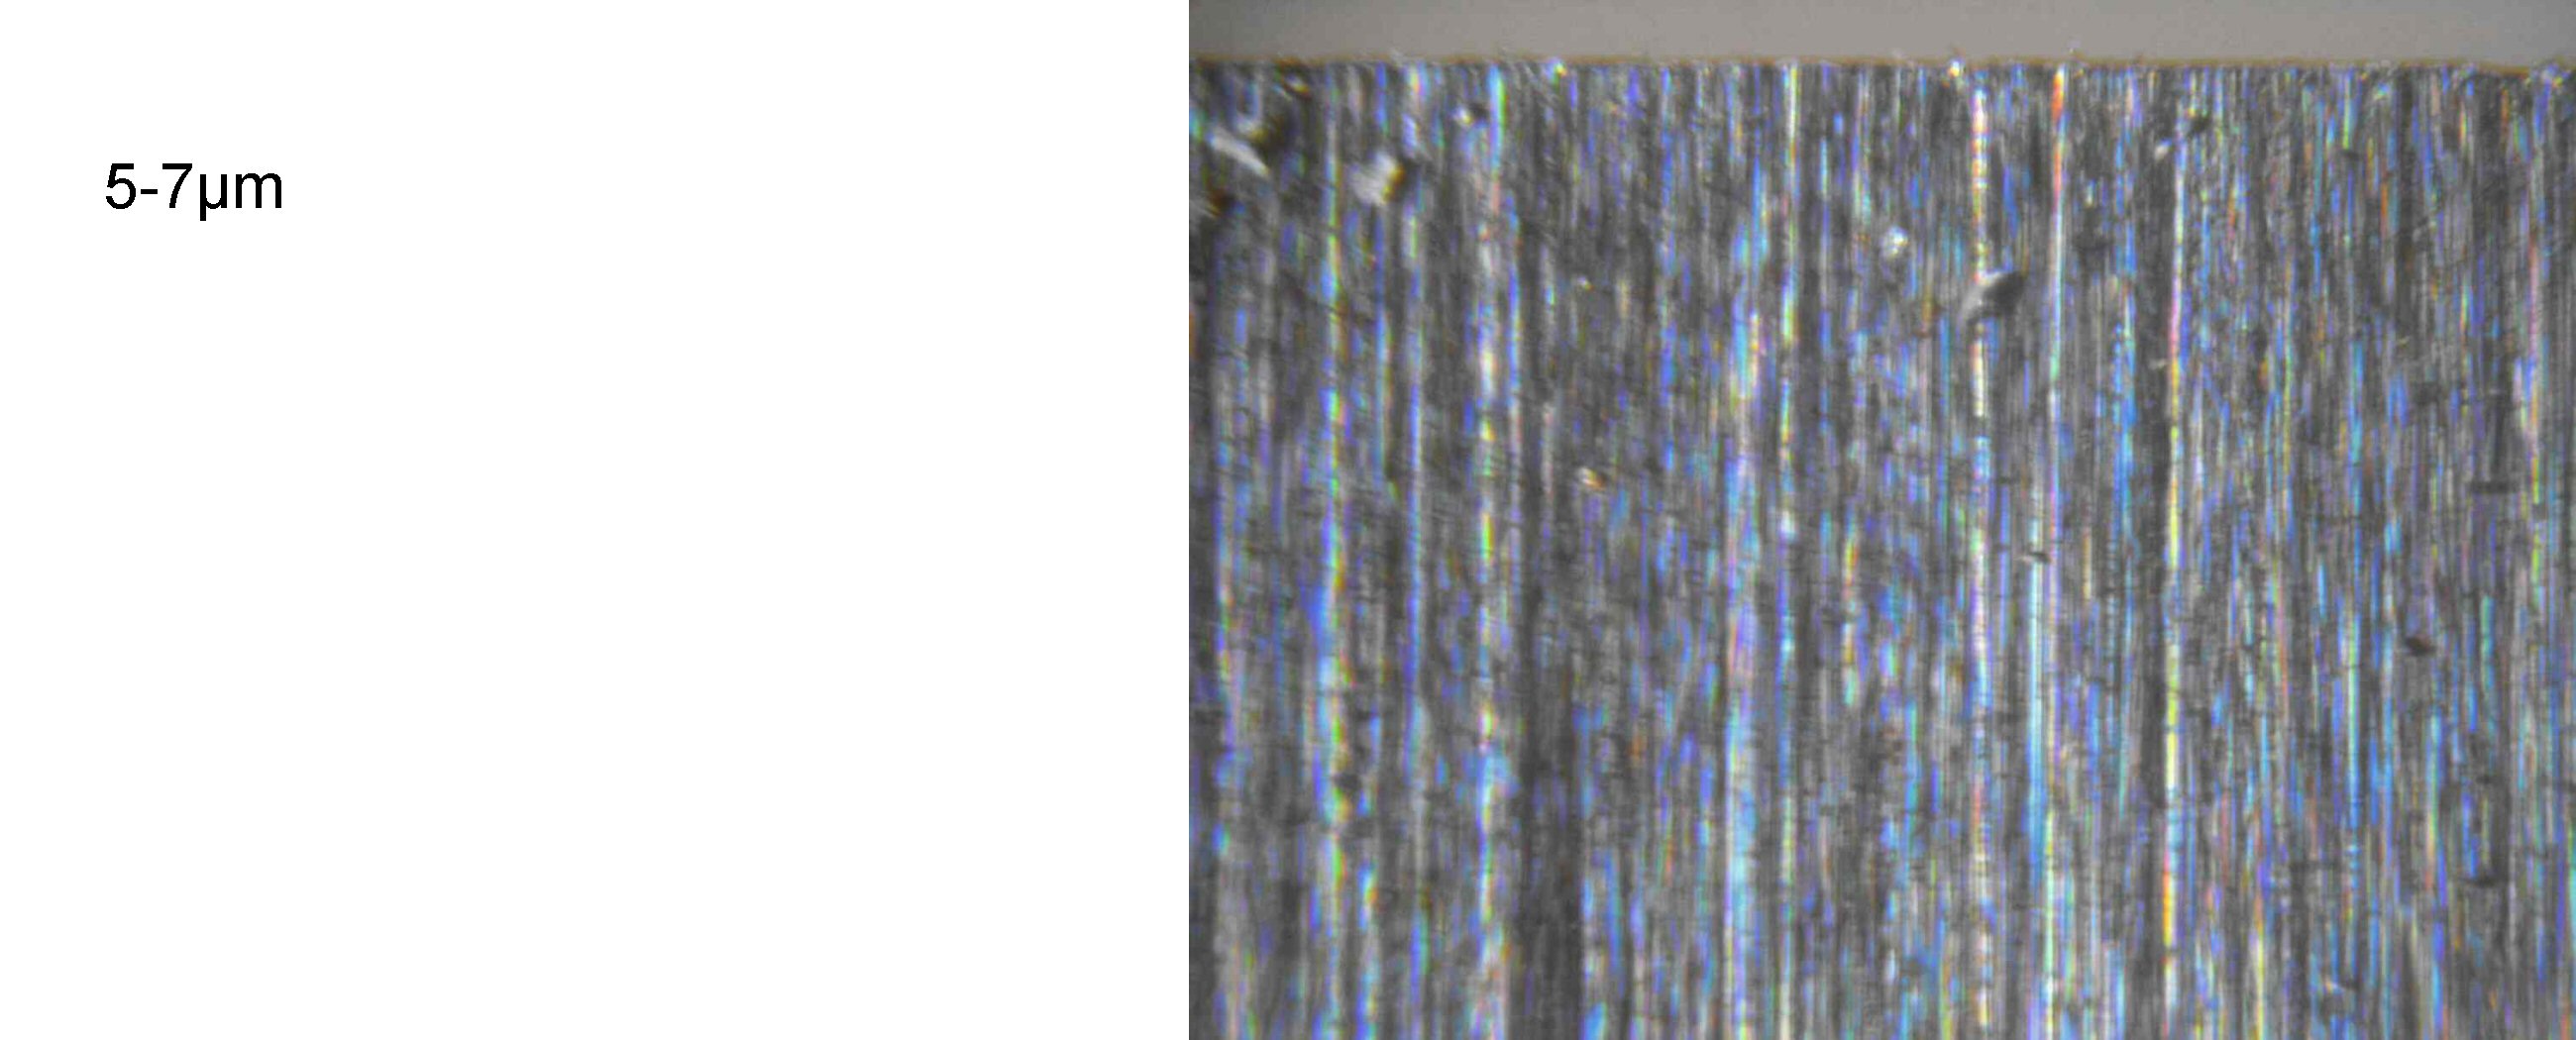
The 5-7µm abrasive is where the magic begins, as below
Attachment 140425
I refined the edge further using the 2-3µm stone. I might do a follow-up post showing any change to the finish from then using a 1 micron diamond stone followed by 1 and ¼ micron diamond emulsion on strops, but for now here are additional scratch patterns under the microscope for the different abrasive sizes, as before with the edge illumination at right-angles to the pattern unless otherwise mentioned.
Attachment 140426
Attachment 140427
Attachment 140428
Attachment 140429
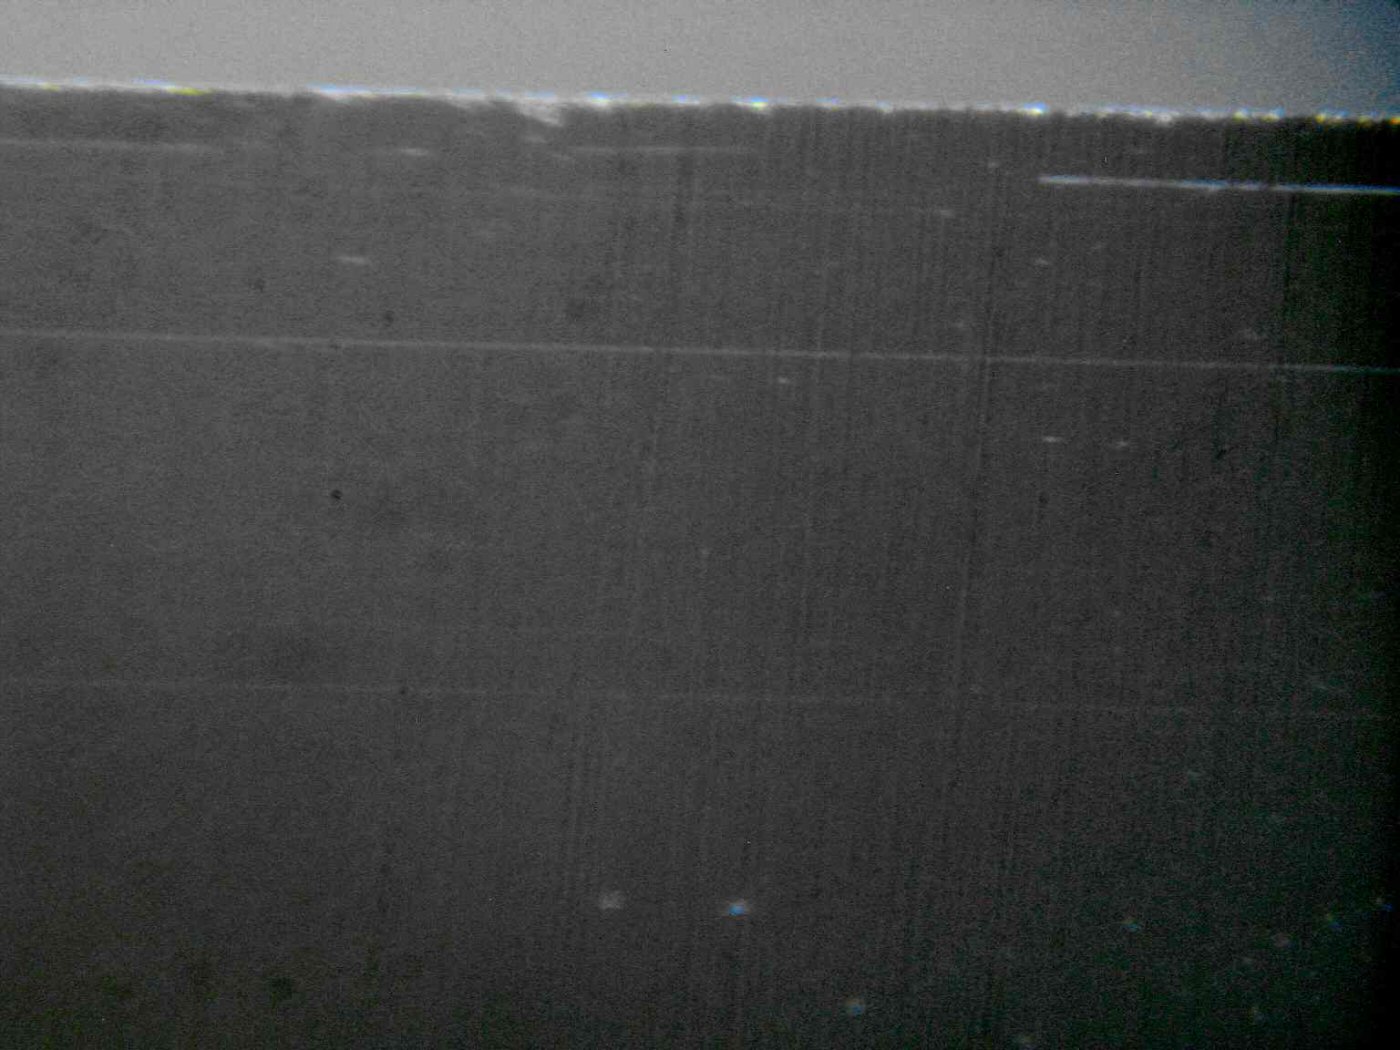
Even with the finer finishes, there is nothing mirror-like to the surface when it is viewed with magnification. That said, the illumination angle used makes a big difference to how the surface appeared. Below is when the same 2-3µm finish is viewed with the light shining straight onto the edge at right-angles rather than shone along the blade. Little sign of the scratch pattern shows up at all. Even with the edge being shaving sharp, the imperfections right at the apex may now be clearly seen. The horizontal lines I think have been added when wiping the edge clean, probably from the odd loose piece of abrasive picked up on the cloth. Diamond is still merciless on steel with a HRC hardness in the low sixties!
Attachment 140430
Observations or opinion? Ive found a microscope to be very helpful for seeing what the effect has been of each abrasive. While an expert may be able to hand sharpen, and do this by feel, I need a guided system, and even with a guided system there are pitfalls that high magnification can identify that would otherwise go unnoticed by me.
I have mentioned this in other posts, but I think it is worth noting again: it is essential in a guided system that every abrasive contacts the knife apex at EXACTLY the same angle as every other. Each successively finer stone is less able to remove sufficient material to correct for an error in applied angle than the previous. Any system where the knife is repeatedly flipped to progress through the grits must restore the blade to an absolutely identical position following each rotation. Even in systems like the Wicked Edge where the blade is held fixed through the entire process; any slop or flexing in the slide rods, or the different grades of stone being of an uneven thickness or wear, will change the angle of application. It is surprising how often I thought I had worked the edge fully with a particular stone only to see under the microscope areas where the scratch pattern of the previous abrasive remained untouched because of a slight angle difference. I would never see this by eye.
5 Attachment(s)
Sharpening a D2 knife blade: follow-up
As promised earlier, I have continued experimenting with refining the blade edge of the re-handled Spyderco Junction, using the finer grade Venev diamond stones, followed by leather strops loaded with Jende 1 micron and one-quarter micron diamond emulsions. More photographs were taken of the edge along the way to track what was happening at a microscopic level. To the un-aided eye there was no visible change the edge simply maintained a mirror finish appearance thoughout. Down at these abrasive sizes, the images arent quite as revealing as earlier either, because the limit of the budget optics used had been reached, but there were still a few changes to see as sharpening progressed.
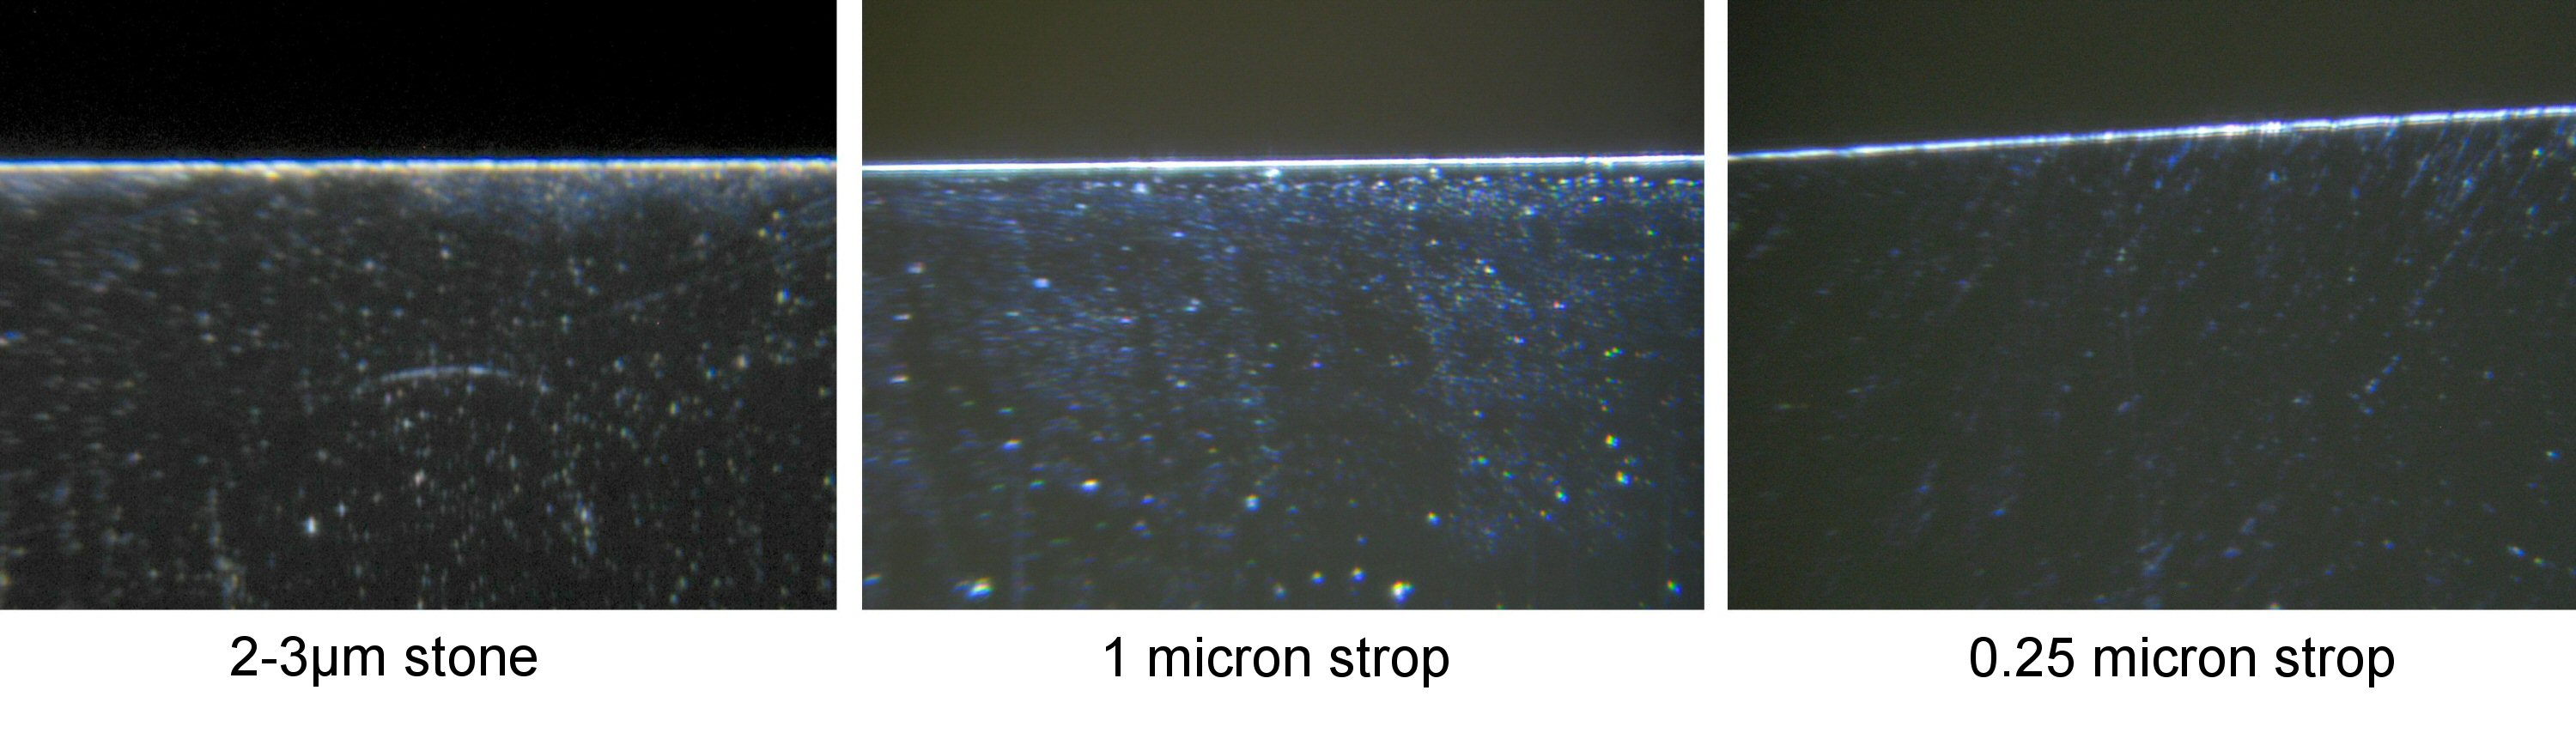
Below are the images where the light source is at right-angles to the blade and reflects off the edge of the apex. This shows the expected reduction in the width of the reflection as the edge continues to be refined, though the flaring off the apex doesnt really allow the true thinness achieved to be represented accurately in a photo. As previously, with the light lining up along the direction that the abrasives were applied, there is almost no visible sign of the scratch pattern. The small reflective patches that can be seen instead may be localised galling or perhaps some manifestation of the microstructures in the steel.
Attachment 143146
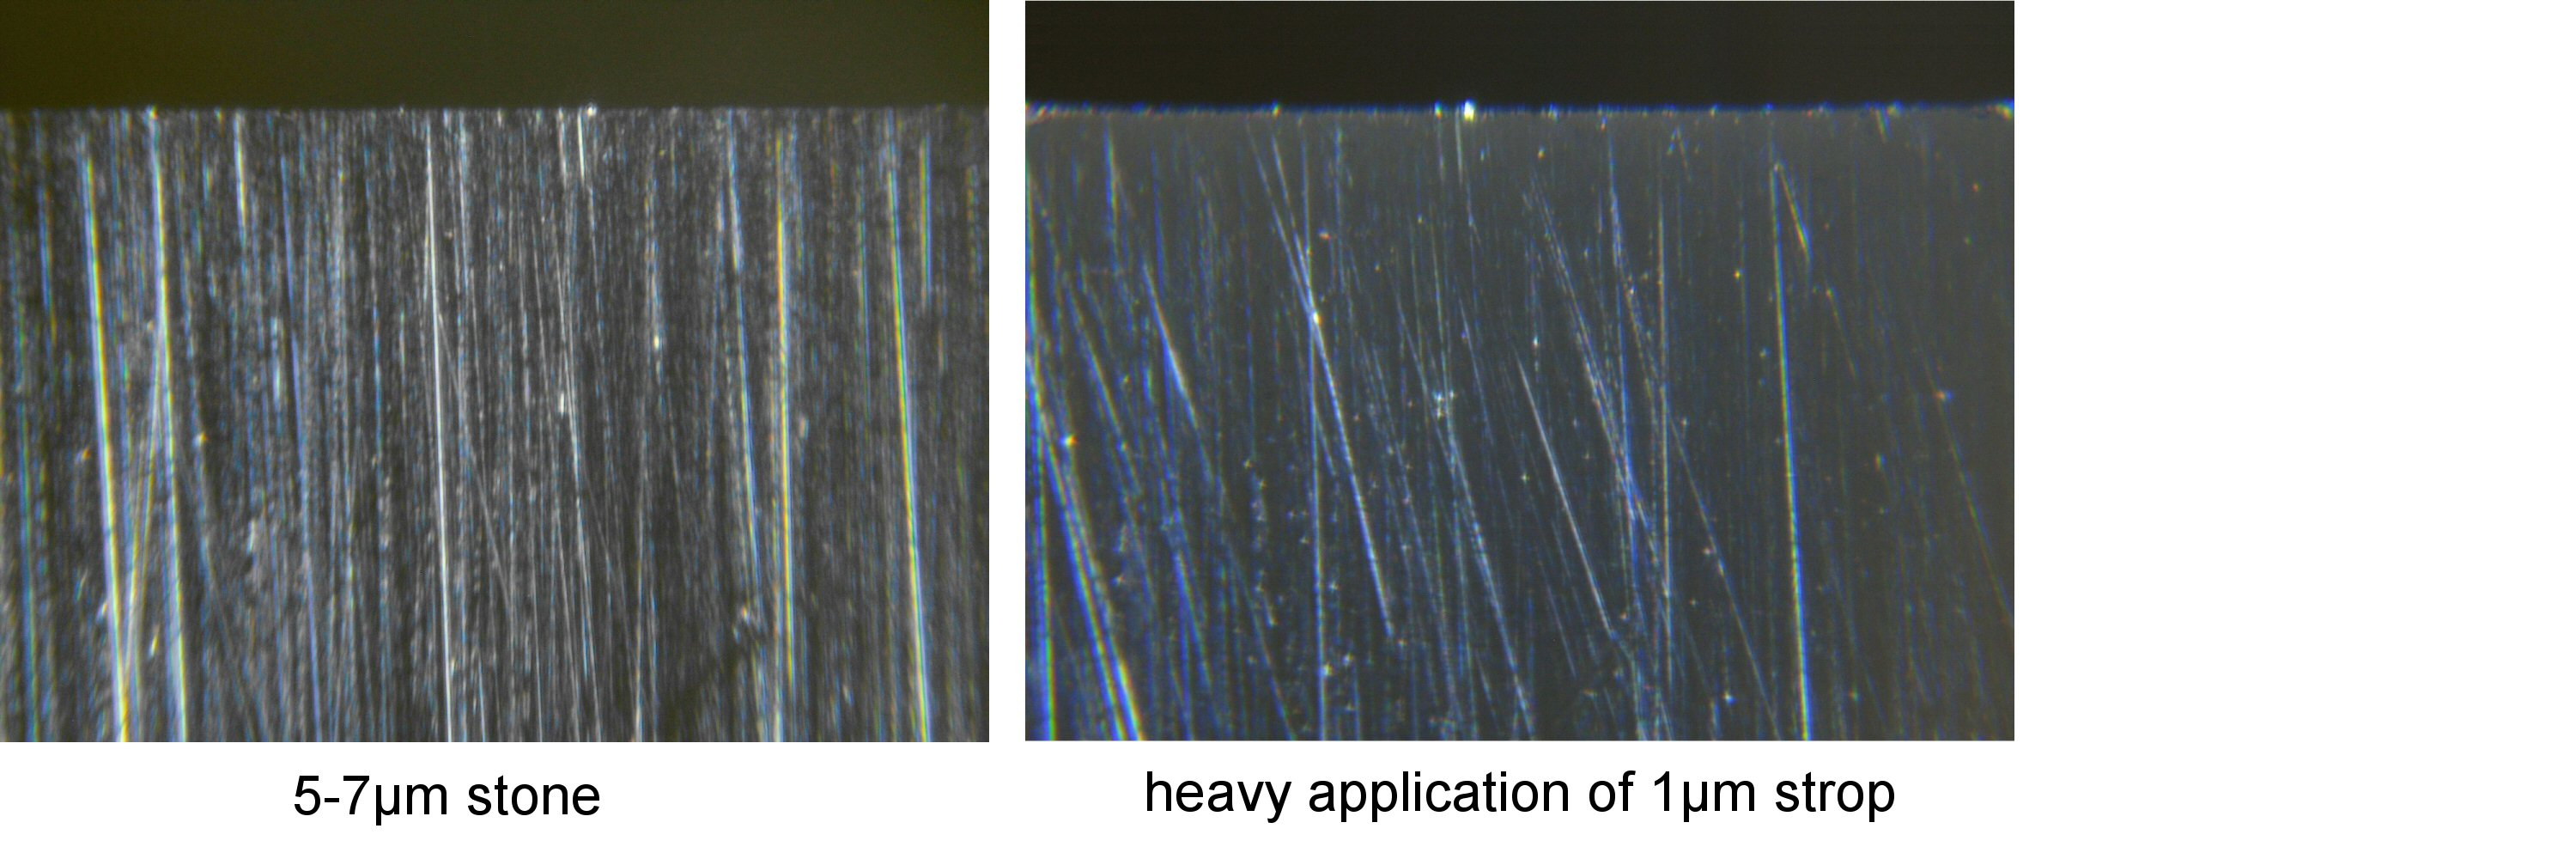
Below are a couple of images of the same part of the blade edge with the illumination angled instead at right-angles to that pictured above and so maximise the appearance of the scratch pattern. On the left is the appearance following a 5-7µm stone, and on the right is after a few passes of the 2-3µm stone followed by a fairly lengthy application of a strop loaded with the 1µm diameter abrasive emulsion while I tried to remove the scratch pattern. Some of the deeper scratches on the left can be identified as still present in the image on the right, though the strop has gone a long way to removing the scratches from the earlier abrasives. It became clear to me that continued use of the strop would ultimately erase them all.
Attachment 143147
While this might improve the visual finish across the full depth of the edge as seen through a microscope, it was apparent that the stropping, though initially helping to achieve a keener edge, was then going on to cause a degradation.
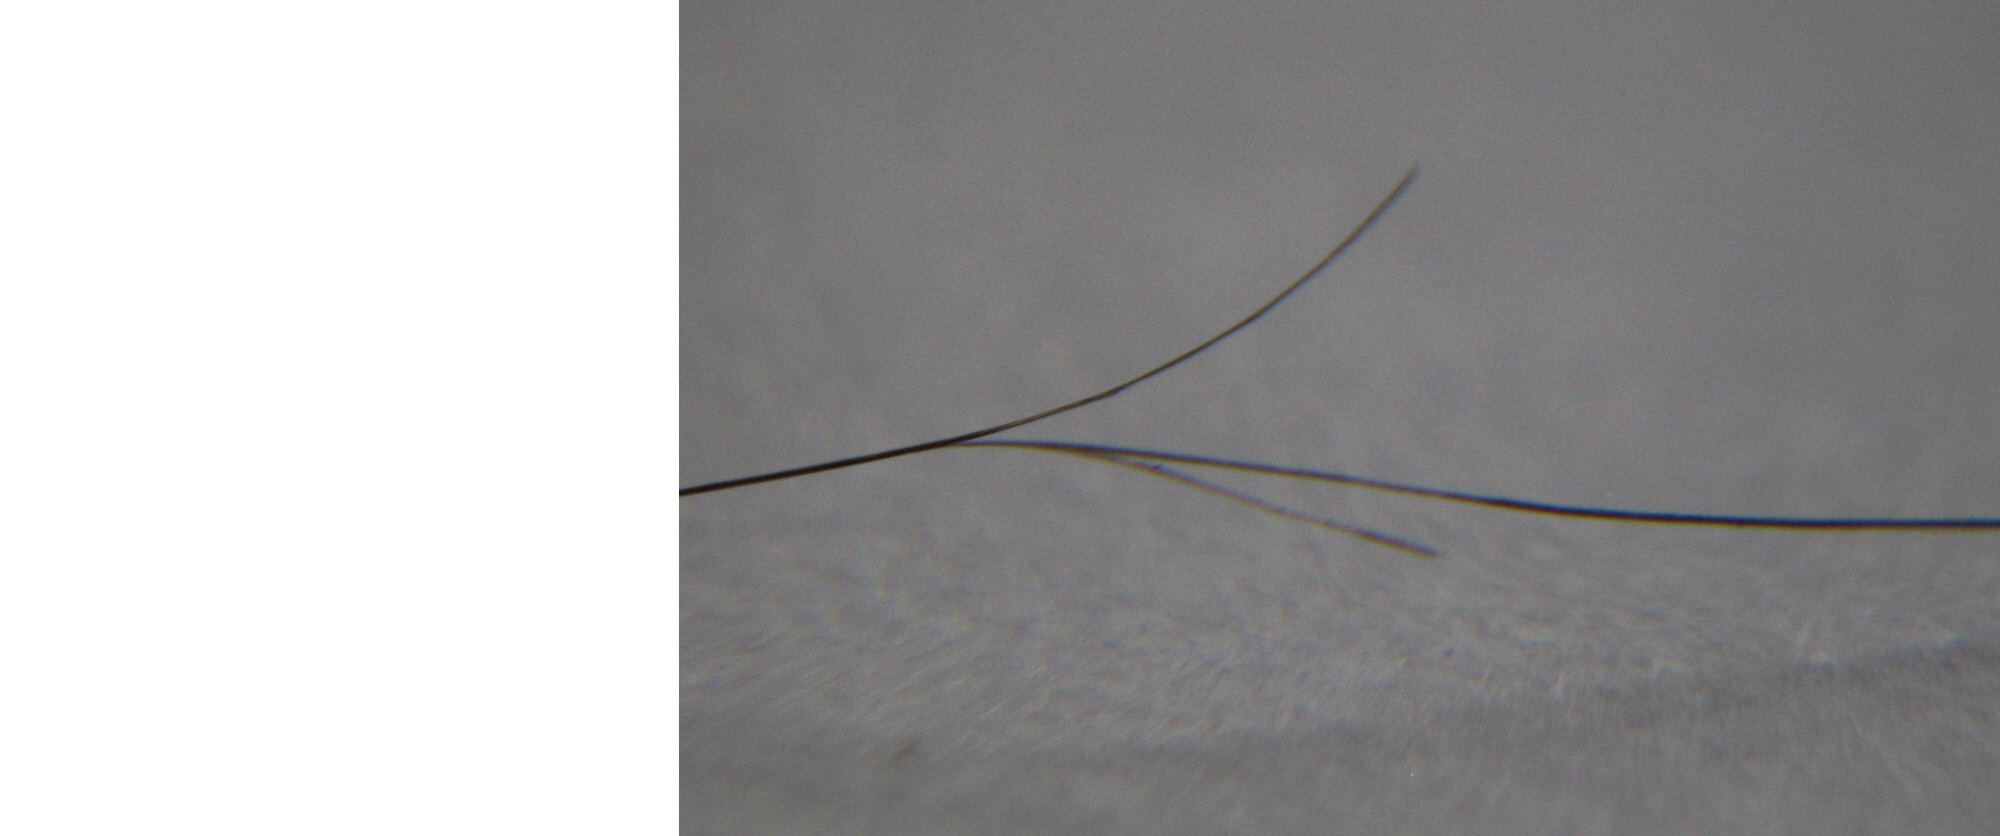
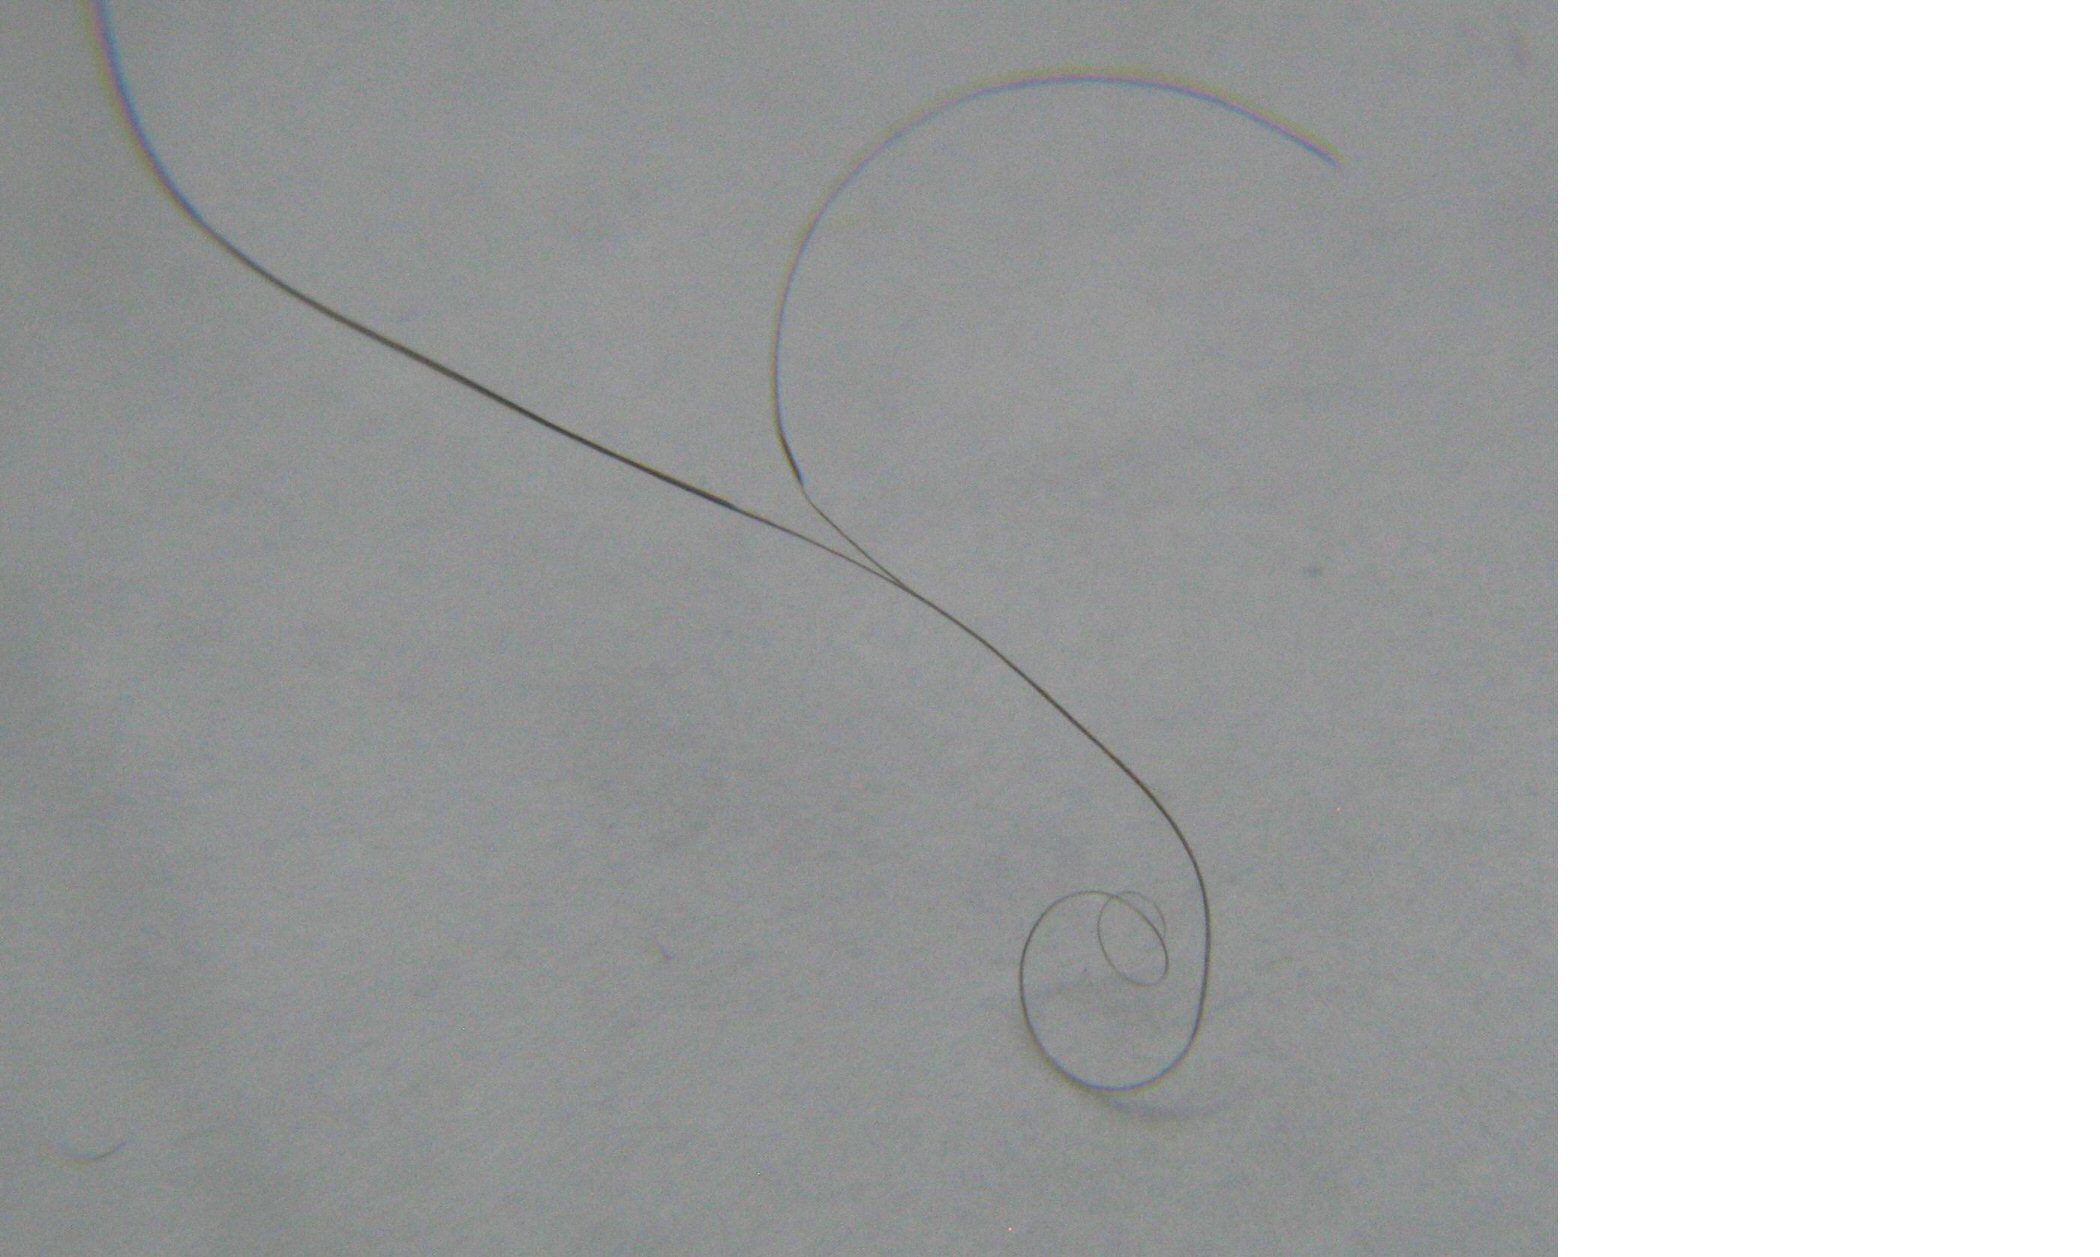
I used a favourite of blade enthusiasts to gauge the condition of the edge - whittling hair - and for the purposes of scientific inquiry sacrificed quite a number of my few remaining non-greying hairs from my head to assess the condition of the edge at various stages along the way. The hair was all quite thin, averaging 0.045mm in diameter.
The keenest edge following the Venev stones appeared to be achieved with maybe ten strokes of the leather-on-aluminium strops per side with the 1µm abrasive followed with the same using the 0.25µm abrasive. With this edge I could easily pare down both sides of a hair.
Attachment 143148
Attachment 143149
I also tried other more ambitious whittling for example stripped the sides off a hair before splitting the remaining thickness down the middle. All fun and games. It was useful though in confirming that continued application of the strops quite quickly degrades the edge finish so that whittling is no longer possible. A bit of reading online found that this was to be expected: the leather often has enough give to round off the extremity of the edge and form a convex bevel. I confirmed this on a couple of occasions by going back to the stones, still set at the original 15° on the jig, and repeating the whole process with further testing. The fresh scratch patterns would not initially reach out to the apex because of the rounding-off at the edge. I wouldnt say I had to then re-profile the edge to get the stones to contact the full width of the bevel again, but a bit of work was necessary with the finer stones to restore the original V-shape followed by the limited stropping to get back to a hair-whittling edge. The situation was improved by using the emulsion on pine (wood) strops rather than leather. The convexing still occurred but was delayed. At a microscopic level perhaps there is still compression in the timber fibres as there was in the leather. Applied force obviously has a bearing too, light strokes preferred to optimise the keenness of the edge.
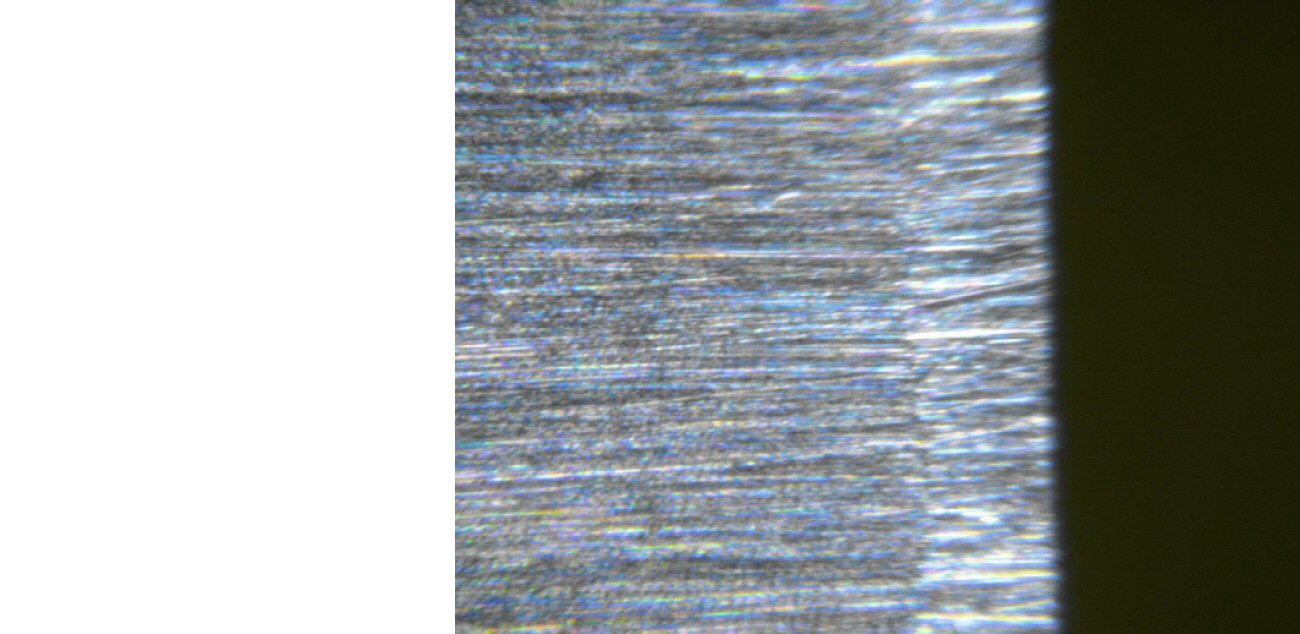
Now for something completely different. Here is another photographed example of what can happen from not being consistent with the applied angle between two sharpening stones on a sharpening jig. My apologies for the edge of the blade appearing fuzzy the depth of focus of the optics being used for these images is tiny. To get some idea of scale, the 1mm apex on the blade being sharpened is about as wide as this text block.
Attachment 143150
In this case a 2-3 micron diamond stone has been used over the top of a scratch pattern from a 5-7µm stone. This time the difference in stone thickness was the wrong way around, and the finer grit stone has not actually contacted the last 0.1mm right at the edge. This remains finished with the preceding grit size and is visibly courser in appearance as a result. Regardless of what these photos look like down at a microscopic level, both appear to the un-aided eye as a mirror finish. A microscope, even a NZ$10 one, is a very useful aid to knife sharpening. Without one there is no visual clue that application of the finer stone has not improved the keenness of the edge since it hasnt actually made contact with it.
