

 52Likes
 LinkBack URL
 About LinkBacks
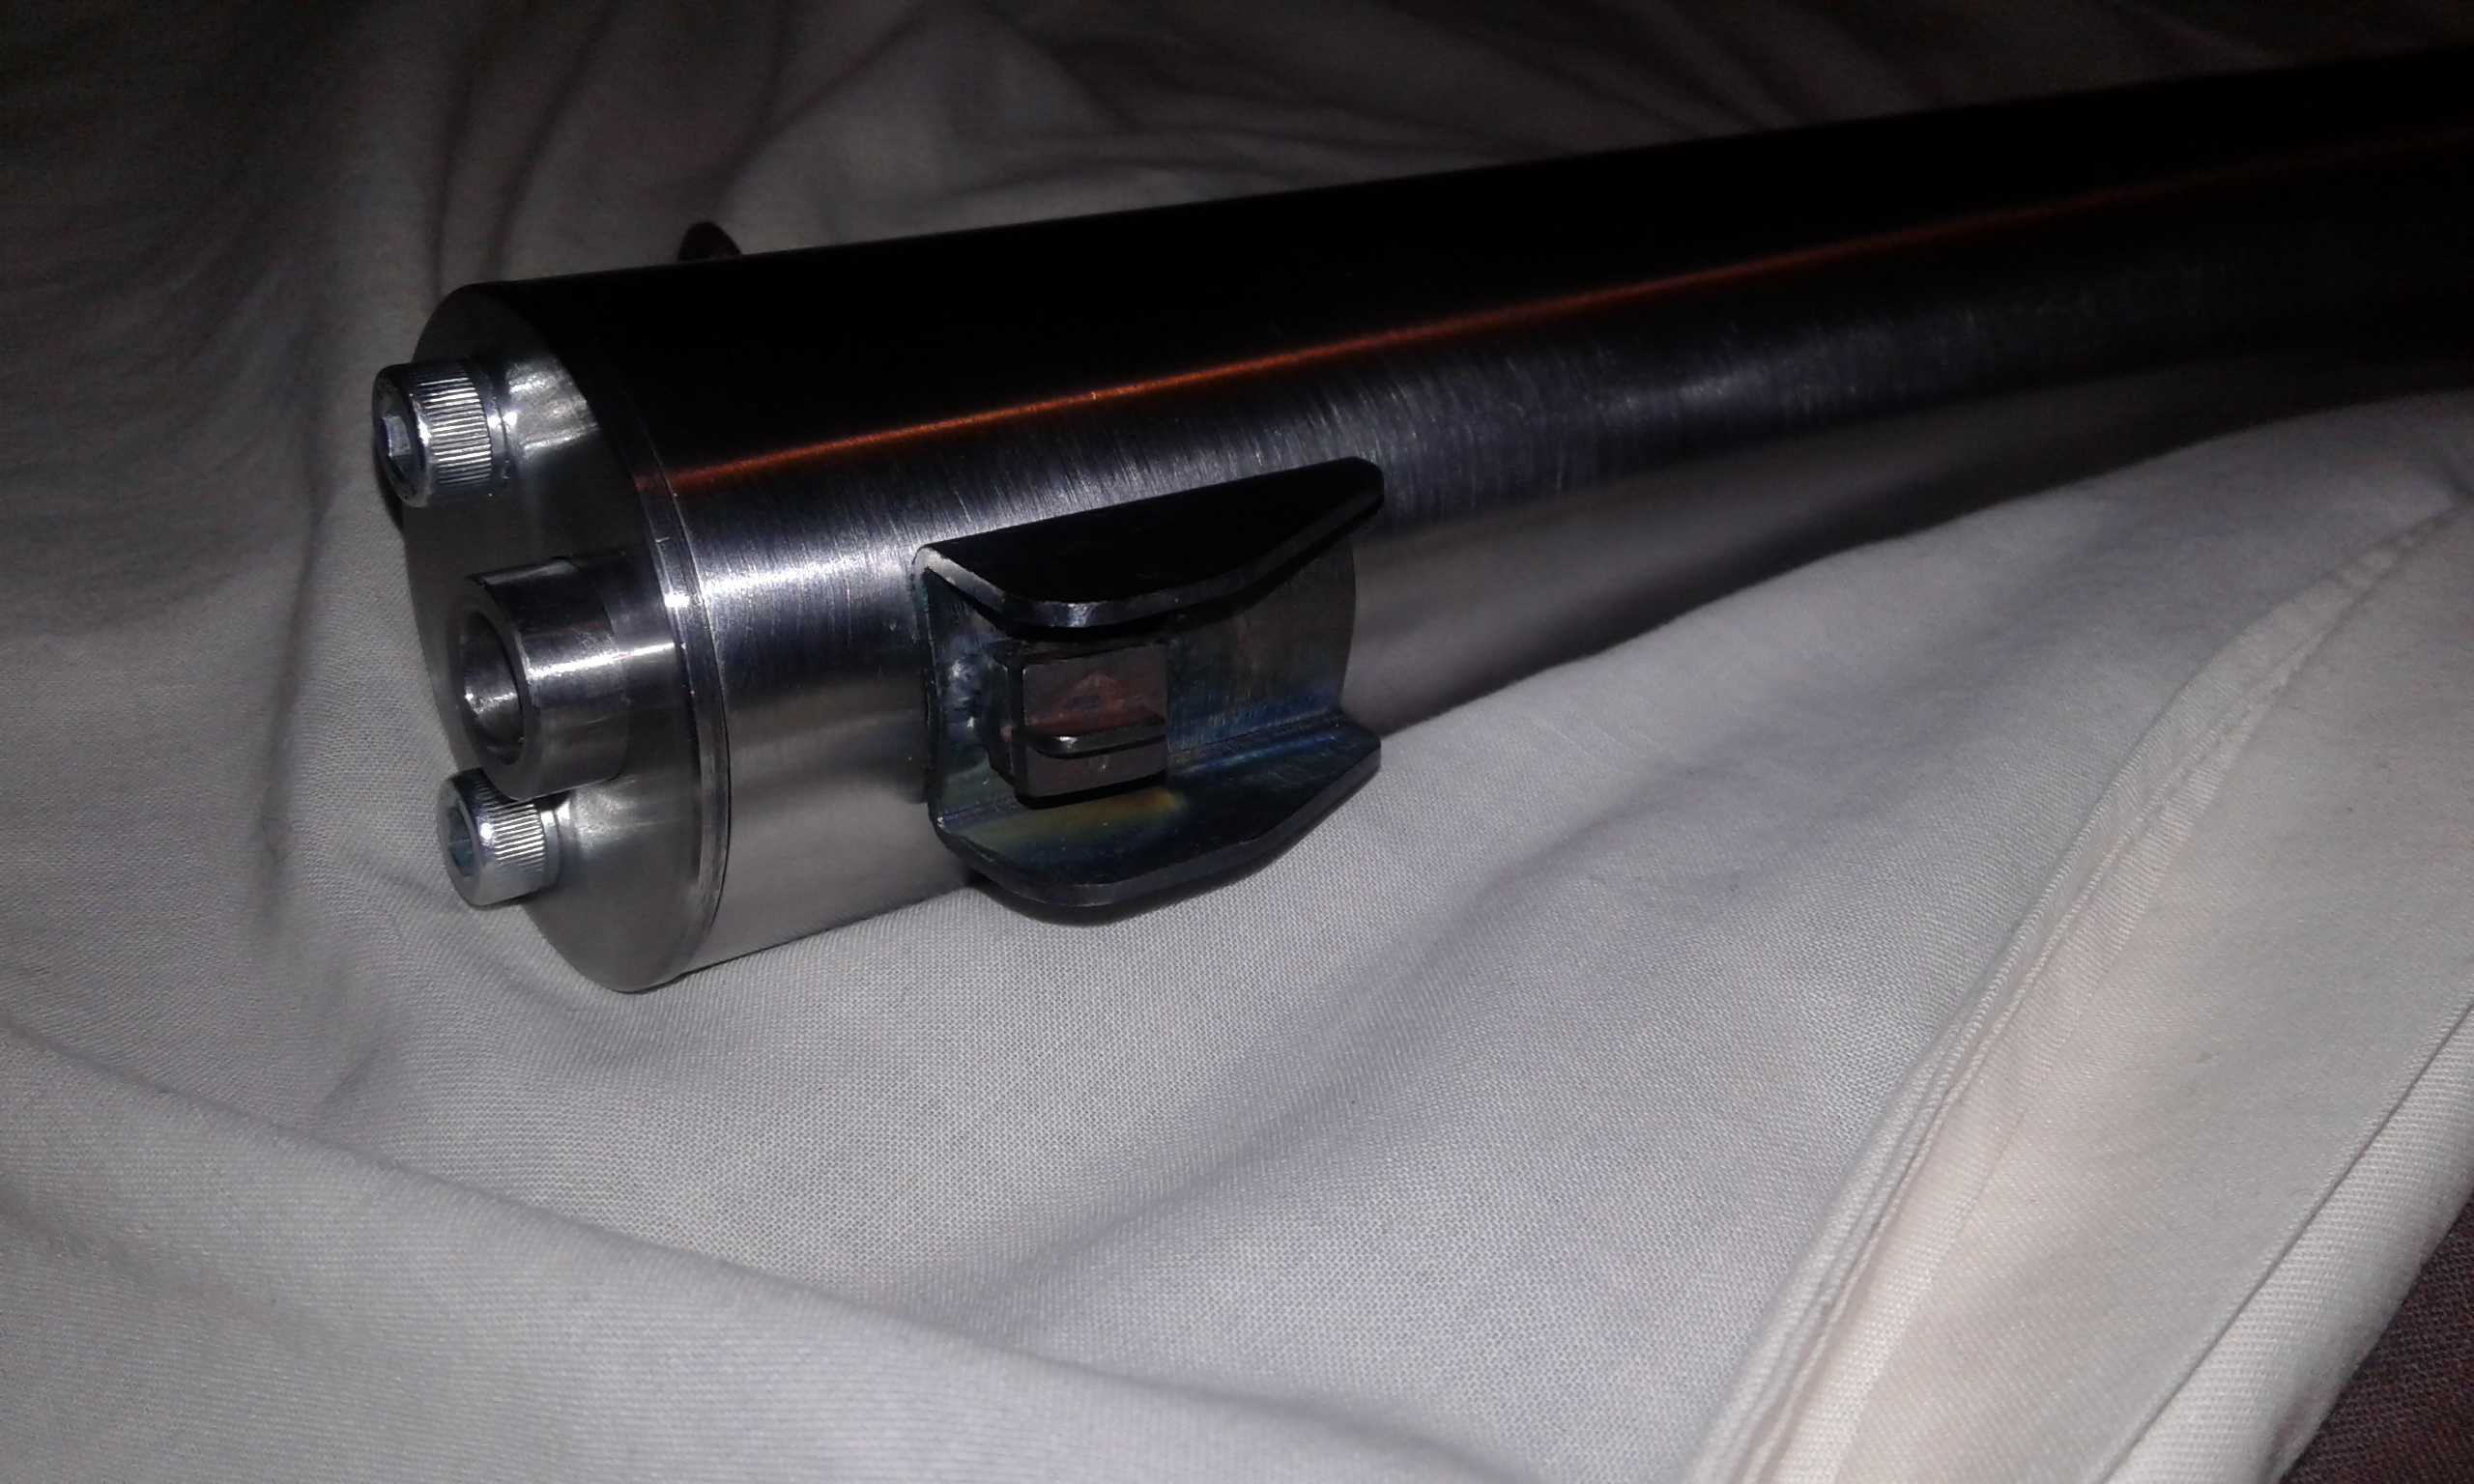
A bit more done, I have welded a pad to the suppressor tube to mount the wood work too and inleted the wood to fit, the woodwork always has the potential for stuff ups but worked out ok this time.
I made up a little steel plate to bolt the sling swivel onto, this also keys into the front cap
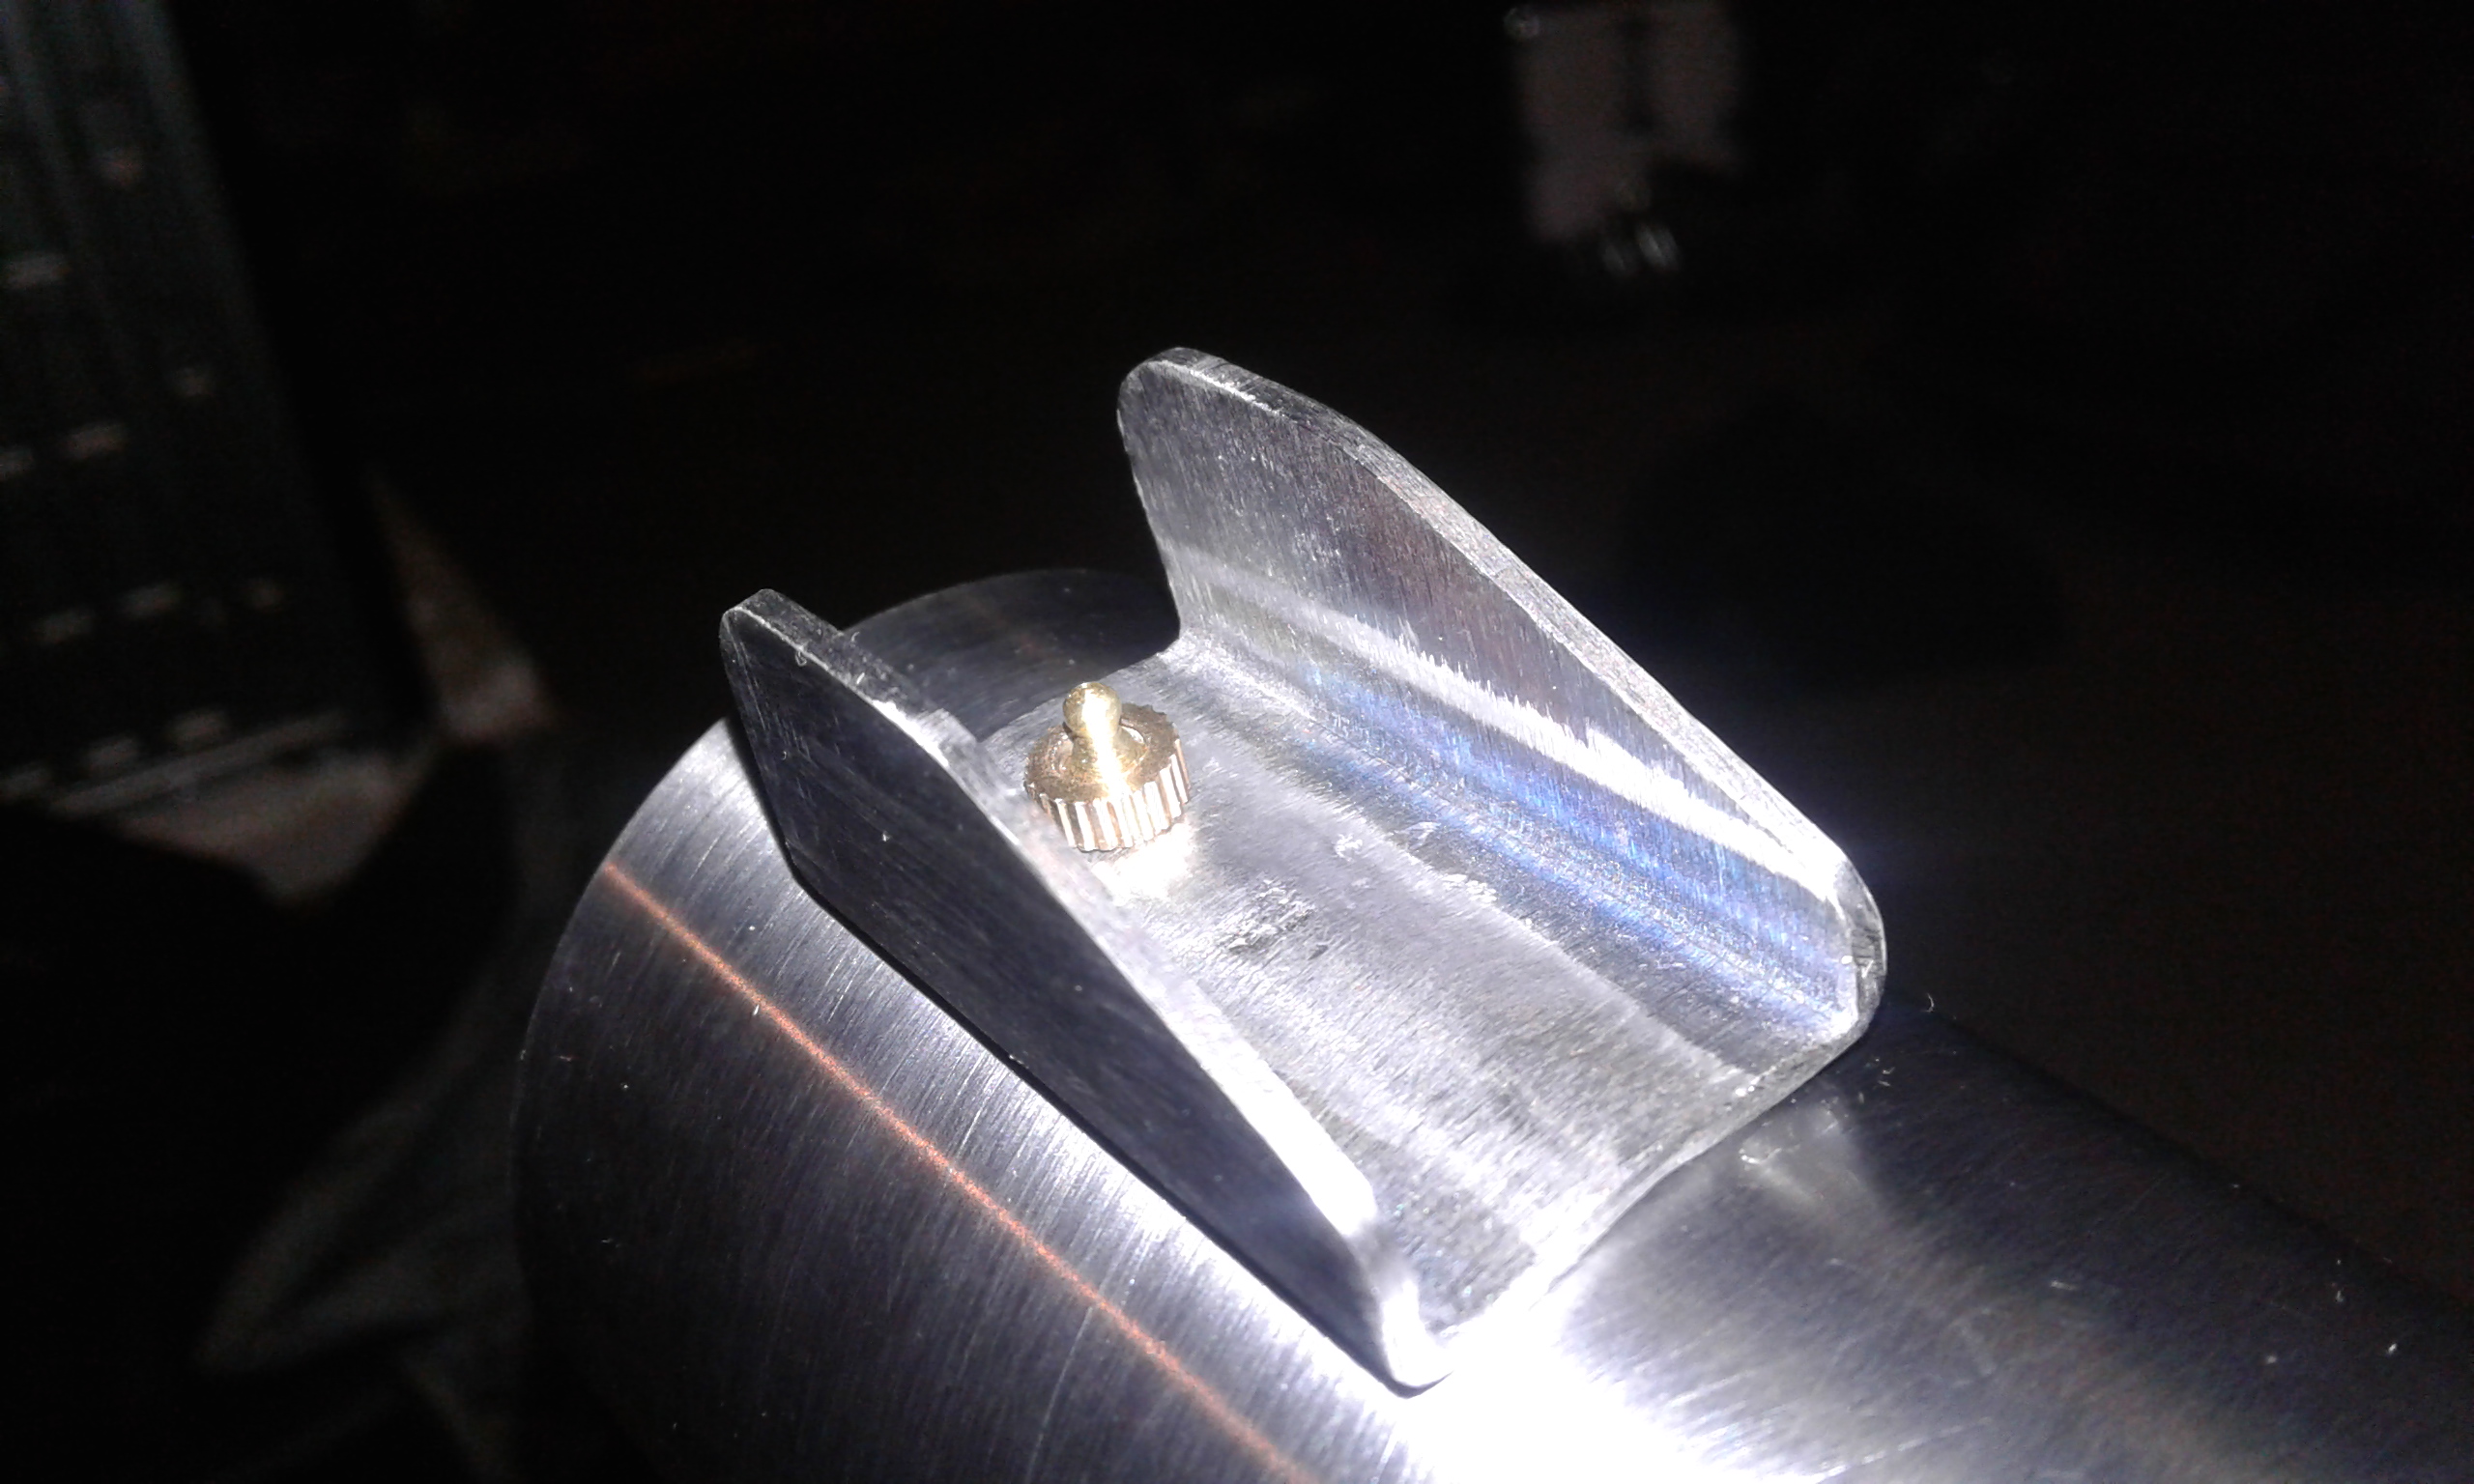
For the front sight I cut down the Enfield one and welded it to the shroud, it probably would have worked but it was higher than I wanted, the idea is to mount an aperture or v on the back of the charger bridge.
So this was binned and a brass bead made up, its just a m4 screw with a bit of file work, it seems to be a better height and needs the notch about 5mm above the charger bridge, this was checked with a laser bore sighter and stacking bits and pieces onto the charger bridge to find the right height.
Welcome guest, is this your first visit? Create Account now to join.
Welcome to the NZ Hunting and Shooting Forums.
Search Forums


User Tag List
+ Reply to Thread
Results 16 to 30 of 43
Thread: 410 Enfield
-
02-07-2018, 09:39 PM #16Member

- Join Date
- Jan 2016
- Location
- Omaru
- Posts
- 565
-
-
08-07-2018, 09:15 PM #17Member
- Join Date
- Jan 2016
- Location
- Omaru
- Posts
- 565
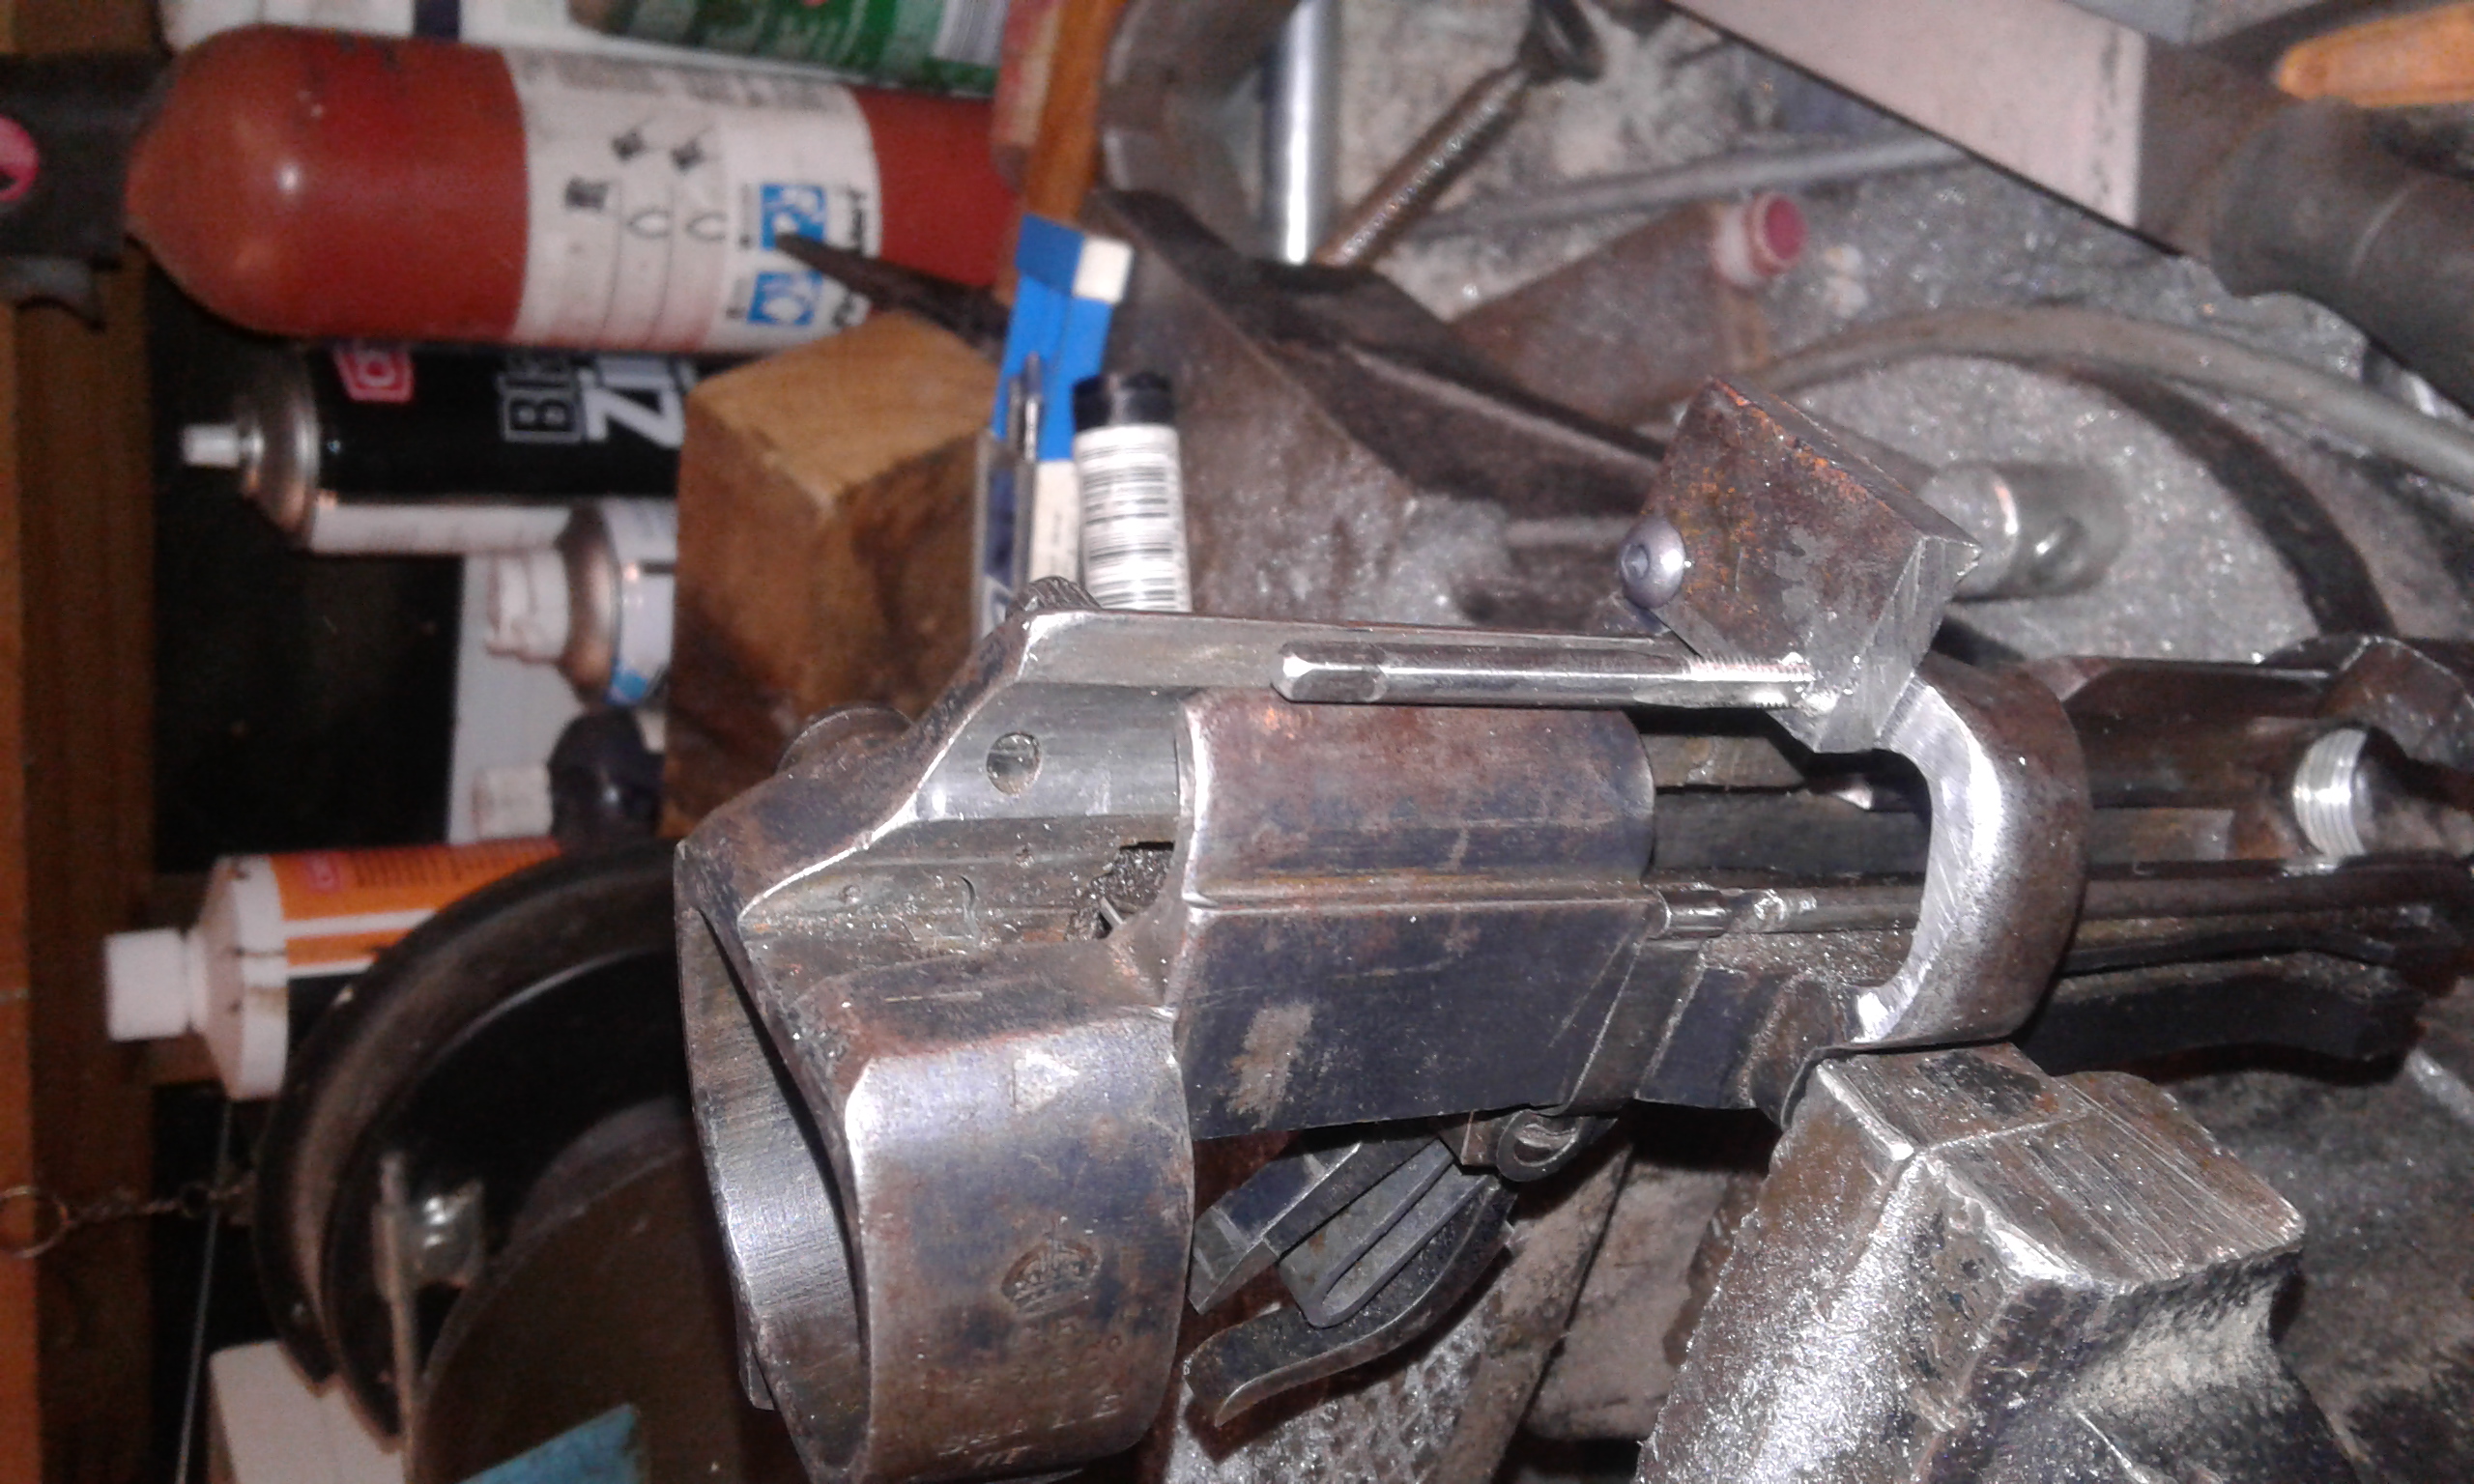
I have started on the rear sight, this will be a ghost ring/aperture screwed onto the back of the charger bridge, in retrospect not the easiest place to attach something to...
To start with I filled the back of the bridge flat, then I figured out where I wanted the screws and marked out their positions on a piece of steel that the aperture will be made from. This is where it starts to get a bit tricky (well for me anyway) I have trouble holding a tap straight while threading a hole, maybe others do too.... So to make sure the two holes lined up and the holes were taped straight I used this long and convoluted process...
I drilled the holes in the sight piece at the tapping drill size (even though this piece will end up with thru holes). Then I clamped it to the charger bridge and drilled one of the holes in the bridge. Being so deep I had to make a long drill (yes you can buy them but mitre 10 didnt have the right size and they are not cheap) Then the sight piece came off and the first hole was tapped, to make sure it is straight I held the tap in the drill press and turned the chuck by hand while putting light downward force on it, once it was well started I finished with a tap wrench
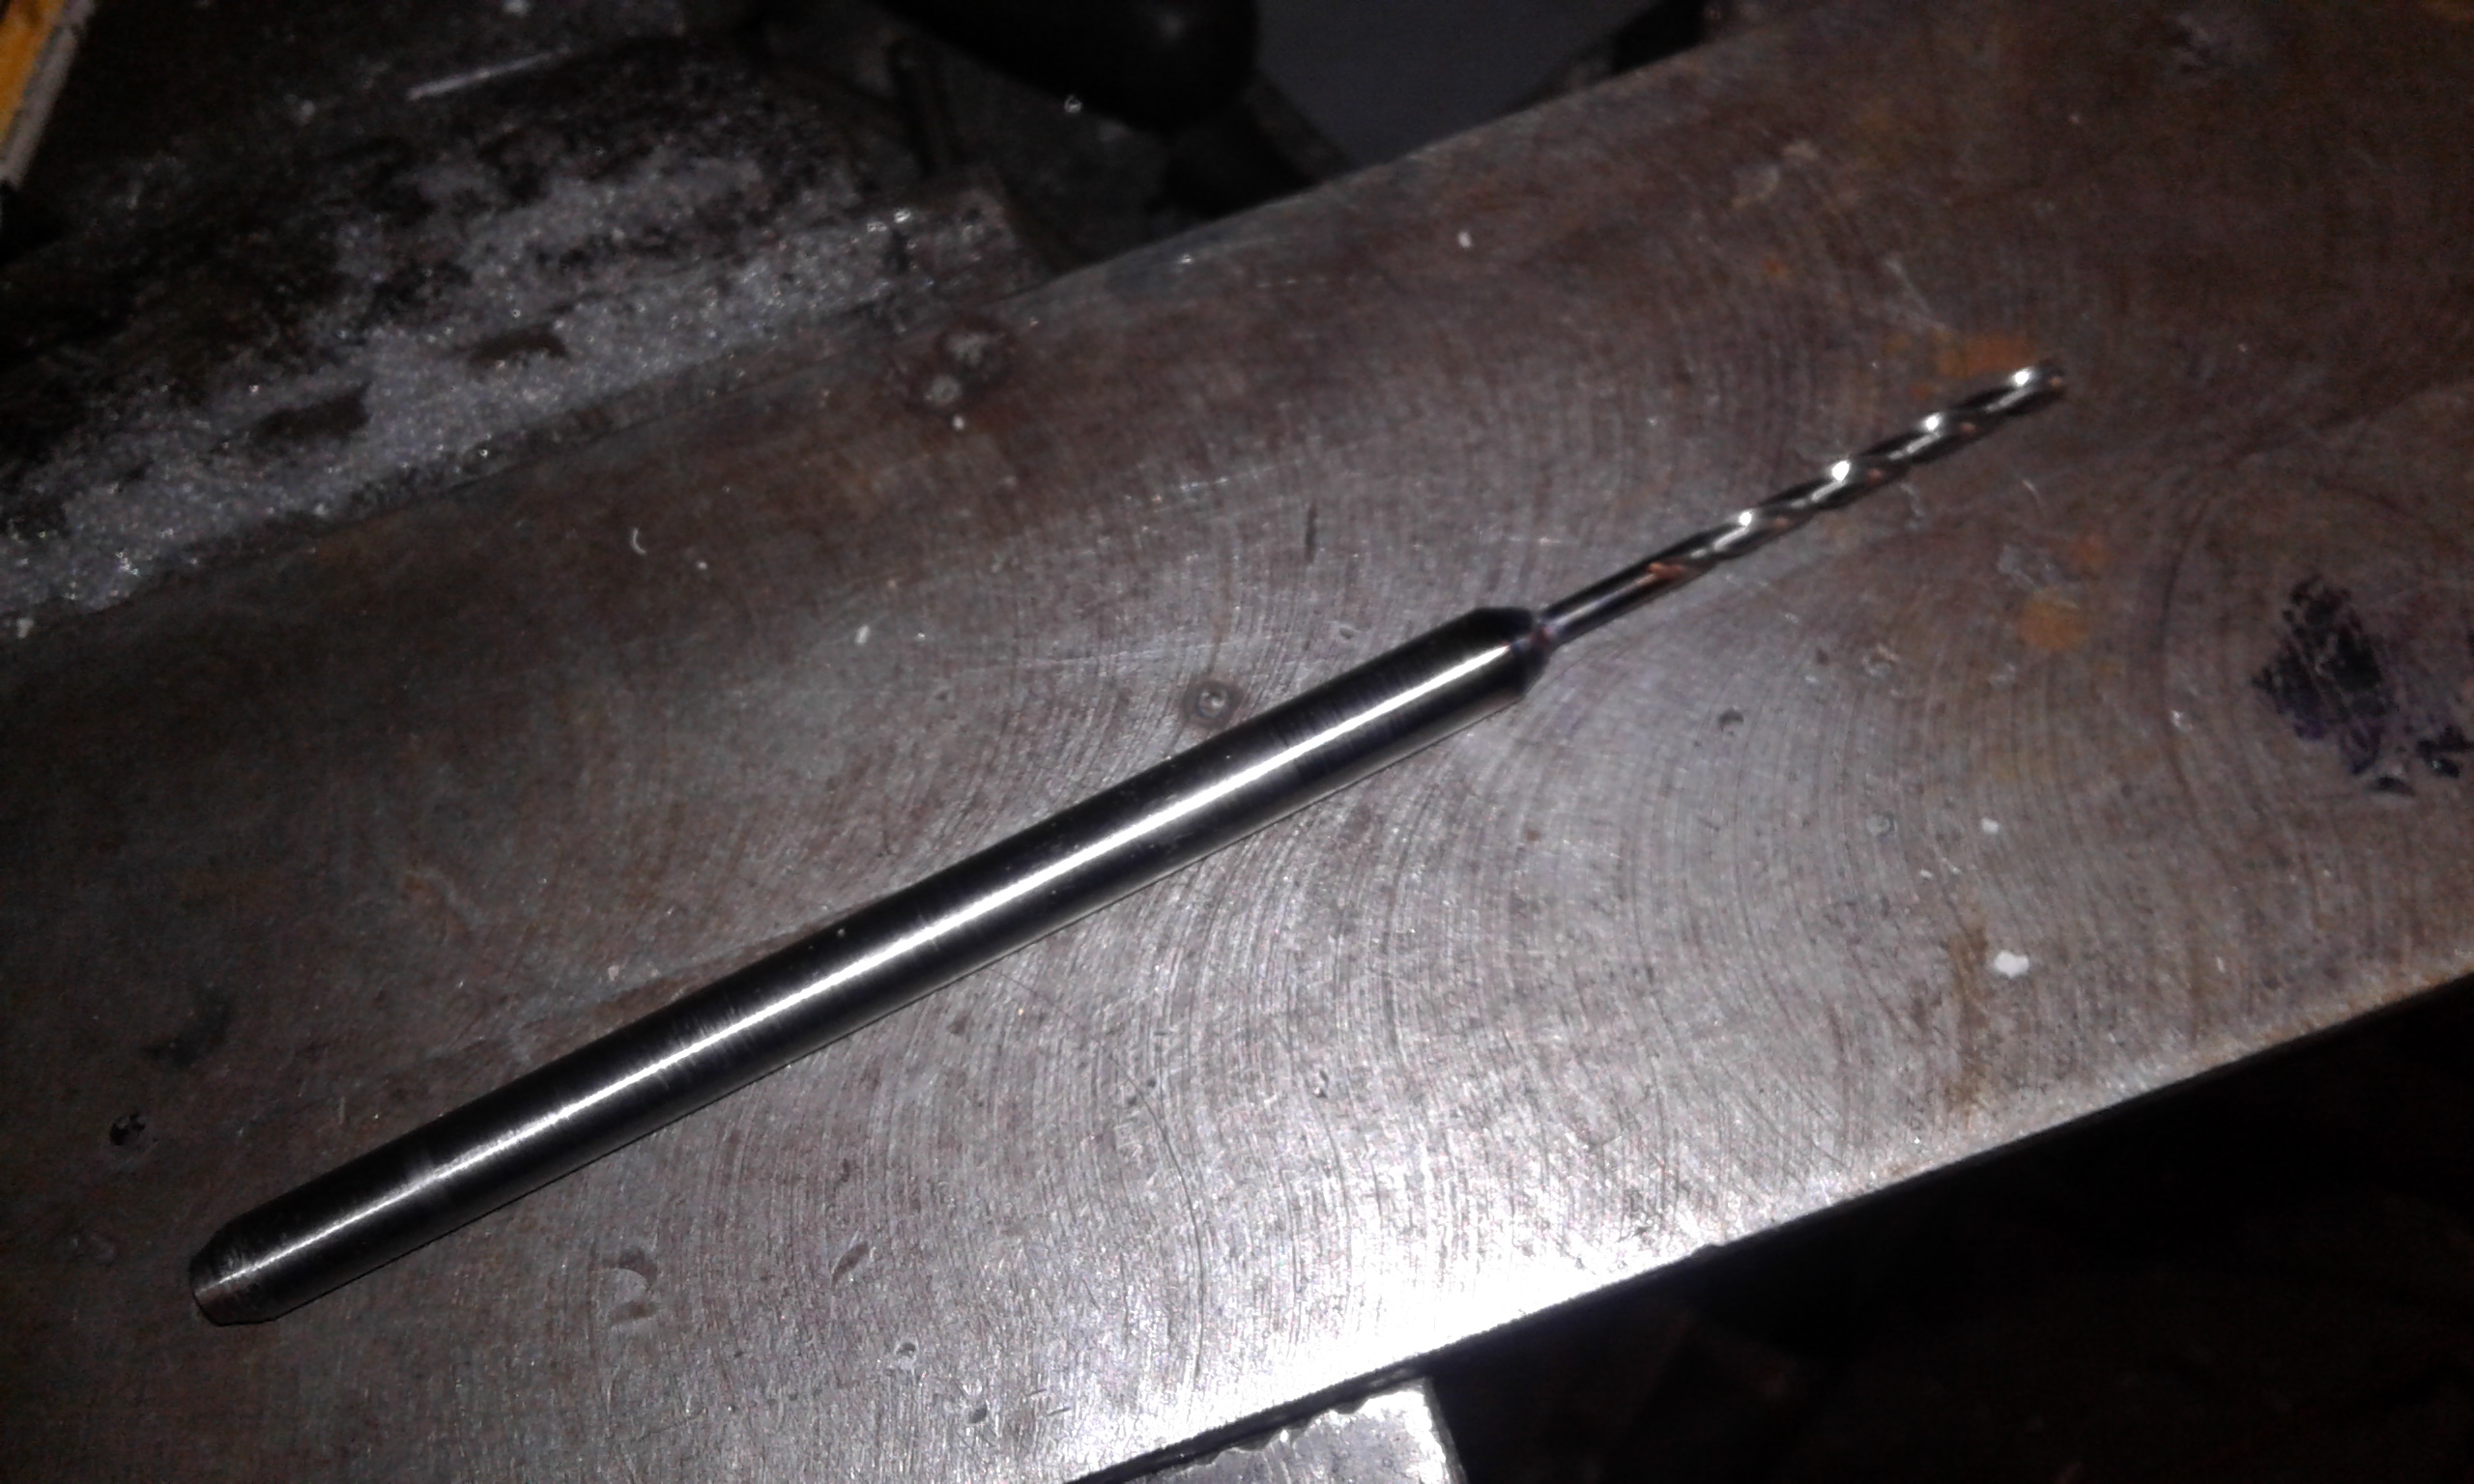
It was then lined up with the hole in the bridge and clamped on again, when in place I threaded the tap through the sight and proceeded to tap the bridge, the sight hole was then drilled out to clearance and the other side done. It is a bit convoluted but takes a lot of the risk out of stuffing up the tapped hole, especially when you need to use a small cresent to turn the tap because nothing else will fit in there. This process was used on the second hole except that instead of a clamp the first bolt was used. Now unfortunately I do not have a stash of BA taps and screws so M4 it is
 Micky Duck likes this.
-
08-07-2018, 09:22 PM #18Member
- Join Date
- Jan 2016
- Location
- Omaru
- Posts
- 565
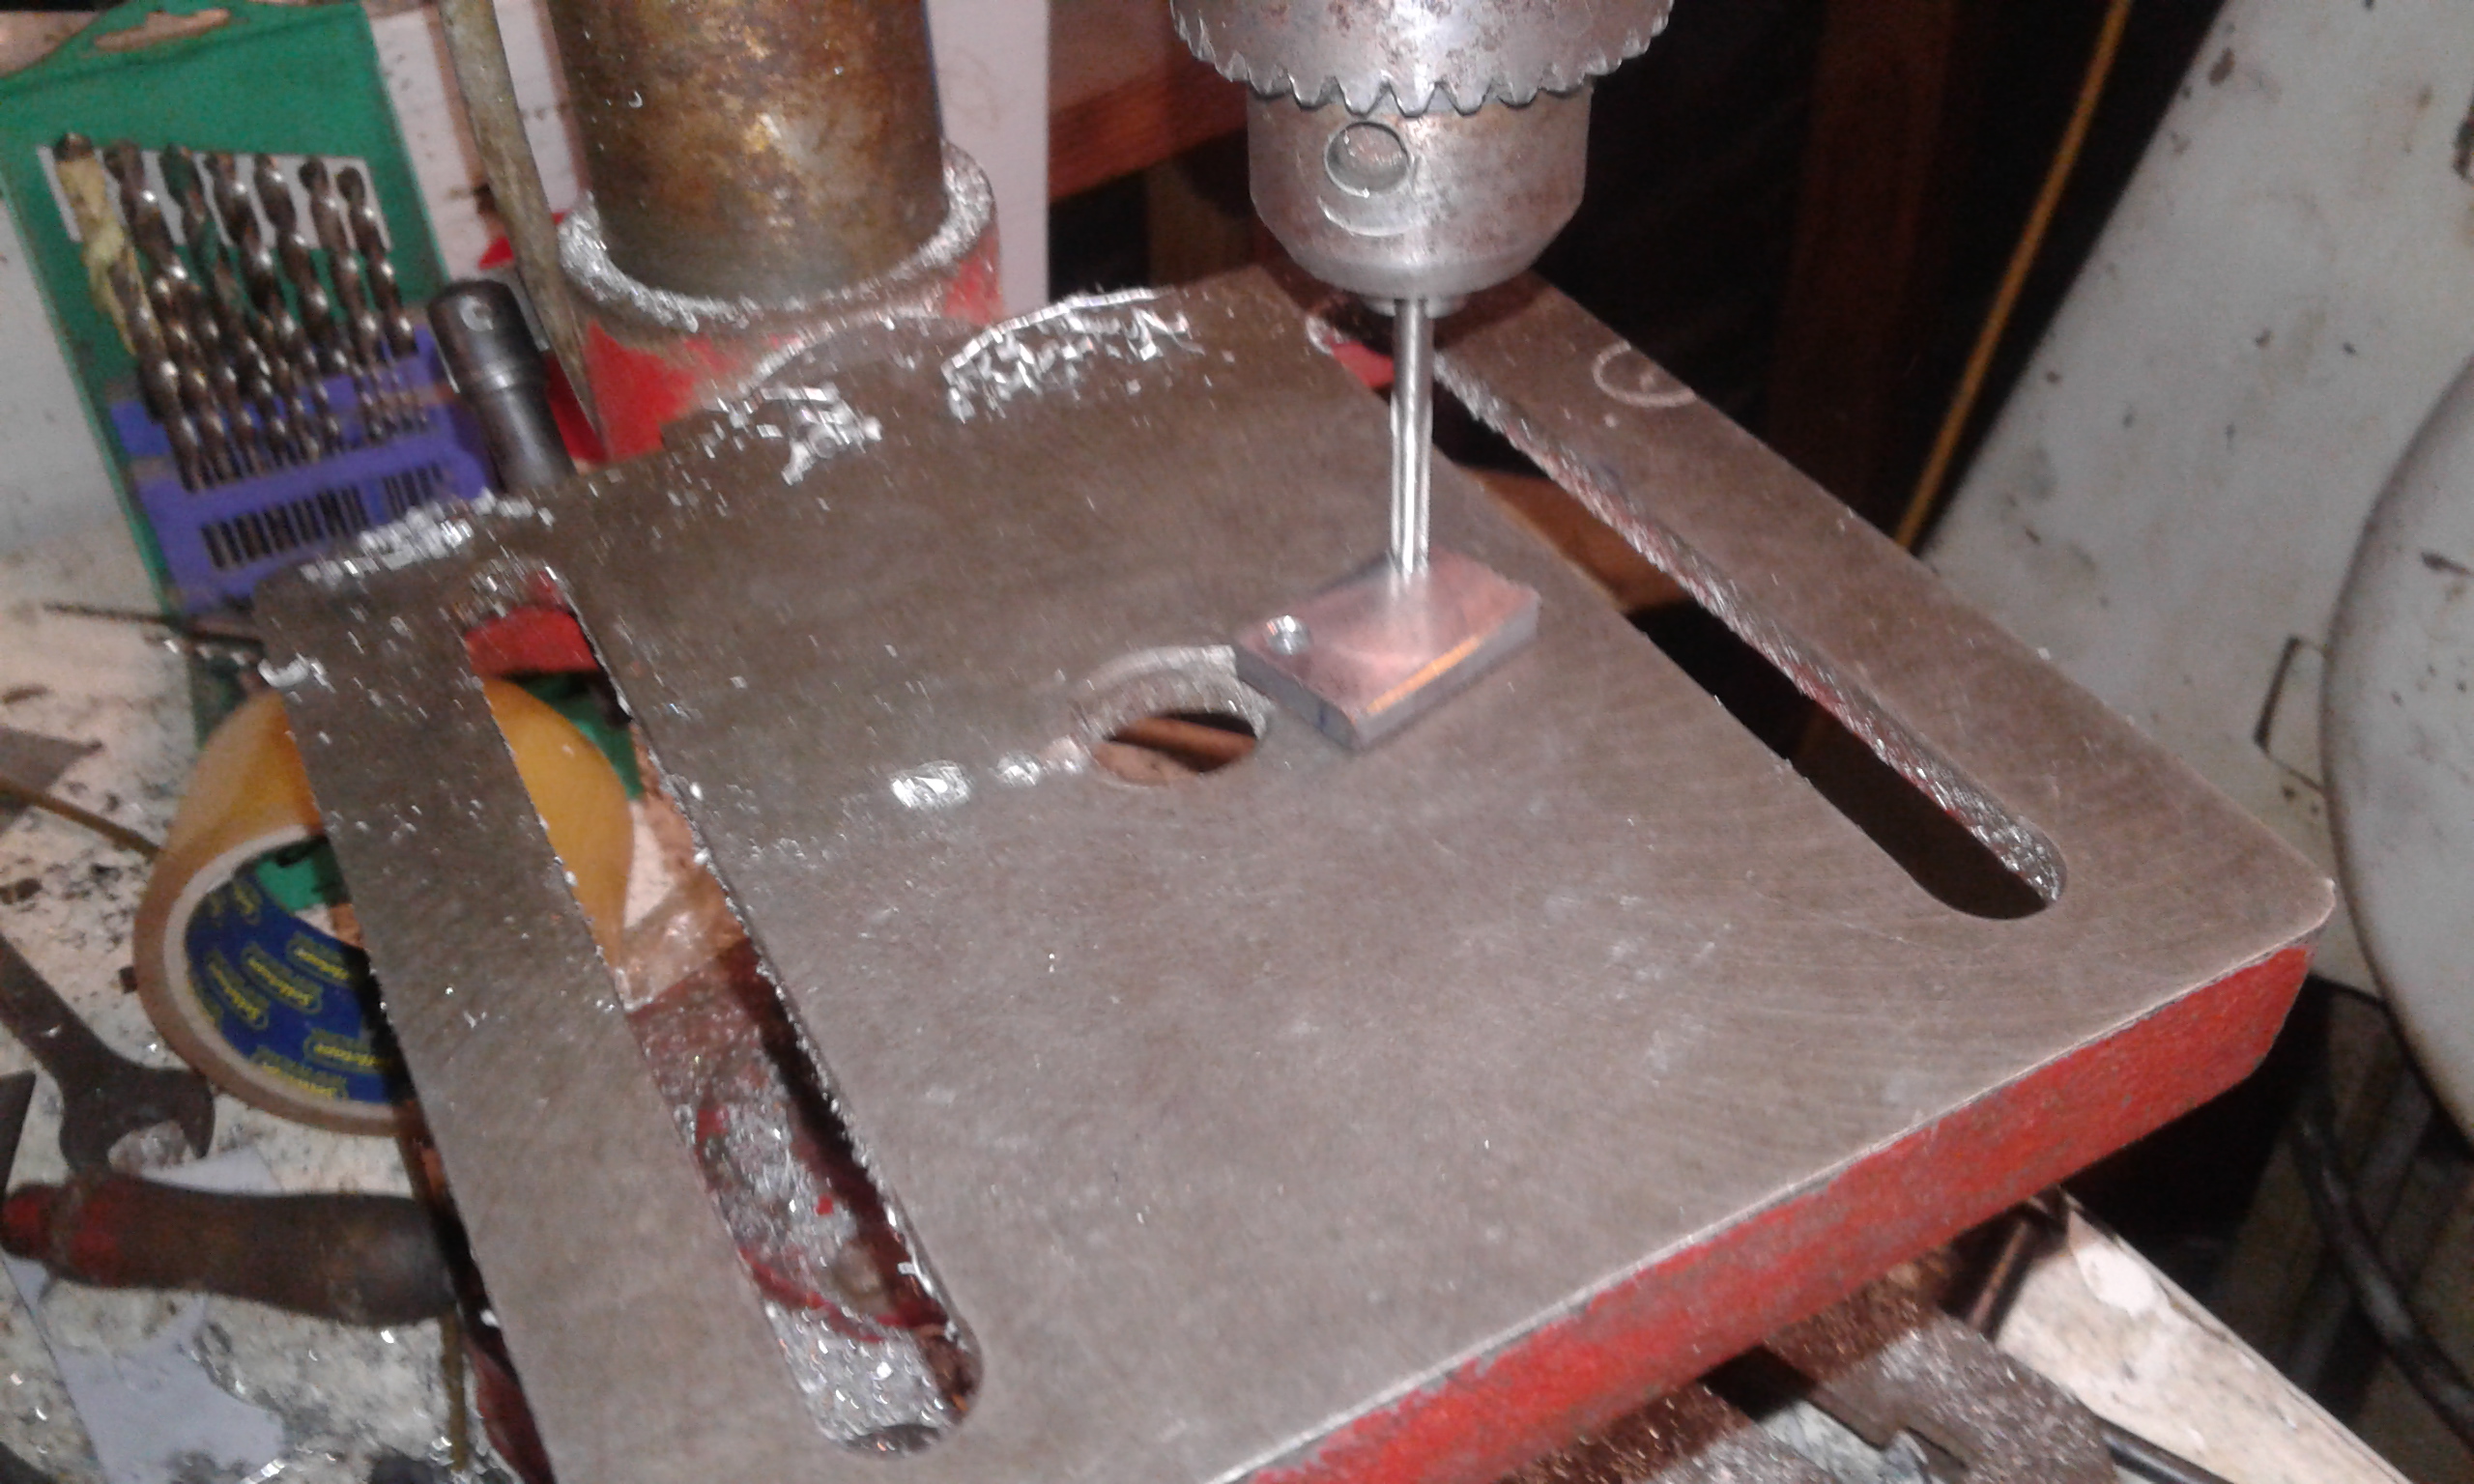
Now back to the magazine for a bit, the drawing of the ribs is glued onto a bit of steel, multiple holes drilled and filed to size, this will be the hammer form to create the rib that guides the rim on the cartridge and the front rib kind of controls the parallelism of the cartridges.
Attachment 90845
Attachment 90846
-
08-08-2018, 09:41 PM #19Member
- Join Date
- Jan 2016
- Location
- Omaru
- Posts
- 565
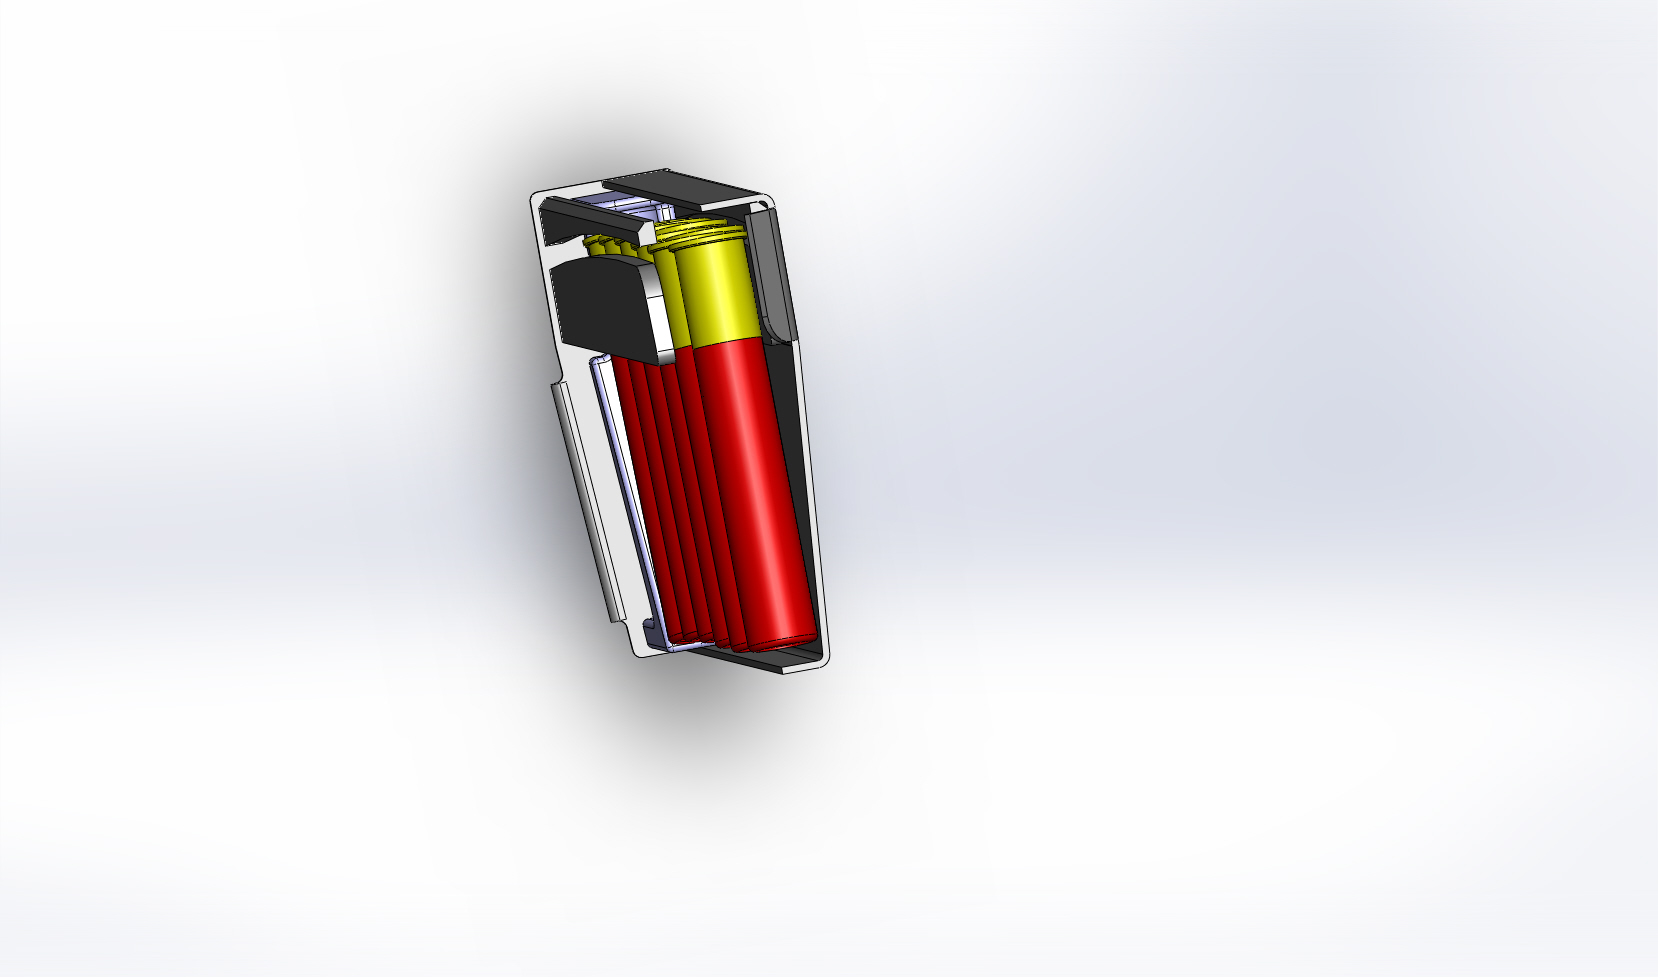
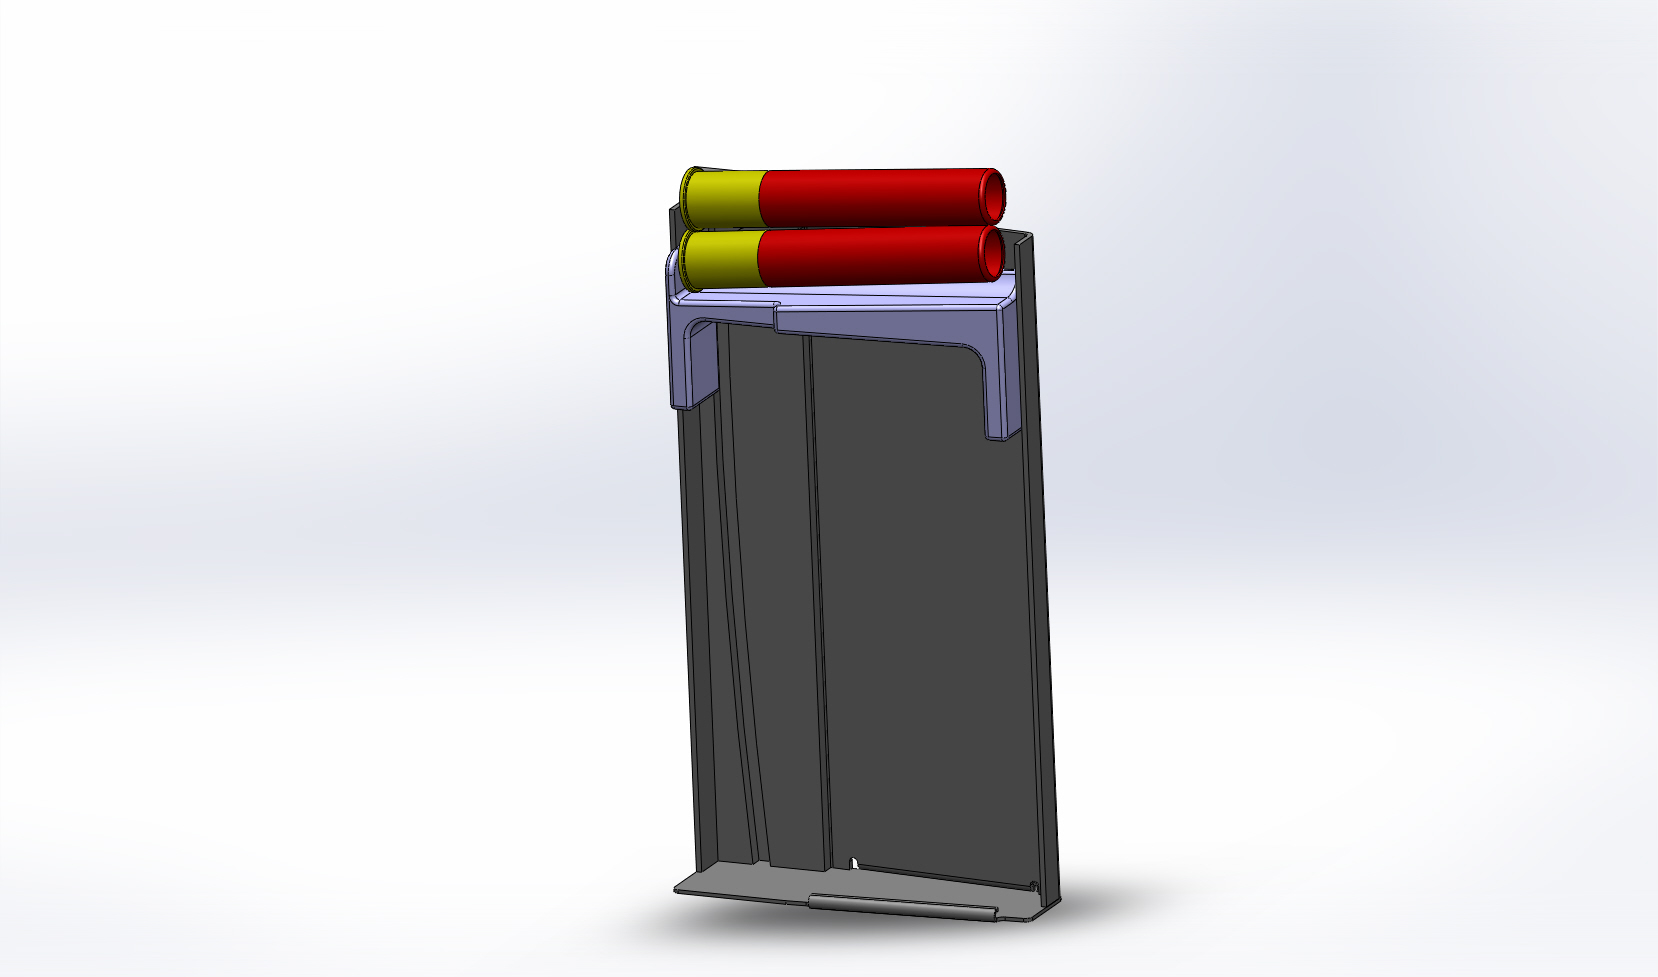
Back to the fun of a magazine, a slight change of plan here (no not buying a Saiga one yet). The Enfield mag well is too narrow to fit a double stack and not rim lock. So instead of grinding out the receiver Im going to make a magazine that fits in the hole that is already there. Basically there is a profiled groove to locate the rims made from 3mm flat bar, the body will be 1.2mm sheet (old dexion shelving) and a plastic follower. It is pretty big (150mm long) but it is what it is, hopefully this one works
 Frogfeatures and SixtyTen like this.
-
09-08-2018, 10:29 PM #20Member
- Join Date
- Jan 2016
- Location
- Omaru
- Posts
- 565
Well it looks promising....
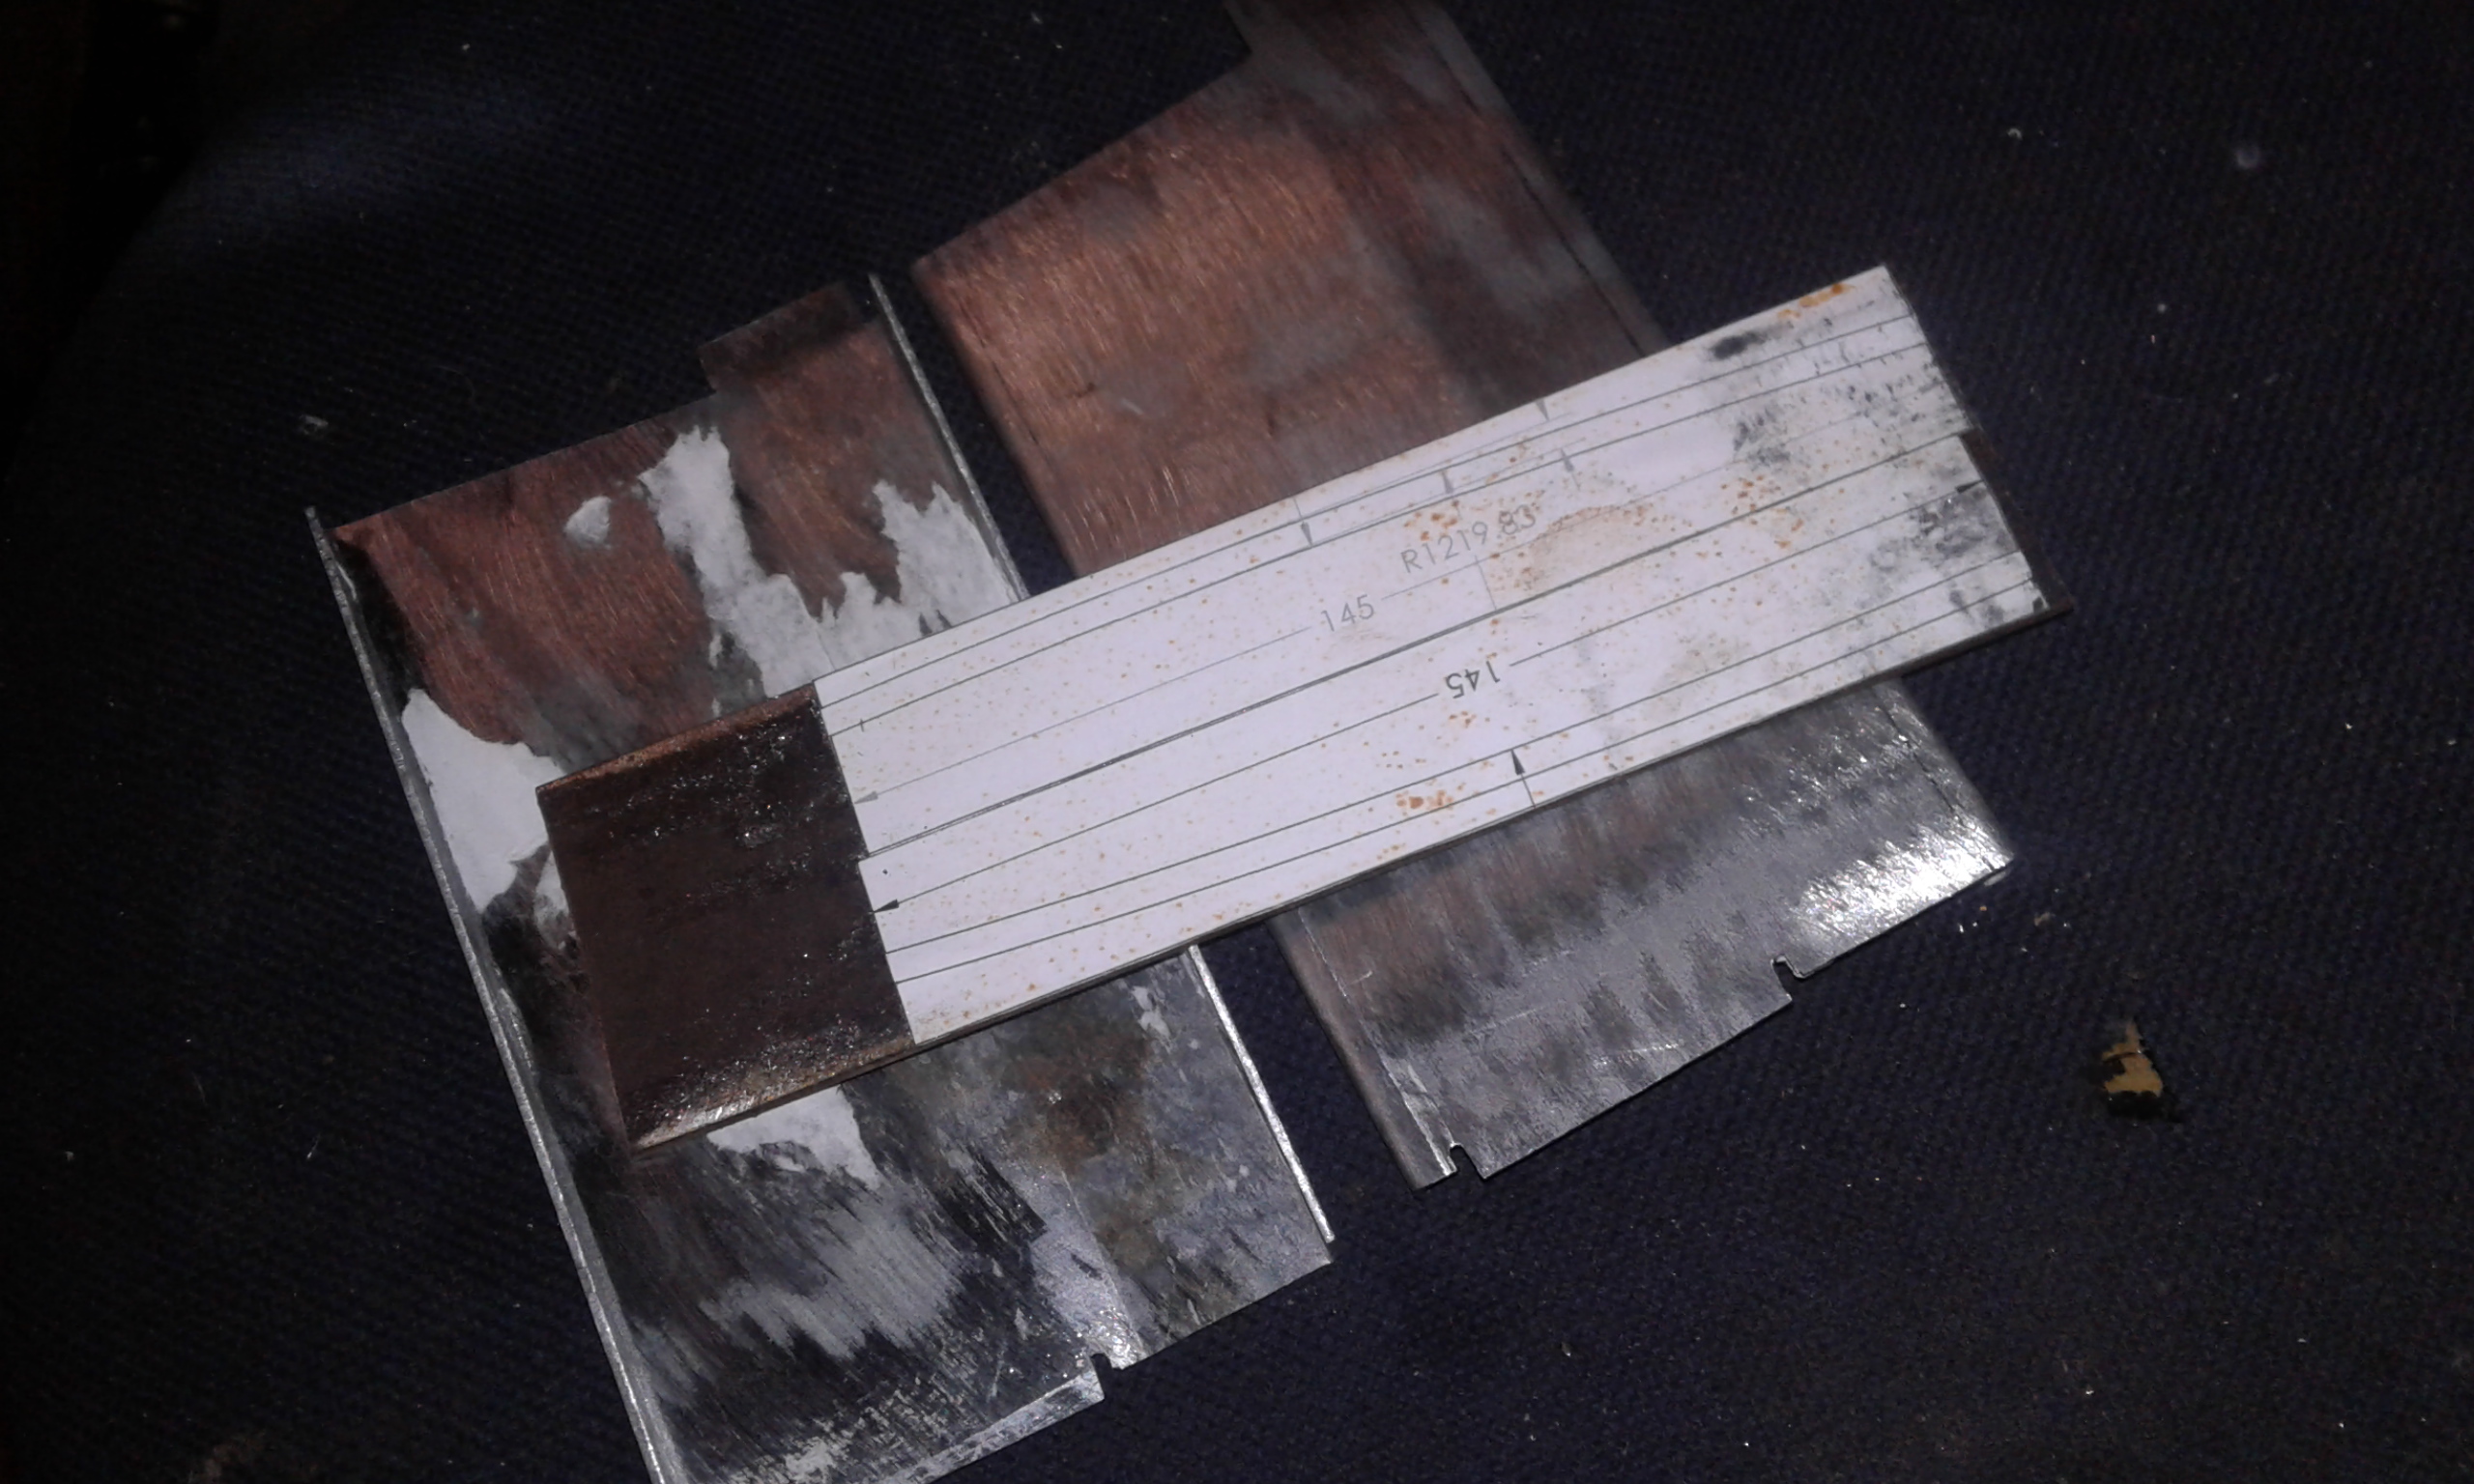
Sides cut out and folded, the patterns were printed from the models above and stuck on with a glue stick then cut out with a jig saw, the guide plates were made in the same way
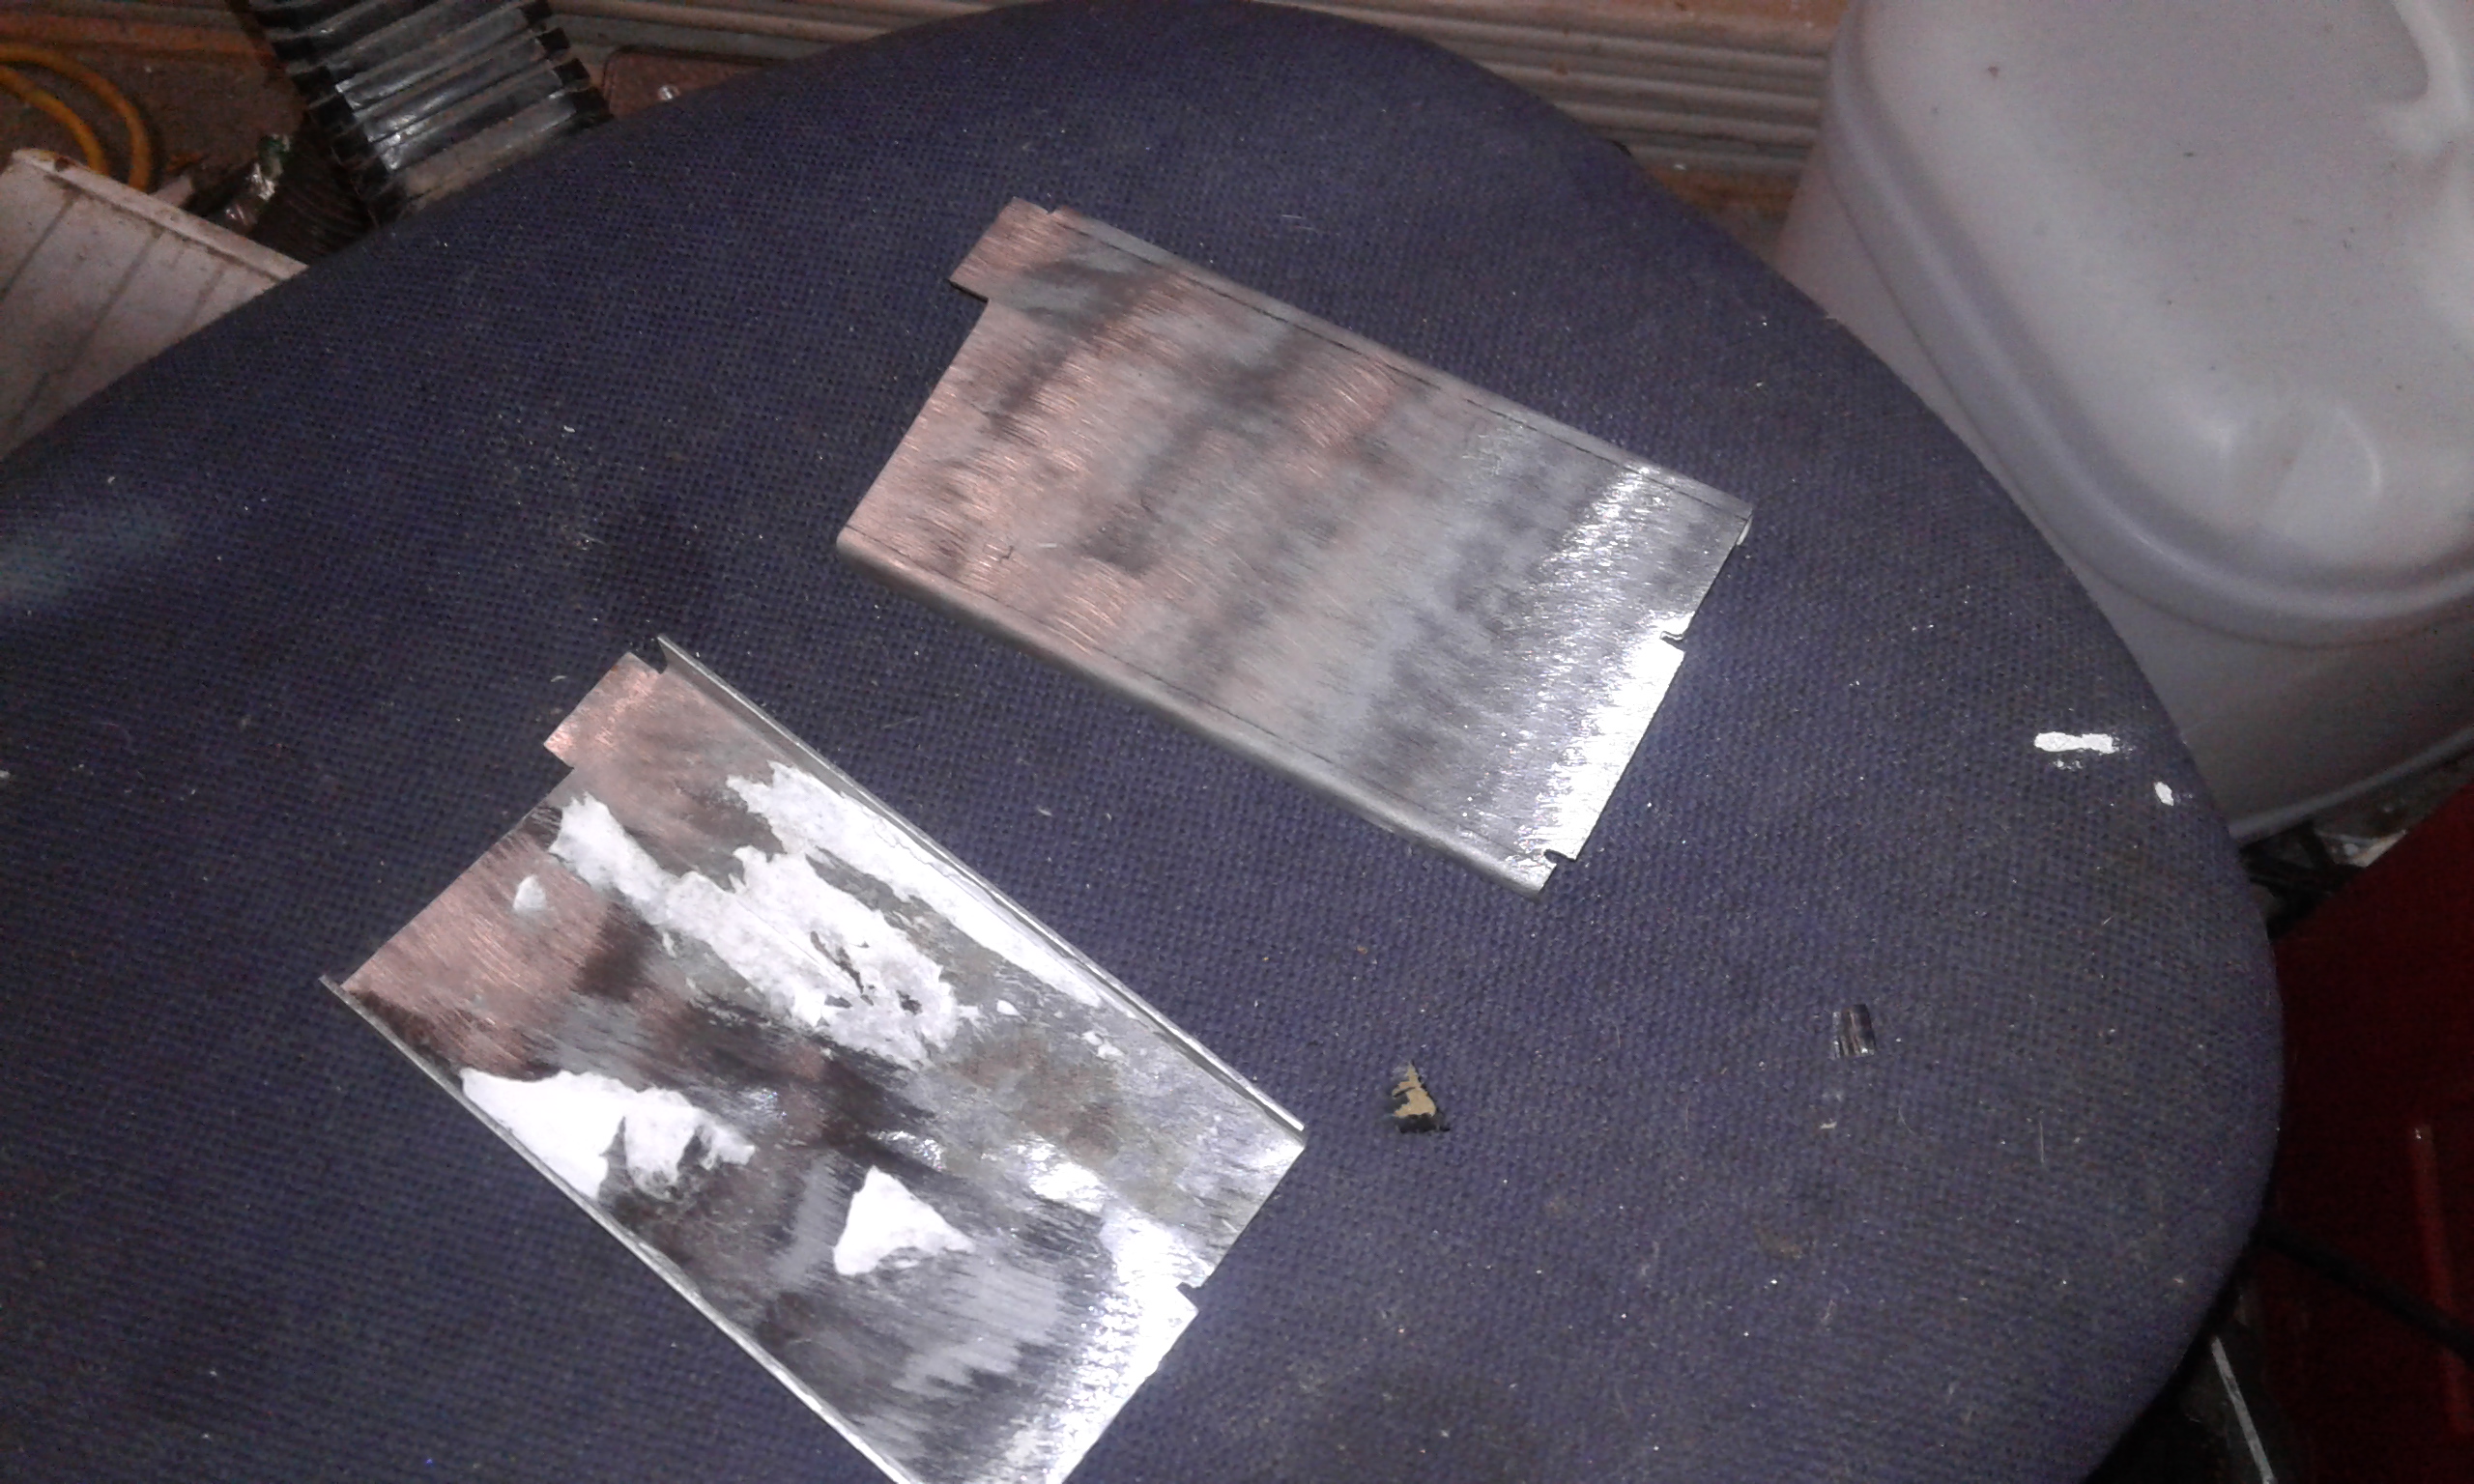
Guide plates before being cut out
Then a few skipped steps, the guides were welded into the sides and then the sides not much more than tacked together, I was going to tig them together but the steel is so shitty it just bubbles, will have to mig weld and grind flat again. The follower is a bit of polyethylene of some sort that was made to look about right. The spring is a temporary item that is bent out of tig wire, I will have to find a source of piano wire or similar at some stage.
-
09-08-2018, 10:48 PM #21Member

- Join Date
- May 2017
- Location
- NZ Mainland (Dunedin)
- Posts
- 5,539
Will it still take .303s? You could be sitting on a business opportunity there. (-:
An itch ... is ... a desire to scratch
-
09-08-2018, 10:48 PM #22Member
- Join Date
- Jan 2016
- Location
- Omaru
- Posts
- 565
And it actually seems to feed not too badly (well with 4 shells, Im not sure the spring will survive many more), biggest problem seems to be magazine sitting too high in the receiver and stopping the bolt
-
09-08-2018, 11:04 PM #23Member
- Join Date
- Jan 2016
- Location
- Omaru
- Posts
- 565
It may still hold them, it might not feed too well though and it would only hold 10 still. There are more useful rounds than 410, would probably work with 444 marlin Originally Posted by Cordite
 FatLabrador likes this.
-
10-08-2018, 12:04 AM #24Member
- Join Date
- Mar 2018
- Location
- Turangi
- Posts
- 1,382
Outstanding. I will follow this with great interest
-
15-08-2018, 07:45 AM #25Member
- Join Date
- Jan 2016
- Location
- Omaru
- Posts
- 565
Well I thought that was another fail on the magazine, I hadnt taken into account that the Enfield mag is rotated 6 odd degrees and the trigger guard opening is offset to the receiver accordingly. This meant my magazine didnt go up quite as far as I wanted and it pointed the shell in too far down. So I started sulking and modeled up one that will fit. The I decided to have one more go with the one I just made and played around with the spring a bit so it really cocks over the follower (front up) and what do you know it will fit and feed 8 rounds..... I think I will make a shorter version (front to back) that will sit vertical in the gun. There is also the little issue of my anti rimlock device, if the bolt is pulled back too fast it pulls the next shell backwards so the rim comes past the gap at the back of the feed lips and spits it out the top when the bolt is open, a pretty easy thing to fix though. As to the mag spring it looks like an AK103 10rnd spring may just about be the right size, just have to find a couple of them
Cordite likes this.
-
19-08-2018, 10:16 AM #26Member
- Join Date
- May 2017
- Location
- NZ Mainland (Dunedin)
- Posts
- 5,539
Very interesting thread.
If your mag follower blocks the bolt from going forwards over an empty magazine, it would IMHO be an improvement, so don't drop the mag too far down. (-:An itch ... is ... a desire to scratch
-
26-08-2018, 10:40 PM #27Member
- Join Date
- Jan 2016
- Location
- Omaru
- Posts
- 565
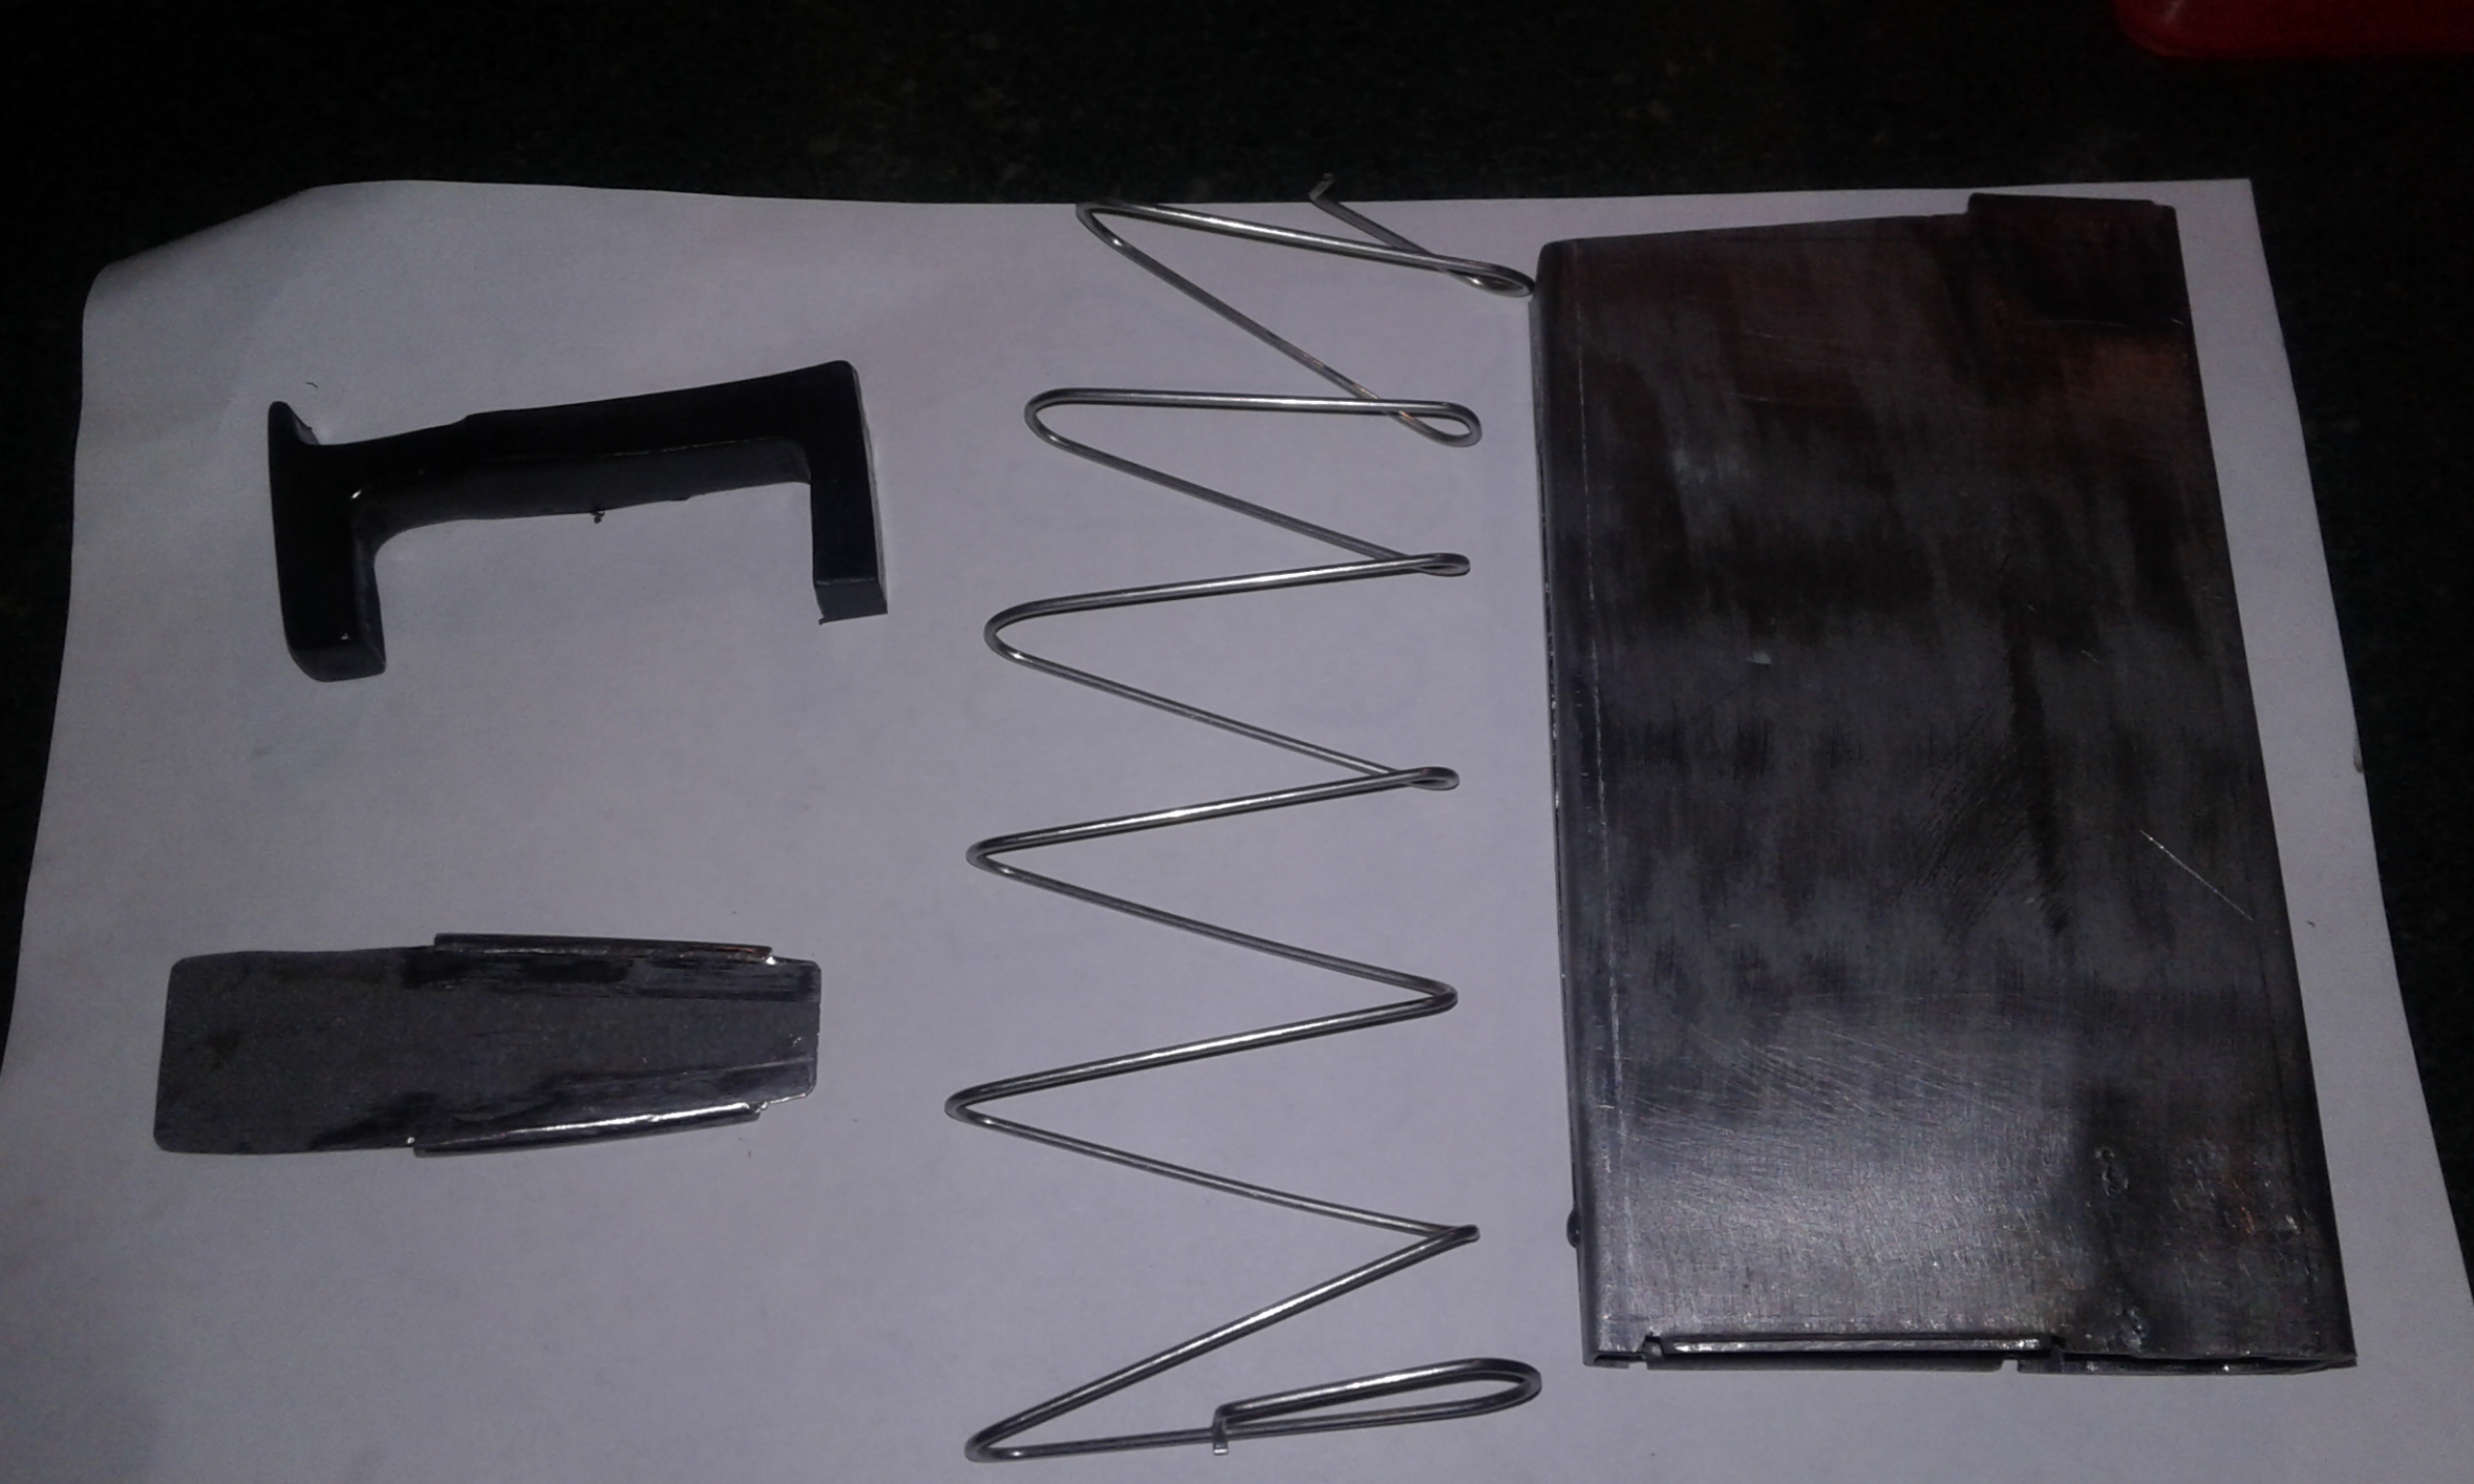
The magazine is almost done, piece welded to the back with a notch for the release/catch and a pad on each side of the magazine to fill out some of the space and hold the magazine straighter. New follower and spring and it should be usable
![Name: 20180826_204001[1].jpg
Views: 424
Size: 1.33 MB](https://www.nzhuntingandshooting.co.nz/attachments/f53/93918d1535276246-410-enfield-20180826_204001%5B1%5D.jpg)
-
27-08-2018, 08:15 PM #28Member
- Join Date
- Jan 2016
- Location
- Omaru
- Posts
- 565
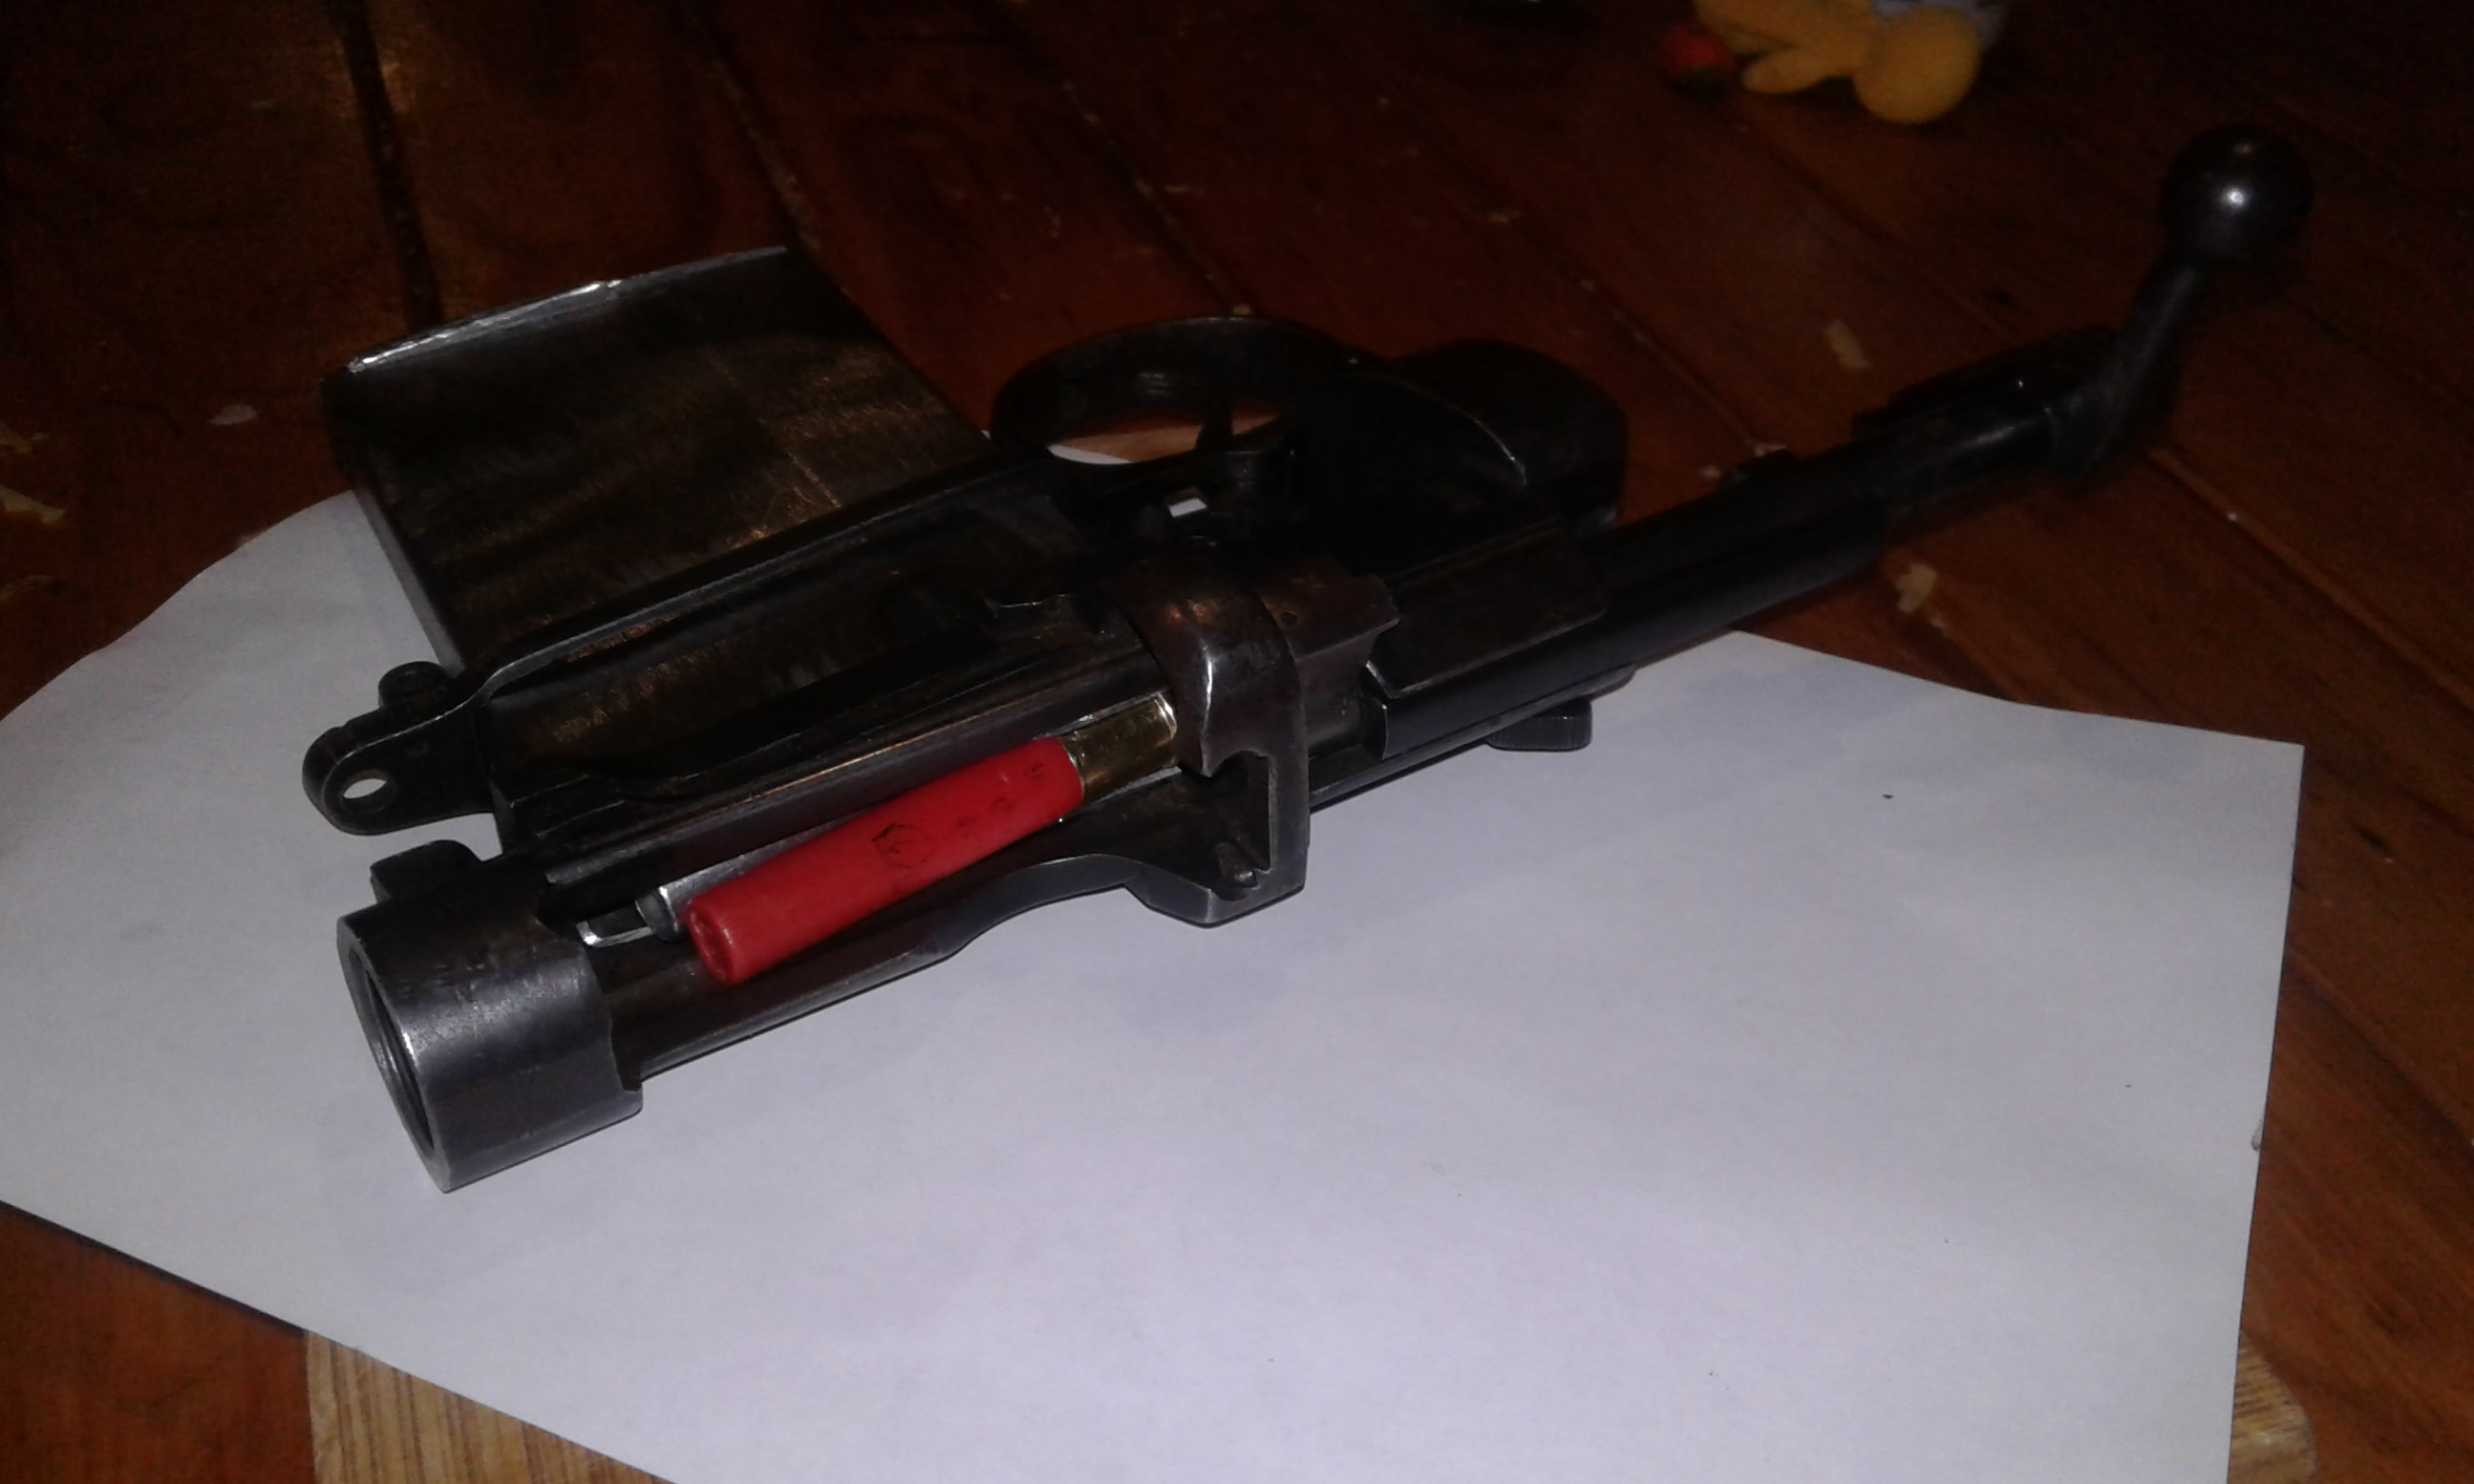
The plan had been to have a go at rust bluing all of the steel bits. Like most things this did not go to plan, possibly from my dubious acid solution but more likely form using our now nicely chlorinated tap water. The barrel came up really well which gave me hope for the next bits... they didnt work, it would start to darken but then something was chemically striping the black so most bits are now just painted in a low gloss black
![Name: 20180827_191040[1].jpg
Views: 421
Size: 874.9 KB](https://www.nzhuntingandshooting.co.nz/attachments/f53/93947d1535354131-410-enfield-20180827_191040%5B1%5D.jpg) Cordite likes this.
Cordite likes this.
-
27-08-2018, 08:20 PM #29Member
- Join Date
- Jan 2016
- Location
- Omaru
- Posts
- 565
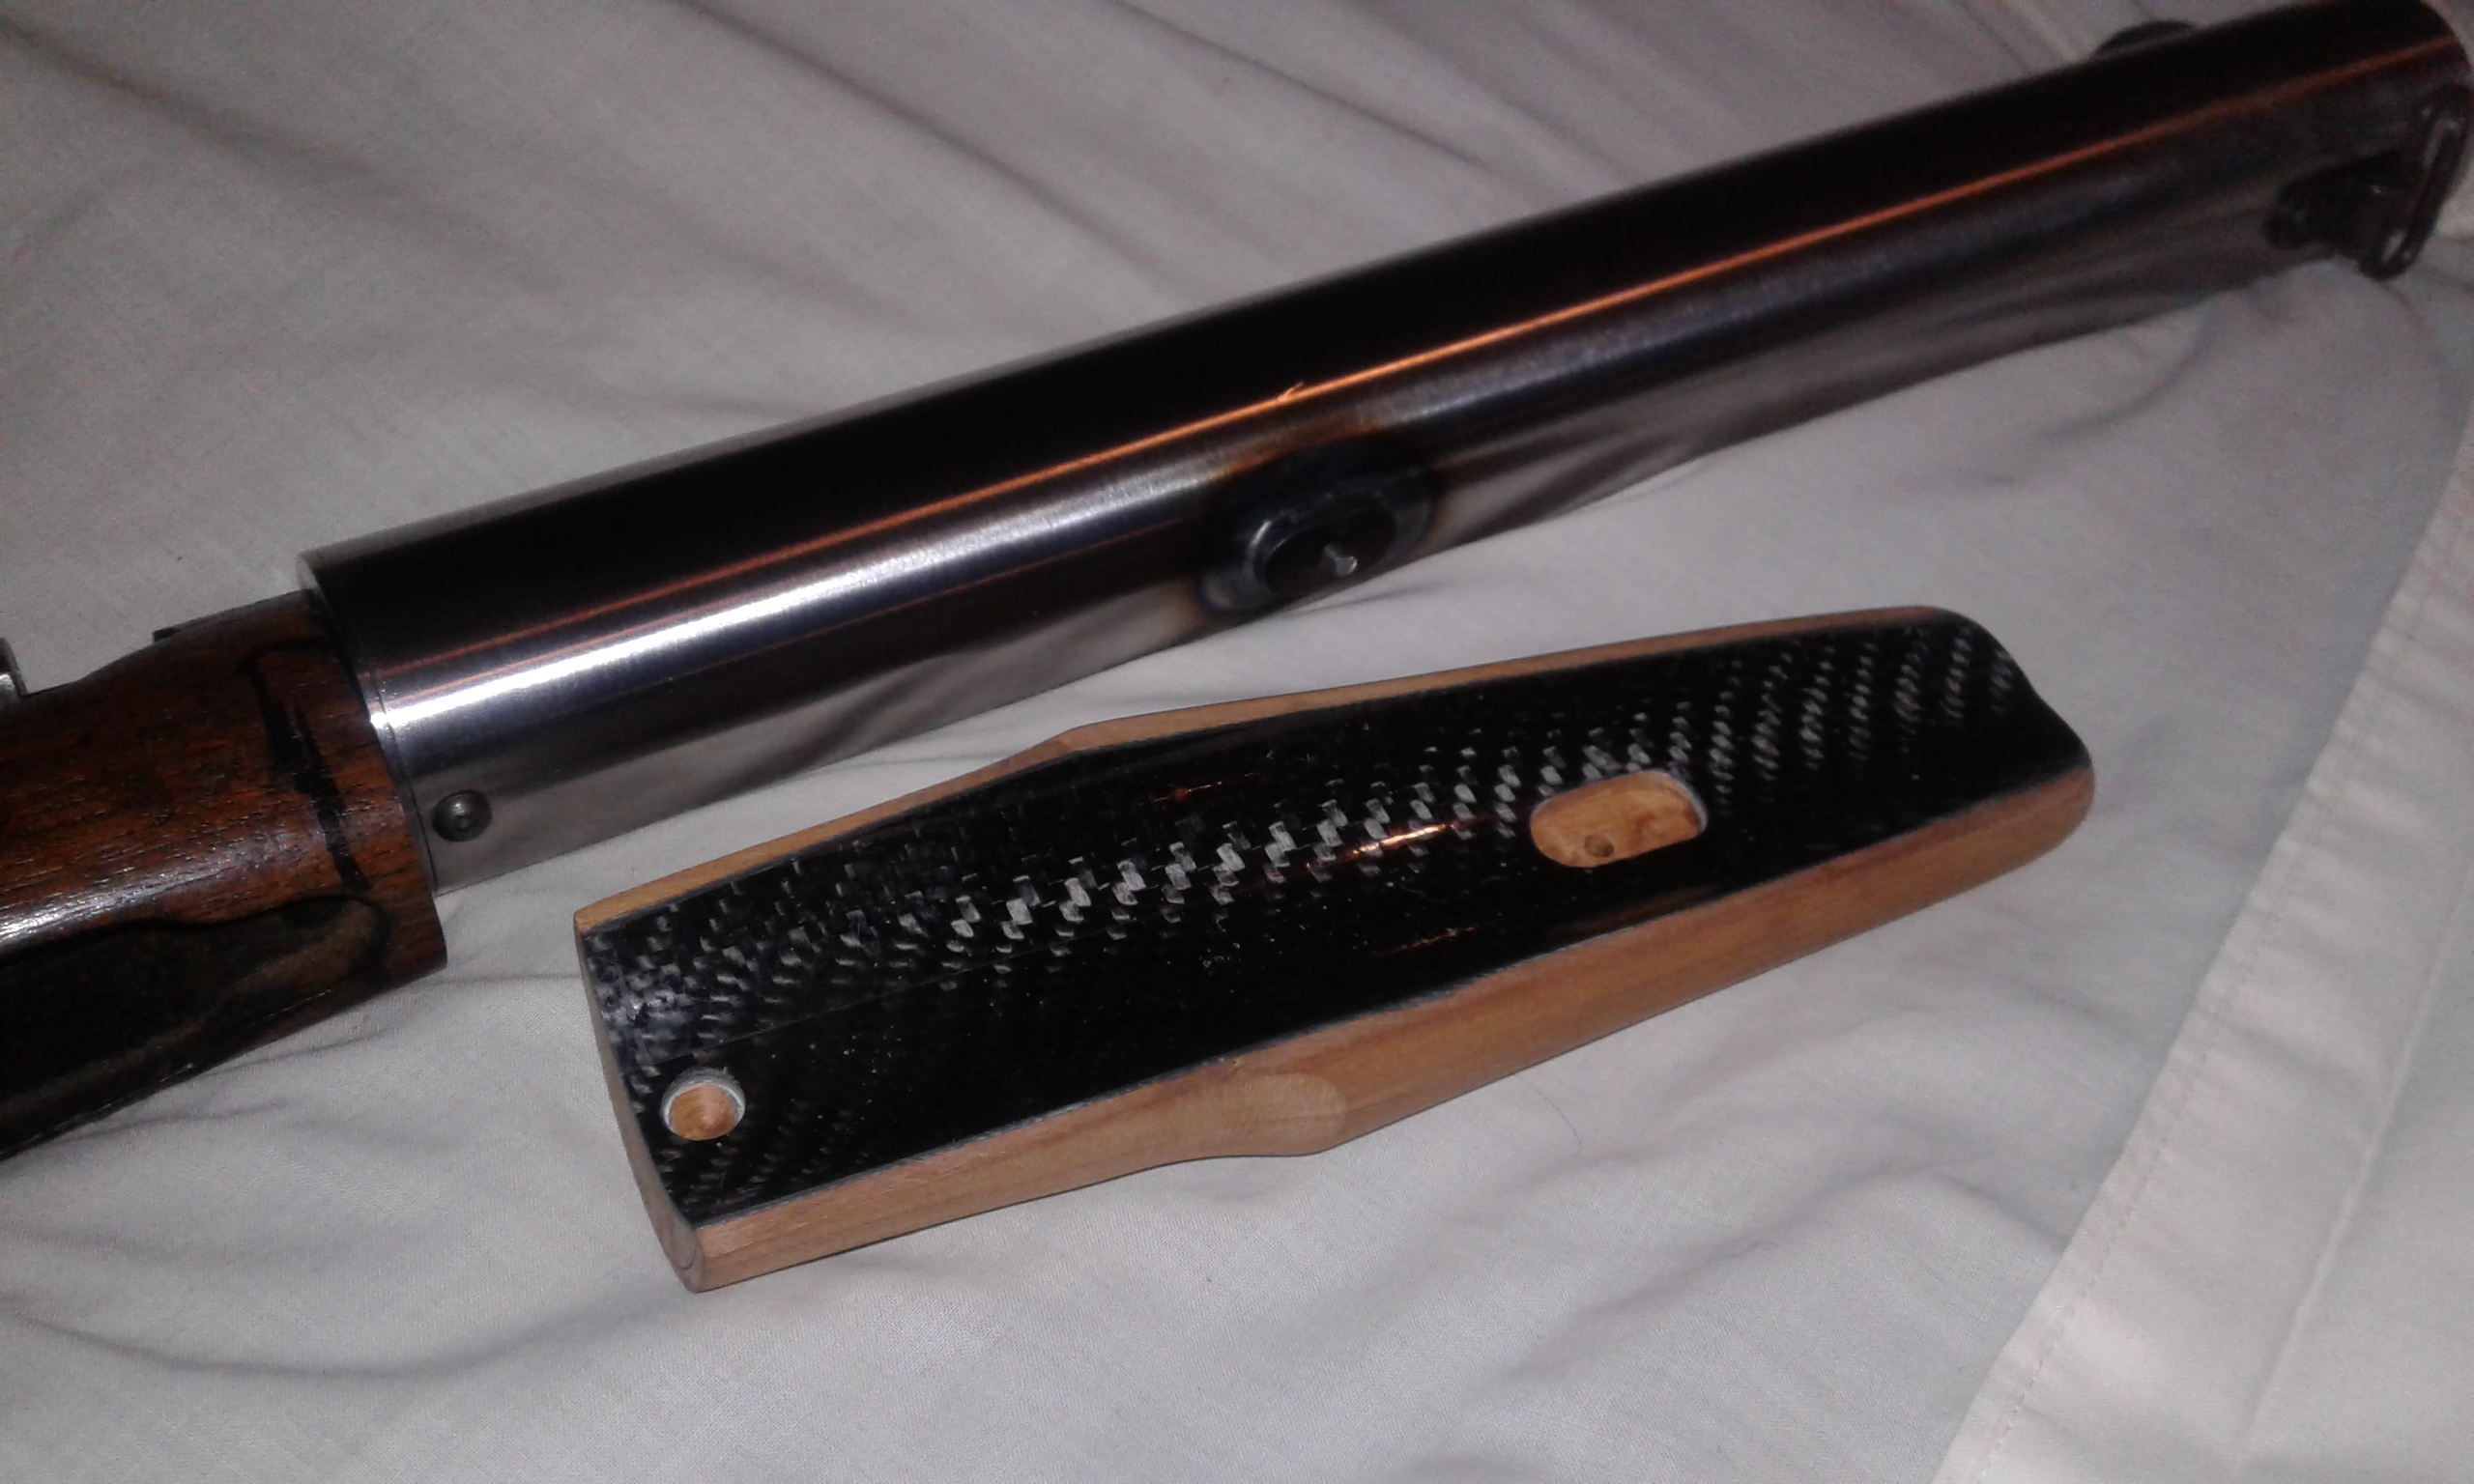
And all the front end bits
![Name: 20180827_191911[1].jpg
Views: 399
Size: 905.2 KB](https://www.nzhuntingandshooting.co.nz/attachments/f53/93948d1535354425-410-enfield-20180827_191911%5B1%5D.jpg) Cordite likes this.
Cordite likes this.
-
27-08-2018, 09:36 PM #30Member

- Join Date
- Apr 2015
- Location
- Geraldine
- Posts
- 25,735
hammerite paint is worth a look.....sure sticks in place and doesnt look half bad either.


 Reply With Quote
Similar Threads
-
lee enfield Mk1 45/70
By Boar Freak in forum Projects and Home BuildsReplies: 9Last Post: 13-04-2015, 11:50 AM
Tags for this Thread
- .303,
- .40,
- 30mm,
- 410,
- 45-70,
- aliexpress,
- aperture,
- away,
- axis,
- bag,
- barrel,
- bits,
- bolt,
- carbon,
- cartridge,
- chamber,
- clearance,
- colt,
- dial,
- enfield,
- front sight,
- gauge,
- gun,
- gunsmithing,
- hammer,
- insert,
- inserts,
- long,
- magazine,
- pic,
- pictures,
- pressure,
- reamer,
- receiver,
- reload,
- sight,
- single shot,
- slugs,
- stash,
- steel,
- stock,
- suppressor,
- tool,
- trigger guard,
- turn
 Posting Permissions
- You may not post new threads
- You may not post replies
- You may not post attachments
- You may not edit your posts
Welcome to NZ Hunting and Shooting Forums! We see you're new here, or arn't logged in. Create an account, and Login for full access including our FREE BUY and SELL section Register NOW!!
All times are GMT +13. The time now is 07:01 PM.

Bookmarks