
 95Likes
 LinkBack URL
 About LinkBacks
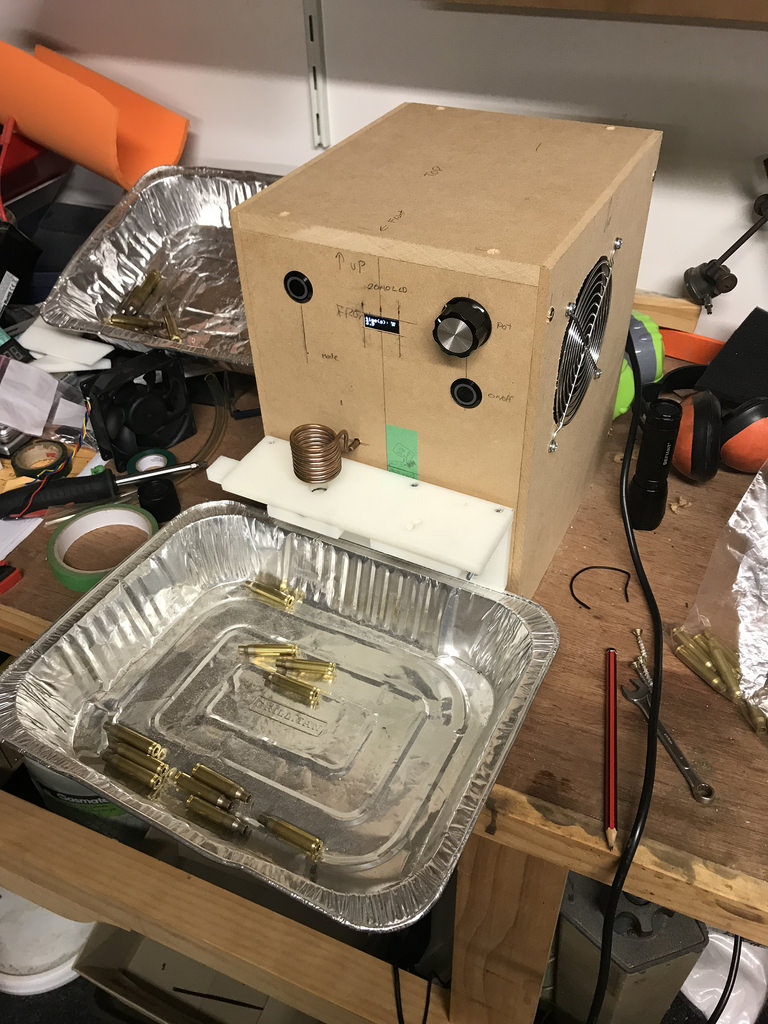
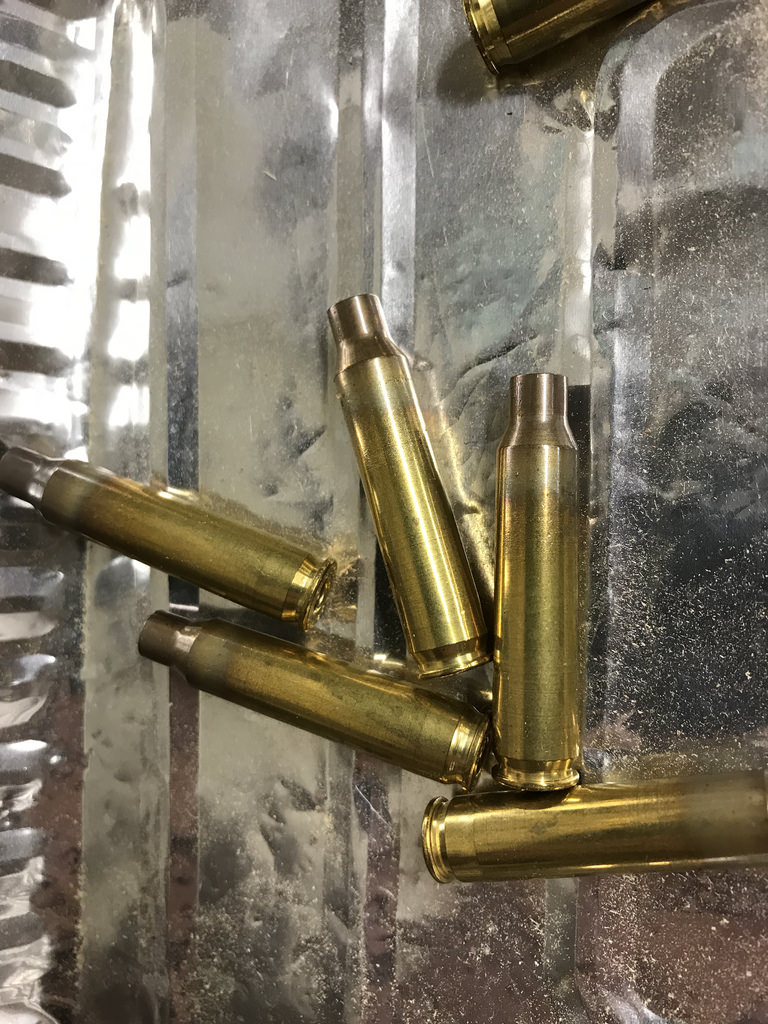
it's rough looking but works good. video of it in action at the bottom.
Video In Action
pretty much used this guys design for the induction part, but used a different controller and got all my parts off Aliexpress.
Induction brass annealer | Shooters' Forum
Welcome guest, is this your first visit? Create Account now to join.
Welcome to the NZ Hunting and Shooting Forums.
Search Forums


User Tag List
Results 76 to 90 of 96
Thread: DIY Induction Annealer
Threaded View
-
16-04-2018, 09:33 PM #1Member

- Join Date
- Nov 2016
- Location
- Orewa
- Posts
- 86
DIY Induction Annealer


 Reply With Quote
Similar Threads
-
DIY Inductive Annealer
By Puffin in forum Reloading and BallisticsReplies: 17Last Post: 18-09-2017, 01:07 PM -
A few spare minutes this afternoon. Induction Annealing
By mikee in forum Projects and Home BuildsReplies: 11Last Post: 05-05-2016, 08:41 AM -
Best Case Annealer
By 7mmsaum in forum Reloading and BallisticsReplies: 13Last Post: 07-09-2012, 05:09 PM
Tags for this Thread
 Posting Permissions
- You may not post new threads
- You may not post replies
- You may not post attachments
- You may not edit your posts
Welcome to NZ Hunting and Shooting Forums! We see you're new here, or arn't logged in. Create an account, and Login for full access including our FREE BUY and SELL section Register NOW!!
All times are GMT +13. The time now is 02:55 PM.

Bookmarks