
 697Likes
 LinkBack URL
 About LinkBacks
What's everyone doing for self isolation projects
I have a few years worth of gun projects on the book
But i suspect I might rip through them this winter
Fitted and tested a 209 primer conversion nipple on my muzzleloader to get it ready for the roar and winter hunting.
Better spark for cold winter tahr hunts
Fitted an extractor and started a safety tumbler for the Hollis martini 500 express
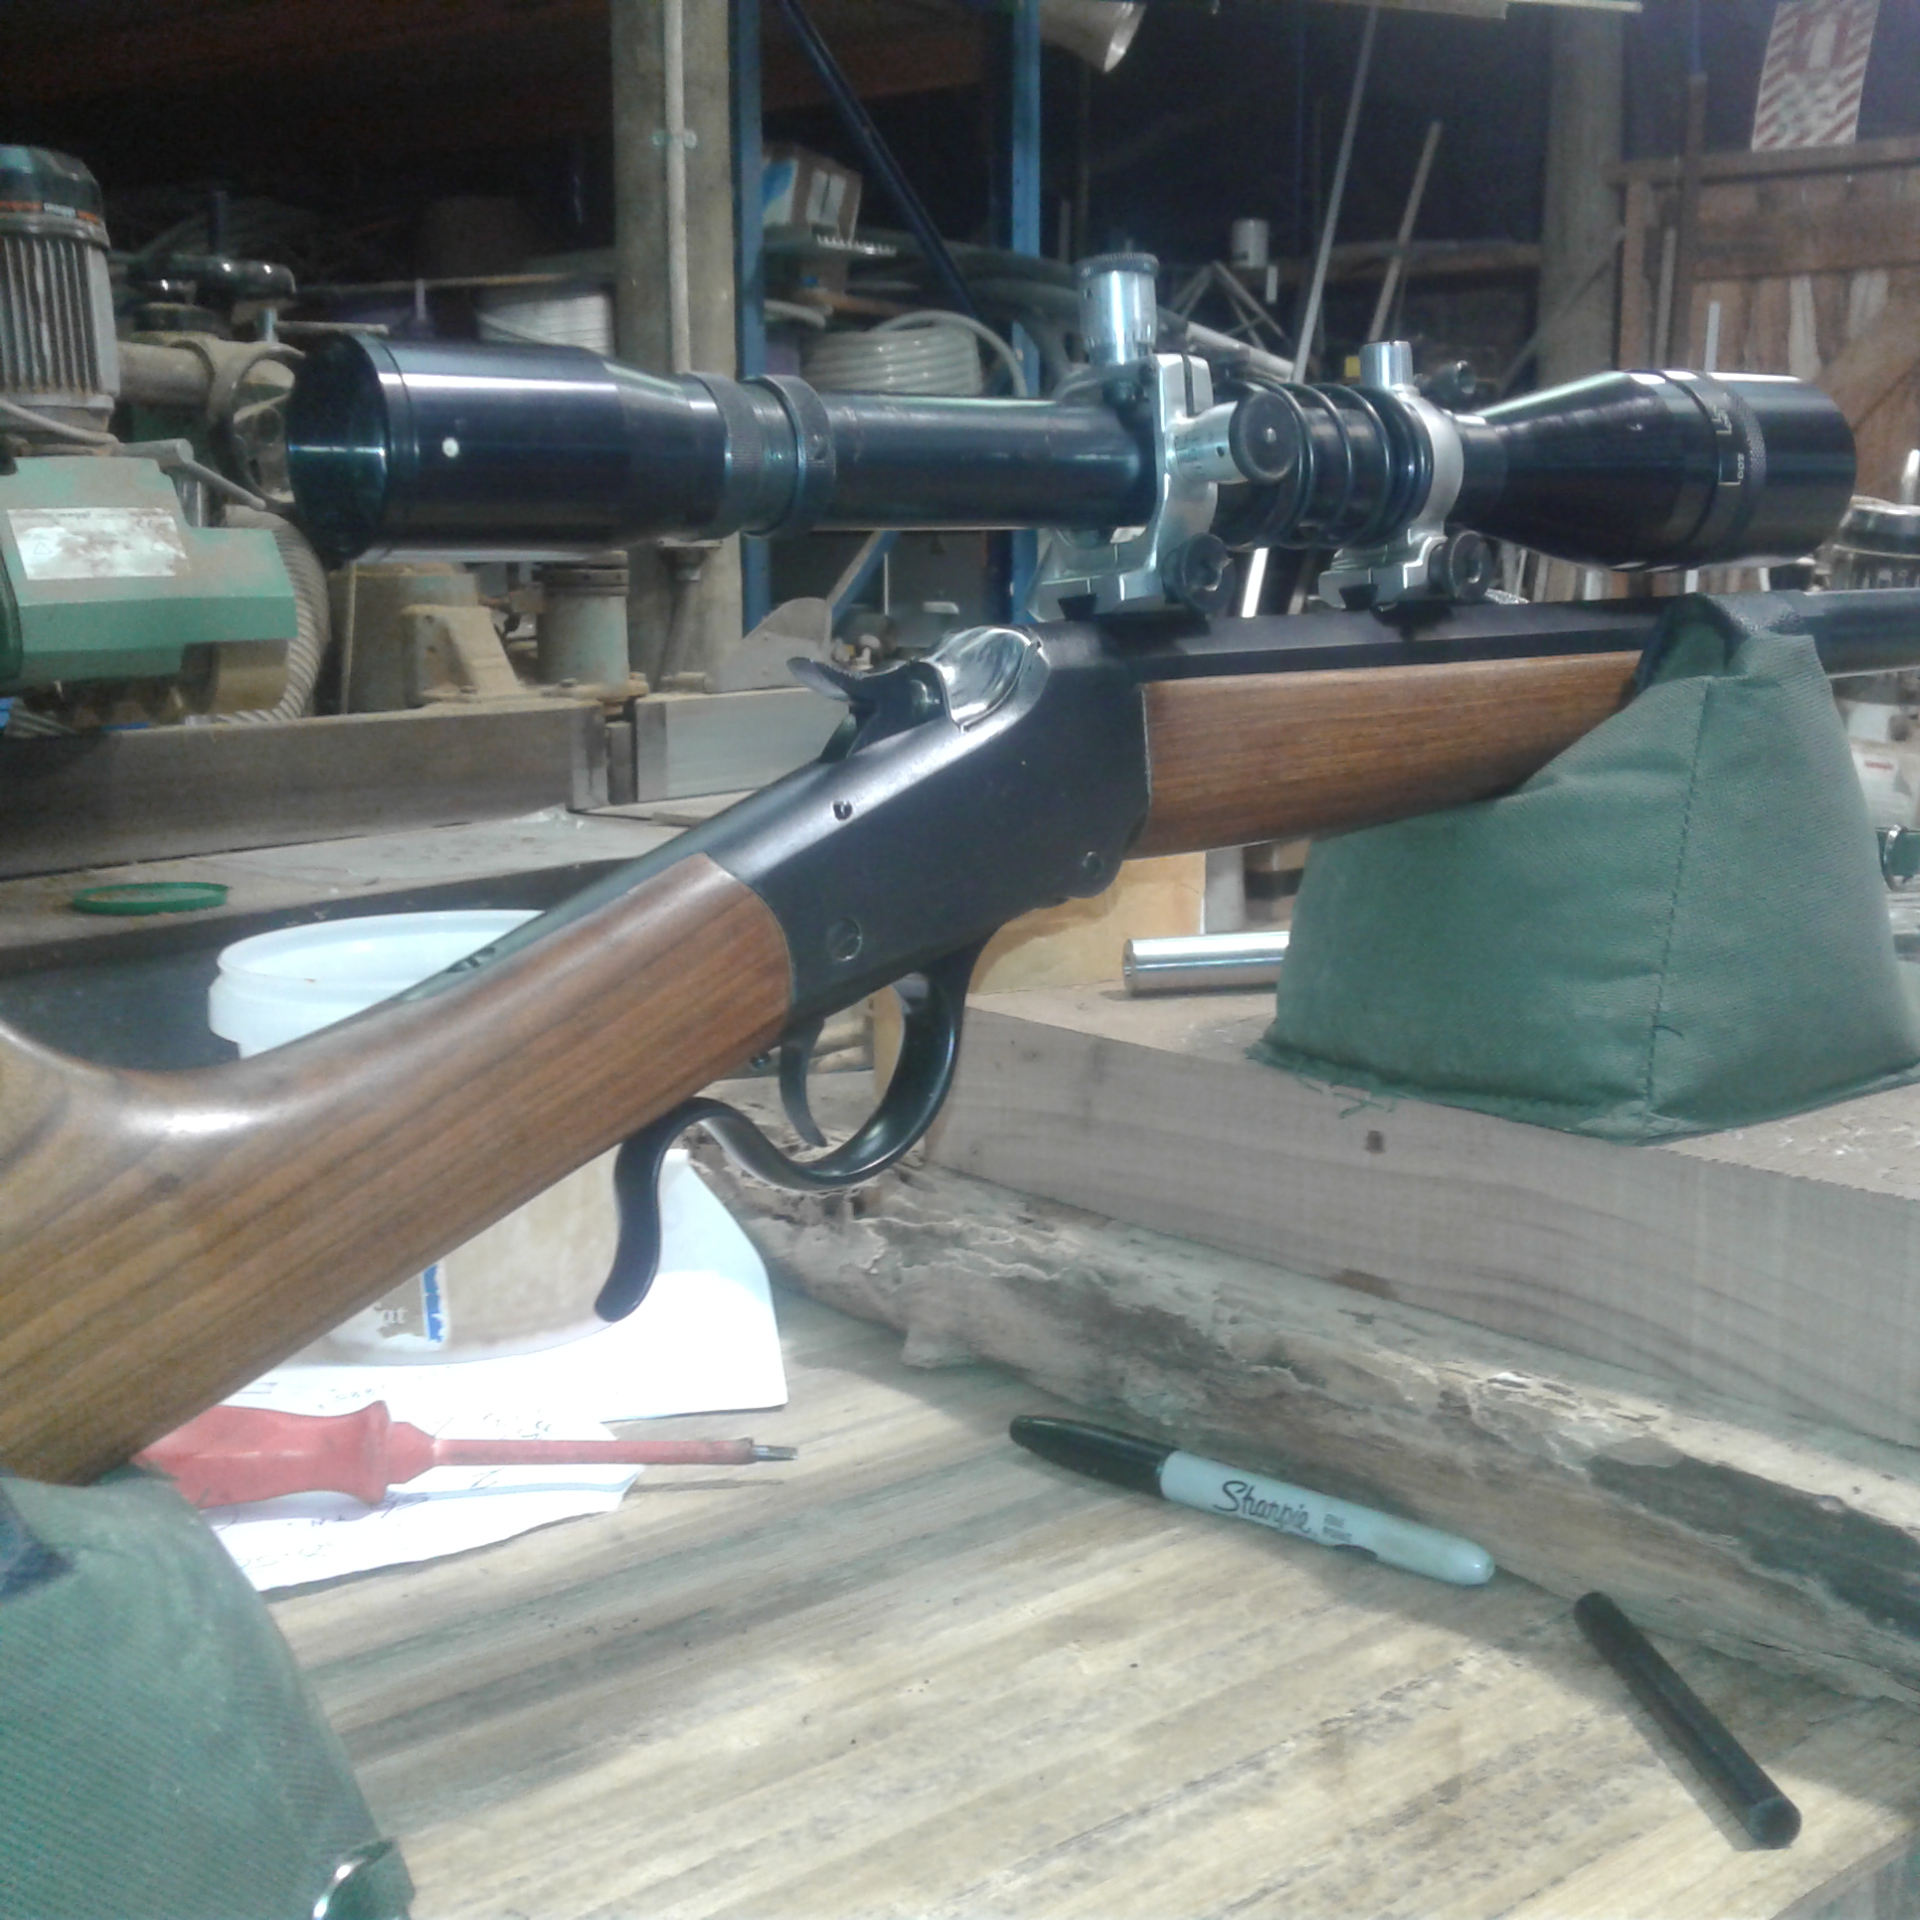
Finally put all the parts back into my 1885 22K hornet and zeroed the scope.
I had burgled all the springs to copy and cook 2 sets for my other 1885 project
Mounted a 6x Malcolm scope on my Stevens 44 1/2 today.
Went to fit the new firing pin I got from USA and found that because the breech block was bushed it's the wrong size
So that was a fail
Might finally get back on to my double rifle build
Have @Tentman s 44 1/2 to try and get shooting
Waiting for jacketed projectiles to sort my fussy 375 Winchester that doesn't like cast bullets
And that's just the last week !
Have I stick to finish
Two stocks to make from scratch
And what ever other projects come along as well
Happiness is a well stocked workshop
Welcome guest, is this your first visit? Create Account now to join.
Welcome to the NZ Hunting and Shooting Forums.
Search Forums


User Tag List
Results 286 to 300 of 339
Thread: Self isolation gun projects
Threaded View
-
21-03-2020, 11:47 PM #1Member

- Join Date
- Dec 2014
- Location
- canterbury
- Posts
- 7,869
Self isolation gun projects


 Reply With Quote
Similar Threads
-
My projects last 12 months!
By Gloves in forum Projects and Home BuildsReplies: 7Last Post: 21-07-2018, 06:06 PM -
DIY Leather Projects
By LOC in forum Projects and Home BuildsReplies: 22Last Post: 25-01-2017, 06:33 PM -
Dog projects
By RCGSP in forum Trial, Pedigree and Bird DogsReplies: 35Last Post: 18-06-2013, 09:12 PM -
Dog projects
By RCGSP in forum DogsReplies: 21Last Post: 09-01-2013, 01:15 PM
Tags for this Thread
- 300 win mag,
- 410,
- 44 mag,
- 44 magnum,
- 7 mm,
- 7x64,
- aperture,
- block,
- cci,
- clothing,
- dasher,
- double,
- em-332,
- extractor,
- firing,
- firing pin,
- gun,
- gunsmithing,
- hammer,
- henry,
- hunting,
- martini,
- milling machine,
- neck die,
- parts,
- pressure,
- primer,
- project,
- projectiles,
- rifle,
- roar,
- safe,
- safety,
- scope,
- shooting,
- single shot,
- stevens,
- stocks,
- sxs,
- tahr,
- takedown,
- tumbler,
- walnut.,
- win,
- win mag,
- winchester,
- winter hunting,
- workshop
 Posting Permissions
- You may not post new threads
- You may not post replies
- You may not post attachments
- You may not edit your posts
Welcome to NZ Hunting and Shooting Forums! We see you're new here, or arn't logged in. Create an account, and Login for full access including our FREE BUY and SELL section Register NOW!!
All times are GMT +13. The time now is 11:38 AM.

Bookmarks