
 101Likes
 LinkBack URL
 About LinkBacks
I have been working on some other projects, but am now back onto this.
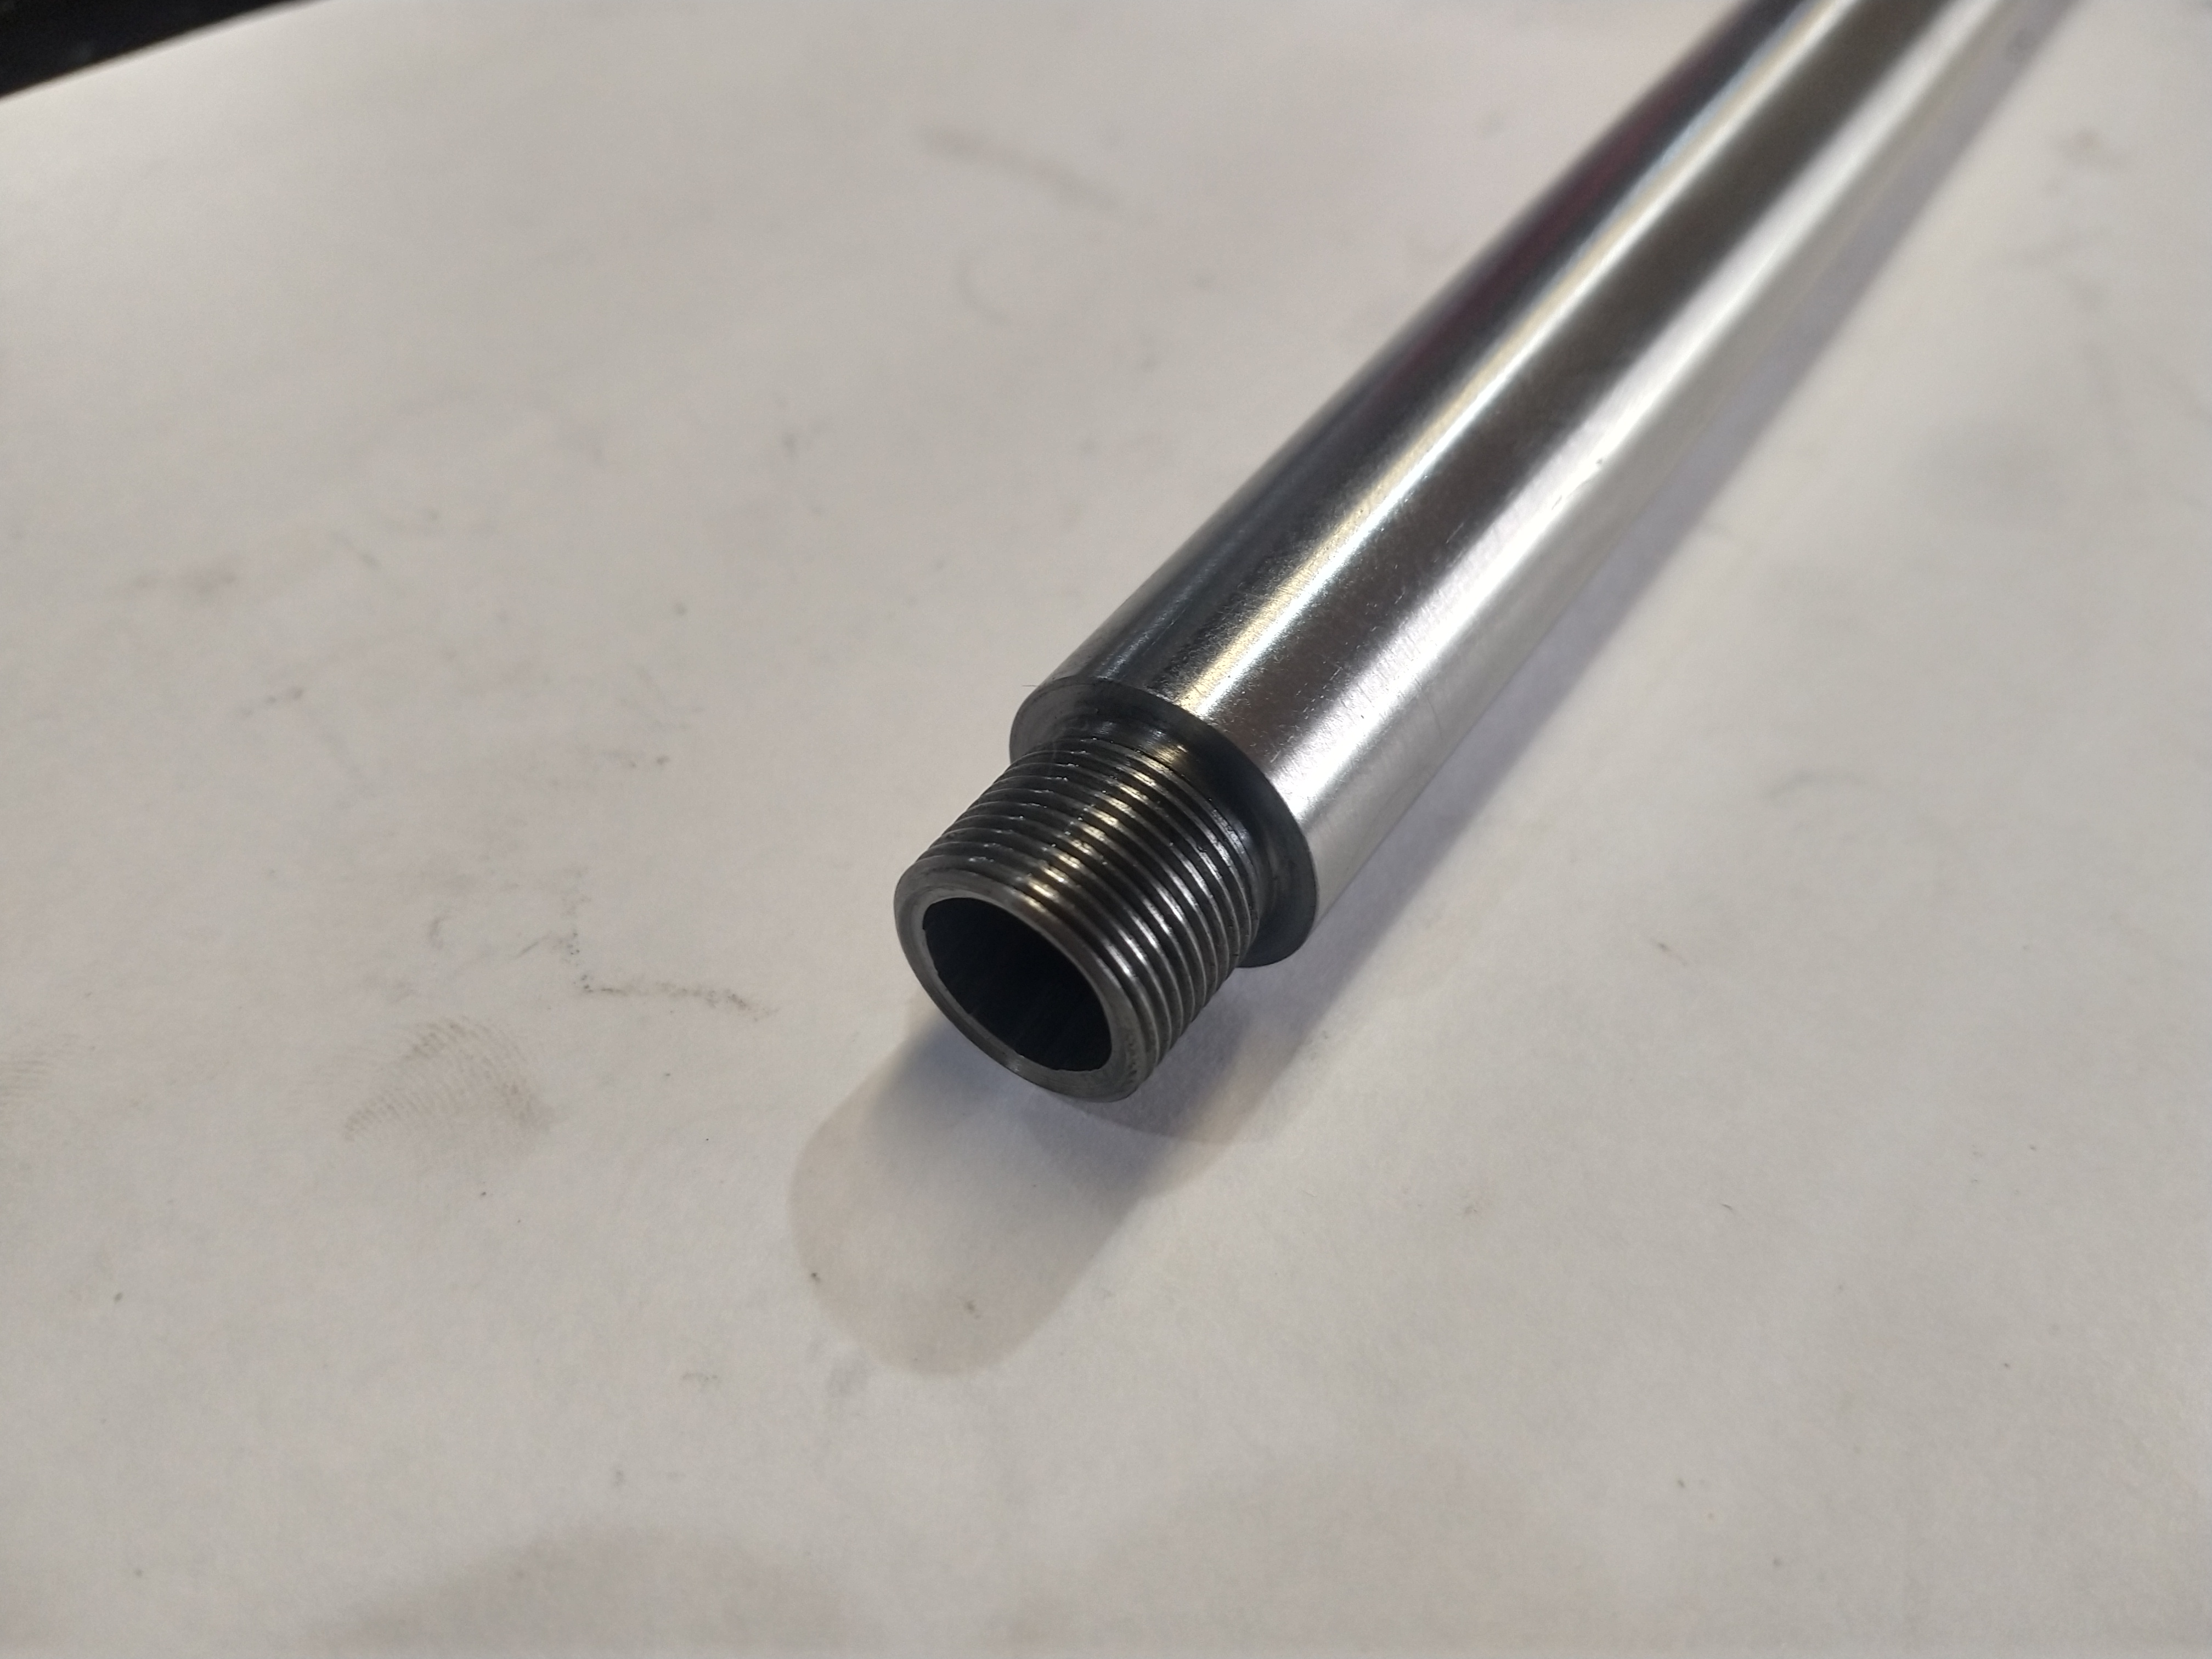
I needed to thread the muzzle before permanently installing it to the barrel adaptor as I would not be able to hold it in the lathe easily afterwards.
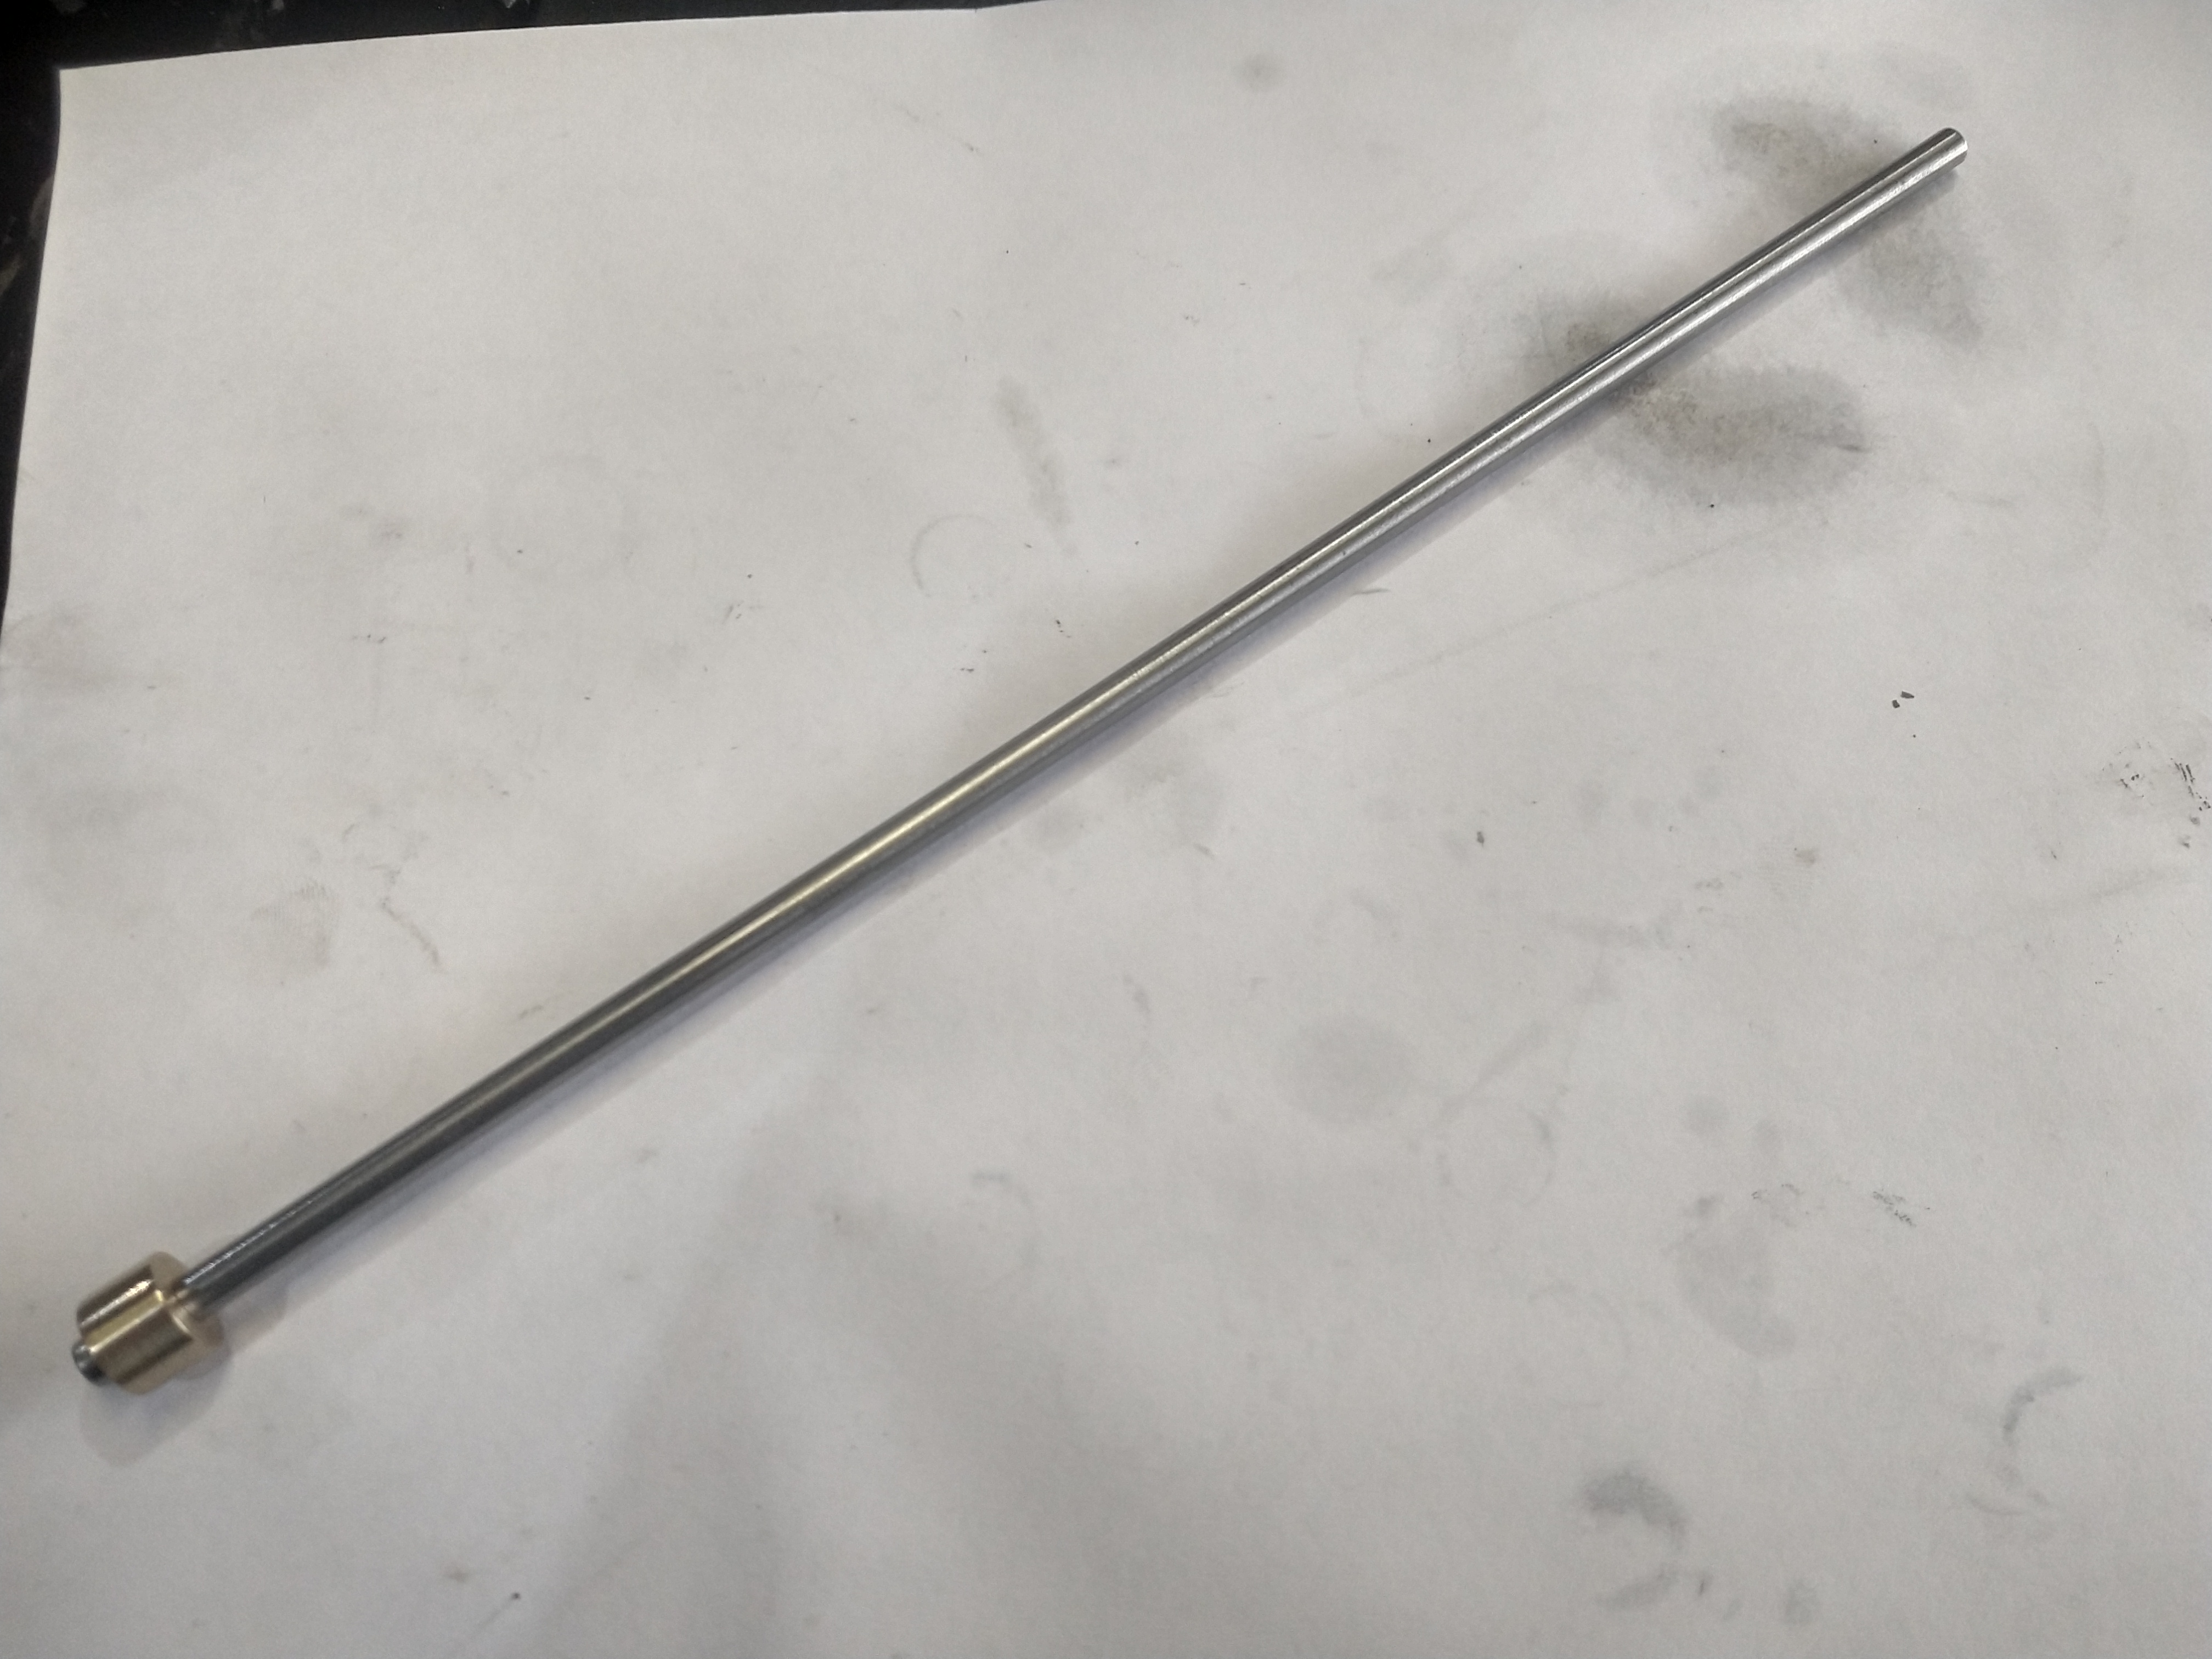
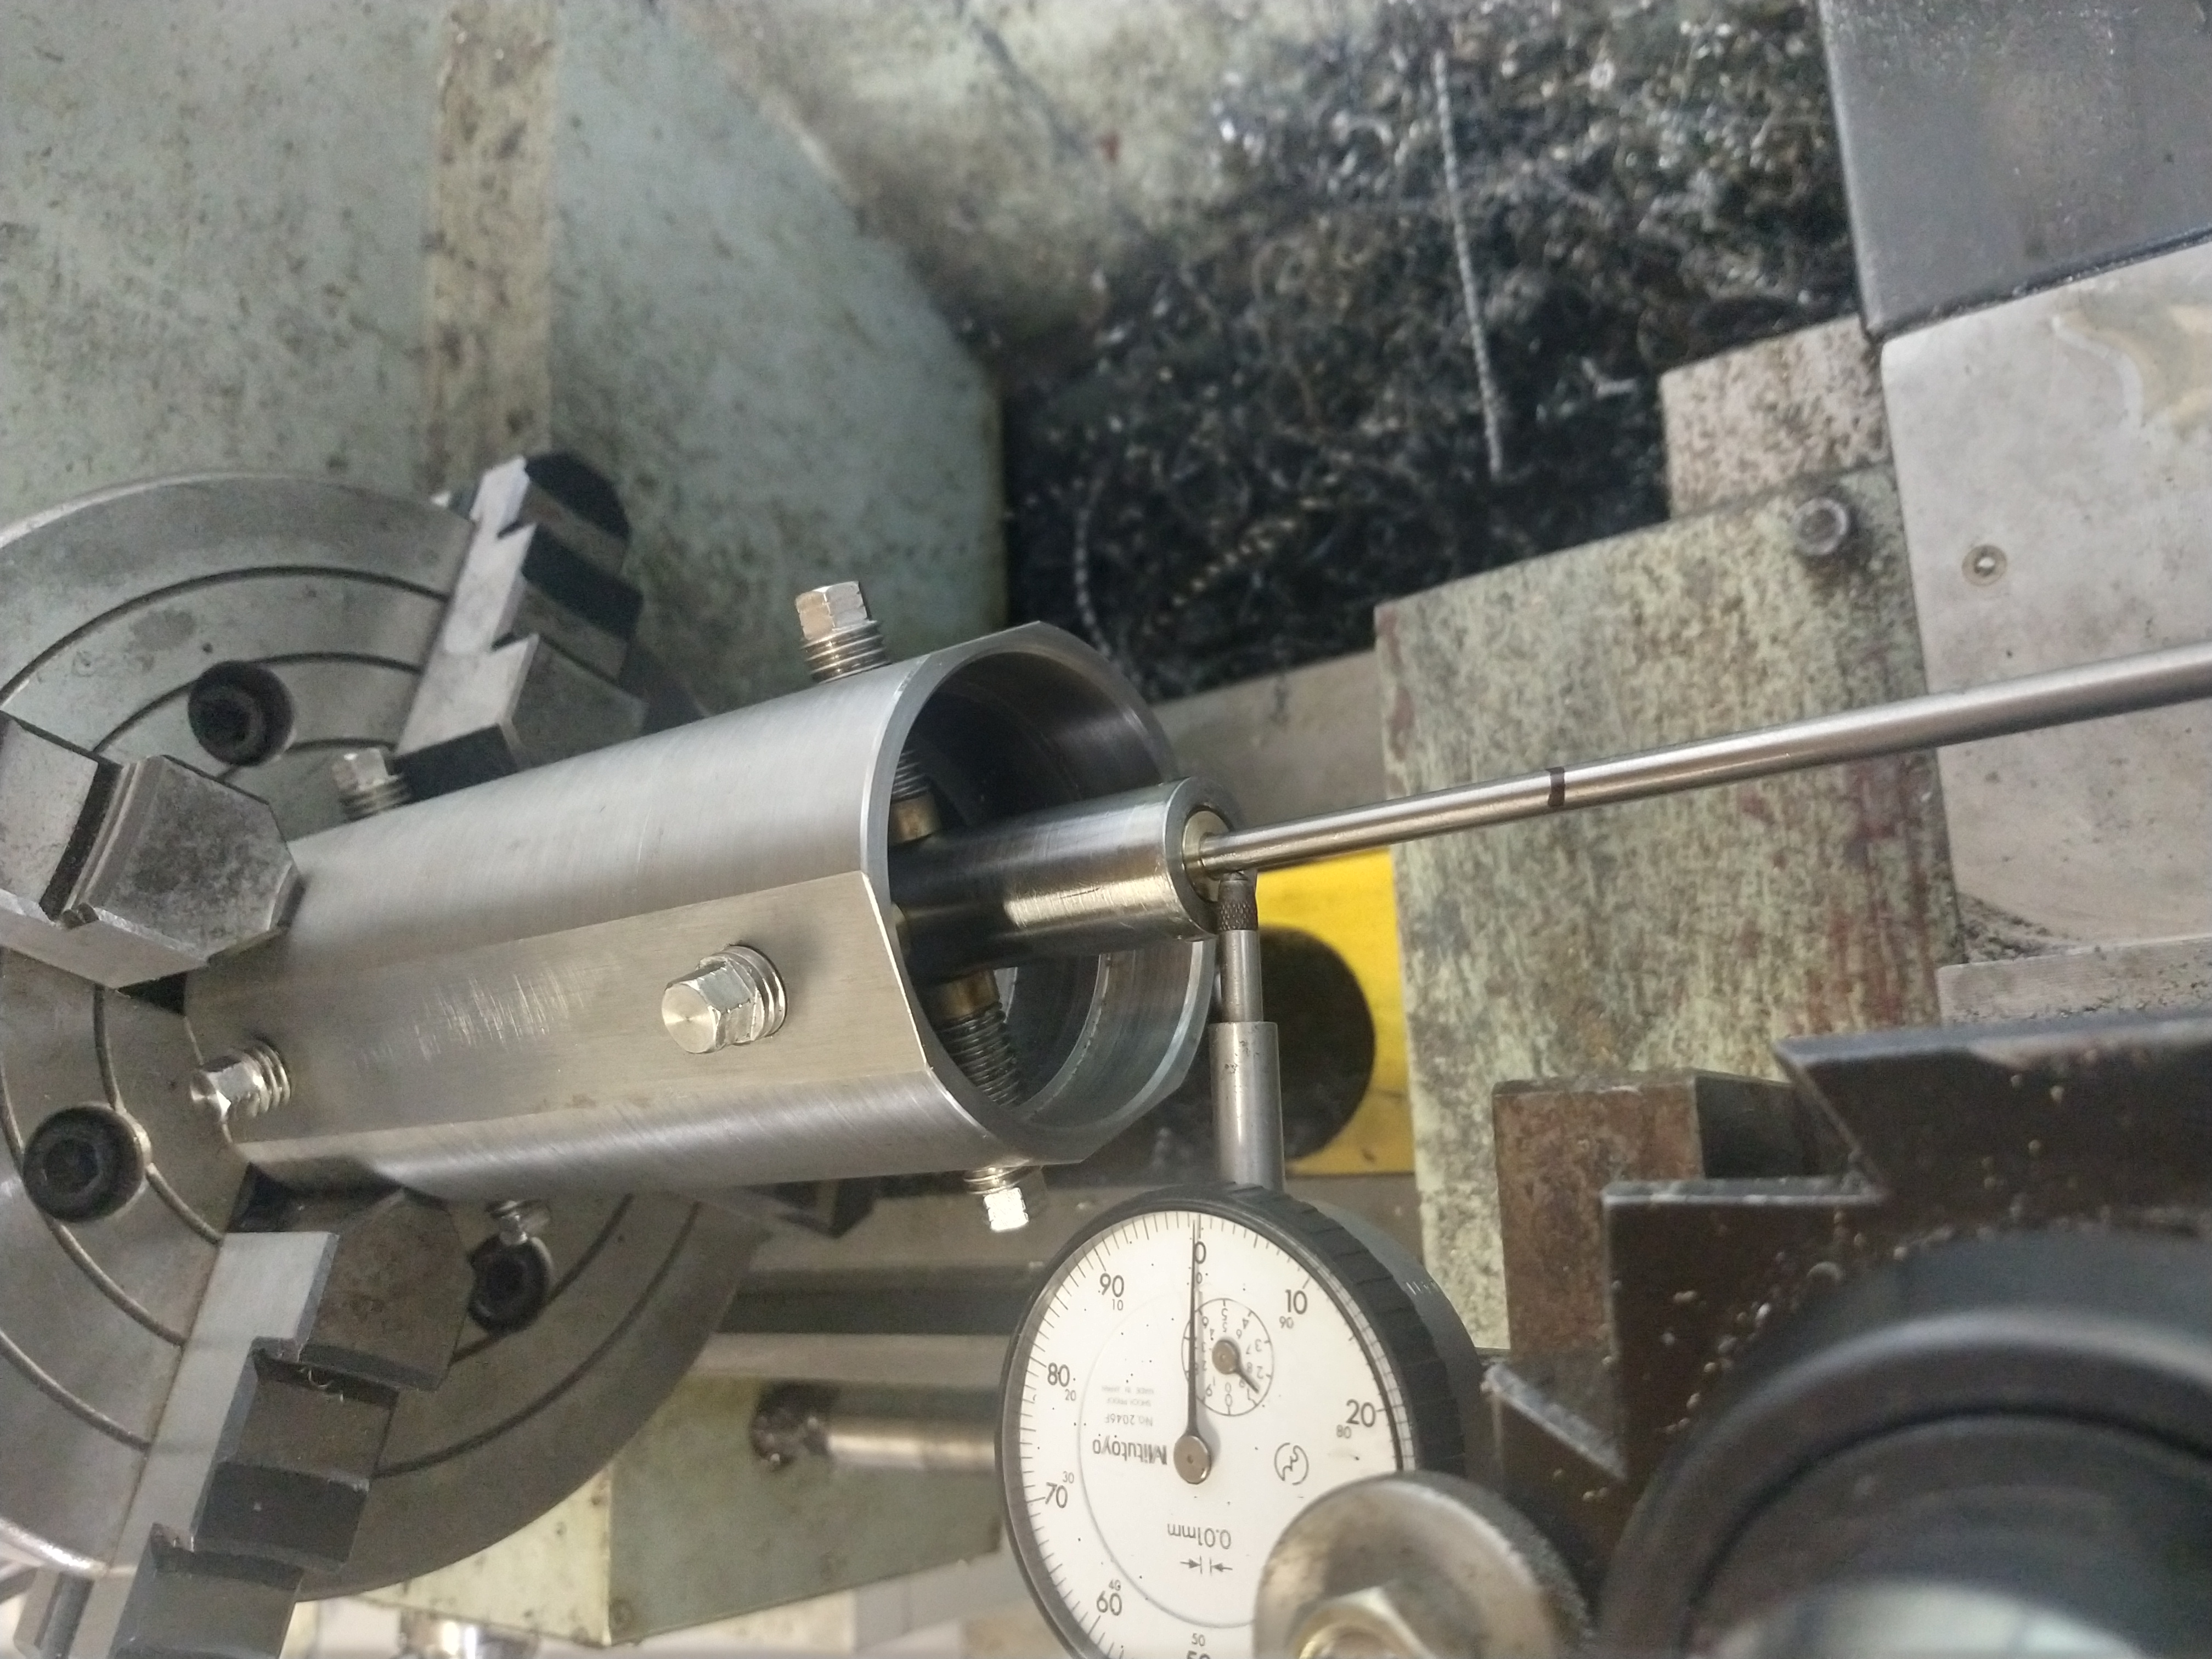
First I made a .450 bush for my bore indicating rod. I find this a good reliable way to get a bore dialed in without using horribly expensive long stem indicators. I get the run-out to zero at the muzzle and around 50mm down the bore. This ensures the thread and shoulder are square to the projectile flight path.
I chose 5/8-24 as the thread because I already own a tap that size that I will use for threading the suppressor.
Once the muzzle was threaded, I could start lapping the bore. The reason for lapping after threading is that the bore springs open very slightly when you remove the material to form the thread. You want the smallest part of the bore to be right at the muzzle, hence, lap after threading. This won't matter a damn on a 14" barrel open sight 45-70, but for most other applications requiring accuracy, it is a good thing to remember.
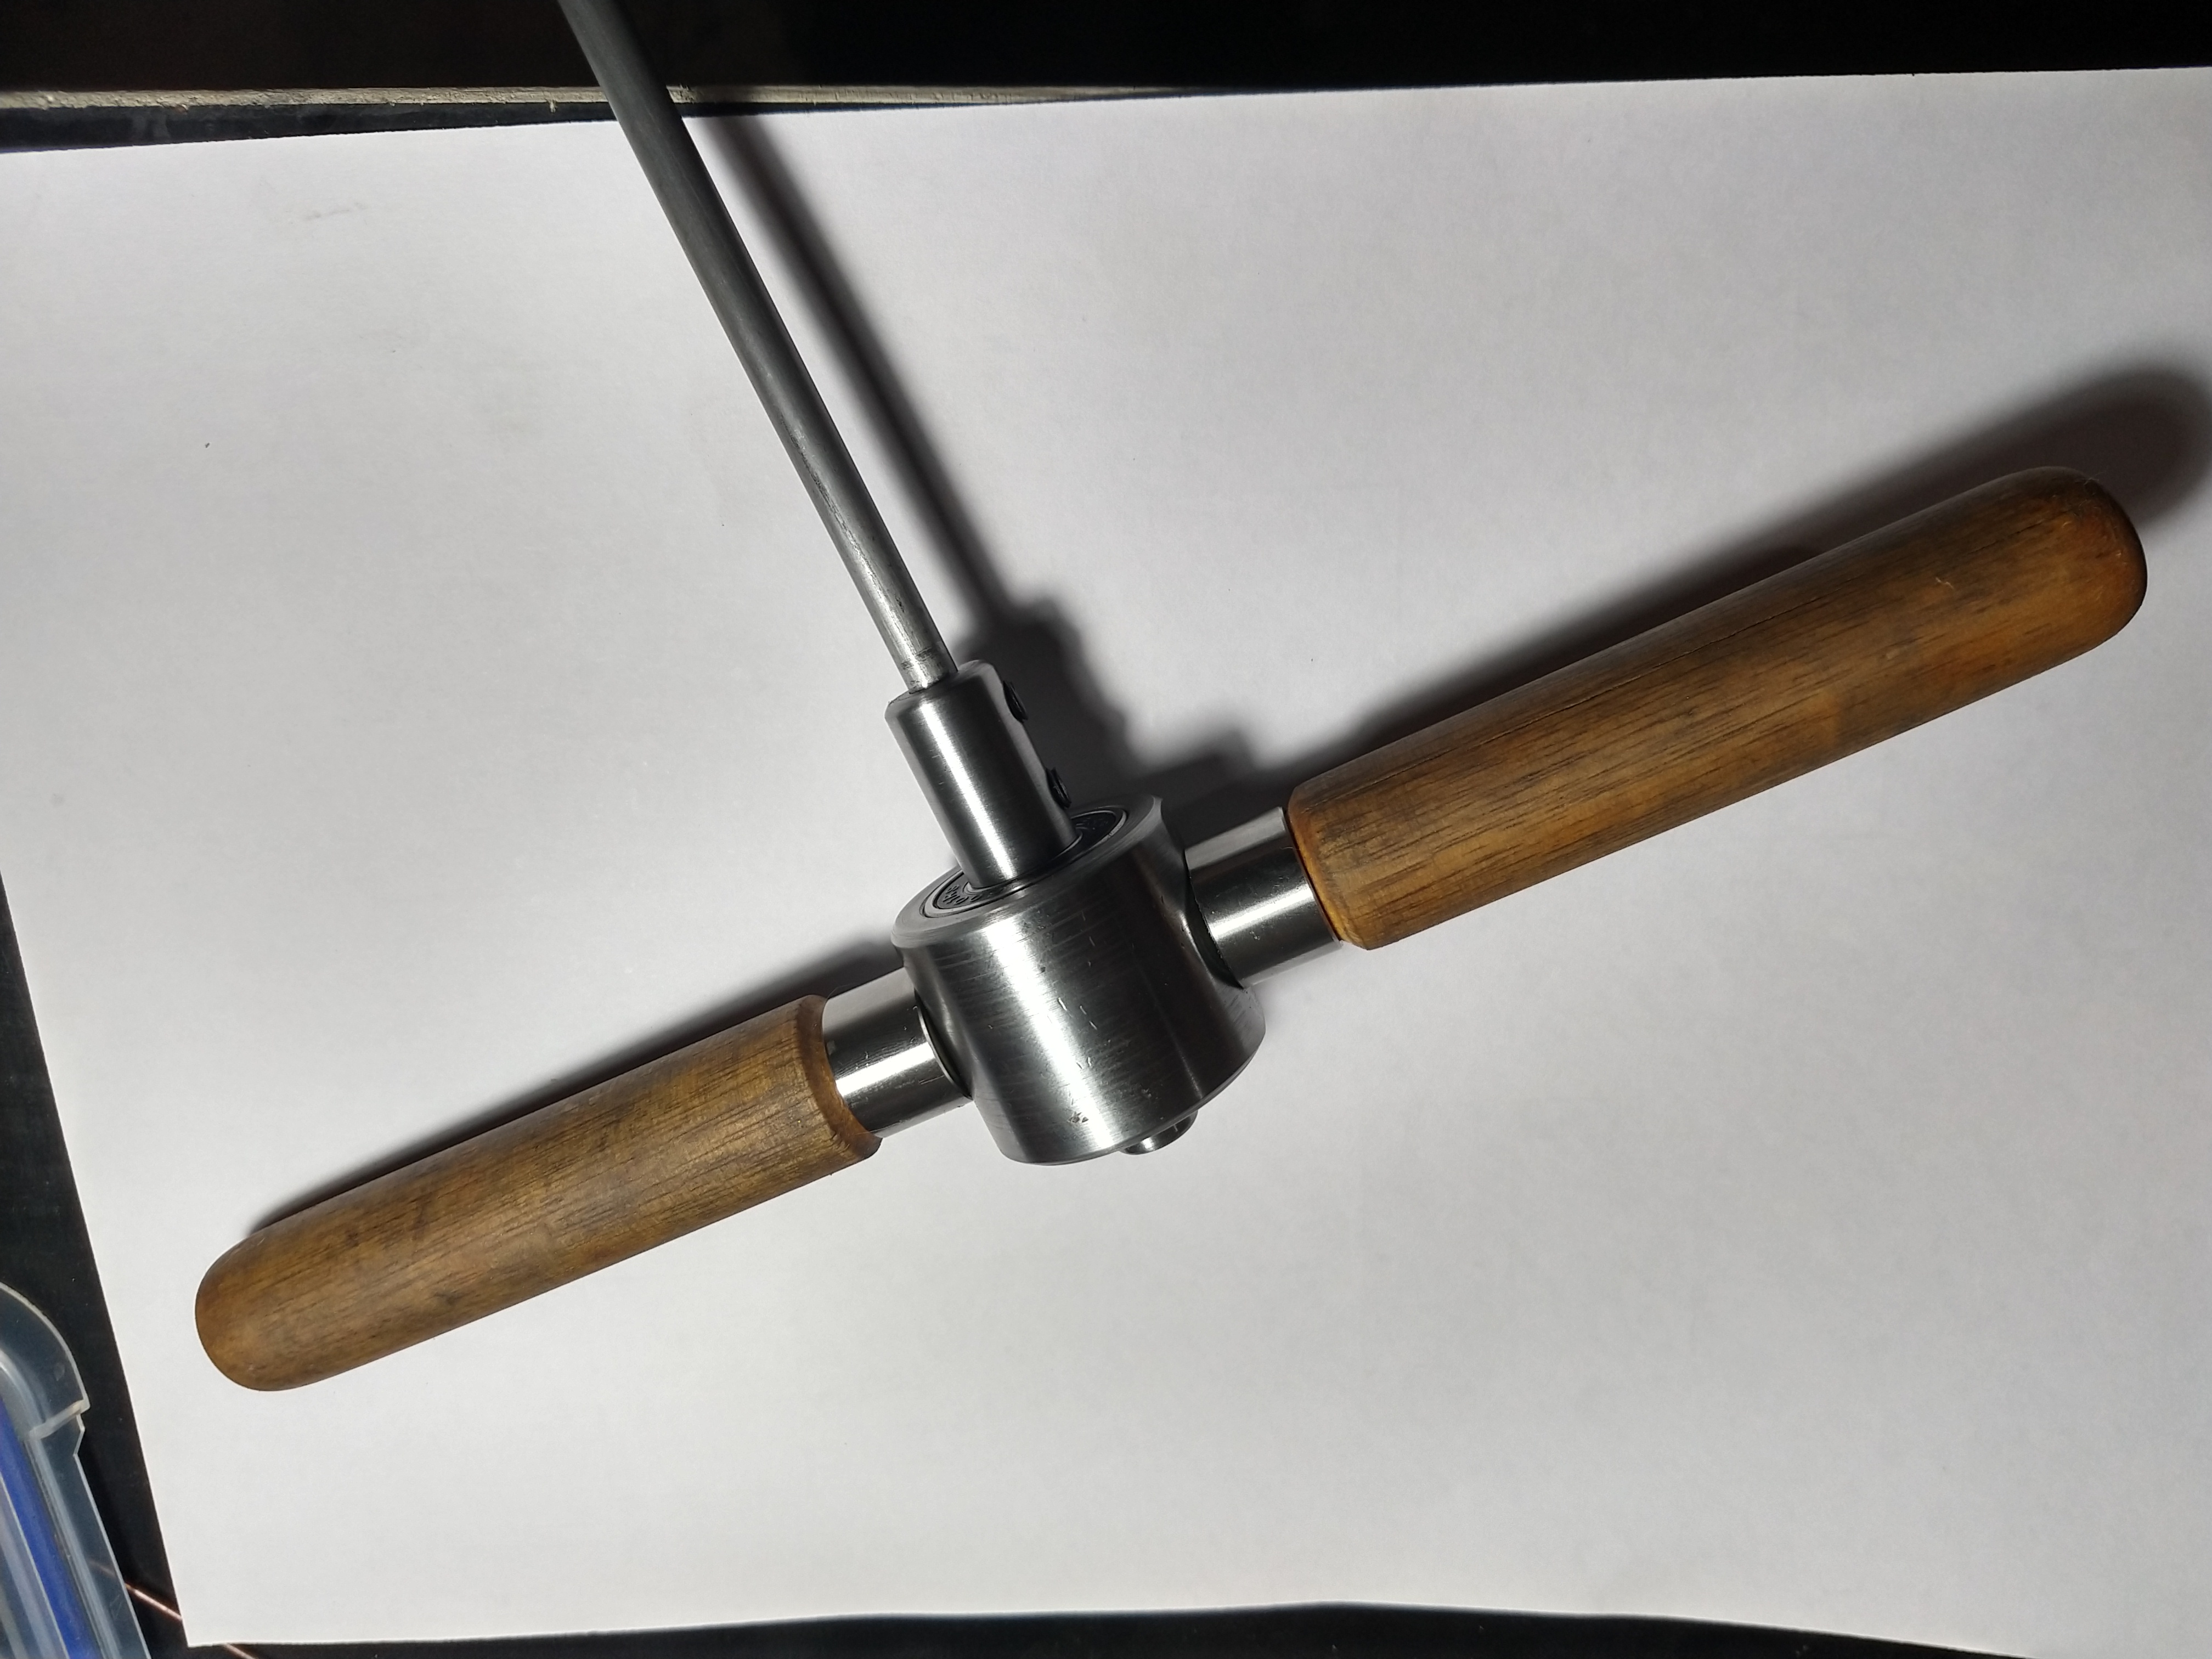
I made myself a nice handle for lapping that I can attach different diameter and length rods to. It is just a couple of bearings in a housing with some handles screwed to the side. Rough, but very effective. I also make a guide from timber whenever I am lapping a bore. This is to control the chamber end of the rod and stop it flexing and contacting the bore. Often, I make these a press fit into the action the barrel is attached to. In this case I made it a press fit into the chamber.
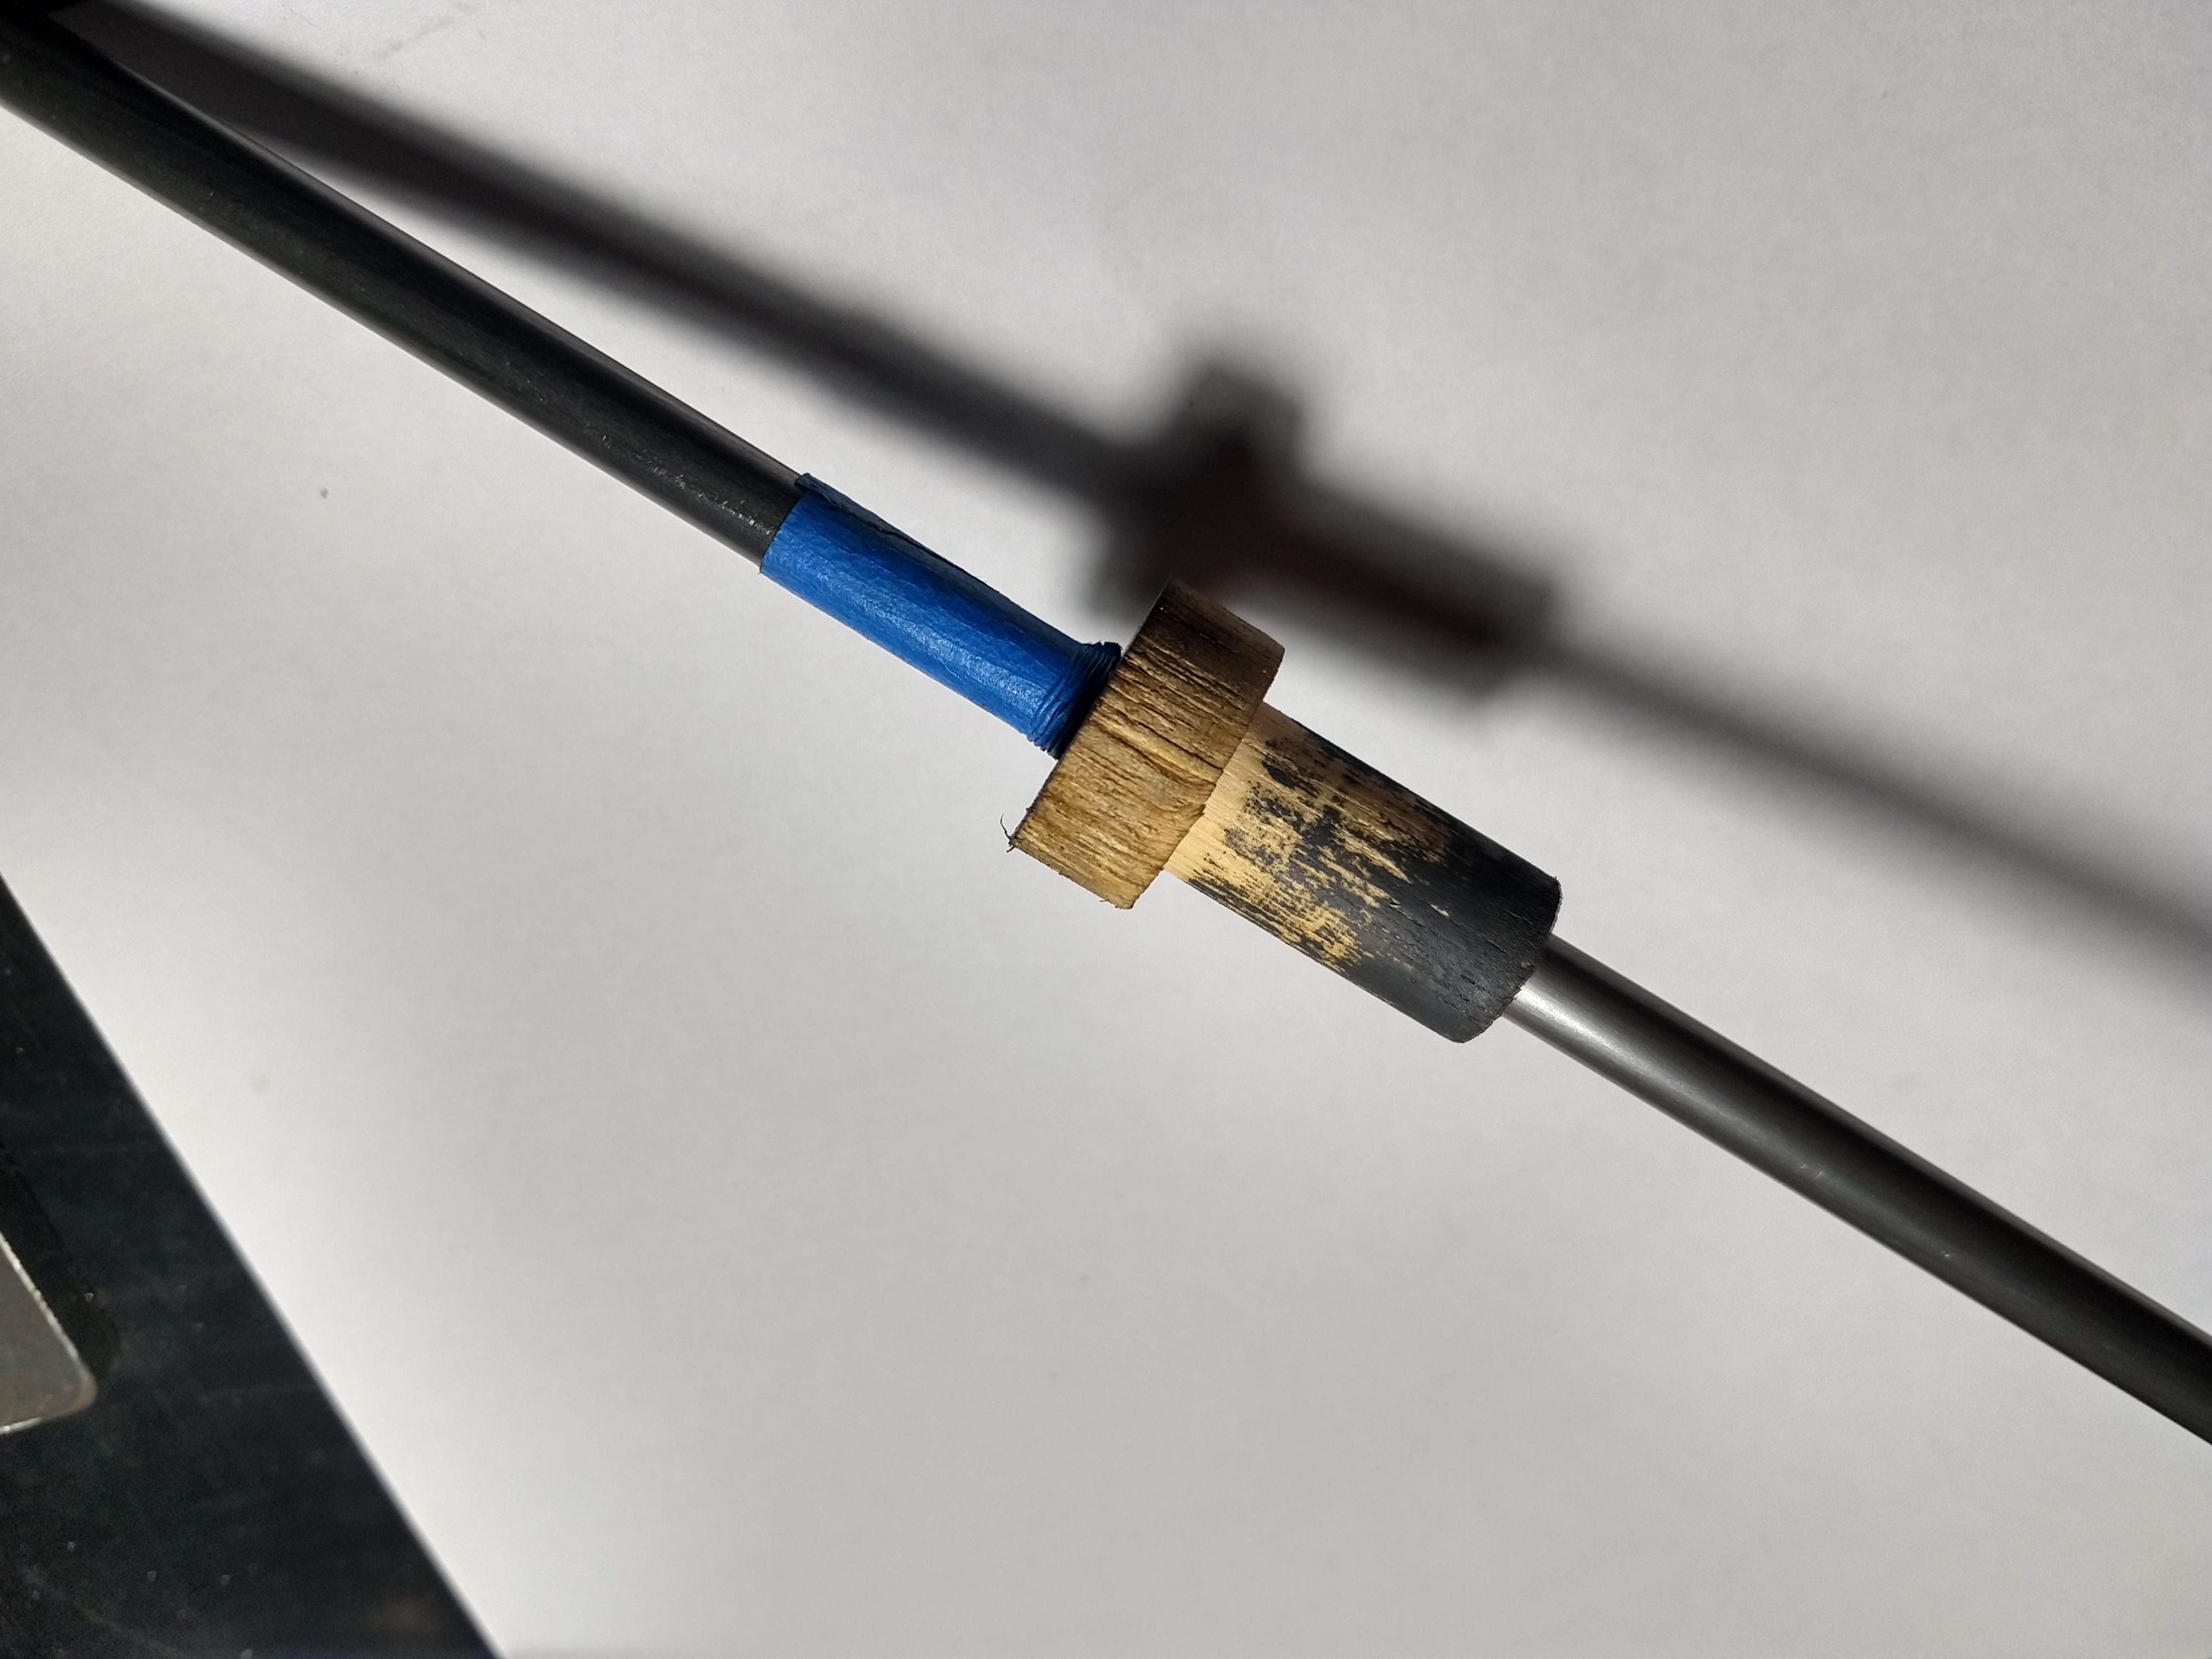
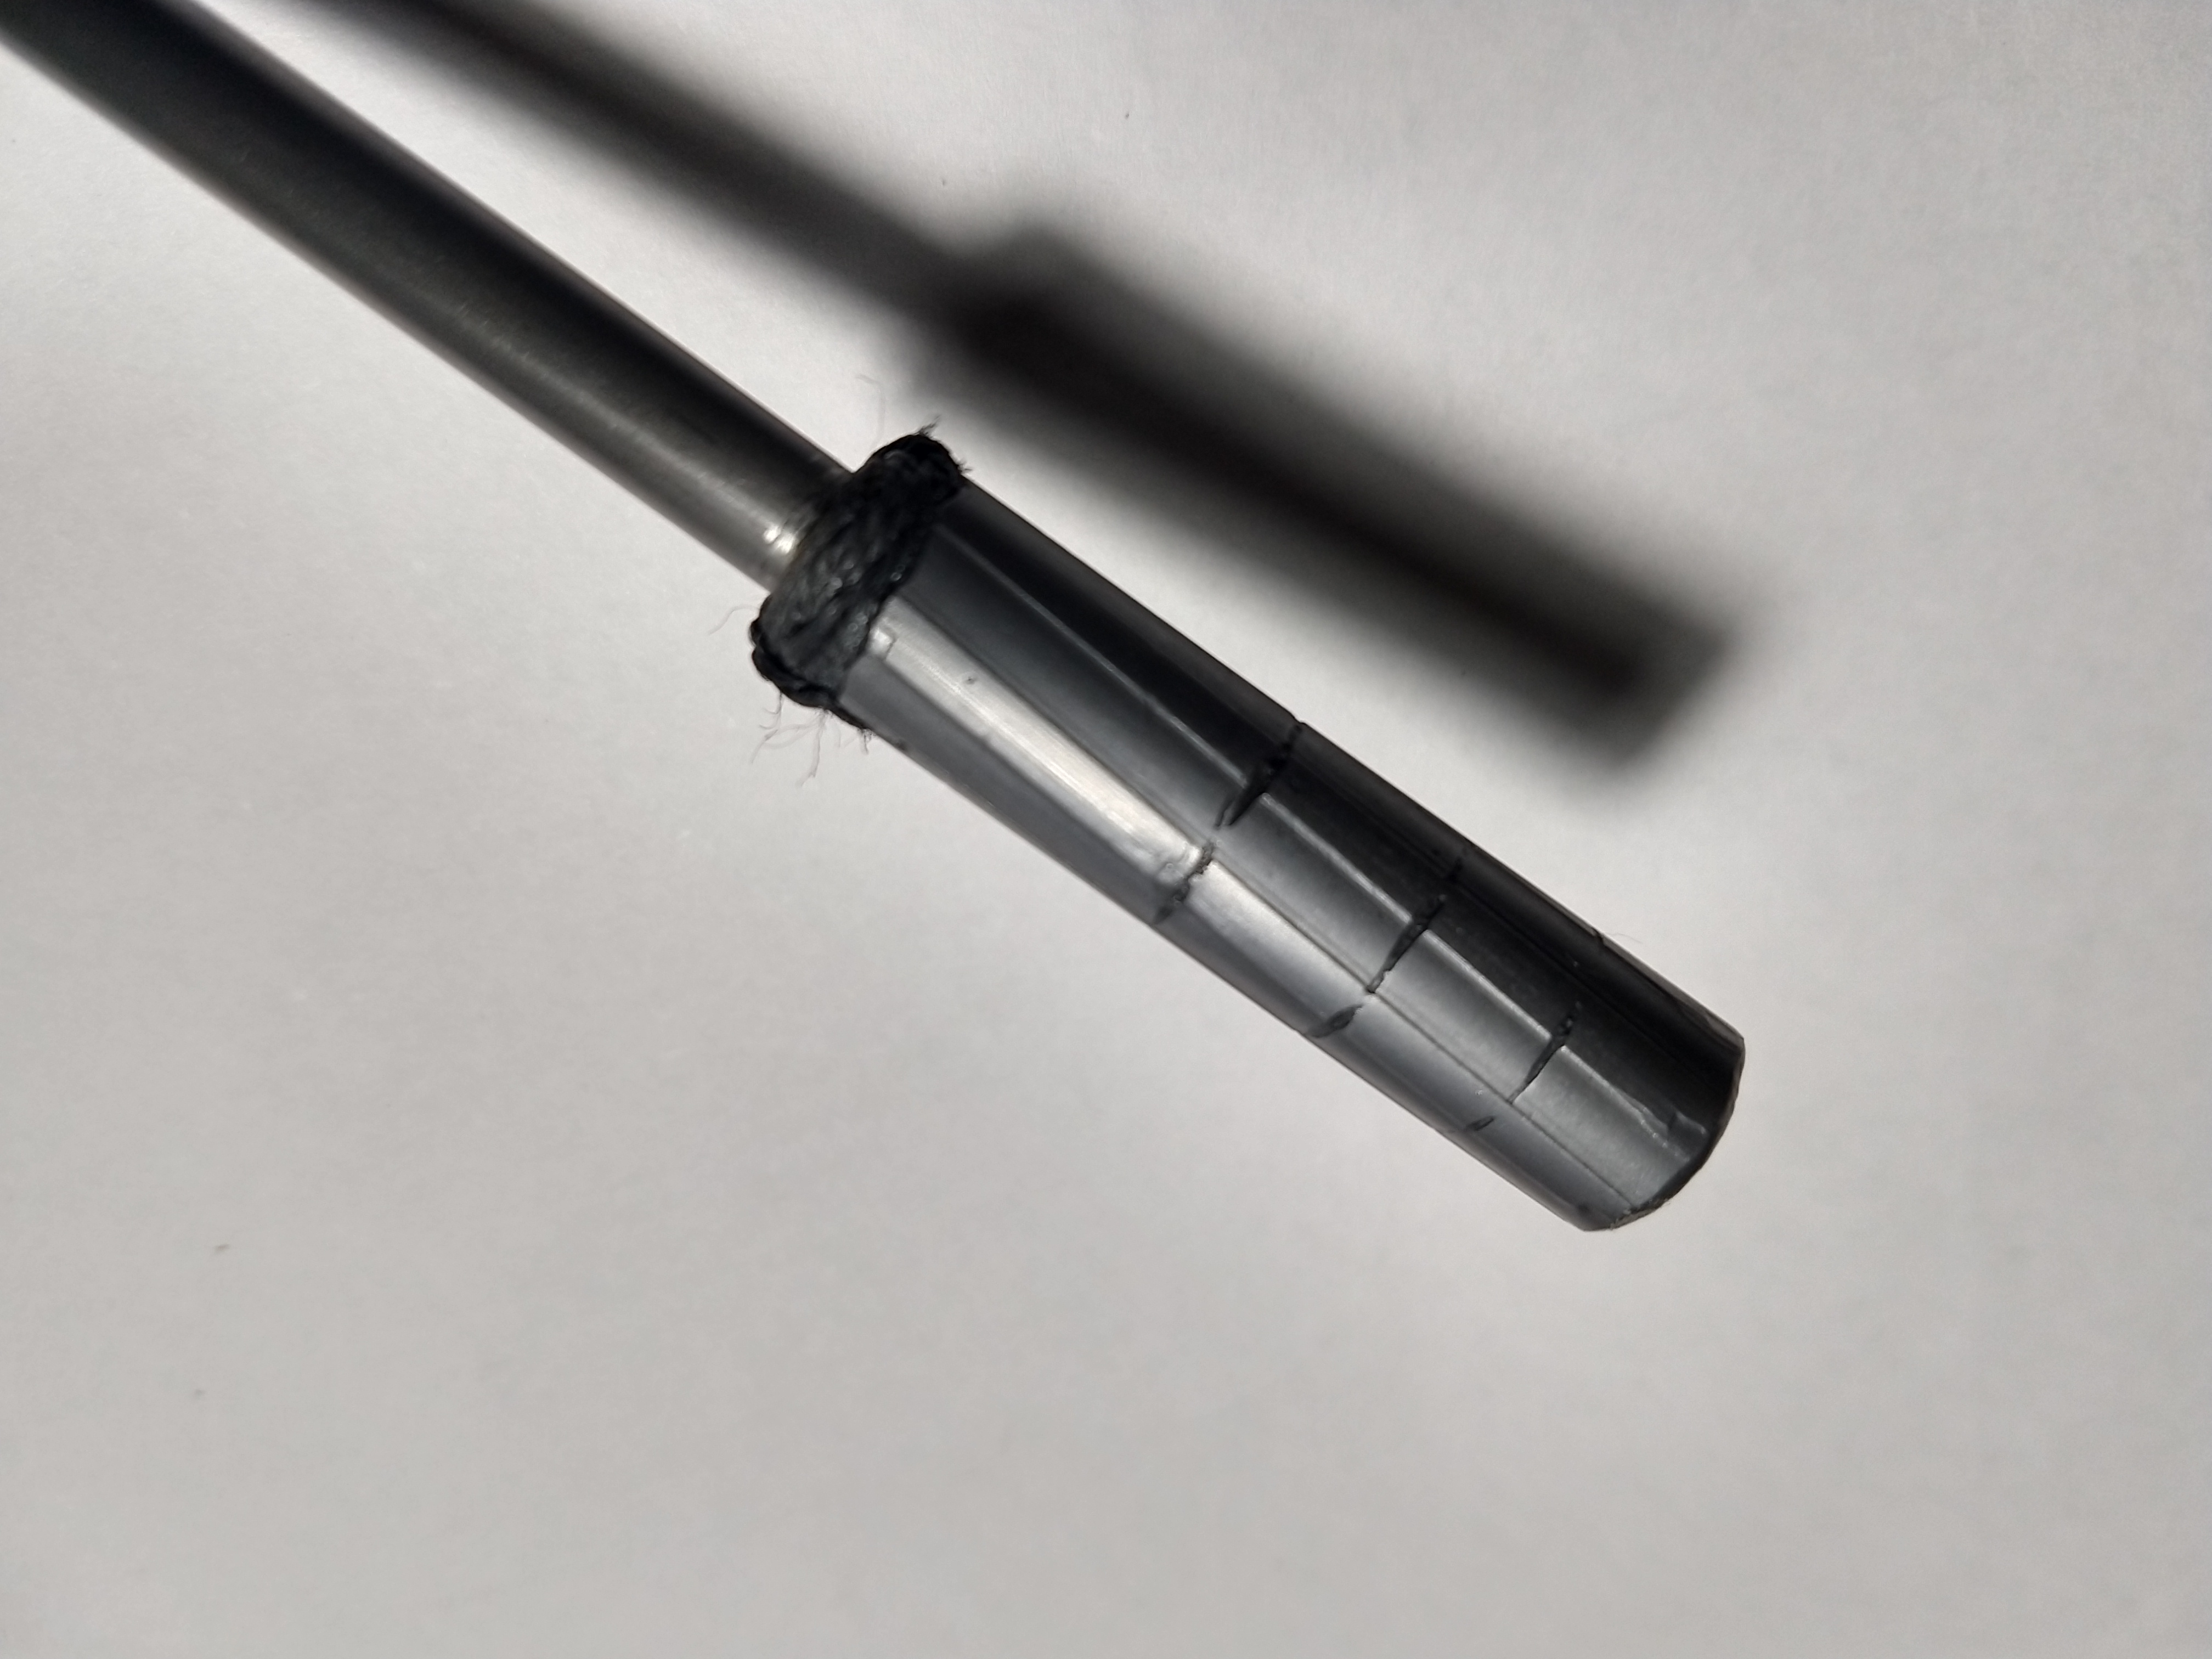
To make the lap, I wrap the rod about 30mm from the tip with a thick waxed thread used for leatherwork until it's a slip fit into the bore. This stops the molten lead running down the barrel. I then hold the barrel vertical in a vice and position the rod so the tip is around 20 - 30mm from the muzzle. I heat up the barrel with a heatgun and melt a little lead, which is poured into the bore once it is up to temperature. Once this cools, I poke the lap most of the way out and file some shallow grooves to hold lapping compound. It is then just a case of adding compound and getting to it.
When the lap starts to get loose, I bump it back to size by sliding a 10mm rod into the bore, running the lap down until it touches it, standing the whole lot on the floor and giving the back of the lapping rod a few smacks with a mallet. This swells the lap up the the size of the bore wherever it is positioned. In this case, I wanted more work to be done near the chamber, so bumped it near there. You can over do the bumping and the lap will be extremely hard to start moving again. A mallet helps it along.
By doing more lapping toward the chamber end of a barrel, you can introduce a very slight taper, with the tightest part being the muzzle. This is extremely important on .22lr barrels and I have noticeably improved the performance of a few .22lr rifles by taper lapping. For this rifle, it won't make a spot of difference, but it's still good practice.
I have some before and after photos from my borescope that I will upload later.
The next step will be to install the barrel permanently to the barrel adaptor. I am considering using epoxy rather than solder for this, as I have zero experience soldering things this large.
After that, I can start work on the sights and then the suppressor.
I am considering making a copy of the ranger point precision rear sight, as it would give me windage and elevation on the rear sight, along with sight protection and it being a relatively simple mechanism. I also think they look cool.
I would be interested to hear about any simpler sights that achieve the same thing.

Welcome guest, is this your first visit? Create Account now to join.
Welcome to the NZ Hunting and Shooting Forums.
Search Forums


User Tag List
Results 1 to 15 of 77
Threaded View
-
20-06-2021, 10:56 PM #11Member


- Join Date
- Dec 2015
- Location
- Auckland
- Posts
- 497
Muzzle thread and bore lapping


 Reply With Quote
Similar Threads
-
New Baikal 121 Single Shot out
By Scout in forum Firearms, Optics and AccessoriesReplies: 15Last Post: 28-11-2020, 12:35 PM
Tags for this Thread
 Posting Permissions
- You may not post new threads
- You may not post replies
- You may not post attachments
- You may not edit your posts
Welcome to NZ Hunting and Shooting Forums! We see you're new here, or arn't logged in. Create an account, and Login for full access including our FREE BUY and SELL section Register NOW!!
All times are GMT +13. The time now is 07:28 AM.

Bookmarks