

 47Likes
 LinkBack URL
 About LinkBacks
@Slideshow the stuff I have was recommended to me by another knowledgeable forum member and is a marine grade epoxy similar to west system.
Cant be too bad
Welcome guest, is this your first visit? Create Account now to join.
Welcome to the NZ Hunting and Shooting Forums.
Search Forums


User Tag List
+ Reply to Thread
Results 46 to 60 of 76
Thread: rifle bedding kit
-
21-03-2020, 07:54 AM #46Member

- Join Date
- Jan 2018
- Location
- kaiapoi
- Posts
- 7,882
-
-
21-03-2020, 08:08 AM #47Member

- Join Date
- Jan 2015
- Location
- Rotorua
- Posts
- 4,039
Do you need to pillar bed the rifle before you bed the action?
I've got a couple that really should be bedded so may as well get into it.
Sent from my SM-G390Y using Tapatalk
-
21-03-2020, 09:38 AM #48Member
- Join Date
- Aug 2012
- Location
- helensville nz
- Posts
- 4,913
I would if I was going to do pillars Originally Posted by Steve123

Been pretty lucky most of the rifles ive bedded have factory pillars
But if i was going to do pillars id get them perfect and glued in
Then glass bedding after
Some of the really good guys do it all at once I haven’t had the balls to try that yet seems like it could all turn
Into a fuck up of Plague Proportions to me��Moa Hunter likes this.
-
21-03-2020, 09:44 AM #49Member
- Join Date
- Jun 2019
- Location
- Tasman
- Posts
- 506
Ask ten blokes and get ten answers. I have mostly done pillars before bedding to limit the things that can go wrong. Getting pillar heights right so they meet the bottom of the action can be tricky, as can getting the shape of the top of the pillars right to match where they touch the action. I put my pillars in place with Devcon then lightly tighten the action screws so the pillars touch the action and to be sure the bottom metal fits as it should. I also try to sand the top of the pillars to get them to mate as well as possible with the action.
An alternative is to get a good fill of Devcon around the screws and use that as your pillars. In any event, it’s important that the screws are not tight in the pillars. They need to be free to find their own comfortable position and not stress the bedding job. Its pretty easy to drill them out 2mm or so more than the diameter of the screws. Devcon drills cleanly.
I only ever do front and rear bedding now as it’s much easier, cleaner and uses far less resin. The results are the same as full length bedding in terms of accuracy.
As Mickey Duck says, Nathan Foster’s videos are very helpful. Also test fit everything multiple times before pouring resin.
-
21-03-2020, 01:20 PM #50Member

- Join Date
- Apr 2015
- Location
- UK
- Posts
- 7,956
@Steve123 well I figured while I was at it I would go the whole hog.
This way I could torque it up and not need to worry.
Would I full bed and pillar next time. Yes once you have done one and see how easy it is (I’m a tradesman so on the tools every day maybe not so easy for some who’s not).
But if you have the mind set and go through the steps, yep easy.
If you just want to pillar then fine it’s it’s easy as well see my post page 2 I think.It's all fun and games till Darthvader comes along
I respect your beliefs but don't impose them on me.
-
11-05-2020, 03:25 AM #51Member
- Join Date
- Apr 2015
- Location
- UK
- Posts
- 7,956
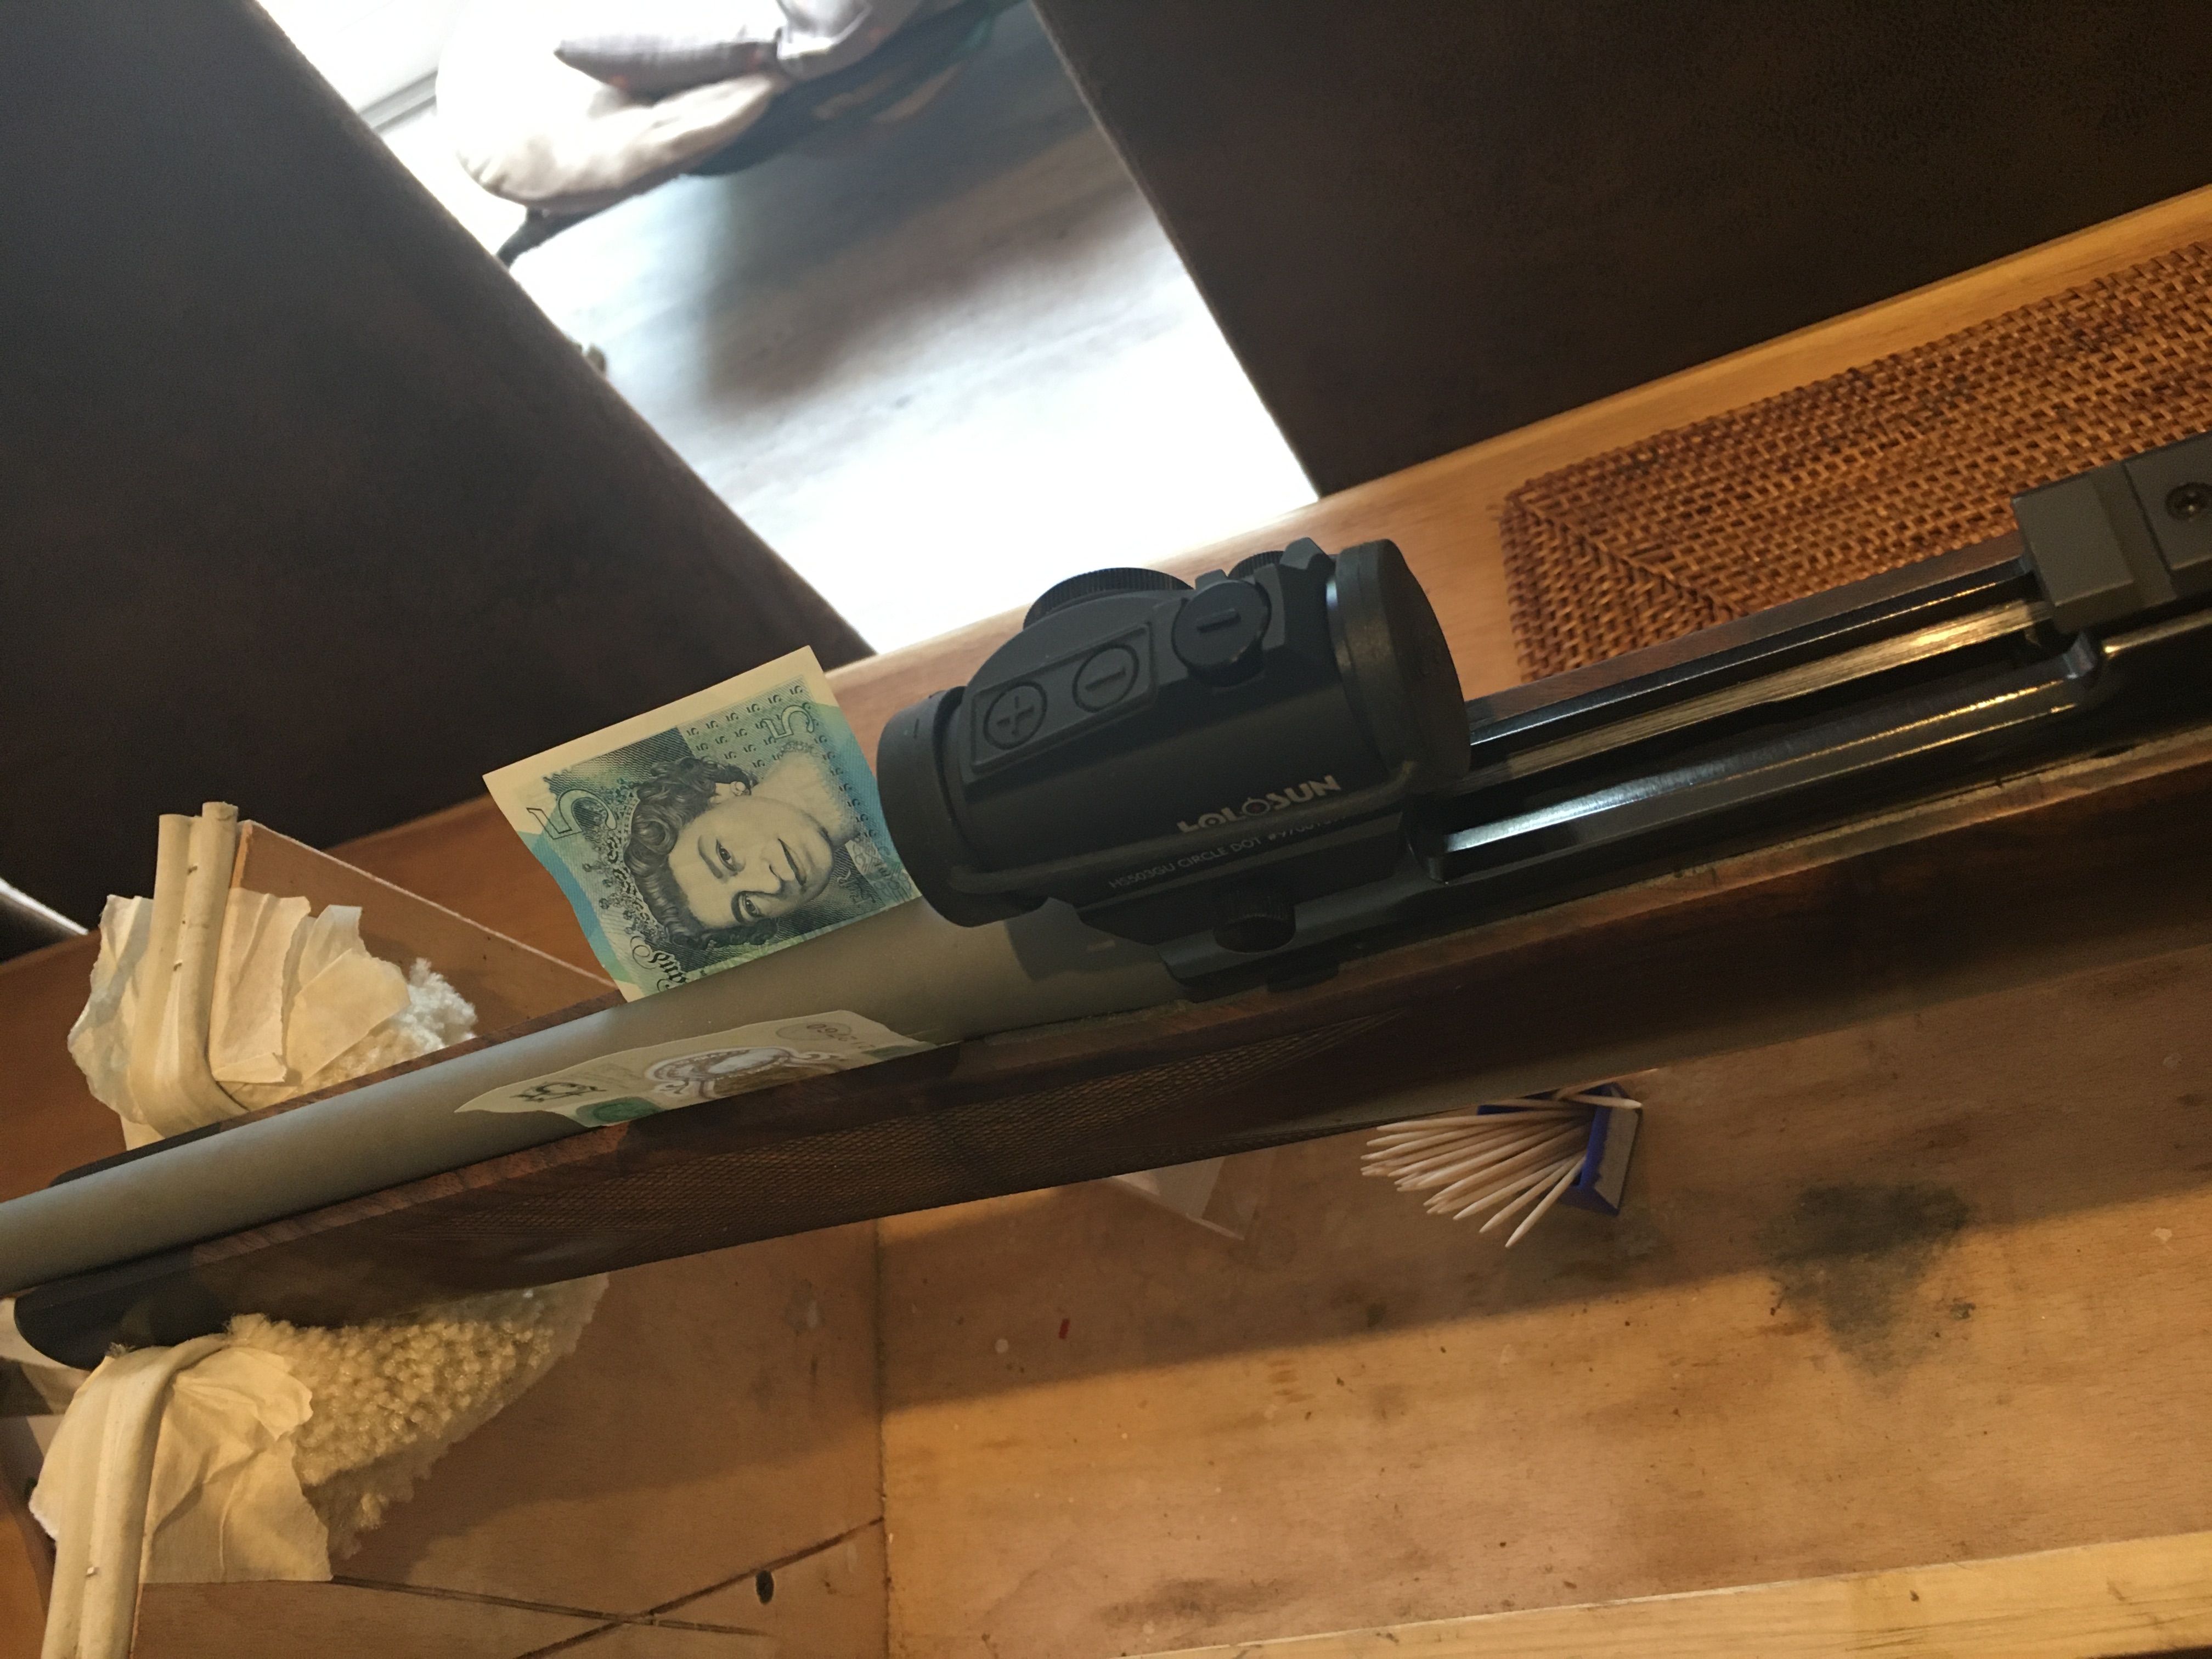
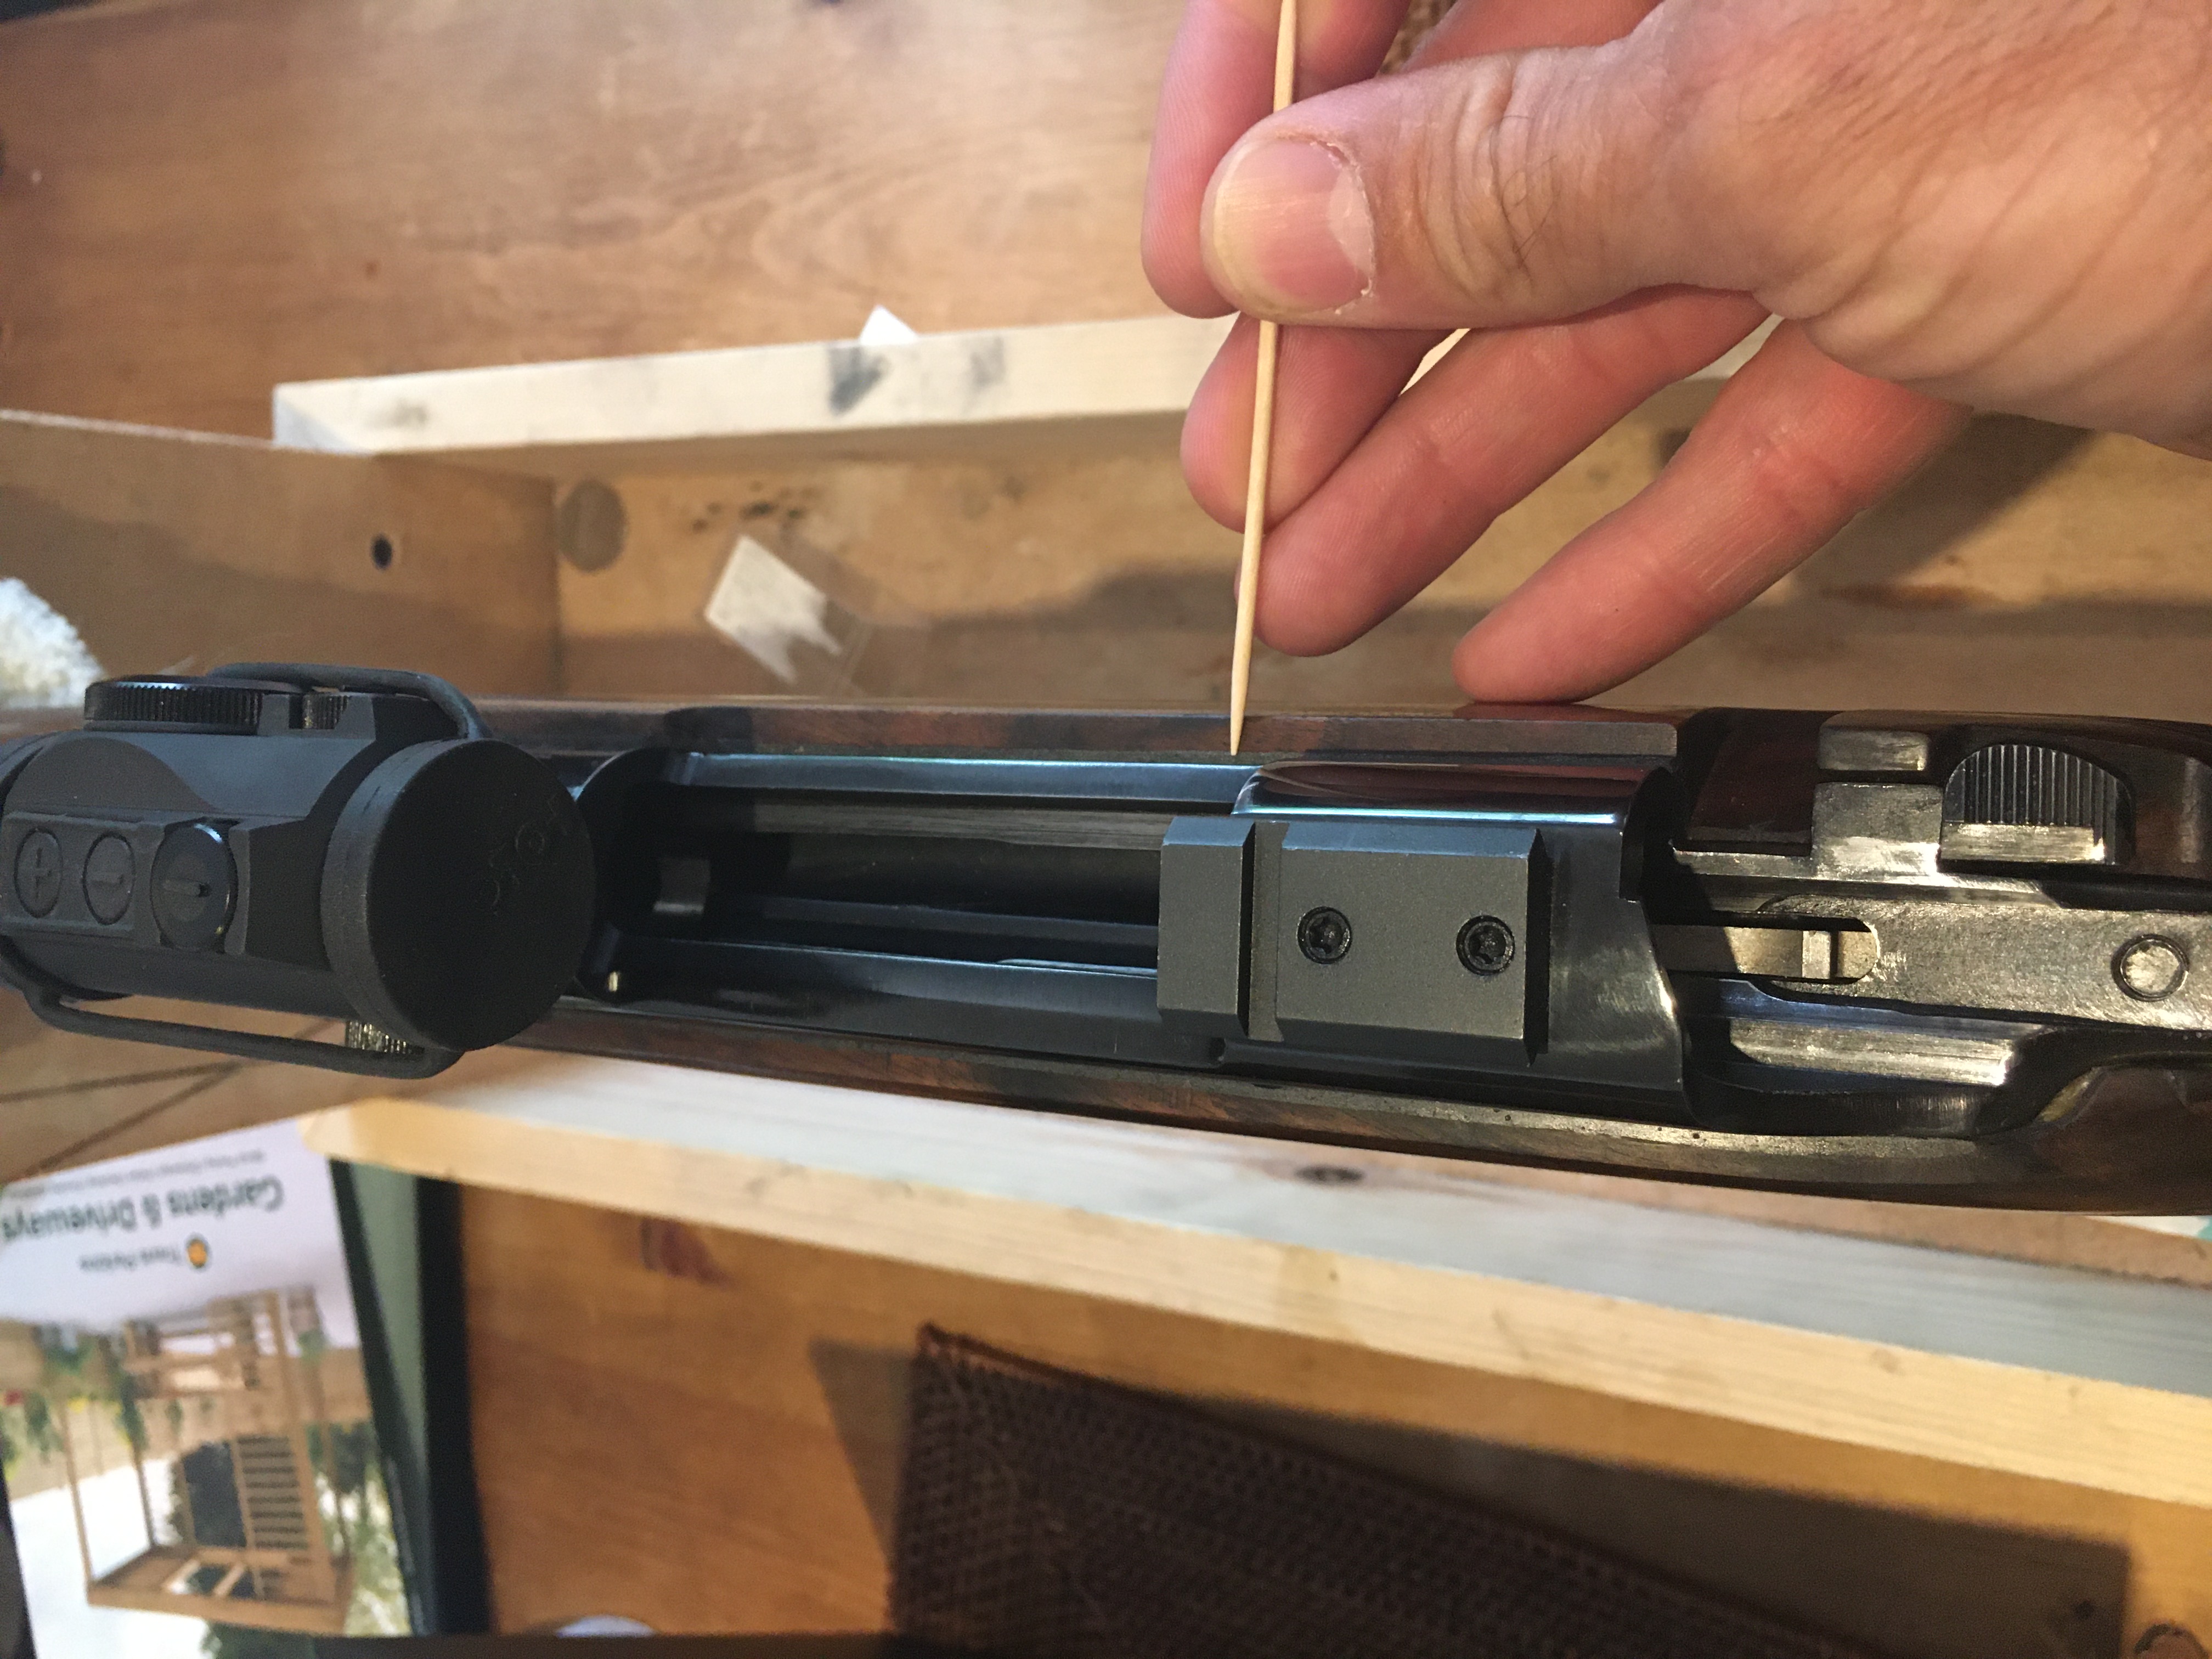
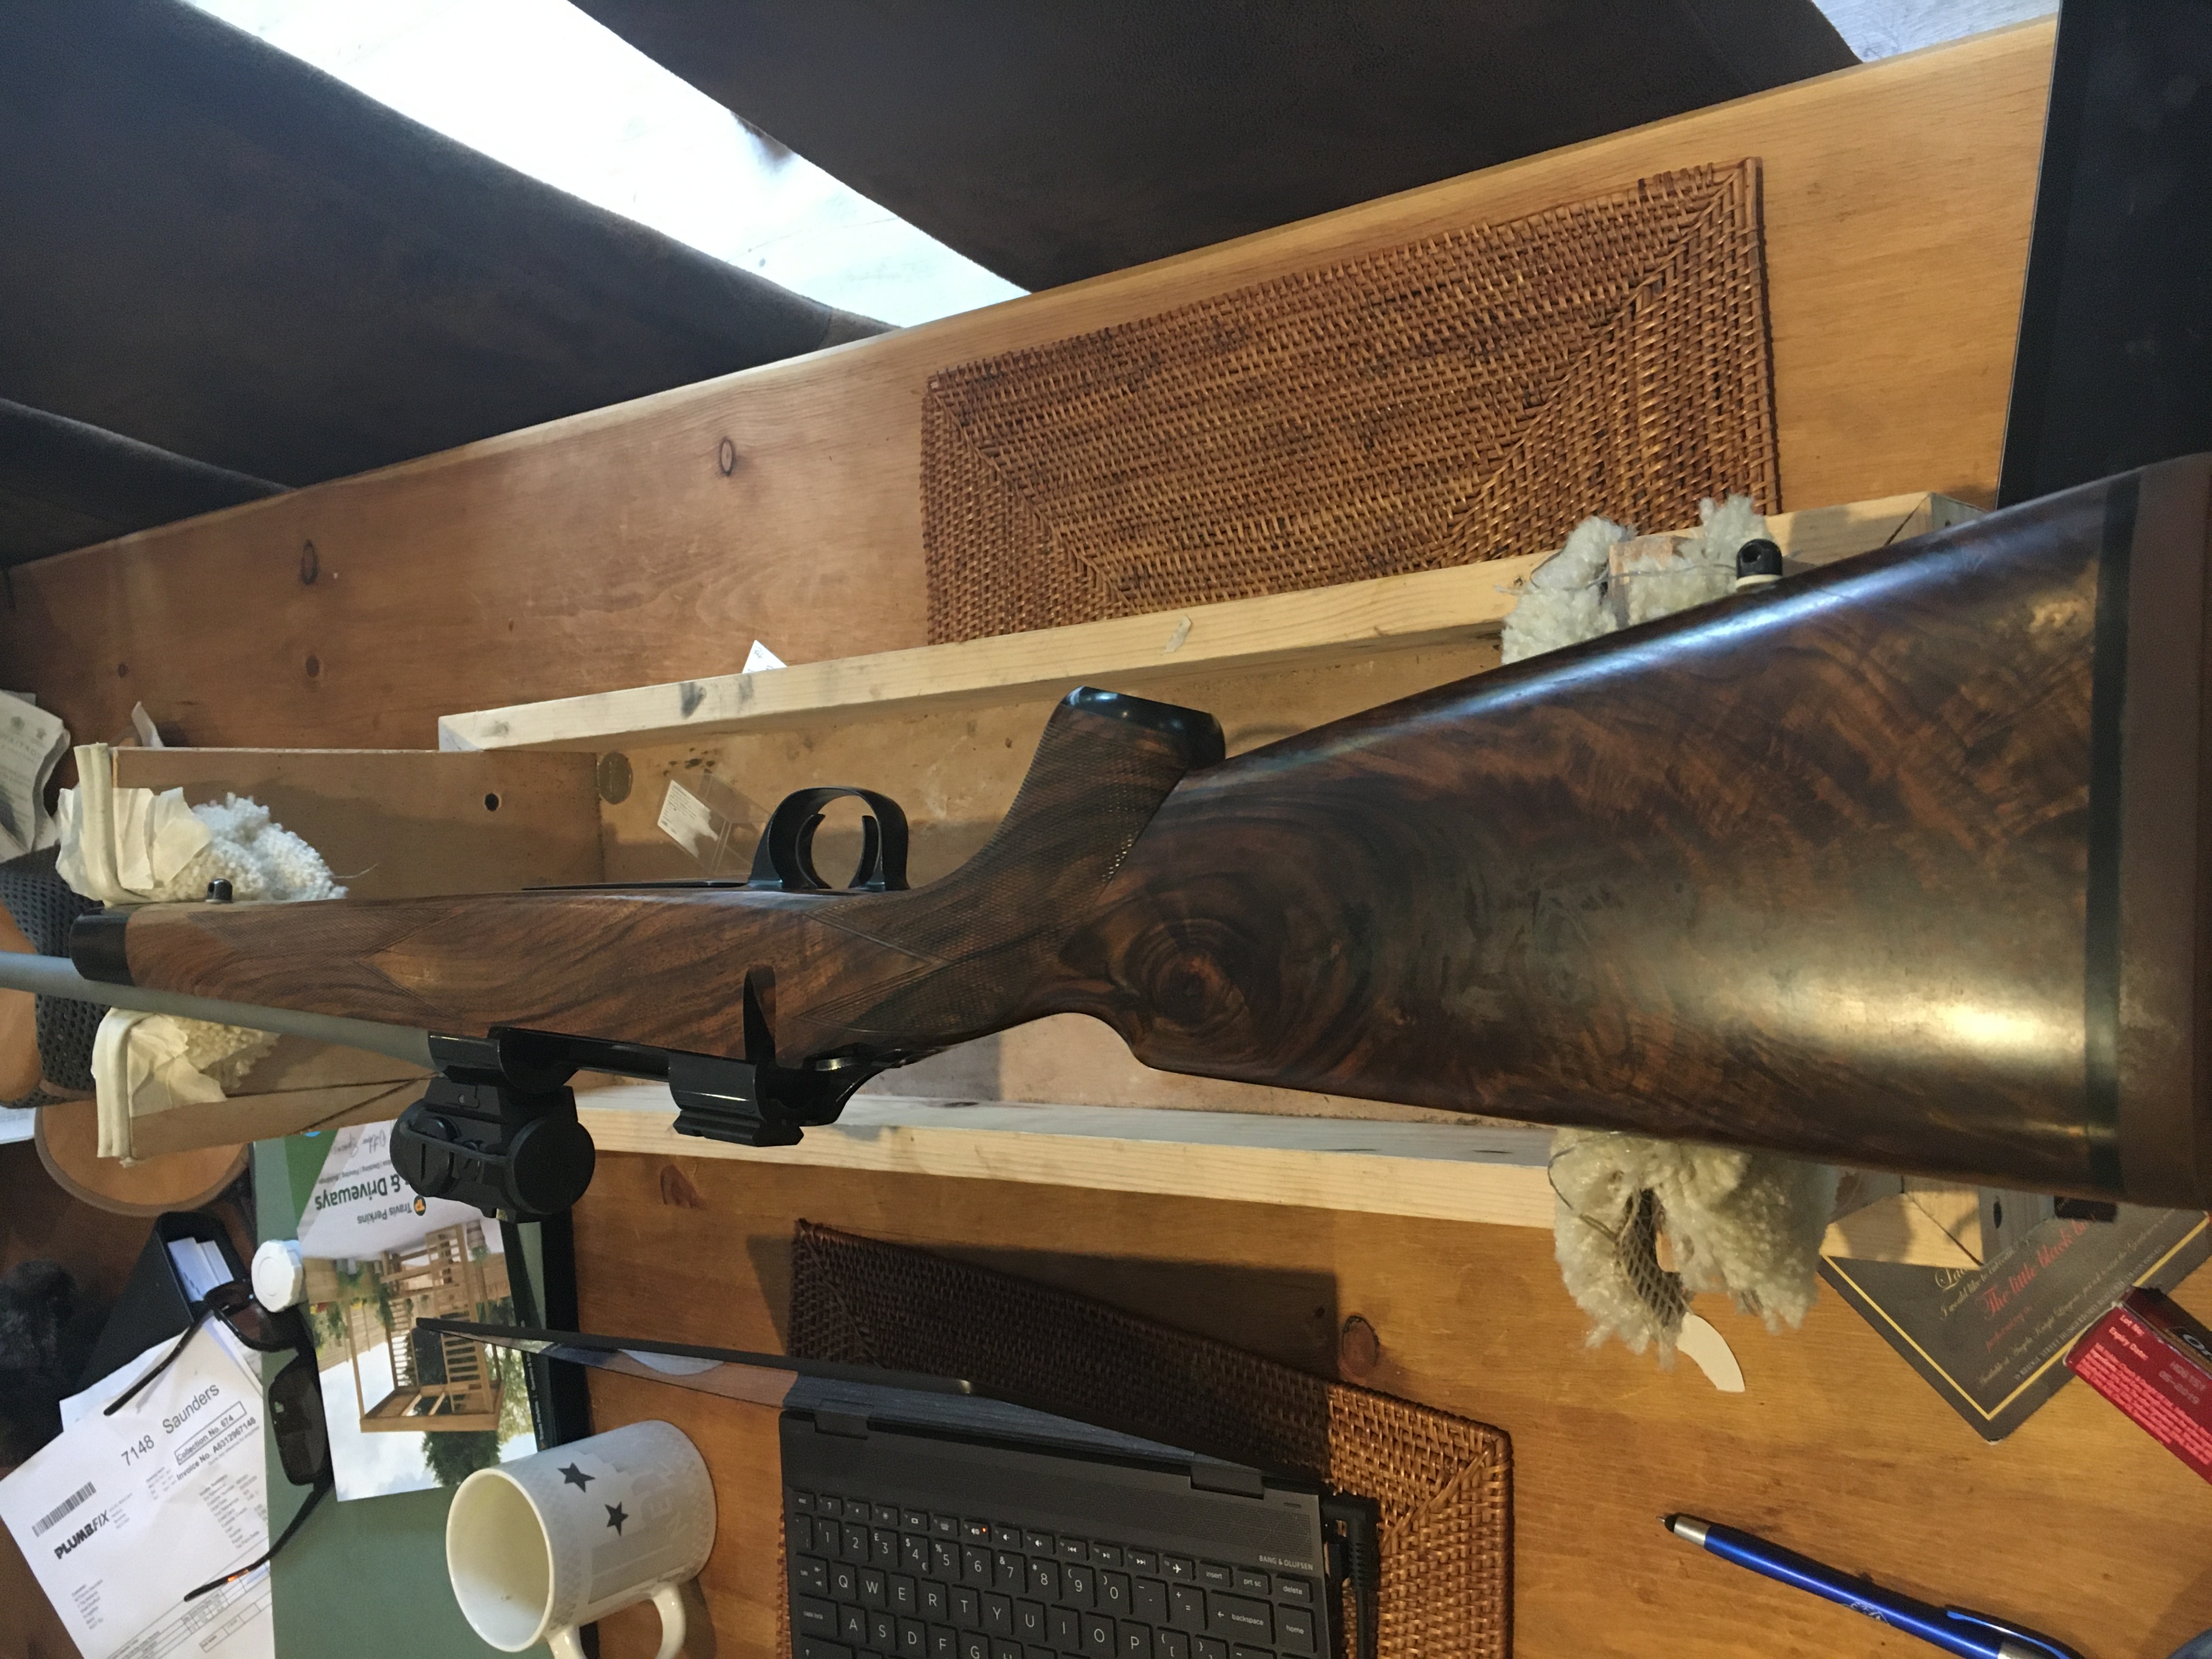
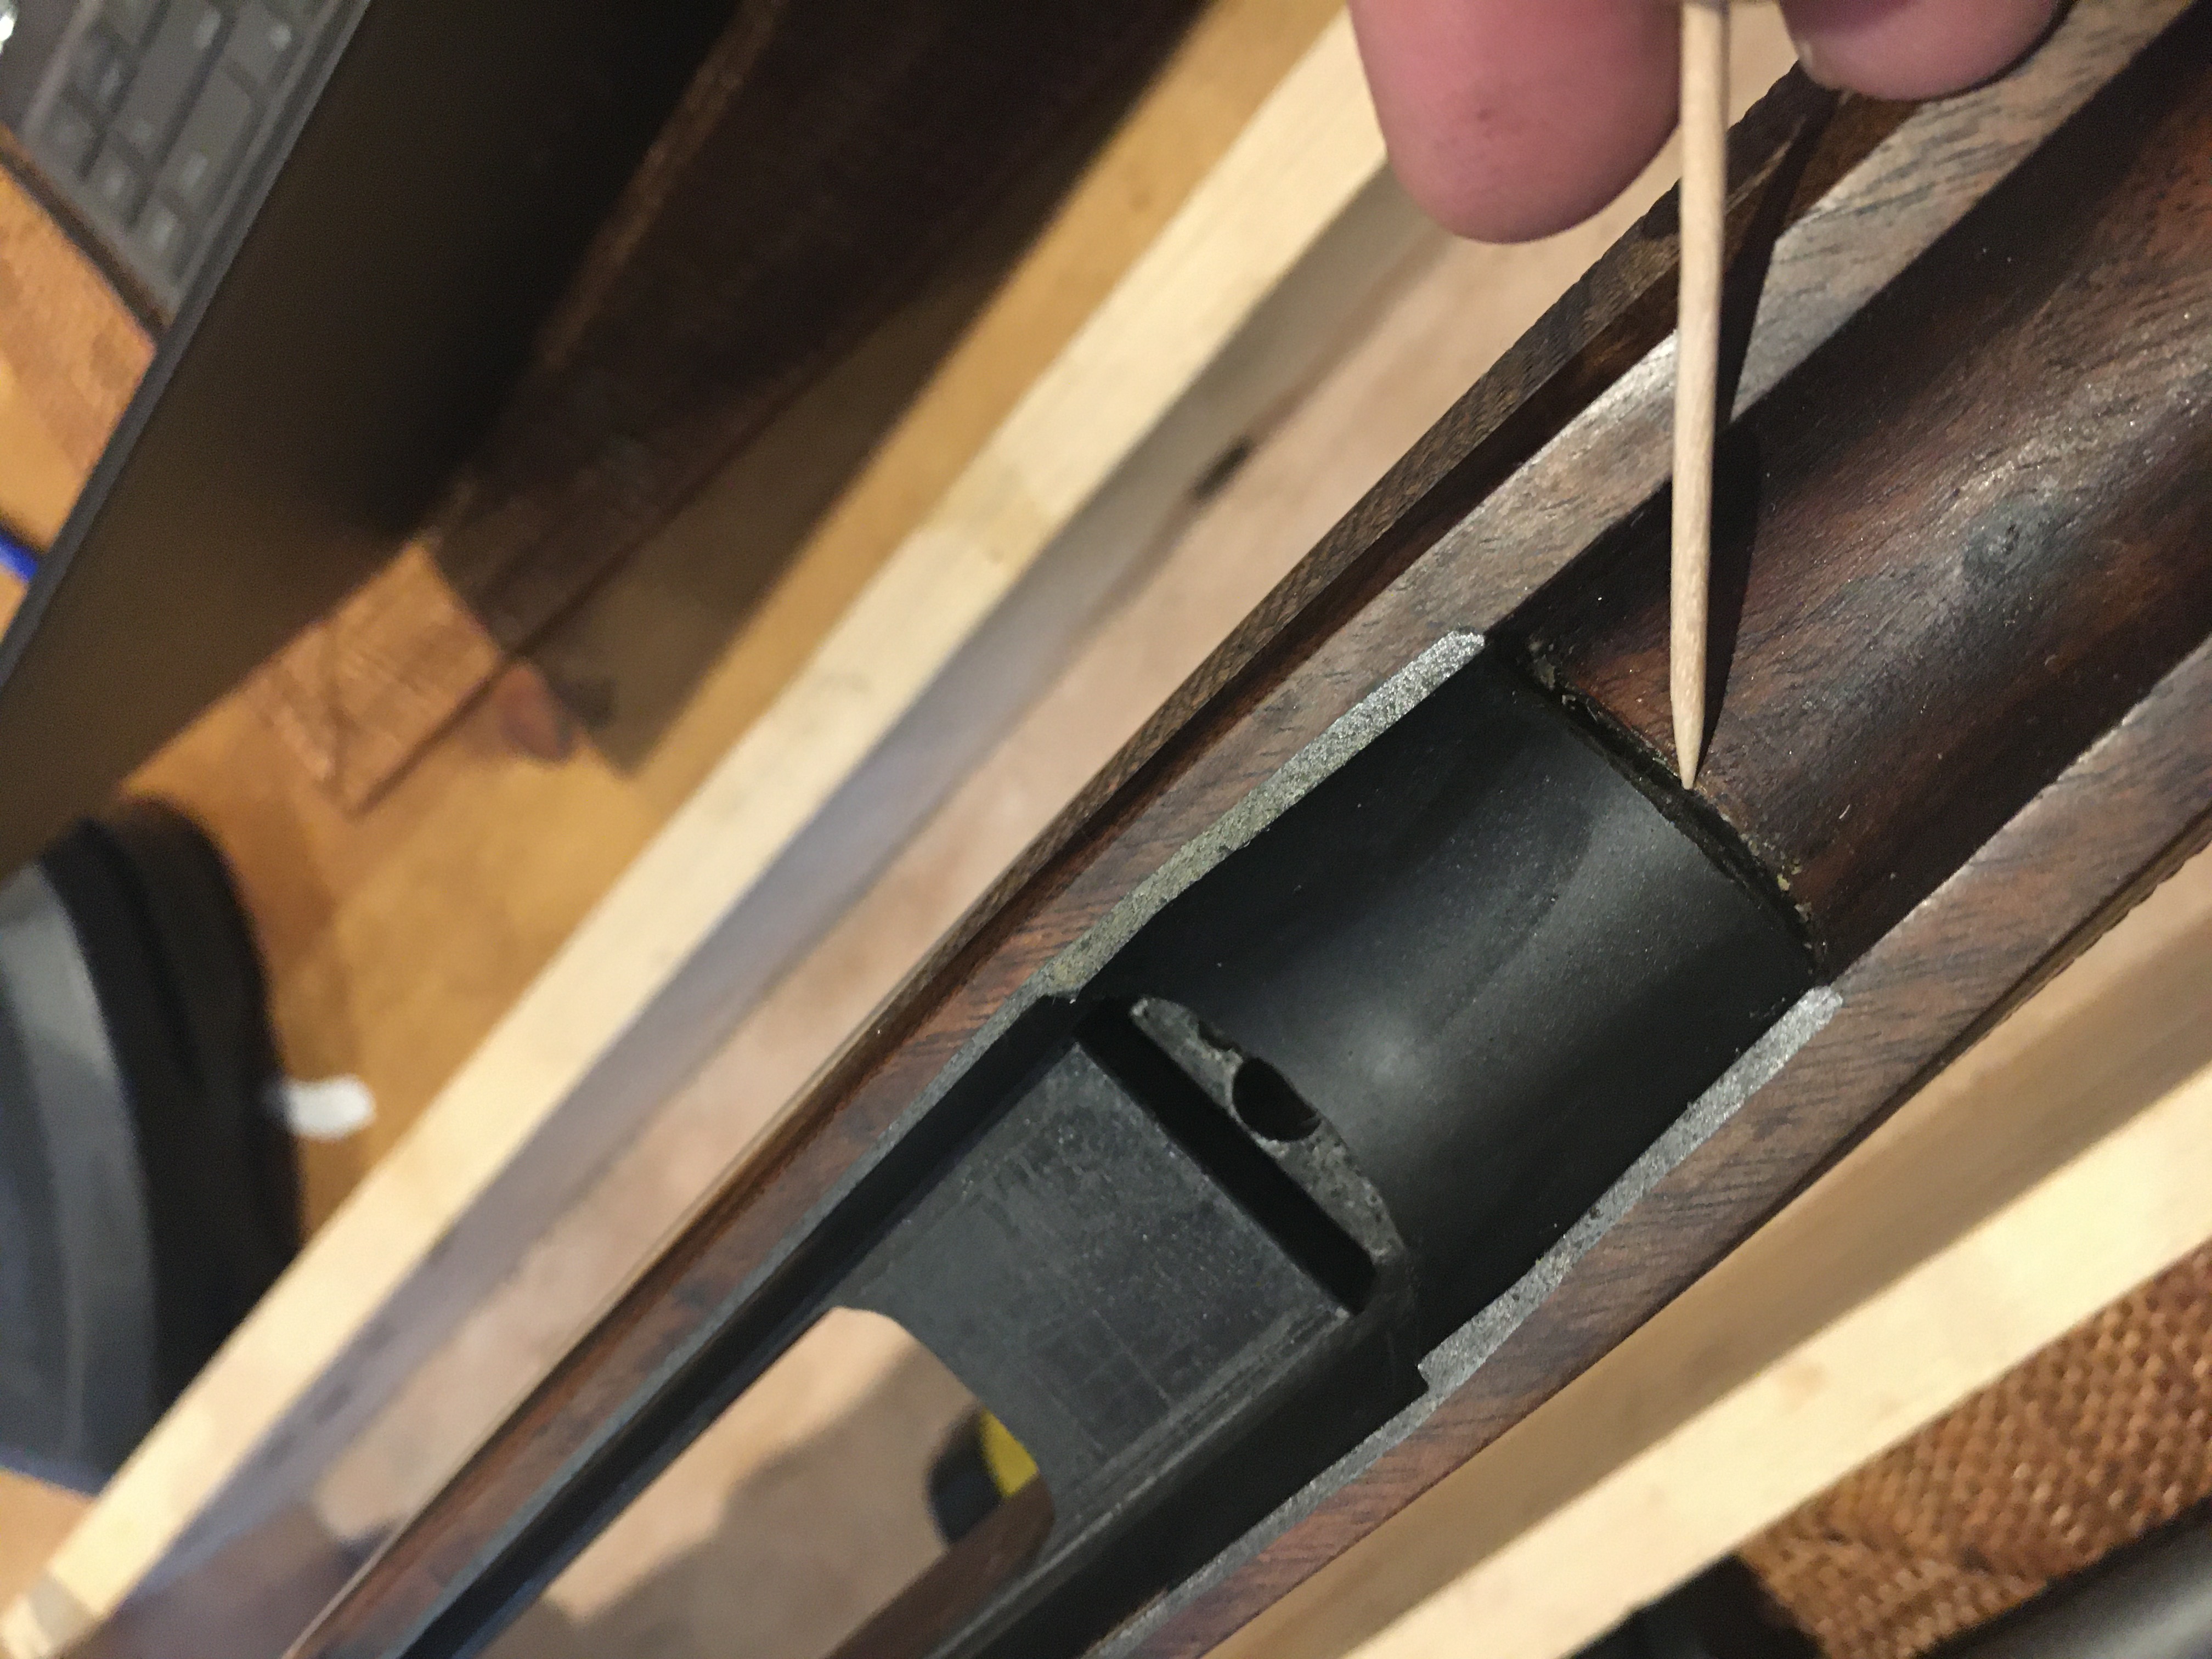
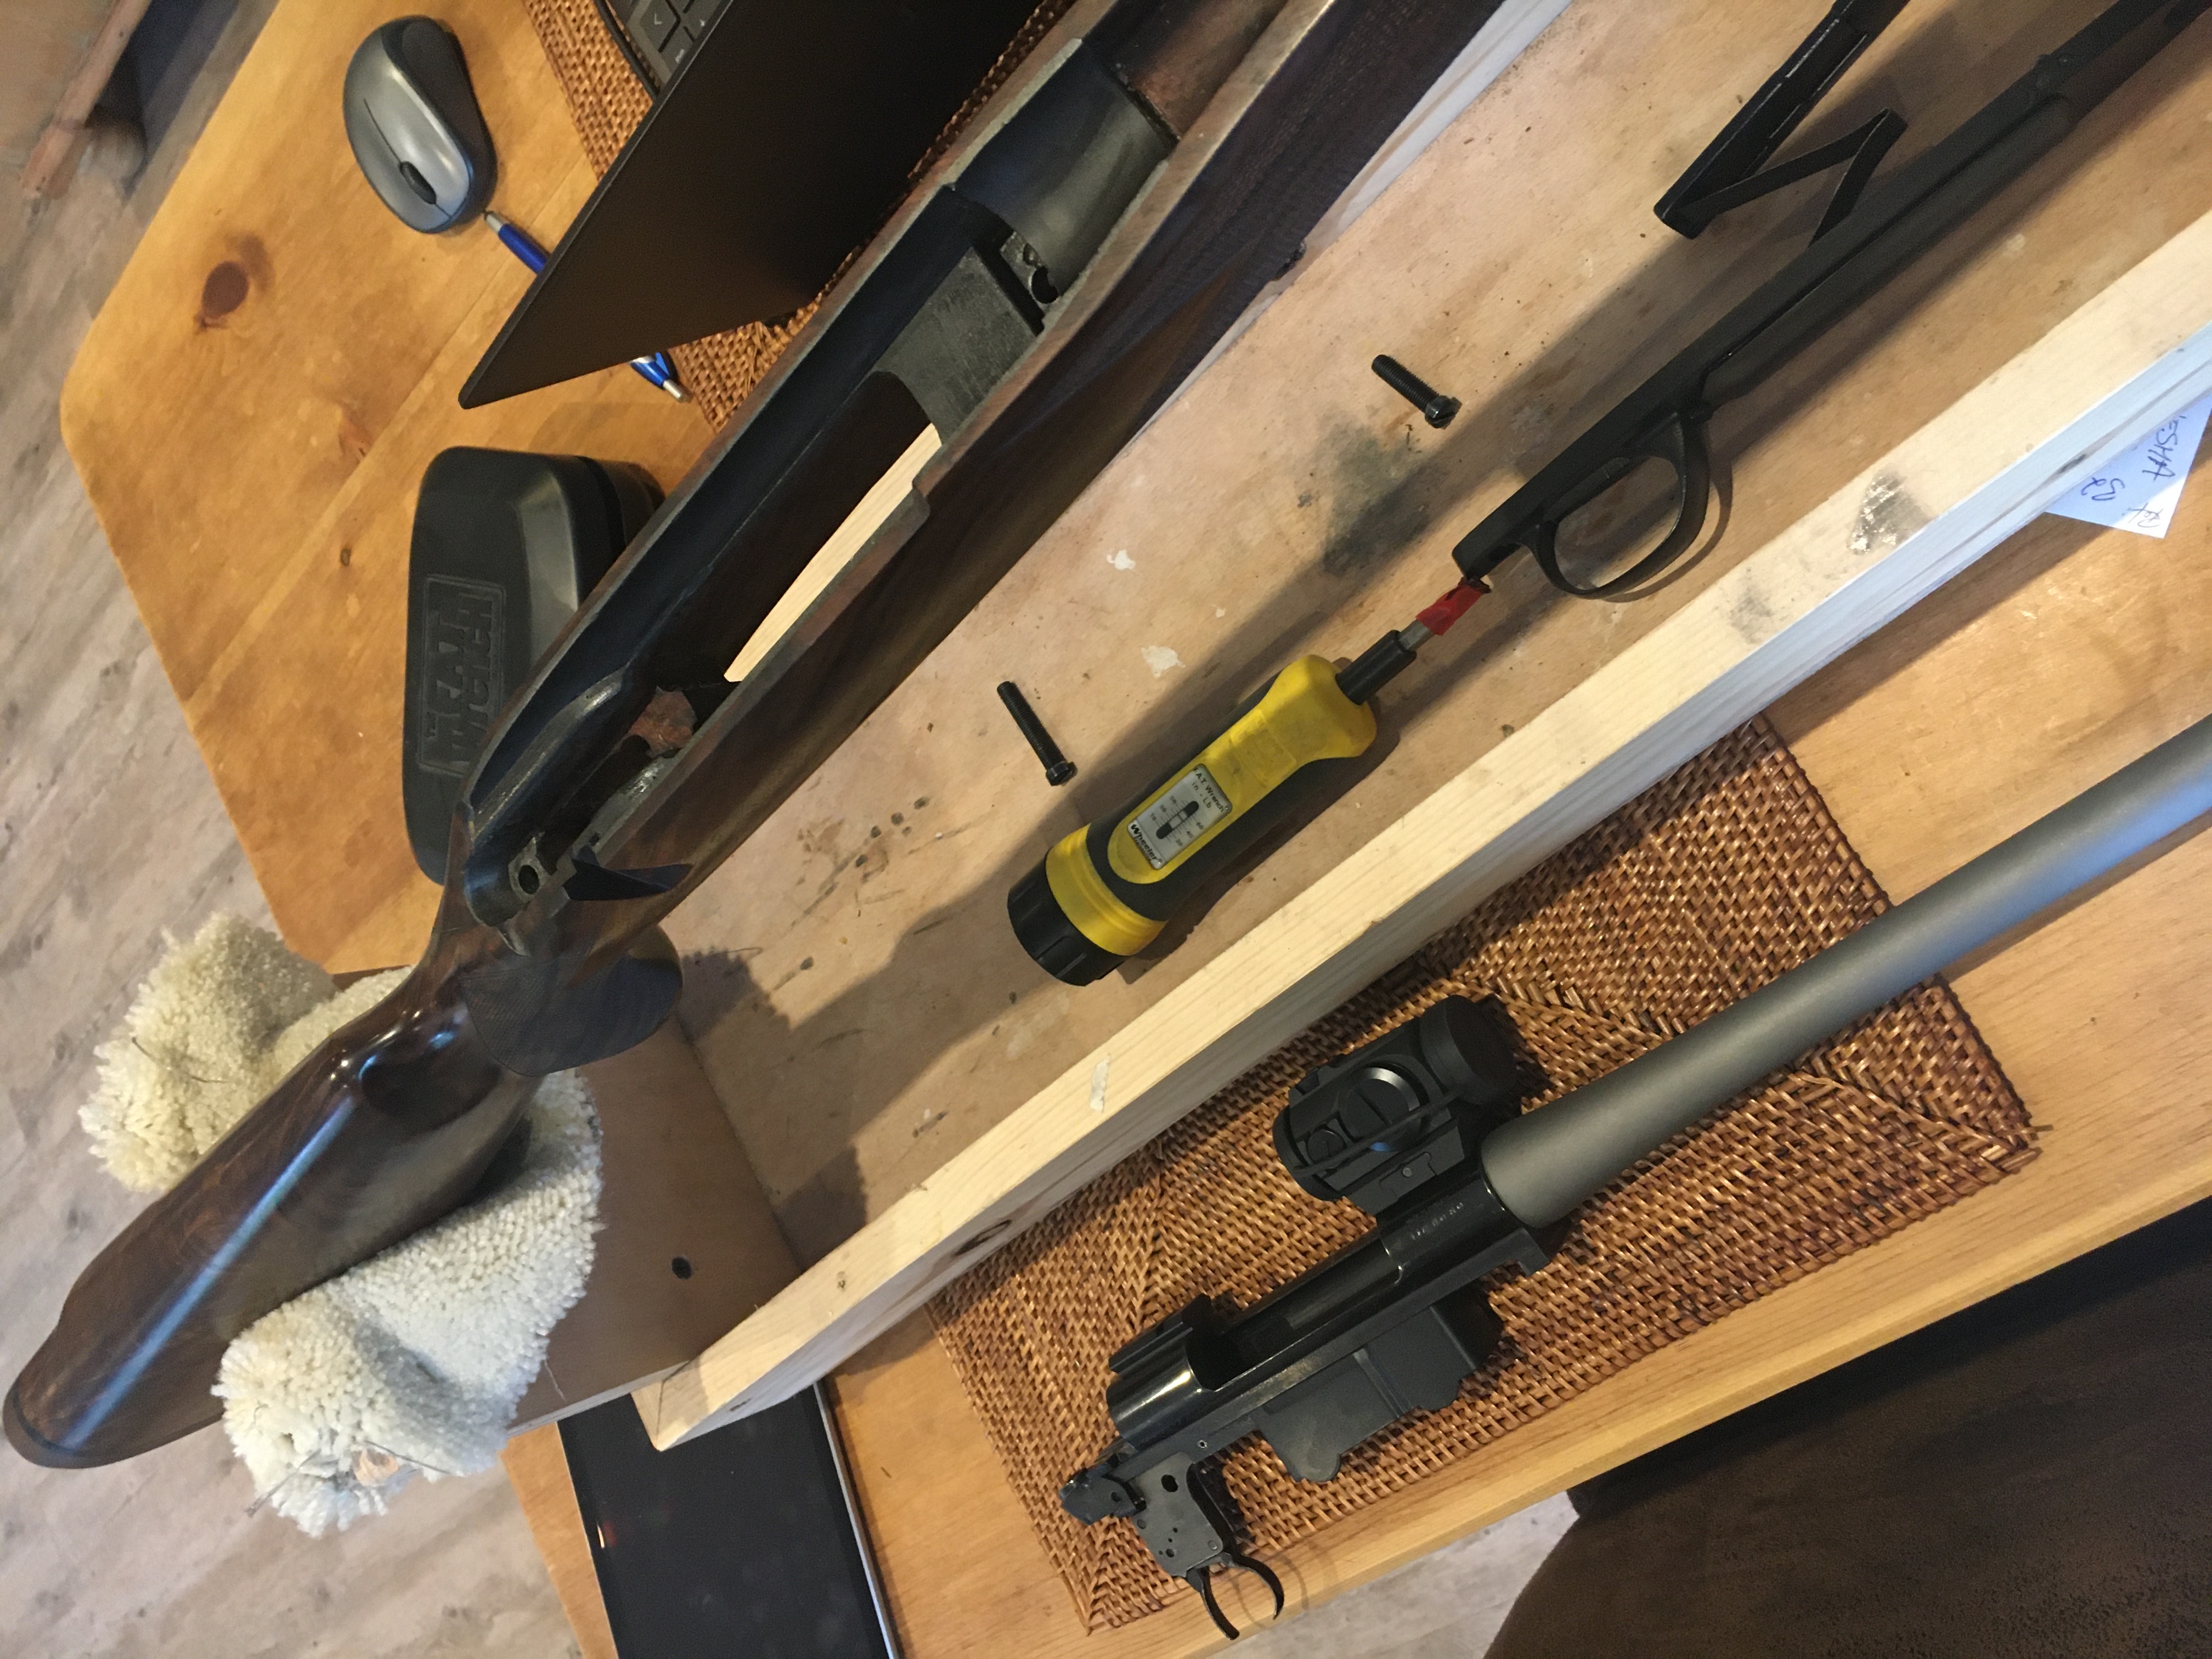
New I needed to get around to doing this. Here is the finished product. Originally Posted by Sideshow
Shoots really really well.

 Moa Hunter and Pommy like this.It's all fun and games till Darthvader comes along
I respect your beliefs but don't impose them on me.
-
11-05-2020, 03:26 AM #52Member
- Join Date
- Apr 2015
- Location
- UK
- Posts
- 7,956
New I needed to get around to doing this. Here is the finished product. Originally Posted by Sideshow
Shoots really really well.
Attachment 139333Attachment 139334Attachment 139335Attachment 139336Attachment 139337Attachment 139338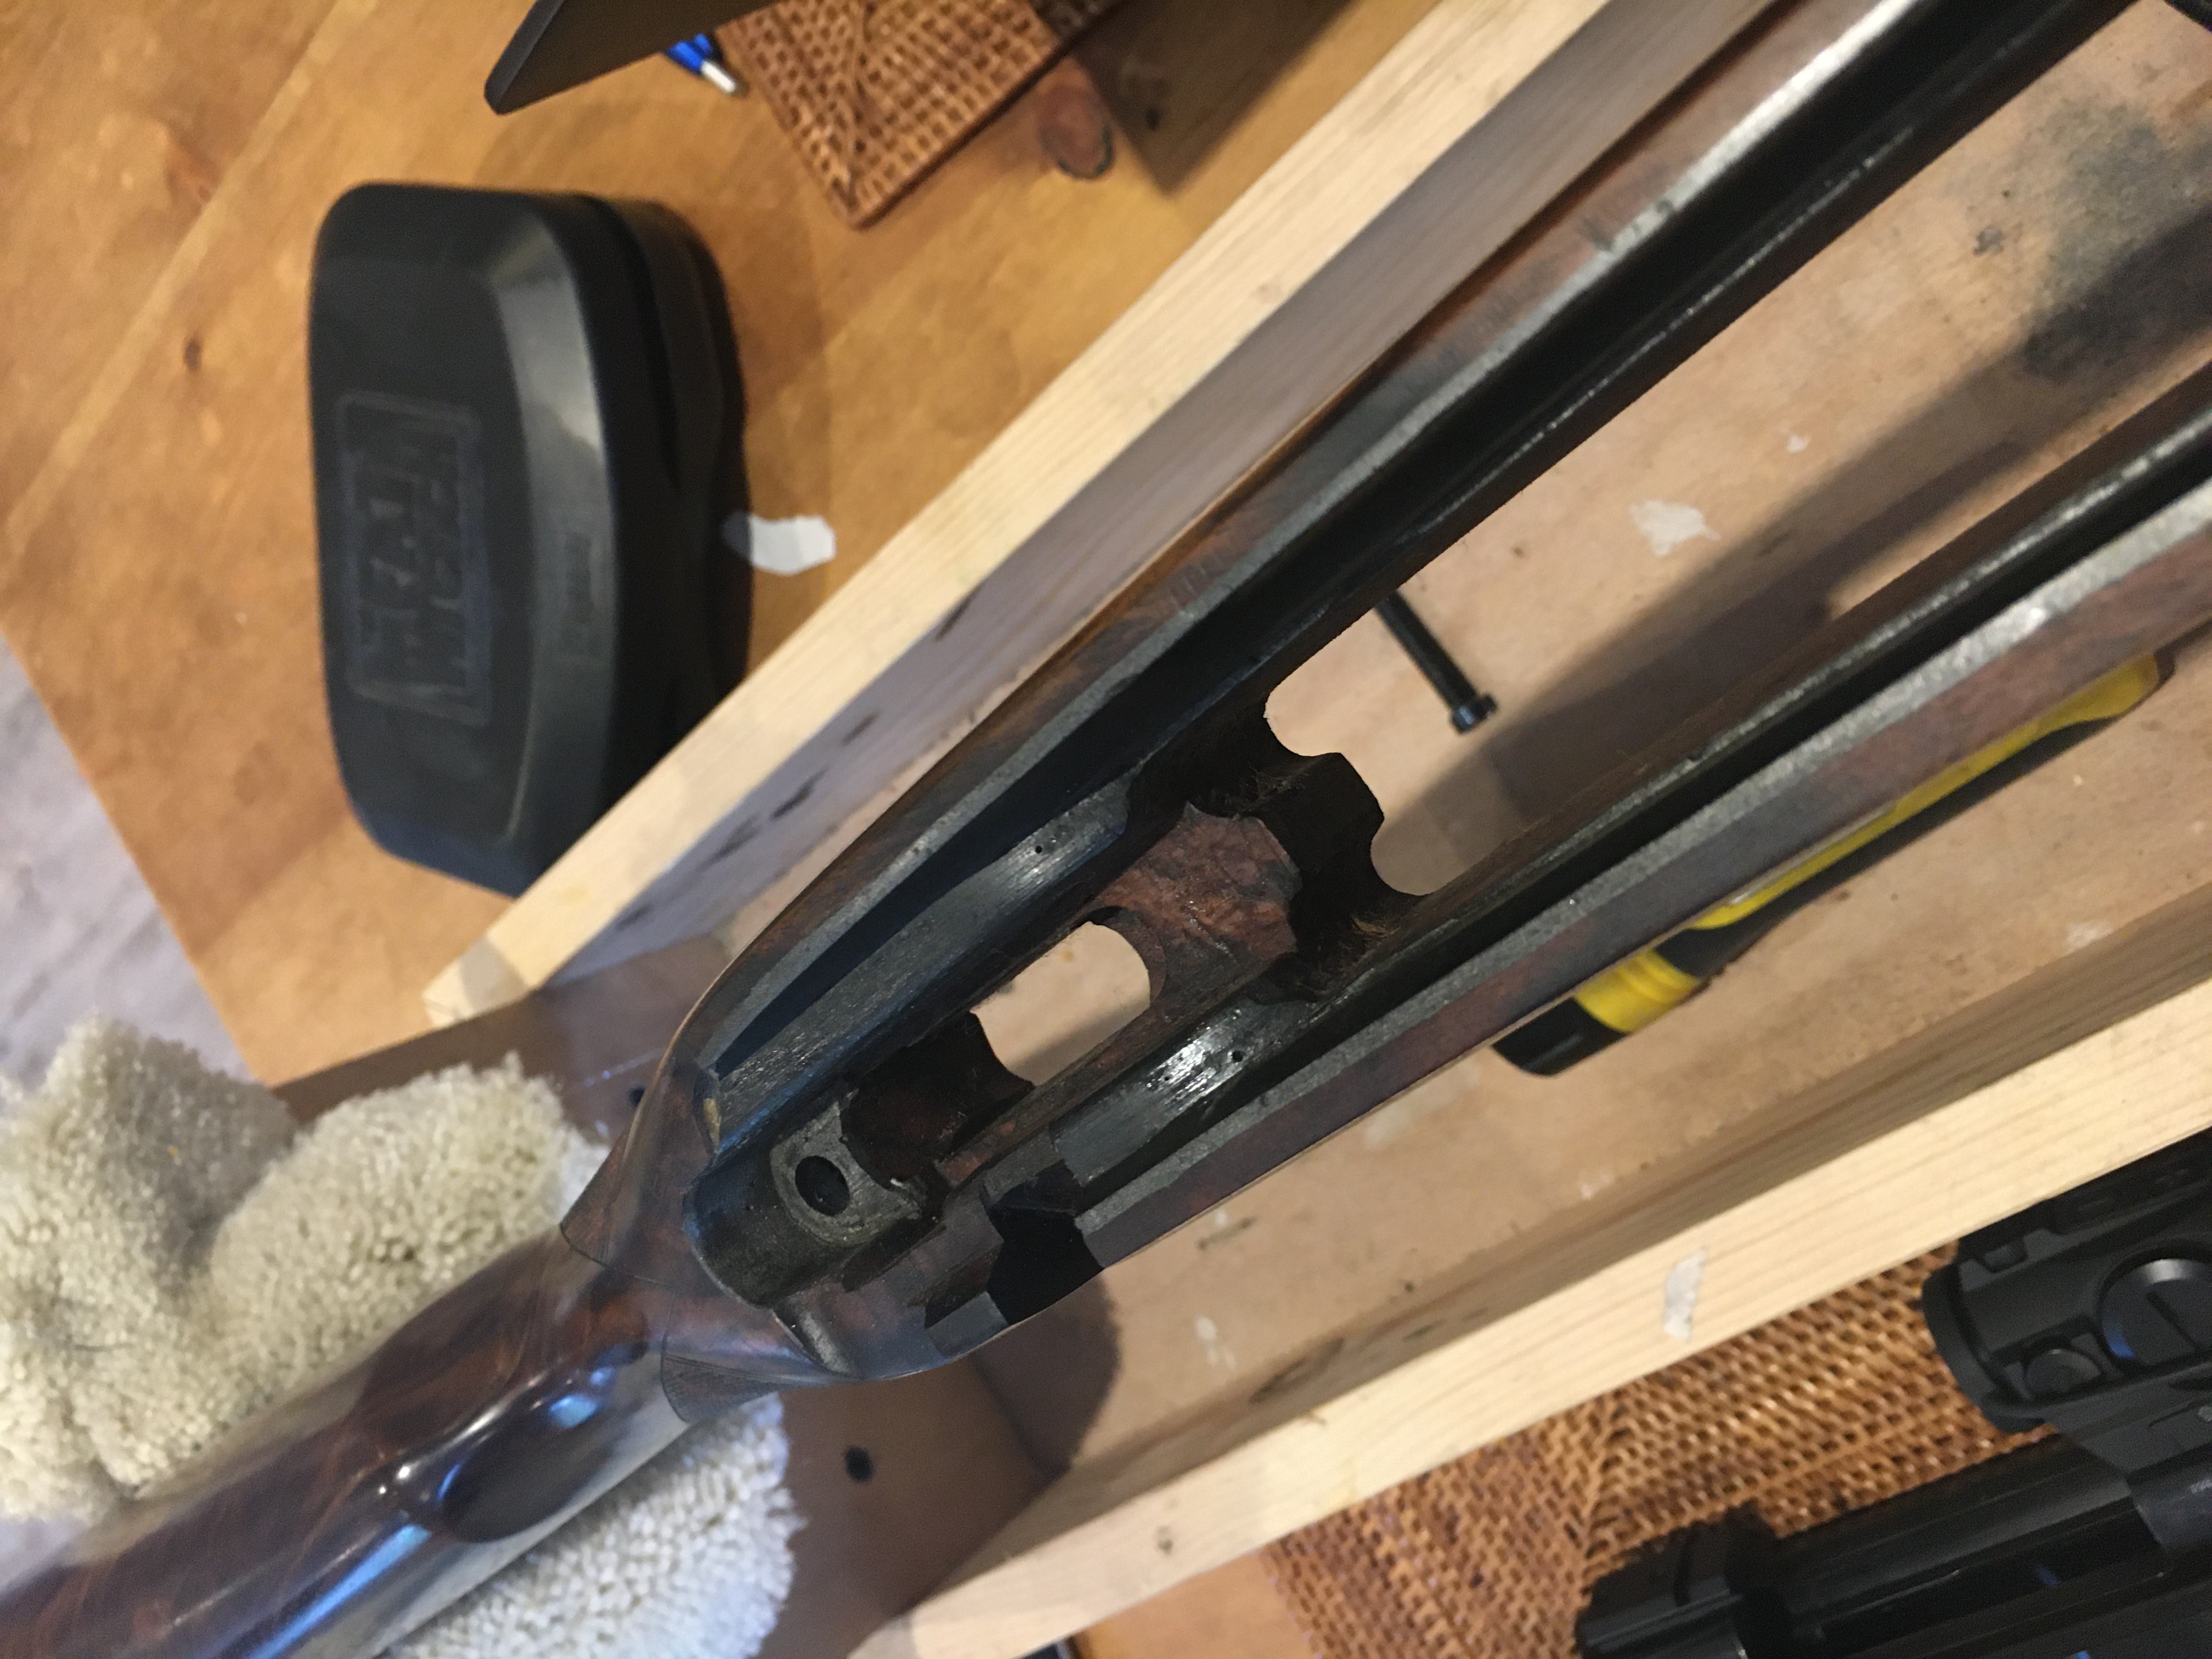 Moa Hunter likes this.It's all fun and games till Darthvader comes along
I respect your beliefs but don't impose them on me.
-
11-05-2020, 03:29 AM #53Member
- Join Date
- Apr 2015
- Location
- UK
- Posts
- 7,956
Sorry about that double last post. But I think that this is ok for my first effort at rifle bedding.
Really happy with the results.10-Ring likes this.It's all fun and games till Darthvader comes along
I respect your beliefs but don't impose them on me.
-
11-05-2020, 10:17 AM #54Member
- Join Date
- May 2012
- Location
- Far North
- Posts
- 4,898
a lot tidier than most Iv seen Originally Posted by Sideshow
I pulled my first one apart too soon 18+ hours but at cold temps
it all stretched out like bubble gum
-
11-05-2020, 10:27 AM #55Gone But Not Forgotten
- Join Date
- Feb 2014
- Location
- Taupo
- Posts
- 1,887
Looks like a real tidy job. One thing to take into consideration, especially on a wooden stock, is that you need at least four times the thickness of a five pound note for barrel clearance. Originally Posted by Sideshow
-
11-05-2020, 02:20 PM #56Member
- Join Date
- Feb 2012
- Location
- hastings
- Posts
- 371
It might lack the wetness to bond really well and to give detail Originally Posted by 7mmwsm
-
11-05-2020, 03:11 PM #57Member

- Join Date
- Oct 2012
- Location
- Waikato
- Posts
- 5,193
Originally Posted by 7mmwsm
Doesn't have the required viscosity (mmmm right word?) or surface smoothness plus goes off too quick. 2 issues there, you have to work reasonably quickly (some of the early bedding compounds didn't give you much time either) and any 2 part compound that sets quickly generally doesn't have the strength of a slower setting compound. Although I have used the steel version for non gun repairs even tapping it and it seemed strong enough. It may also have more than desired shrinkage. Originally Posted by Fisherman
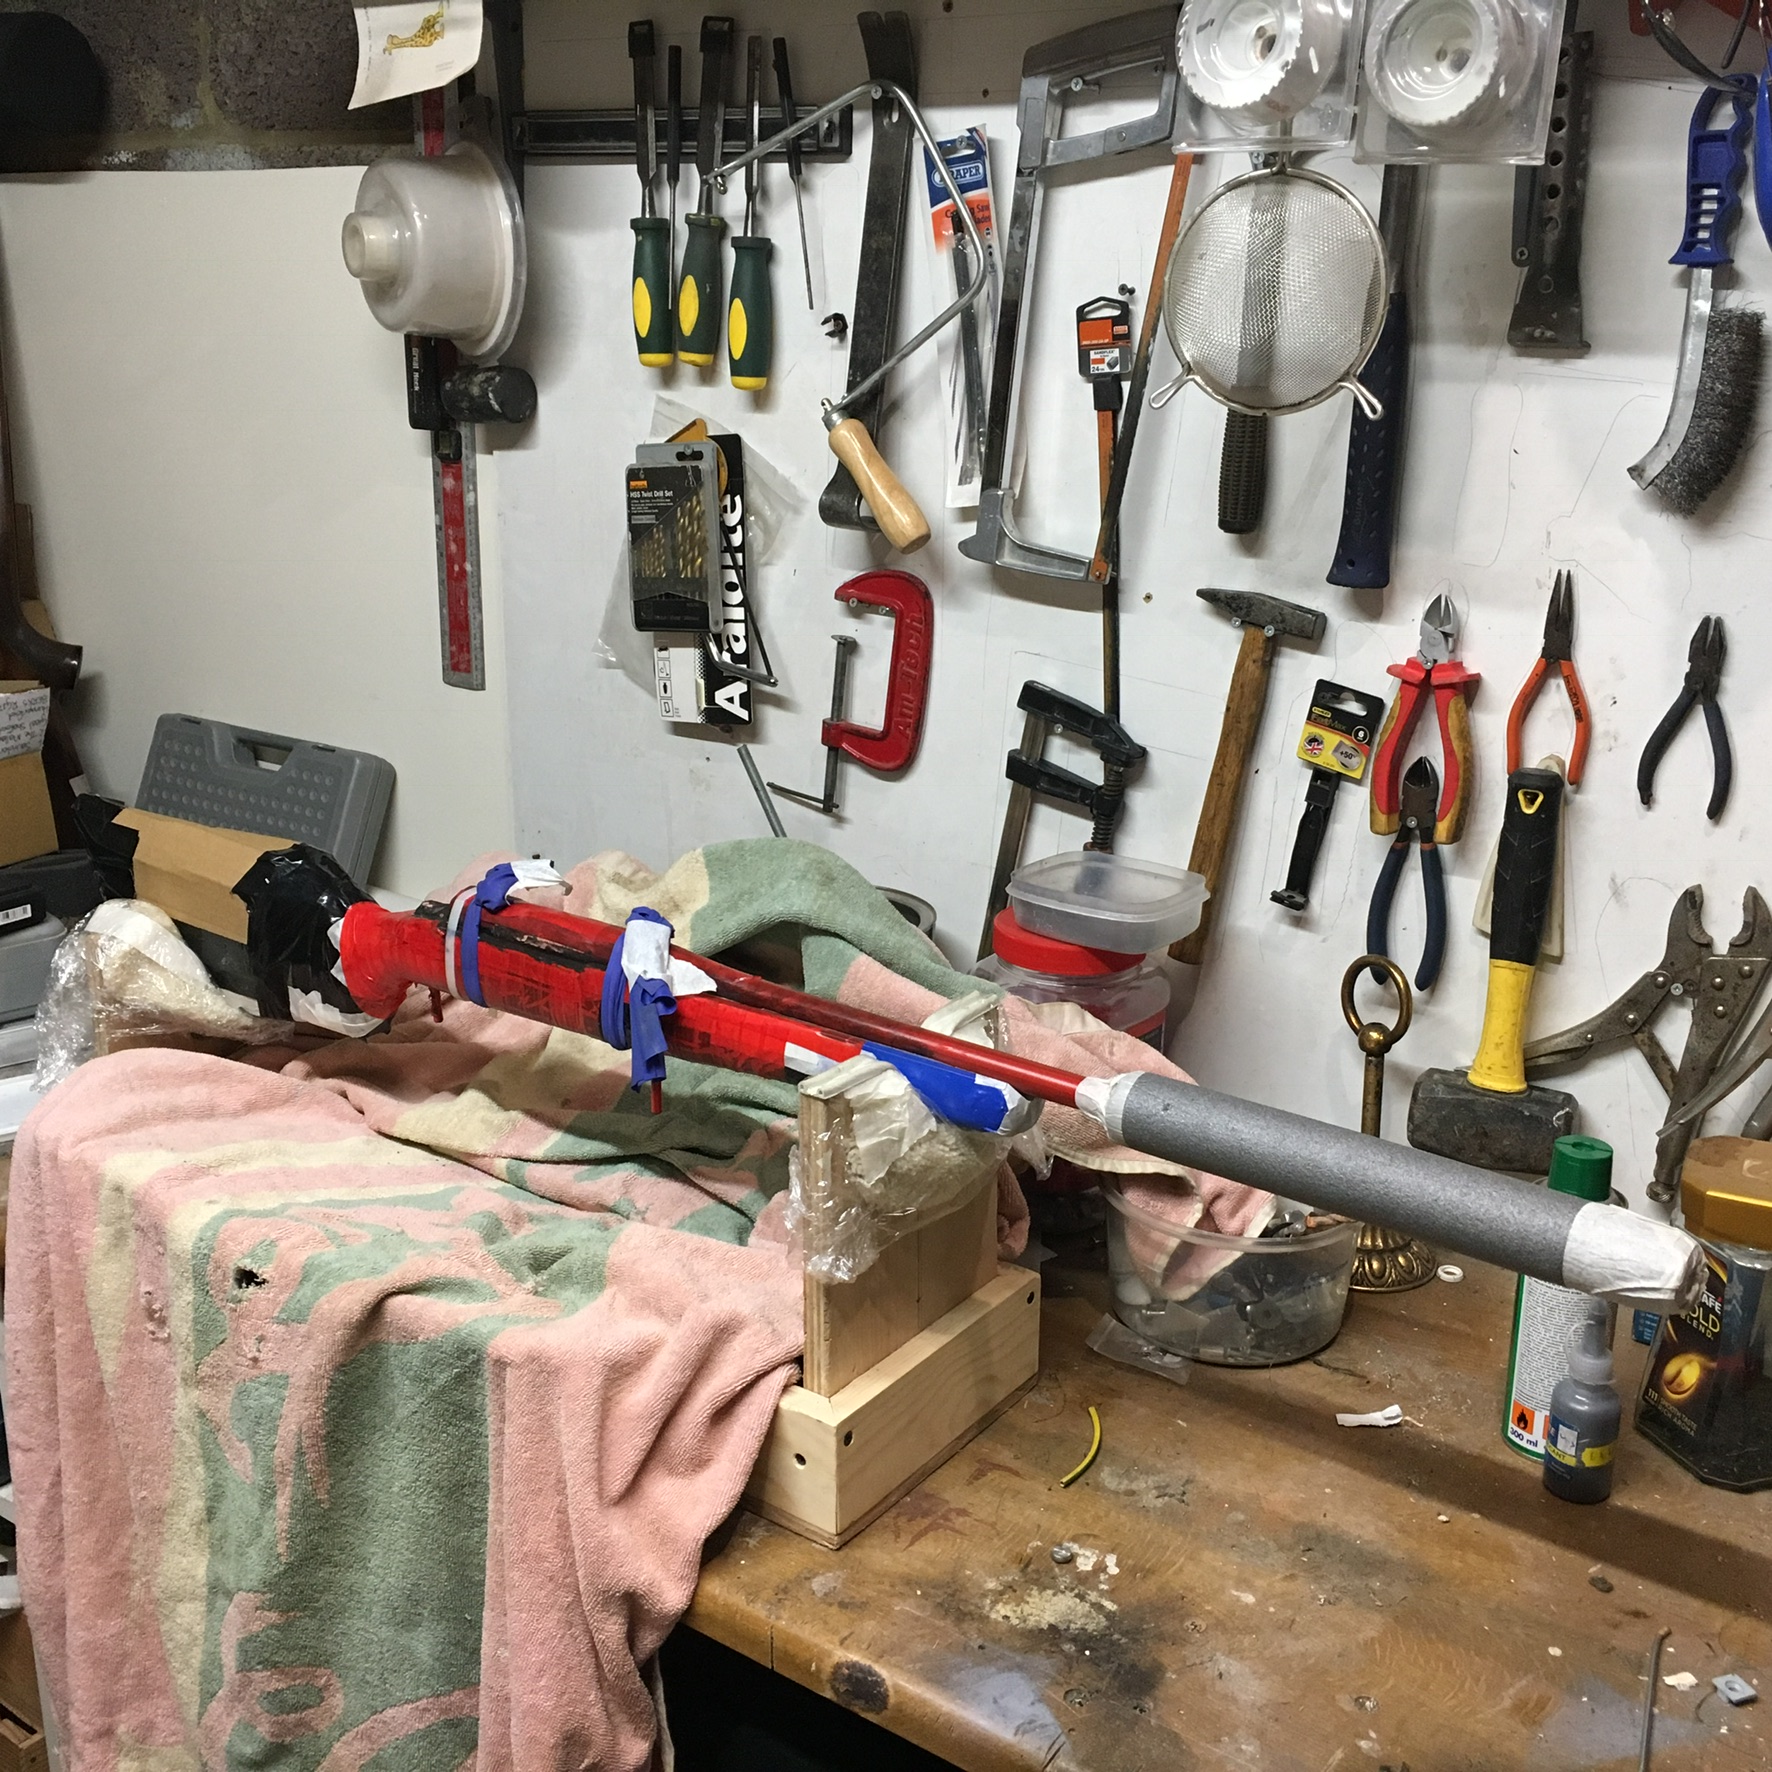
Having said that, I have used Knead It to build a temporary support for the barrel at the end of fore end channel. Keeps barrel central and at the right height during the process. Easily removed when job done.10-Ring likes this.
-
11-05-2020, 07:31 PM #58Member
- Join Date
- Apr 2015
- Location
- UK
- Posts
- 7,956
No I would respectfully disagree. If you have sealed the rest of the barrel channel then you won't get any water ingress and then you wont get any swelling. Originally Posted by 10-Ring
Also if you go 4 times thicker then you are just going to get more debris getting in. Plus its going to add more weight as well as increase head lift/clerance as your barrel/action moves up away form the stock.
If you feel that you can live with lifting it that much sure go ahead. But I really don't see any bonuses in doing this.
Cheers SIt's all fun and games till Darthvader comes along
I respect your beliefs but don't impose them on me.
-
11-05-2020, 07:56 PM #59Member
- Join Date
- Jan 2015
- Location
- Rotorua
- Posts
- 4,039
I used Norski but haven't test fired yet. Mix some black oxide in for the colour. Watch some youtube vid's and off you go. Get some propper plasticene when the shops open and check it every 15 minutes so you can do a trim when it's firm but still workable. I left it for 2 hours as the yanky youtube advice but it had gone off rock hard.
Devcon does look to be a better product though
-
11-05-2020, 08:40 PM #60Member
- Join Date
- Jun 2013
- Location
- Middle Earth
- Posts
- 4,949
I ll stick to my 3$ neutral shoe polish...


 Reply With Quote
 feeeeew
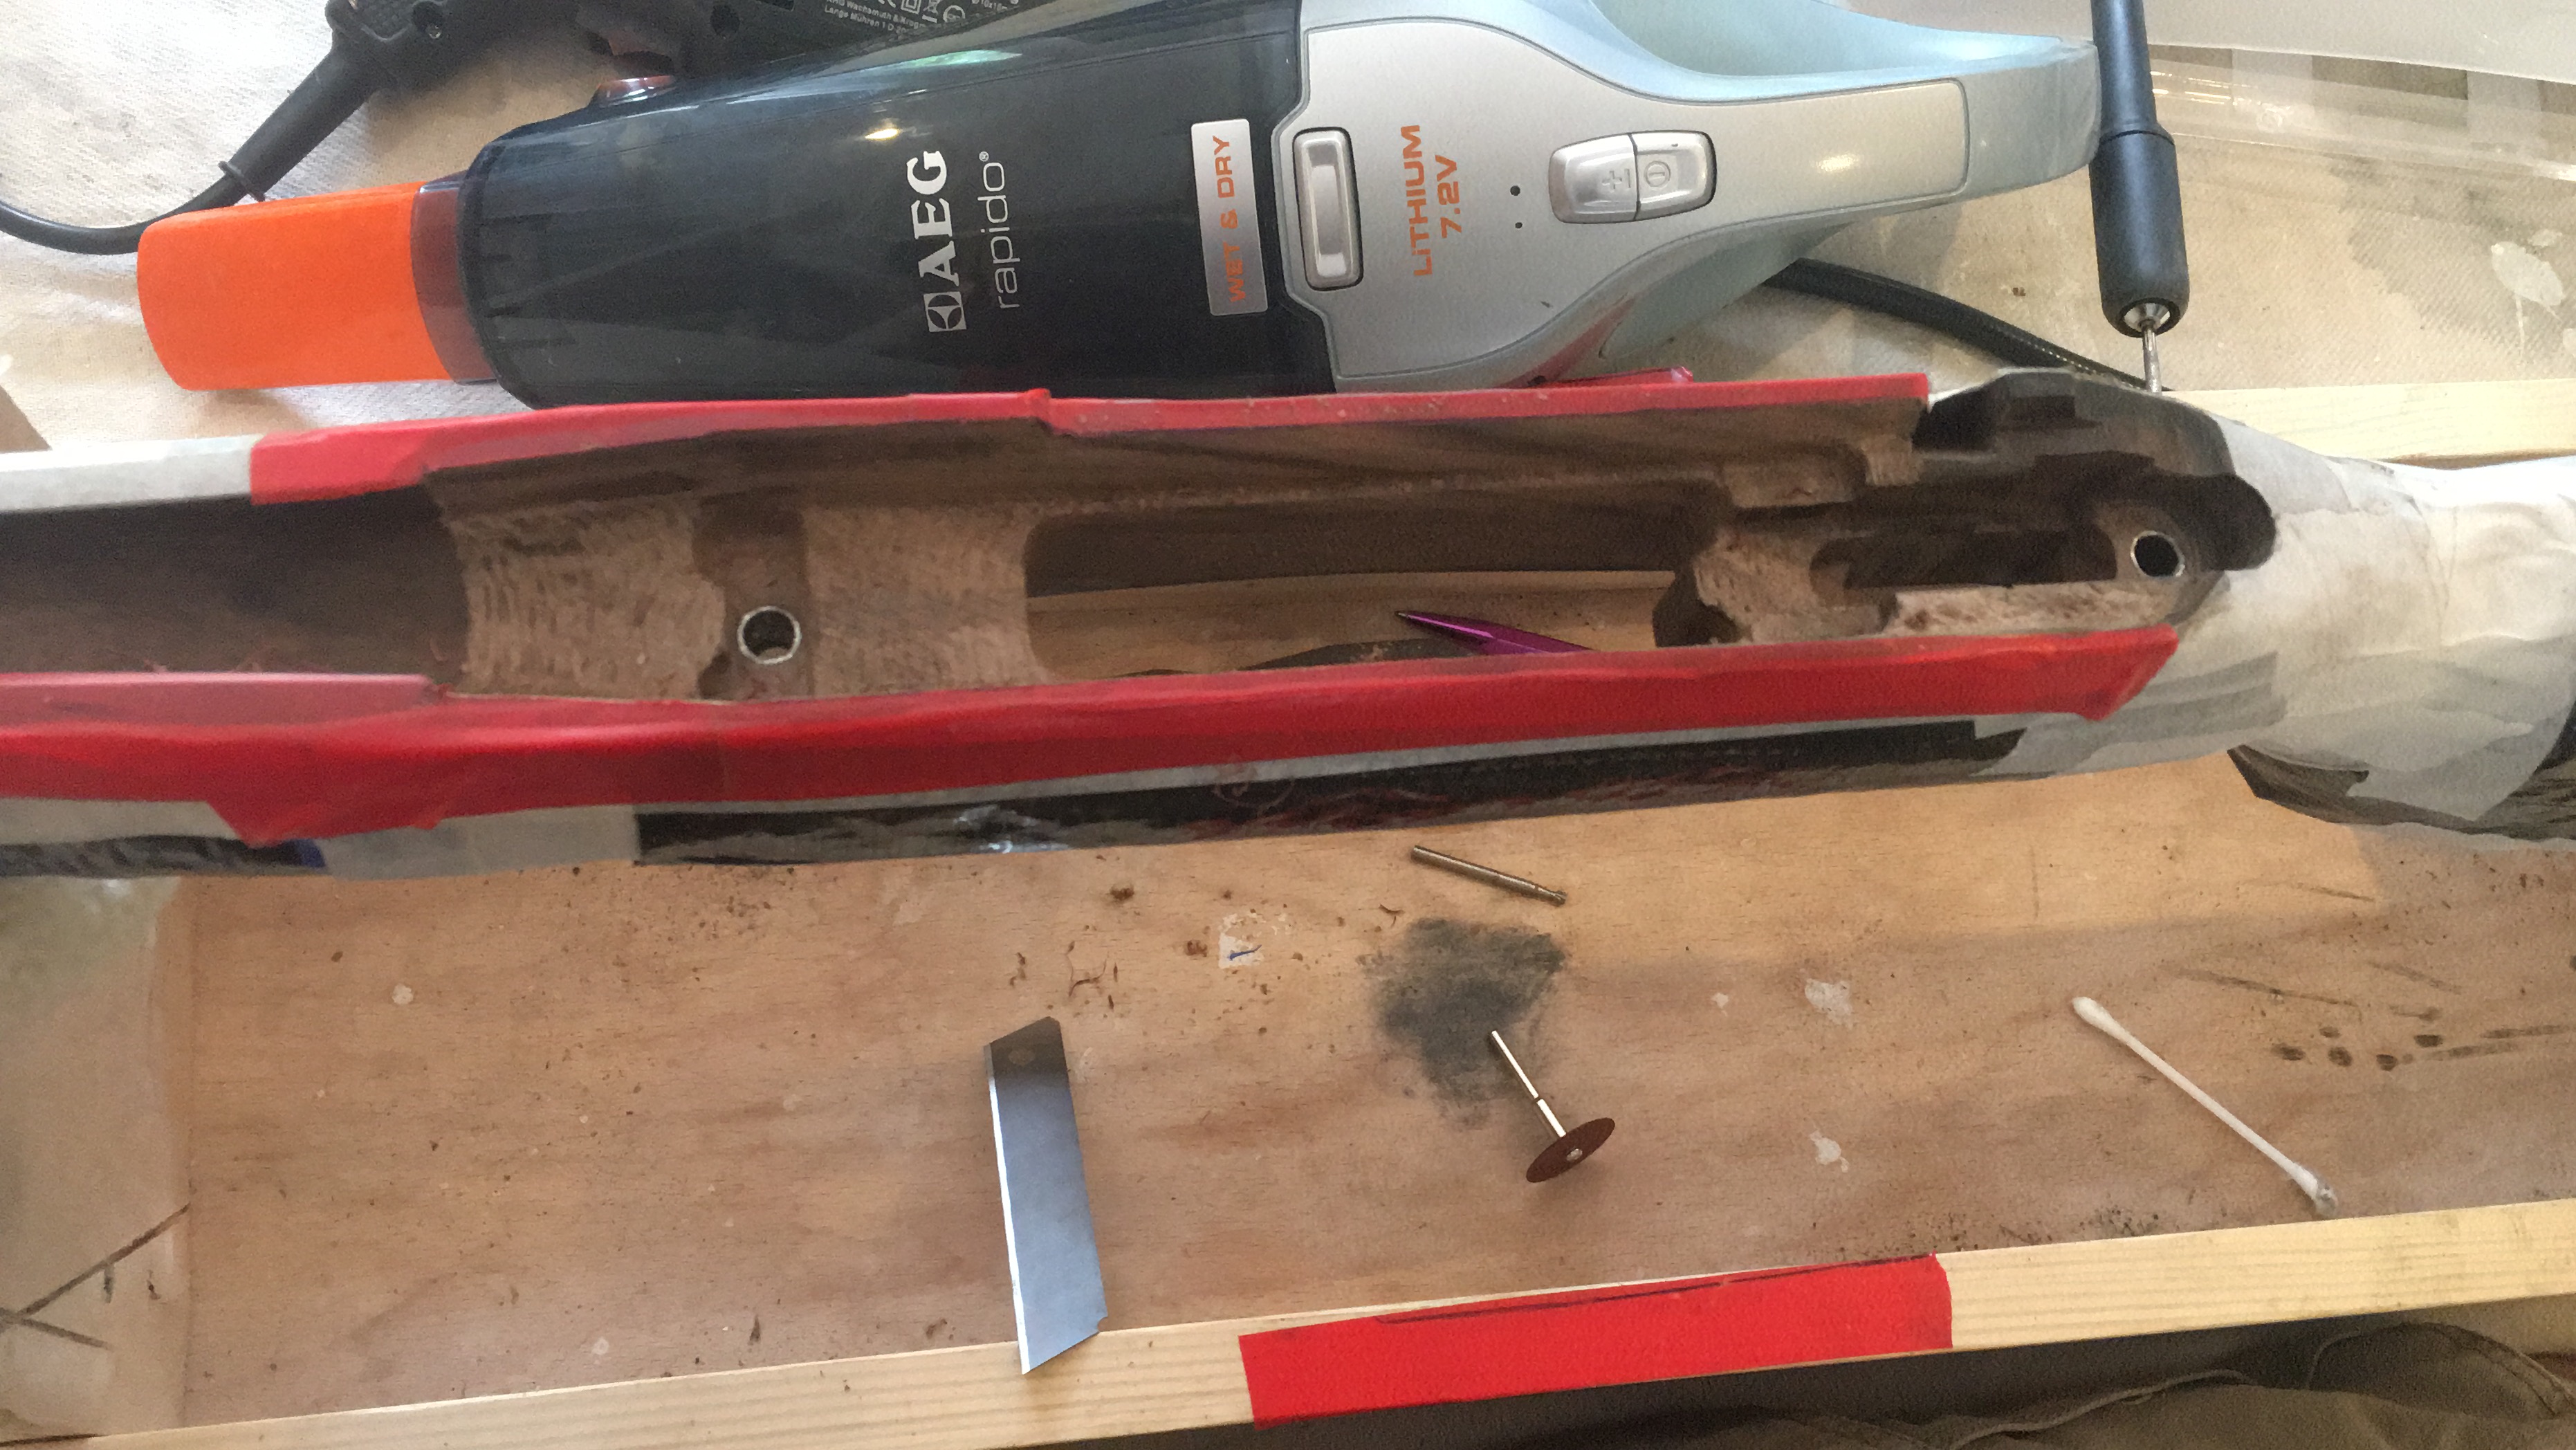
Similar Threads
-
free floating and bedding rifle stock at home
By huglife in forum ShootingReplies: 6Last Post: 30-11-2017, 05:02 PM -
Winter Rifle Maintenance: stock and bedding
By Bagheera in forum Firearms, Optics and AccessoriesReplies: 2Last Post: 01-09-2016, 11:34 PM -
Rifle bedding
By jimmy6.5 in forum Firearms, Optics and AccessoriesReplies: 1Last Post: 16-02-2014, 09:22 PM -
Factory Rifle Bedding jobs
By Homer in forum Firearms, Optics and AccessoriesReplies: 10Last Post: 31-05-2012, 11:11 PM -
Factory Rifle Bedding jobs
By Homer in forum The MagazineReplies: 8Last Post: 27-05-2012, 11:06 PM
Tags for this Thread
 Posting Permissions
- You may not post new threads
- You may not post replies
- You may not post attachments
- You may not edit your posts
Welcome to NZ Hunting and Shooting Forums! We see you're new here, or arn't logged in. Create an account, and Login for full access including our FREE BUY and SELL section Register NOW!!
All times are GMT +13. The time now is 02:01 PM.

Bookmarks